
Ever grabbed the wrong caulk tube and realized it six months later when your repair failed? Picking between silicone and acrylic isn’t about preference. It’s about whether you need to paint it, how much water hits it, and how long you want the seal to last. Use acrylic where you can’t paint silicone, and silicone everywhere water actually touches. Get it backwards and you’re either stuck with visible unpainted seams or recaulking a failed shower before the year’s out.
Key Differences: A Complete Comparison Overview

Silicone and acrylic caulk work completely differently, and that changes everything about where you should use them. Acrylic is water based, dries as the water evaporates, and works great for interior trim where you need to paint over it. Silicone cures through a chemical reaction with moisture, gives you waterproof protection and serious flexibility, but you can’t paint it. Getting this wrong means watching your bathroom caulk fail in a few months or ending up with unpainted seams on your trim forever.
| Feature | Acrylic Caulk | Silicone Caulk |
|---|---|---|
| Composition/Cure Method | Water-based, cures through evaporation | Chemical-based, cures through reaction with moisture |
| Movement Capability | ±7.5% (standard) to ±12.5% (siliconized) | ±25% to ±50% |
| Water Resistance | Water-resistant but not waterproof | Truly waterproof and hydrophobic |
| Paintability | Accepts latex and oil-based paints | Cannot be painted successfully |
| Lifespan (Interior) | 7 to 15 years in protected locations | 20 to 30 years in wet areas |
| Lifespan (Exterior/Wet) | 3 to 7 years | 25+ years |
| Working Time | 5 to 10 minutes before skinning | 10 to 20 minutes |
| Cleanup Method | Water (before curing) | Mineral spirits or specialized remover |
| Temperature Range | Limited, degrades in extremes | -40°C to +60°C |
| Shrinkage Rate | 10% to 15% | Minimal |
| Best Surfaces | Porous: wood, drywall, plaster | Non-porous: glass, metal, ceramic |
| Typical Cost Per Tube | $3 to $6 | $7 to $18 |
The way these materials cure drives everything else. Acrylic works like paint. Water evaporates, the caulk dries, and you can paint right over it once it’s cured. You can wipe it up with a damp rag before it sets. Silicone cures when it reacts with moisture in the air, creating a permanently flexible rubber seal that pushes water away at the molecular level. That’s what makes it waterproof. It’s also what makes paint slide right off.
You can’t just swap one for the other and hope it works. Grabbing acrylic for your shower because it’s already in the garage means you’ll be recaulking in six months. Using silicone on painted trim means living with visible unpainted lines. Where you’re working and what you need the caulk to do decides which one you buy.
Environmental Performance: Durability in Different Conditions
How long your caulk lasts depends entirely on what it’s exposed to. Moisture, temperature swings, UV rays, humidity. They hit acrylic and silicone differently.
Acrylic does fine in protected indoor spots with no real moisture exposure. Baseboards, crown molding, dry wall seams. You’ll get 7 to 15 years there. Move it outside or into wet areas and you’re looking at 3 to 7 years before it quits. Acrylic is water resistant, which means it can handle splashes or humidity. But it’s not waterproof. Continuous water contact softens it, shrinks it, eventually breaks it down. Temperature extremes speed that up because acrylic can’t flex without cracking. UV exposure outdoors turns it yellow and brittle.
Here’s what happens when you use it wrong: acrylic in a shower enclosure typically fails in 6 to 18 months. You’ll see shrinkage gaps, the adhesion fails, and black mold starts creeping along the edges where water got behind the seal.
Silicone performs way better across every measure. Properly installed silicone lasts 20 to 30 years in bathrooms and 25+ years outside in direct weather. It’s truly waterproof. Water beads up and rolls off instead of soaking in. You can submerge it continuously without breaking it down. Temperature performance runs from -40°C to +60°C without losing flexibility or letting go of the surface. UV resistance means decades of direct sun won’t yellow it, crack it, or make it brittle. That rubber-like flexibility handles the expansion and contraction from temperature and humidity changes. Silicone also resists mold and mildew through additives and its non-porous surface that won’t let organic growth take hold.
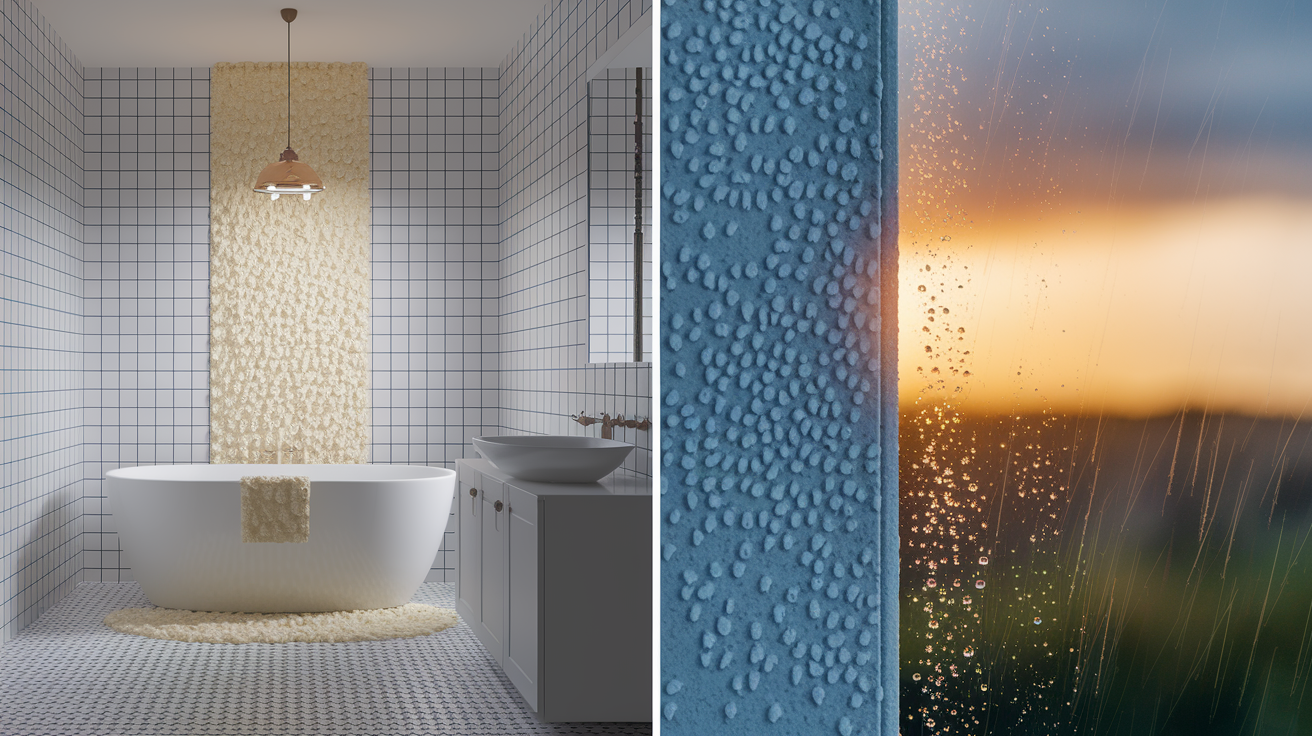
Moisture exposure shows the clearest gap between these materials. Water resistant acrylic handles humidity and occasional dampness. Direct water contact breaks down the seal structure over time. Think of it like water-resistant versus waterproof clothing. A water-resistant jacket handles light rain but soaks through in a downpour. Silicone is waterproof rain gear that keeps you dry no matter what. That distinction matters enormously in kitchens, bathrooms, and exterior locations.
Both need proper installation and occasional inspection. But silicone requires way less maintenance over its lifespan. Acrylic in harsh conditions might need replacement every few years. Silicone can last decades with just periodic cleaning to remove soap scum or dirt.
Flexibility and Movement Capability: Understanding Joint Performance
Movement capability determines whether your caulked joint cracks when materials expand, contract, or shift. Every building moves with temperature changes, humidity, settling. The caulk needs to stretch and compress without breaking its seal.
Standard acrylic gives you ±7.5% movement capability. That means it handles only minor shifts before cracking. Premium siliconized acrylic bumps that to ±12.5%. Professional silicone delivers ±25% to ±50%. Here’s what those numbers actually mean: a 10mm joint filled with standard acrylic can only handle 0.75mm of movement before it fails. Premium acrylic manages 1.25mm. Silicone accommodates 2.5 to 5mm in that same joint. When you’re working with wood that expands and contracts with humidity, or exterior applications facing temperature swings, that gap between 0.75mm and 5mm is the difference between success and failure.
Shrinkage also impacts how joints perform long term. Acrylic typically shrinks 10% to 15% as water evaporates during curing. That can pull the caulk away from joint edges or create a dip in the bead. Silicone experiences minimal shrinkage because it cures through chemical reaction, not evaporation. It maintains its original profile and edge adhesion. That’s why silicone resists cracking during long term outdoor use. Acrylic’s poor elasticity means it becomes rigid once fully cured, making it vulnerable to cracking when materials move from temperature and humidity changes.
| Caulk Type | Movement Capability | Shrinkage Rate |
|---|---|---|
| Standard Acrylic | ±7.5% | 10% to 15% |
| Siliconized Acrylic | ±12.5% | 7% to 12% |
| Silicone | ±25% to ±50% | Minimal (under 5%) |
Cracking happens when joint movement exceeds what the caulk can handle. Temperature and humidity cause the most movement. Wood swells with moisture and shrinks when dry. Metal expands in heat and contracts in cold. Concrete slabs shift with seasonal ground temperature changes. Acrylic’s rigid structure can’t accommodate these shifts without developing stress cracks that break the seal and let water in. Silicone’s rubber-like flexibility lets it stretch and compress repeatedly over years without losing integrity.
Paintability and Finish Options for Each Caulk Type
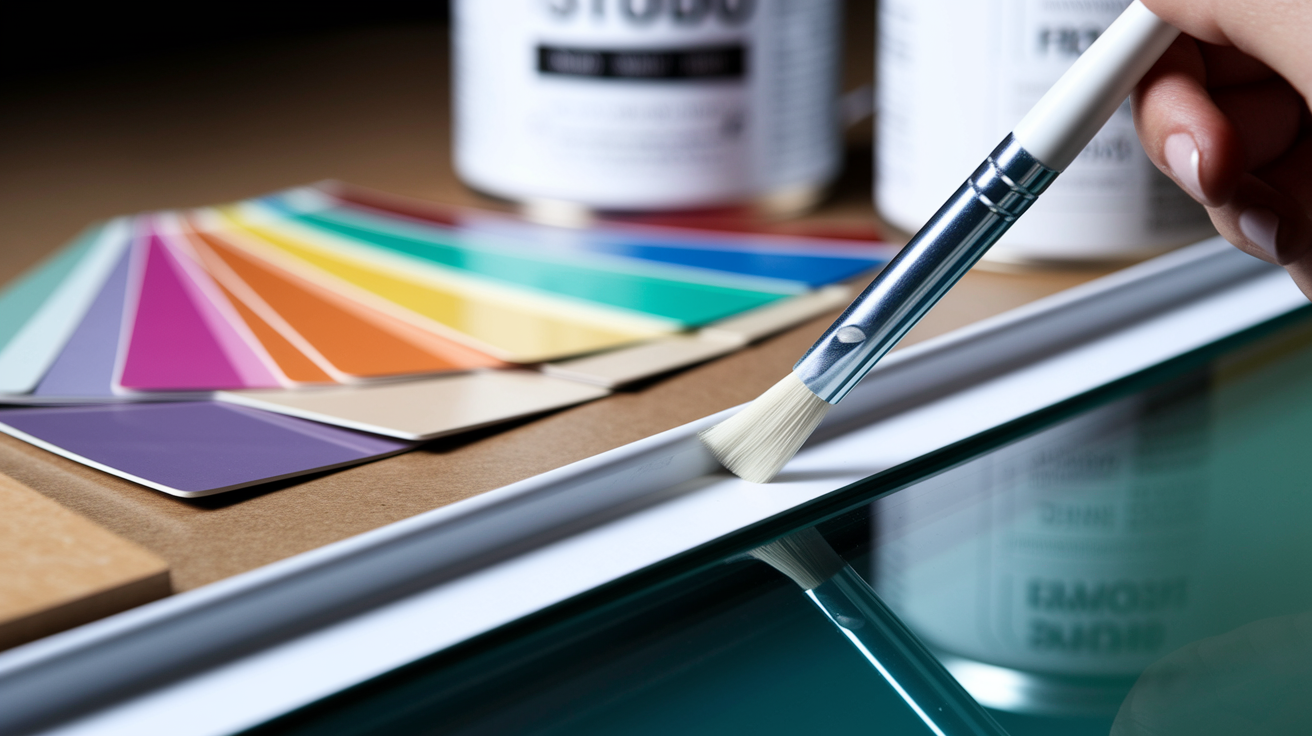
Paintability often decides which product you need before anything else matters. If you’re caulking trim, baseboards, or any surface requiring a seamless painted finish, you must use paintable caulk.
Acrylic accepts both latex and oil-based paints easily. Once it cures, paint bonds to it just like it bonds to drywall or wood, making the caulk line disappear. You can apply primer over acrylic if needed, then topcoat with any interior or exterior paint without adhesion problems. This makes acrylic the only choice for trim work, wainscoting, chair rail, crown molding, and anywhere else a painted finish is required.
Silicone can’t be painted successfully. This limitation is absolute. The molecular structure of cured silicone creates a non-stick surface that prevents paint from bonding. Primers and sanding provide only marginal temporary improvement. Paint applied over silicone peels off in sheets with minimal force, or flakes away gradually over weeks. You might read about special silicone primers claiming to make it paintable, but real world results show unreliable adhesion that fails under normal use, especially in moisture exposed or high traffic areas. The paint simply doesn’t stick.
Silicone comes in many colors as an alternative to painting. Common options include clear, white, almond, gray, bronze, and black. Some manufacturers offer dozens of color matches for specific applications. Clear silicone works well for glass, metal, and anywhere you want an invisible seal. Colored silicone provides a finished appearance without painting, but you must match the color to your materials at purchase because you can’t change it later.
When paintability should drive your product selection: any interior trim work, wall repairs that will be painted, gaps in drywall or plaster, and any location where the caulk line needs to blend invisibly into the surrounding painted surface. If the final appearance requires paint, silicone isn’t an option.
Comprehensive Application Guide: Where to Use Each Caulk Type

Application location determines the correct caulk choice based on moisture exposure, temperature extremes, UV exposure, and required flexibility. Rather than memorizing rules, use this location based guide to select the right product for each specific area.
Interior Dry Locations (Use Acrylic)
Acrylic works perfectly for crown molding, baseboards, door frames (interior side), window frames (interior side), chair rail, wainscoting, drywall cracks, and wall to ceiling joints. These spots share common traits: minimal moisture exposure, protection from weather, surfaces needing paint, and limited joint movement. Acrylic excels because paintability creates seamless finishes that make caulk lines invisible after painting. It provides good adhesion to wood, drywall, and plaster. You get adequate flexibility for the minimal movement that occurs in interior joints, and easy water cleanup before curing. It’s also cost effective for large interior trim projects where you might use multiple tubes.
Wet Areas and High Moisture Locations (Use Silicone)
Silicone is required for tub and shower enclosures, around sinks and faucets, kitchen backsplashes, tile installations in bathrooms, and any location with direct water contact or constant moisture exposure. These are the applications where acrylic fails quickly and silicone proves essential. Waterproof performance means the seal stays intact even with continuous water exposure during daily showers. Mold and mildew resistance prevents the black growth that appears along acrylic caulk in damp locations within months. You get 20 to 30 years of performance in wet environments compared to acrylic’s 6 to 18 month failure timeline. The higher initial cost becomes irrelevant when you avoid repeated replacement and potential water damage behind failed seals.
Exterior and Weather Exposed Areas (Use Silicone)
Exterior applications require silicone for exterior window perimeters, exterior door perimeters, outdoor siding gaps, facade panels, expansion joints, and roof penetrations. Direct weather exposure, temperature extremes, UV radiation, and seasonal expansion/contraction all demand silicone’s superior performance. UV resistance prevents the yellowing, cracking, and brittleness that destroy acrylic caulk outdoors. Temperature tolerance from -40°C to +60°C maintains flexibility and adhesion through summer heat and winter freezing. Weather durability delivers 25+ years of protection against water infiltration, drafts, and pest entry. Acrylic’s 3 to 7 year exterior lifespan makes it a poor value even at lower initial cost.
| Location Type | Recommended Caulk | Key Reason |
|---|---|---|
| Interior trim and molding | Acrylic | Paintable for seamless finish |
| Tub and shower enclosures | Silicone | Waterproof, mold-resistant |
| Kitchen and bathroom sinks | Silicone | Constant water exposure |
| Exterior windows and doors | Silicone | Weather and UV resistance |
| Drywall cracks and gaps | Acrylic | Paintable, good wood adhesion |
| Tile installations (wet areas) | Silicone | Waterproof, flexible |
| Baseboards and chair rail | Acrylic | Paintable, cost-effective |
| Outdoor siding and expansion joints | Silicone | High movement capability, weather durability |
Some situations need professional assessment before you start caulking. Widespread cracking that may indicate structural movement, historic buildings with specialized materials, commercial applications with building code requirements, and any location where failure could cause significant water damage or safety hazards. When damage is extensive or the cause is unclear, address the underlying problem before sealing anything.
Adhesion Properties: Surface Compatibility for Each Caulk
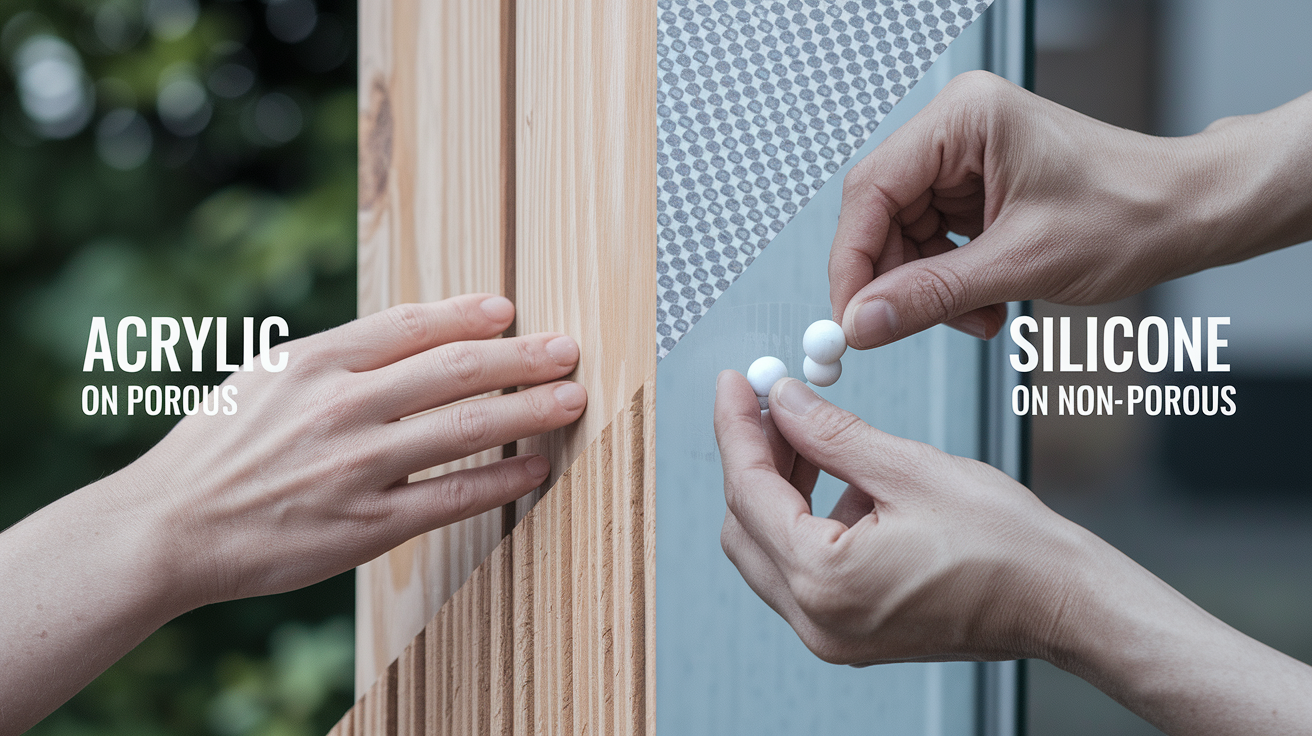
Which caulk sticks best depends entirely on whether your surface is porous or non-porous. Substrate material compatibility determines whether the caulk will stick at all, and whether that bond will last under stress.
Acrylic provides excellent adhesion to porous surfaces including wood (painted or bare), drywall, plaster, unglazed tile, and concrete. The water based formulation penetrates slightly into porous materials, creating both mechanical grip and chemical bond as it cures. Acrylic forms particularly strong bonds with wood substrates, making it ideal for trim work where wood to wood or wood to drywall joints need sealing. The cured acrylic has a slightly rough surface texture that allows subsequent coats of paint or primer to achieve good mechanical adhesion as well.
Silicone delivers superior performance on non-porous materials including glass, metal (aluminum, steel, brass), ceramic, glazed tile, plastic, and natural stone. The chemical cure process and rubber-like flexibility allow silicone to maintain adhesion even when these smooth, non-absorbent surfaces expand and contract with temperature changes. Silicone bonds especially well with glass for aquarium seals, shower doors, and window glazing. Metal bonding works for flashing, gutters, and HVAC ductwork. Ceramic and glazed tile applications include tub surrounds and kitchen backsplashes.
Acidic silicone sealants can corrode certain substrates including some metals, concrete, and marble, leaving stains or causing deterioration over time. This happens because acetic acid is released during the curing process, creating the vinegar smell you notice when applying these products. For sensitive materials, choose neutral cure silicone sealants that cure without releasing corrosive byproducts. Neutral cure formulations cost slightly more but prevent damage to marble countertops, brass fixtures, concrete, and other materials vulnerable to acid exposure.
| Surface Type | Recommended Caulk | Notes |
|---|---|---|
| Wood (painted or bare) | Acrylic | Excellent adhesion, paintable |
| Drywall and plaster | Acrylic | Penetrates porous surface |
| Glass | Silicone | Superior bond to smooth surface |
| Metal (aluminum, steel) | Silicone (neutral-cure) | Avoid acidic formulas |
| Ceramic and glazed tile | Silicone | Waterproof, flexible bond |
| Natural stone (marble, granite) | Silicone (neutral-cure, non-staining) | Must use non-staining formula |
Basic surface prep improves adhesion for both caulk types. Remove all old caulk completely using a utility knife or specialized removal tool. Clean surfaces with isopropyl alcohol or denatured alcohol to remove soap residue, oils, and dust. Let surfaces dry completely before application. Moisture under the caulk prevents proper adhesion. On particularly smooth surfaces, light sanding with 120 grit sandpaper can improve mechanical grip, though this is rarely necessary with proper surface cleaning.
Cost Comparison: Initial Price vs Long Term Value

Upfront material cost tells only part of the story. Long term value includes replacement frequency, labor costs for reapplication, and potential damage from product failure.
Material costs break down as follows:
- Standard acrylic caulk: $3 to $6 per 300ml cartridge
- Siliconized acrylic (premium): $5 to $8 per cartridge
- Standard silicone: $7 to $12 per cartridge
- Premium silicone (specialized formulas): $12 to $18 per cartridge
- Coverage cost per linear foot (6mm bead): acrylic $0.15 to $0.30, silicone $0.25 to $0.50
The bathroom example shows long term economics clearly. Sealing 100 linear feet of tub and shower enclosure costs about $30 in silicone material initially. Over 20 years, that’s your total cost since the silicone lasts the full period without replacement. Using acrylic instead costs $15 to $20 for the first application, but failure within 6 to 18 months means you need to recaulk. Over 20 years, you’ll recaulk that bathroom 4 to 6 times at minimum. Material costs reach $60 to $120, but the bigger expense is labor. DIY labor means spending multiple weekends scraping out failed caulk and reapplying. Hiring a professional runs $100 to $150 per recaulking visit. Total cost with acrylic: $460 to $700 over 20 years versus $130 total with silicone when you factor in one professional installation.
Acrylic’s lower cost makes financial sense for specific applications. Large interior trim projects where paintability is required, such as an entire house worth of baseboards and crown molding. The material cost savings add up when using 15 to 20 tubes across thousands of linear feet, and the protected interior environment allows acrylic to deliver its full 7 to 15 year lifespan. Budget conscious interior decoration projects benefit from acrylic’s combination of low cost, paintability, and adequate performance in dry locations. Temporary installations or rental properties where you expect shorter occupancy also justify acrylic’s lower upfront cost.
Hidden costs of wrong product selection include failure related expenses most people don’t anticipate. Failed caulk in a shower allows water infiltration behind the surround, leading to mold growth, rotted drywall or studs, and remediation costs from $2,000 to $8,000. Failed exterior caulk allows water and pest infiltration, causing wood rot, insulation damage, and energy losses. The contractor who saved $50 using acrylic in 20 apartment showers faced $8,000 in callbacks for mold remediation and recaulking within 18 months, turning the initial savings into a massive loss.
When to Choose Siliconized Acrylic: The Hybrid Middle Ground

Siliconized acrylic is acrylic base with silicone additives. It’s not true silicone. This hybrid provides middle ground performance between standard acrylic and full silicone, filling a specific niche for applications requiring more flexibility than standard acrylic while maintaining paint compatibility.
Siliconized acrylic delivers enhanced capabilities. ±12.5% movement capability improves on standard acrylic’s ±7.5% limit, providing better resistance to cracking in joints with moderate movement. Paintability is maintained because the acrylic base still accepts latex and oil based paints, though paint adhesion may be slightly reduced compared to standard acrylic. Improved flexibility and durability over standard acrylic extends lifespan in challenging interior applications. The product provides somewhat better moisture resistance though still not suitable for continuous water exposure.
Ideal applications for siliconized acrylic include interior trim in high traffic areas where doors opening and closing cause vibration and slight movement. Doors and windows (interior side) where seasonal expansion and contraction exceed standard acrylic’s limits but exterior grade silicone is unnecessary. Areas needing paint compatibility but slightly more flexibility than standard acrylic provides, such as connections between different building materials. Painted wood trim in rooms with higher humidity like laundry rooms or mudrooms where some moisture exposure occurs but not continuous water contact.
Siliconized acrylic has clear limitations despite its enhanced performance. It’s not suitable for continuous water exposure such as tub surrounds, shower enclosures, or sink edges where true silicone is required. Joints exceeding 15mm expected movement need full silicone’s ±25% to ±50% capability. Exterior applications receive minimal benefit from the silicone additives and still suffer shortened lifespan compared to true silicone. The hybrid costs more than standard acrylic but provides less performance than true silicone, making it a niche product for specific middle ground applications.
Surface Preparation and Application Tips for Successful Caulking

Proper surface prep prevents most caulking failures regardless of which product you use. Both acrylic and silicone require clean, dry, dust free surfaces with old caulk fully removed for reliable adhesion.
Follow these steps for proper application:
Clean and prep the surface. Remove all old caulk using a utility knife or specialized caulk removal tool, getting into corners completely. Clean with isopropyl alcohol or denatured alcohol to remove soap scum, oils, and dust. Allow surfaces to dry thoroughly, waiting at least 24 hours after cleaning if moisture is present.
Cut nozzle at 45 degree angle. Cut the cartridge nozzle at the desired bead size, starting small since you can always cut more off. A 45 degree angle allows smooth application at the proper angle. Pierce the inner seal completely with a long nail or wire.
Apply steady pressure at consistent angle. Hold the caulk gun at 45 degrees to the joint, pushing the bead ahead of the nozzle rather than pulling it. Maintain consistent pressure and speed to create an even bead width. For corners, rotate the gun to keep the nozzle angle consistent through direction changes.
Tool immediately. Acrylic must be tooled within 5 to 10 minutes before skinning. Silicone provides 10 to 20 minutes. Use a wet finger, caulk tool, or plastic spoon to smooth the bead and press it into the joint. One smooth pass works better than multiple attempts.
Remove masking tape while still wet. Pull tape away at a 45 degree angle immediately after tooling to prevent edge tearing. Waiting until the caulk skins over causes the tape to tear the caulk edge, creating rough lines.
Allow proper cure time. Acrylic skins in 15 to 30 minutes, becomes paint ready in 2 to 4 hours, reaches full cure in 24 to 48 hours, and achieves complete hardening in 7 days. Silicone skins in 5 to 20 minutes, allows light use in 12 to 24 hours, provides full waterproofing in 24 to 48 hours, and completes cure in 7 to 14 days.
Common mistakes to avoid include applying to damp surfaces, which prevents adhesion and traps moisture under the caulk causing mold and failure. Overfilling joints wastes material and creates bulging beads that crack as the caulk shrinks during curing. Not tooling within the working time window means the surface skins over before you can smooth it, leaving rough texture and poor joint filling. Painting silicone never works despite what you might hope. Using acrylic in wet areas leads to failure within months. Inadequate old caulk removal leaves loose material that prevents the new caulk from bonding to the actual substrate.
Optimal application temperature ranges from 40°F to 80°F (4°C to 27°C) for most caulks. Cold temperatures slow curing and hot temperatures accelerate skinning, reducing working time. Install backer rod in deep joints (over 1/2 inch) to control depth and prevent three sided adhesion that causes stress tearing. Cut the nozzle smaller than you think you need. Excess material is easier to deal with than an oversized bead.
Consider hiring a professional for complex applications like large commercial projects, historic restoration requiring specialized materials, situations where failure could cause extensive water damage such as second floor bathrooms above finished spaces, and any application involving structural sealing or building envelope integrity where mistakes create liability.
Decision Framework: Choosing the Right Caulk for Your Project
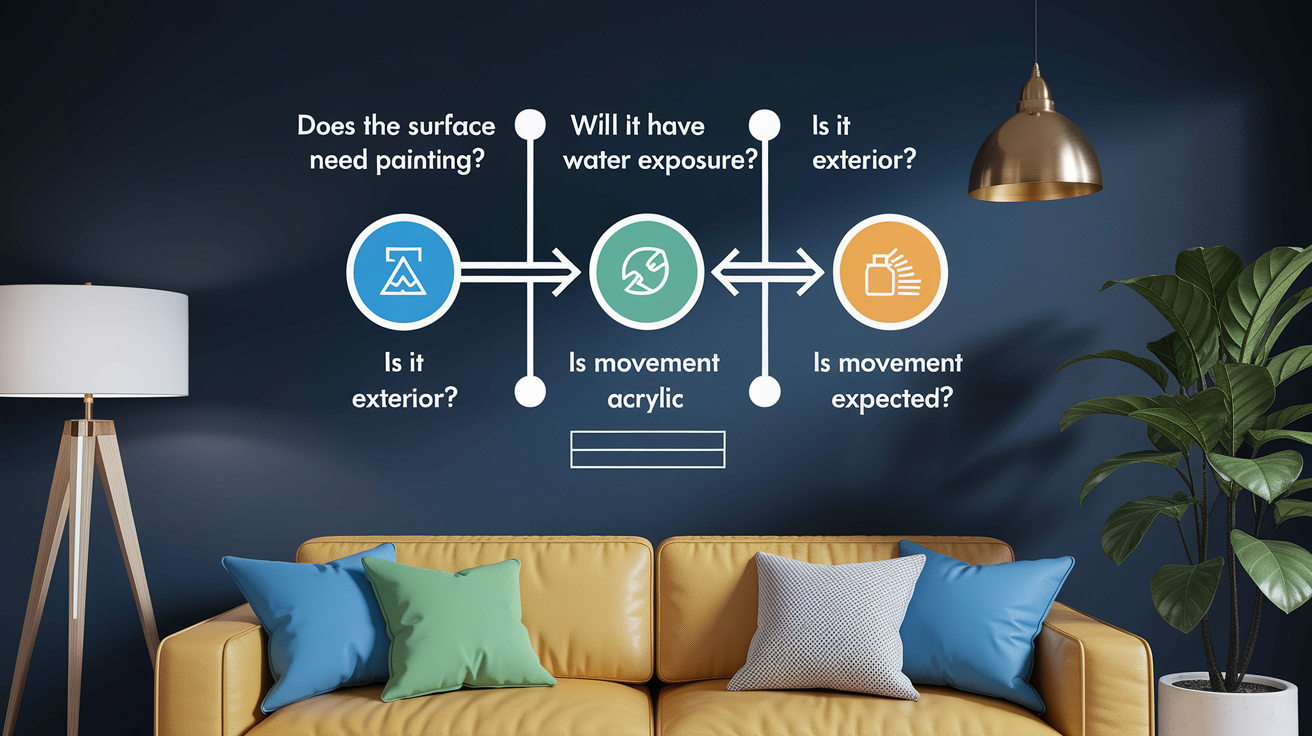
Project requirements guide product selection more reliably than product marketing claims. Ask these specific questions before purchasing caulk to ensure you select the right type for your application.
Does the surface need painting? If yes, silicone is eliminated. Choose acrylic or siliconized acrylic.
Will it have constant water exposure? Tubs, showers, sinks, and other wet locations require silicone. Acrylic will fail.
Is it exterior or weather exposed? Direct weather exposure, UV radiation, and temperature extremes demand silicone for longevity.
Is movement expected to exceed 12mm? High movement joints like expansion joints need silicone’s ±25% to ±50% capability.
Is it a porous or non-porous surface? Porous materials (wood, drywall) favor acrylic. Non-porous materials (glass, metal, ceramic) favor silicone.
What’s the expected project lifespan? Short term or temporary applications can use acrylic. Long term installations justify silicone’s higher cost.
What’s the budget for initial cost versus long term value? Consider replacement frequency and labor costs, not just material price.
Use these answers to guide your selection. If painting is required and the location is interior and dry, choose standard acrylic for its combination of paintability, adequate performance, and low cost. If water exposure, exterior location, or high movement applies, choose silicone despite the higher initial cost because failure costs far exceed the material savings. If moderate movement occurs and painting is needed, siliconized acrylic bridges the gap between standard acrylic’s limitations and silicone’s paint incompatibility.
Material compatibility considerations include matching the caulk to your substrate type based on adhesion properties covered earlier. Check manufacturer recommendations on the cartridge label or technical data sheet for specific compatibility with your materials, especially with natural stone, certain metals, or specialty surfaces. Some applications have temperature requirements during application or curing that may restrict your options in cold or hot weather.
Building code requirements apply to specific applications including fire rated assemblies requiring fire stop caulk, commercial buildings with air barrier requirements demanding specific sealant properties, and food service areas requiring FDA approved materials. Warranty considerations matter when caulking affects other warranties, such as window manufacturer warranties that may specify approved sealants for perimeter sealing. Using non approved products can void expensive warranties.
Final Words
Silicone and acrylic caulk handle different jobs because they’re built differently from the ground up.
Acrylic works great for painted interior trim and dry locations where you need a clean, invisible finish. Silicone belongs in wet areas, on exterior surfaces, and anywhere movement and weather matter more than paintability.
Once you know the difference between silicone and acrylic caulk, picking the right one gets pretty straightforward. Match the product to the moisture level, the surface type, and how long you want it to last.
Use that and you’ll get a repair that actually holds up.
FAQ
When should you use silicone versus acrylic caulk?
You should use silicone caulk for wet areas like tubs, showers, sinks, and exterior applications where waterproof performance and weather resistance matter. Use acrylic caulk for interior dry locations like trim, baseboards, crown molding, and anywhere you need a paintable finish.
When should you avoid using silicone caulk?
You should not use silicone caulk when you need to paint the surface, since paint won’t stick to silicone’s non-stick molecular surface. Also avoid silicone on porous surfaces like raw wood or drywall where acrylic provides better adhesion and easier finishing.
What type of caulk do professional contractors typically use?
Professional contractors use silicone caulk for bathrooms, kitchens, and exterior applications where waterproof durability matters, and acrylic caulk for interior trim work and painted surfaces. They match the caulk type to the environmental conditions and performance requirements of each specific location.
Does acrylic caulk maintain flexibility after it cures?
Acrylic caulk stays somewhat flexible but offers limited movement capability at only plus or minus 7.5 percent, compared to silicone’s 25 to 50 percent. This means acrylic may crack in joints with significant expansion and contraction from temperature changes.
How long does acrylic caulk last compared to silicone?
Acrylic caulk lasts 7 to 15 years in protected interior locations but only 3 to 7 years in moisture-exposed or exterior applications. Silicone caulk lasts 20 to 30 years in wet areas and 25 years or more in exterior locations.
Can you paint over silicone caulk successfully?
You cannot paint over silicone caulk successfully because paint won’t adhere to its hydrophobic molecular surface. Primers and sanding provide only marginal temporary improvement, so choose pre-colored silicone or use paintable acrylic for surfaces requiring paint.
What is the main difference between water-resistant and waterproof caulk?
Water-resistant acrylic caulk handles occasional moisture but fails under continuous water exposure, while waterproof silicone caulk is truly hydrophobic and withstands continuous immersion. This difference is why acrylic shower installations often fail within 6 to 18 months.
How much movement can each caulk type handle?
Standard acrylic caulk handles plus or minus 7.5 percent movement, premium siliconized acrylic handles 12.5 percent, and professional-grade silicone handles 25 to 50 percent. In a 10mm joint, acrylic accommodates only 0.75mm movement while silicone handles 2.5 to 5mm.
Which caulk works better on non-porous surfaces like glass and metal?
Silicone caulk works better on non-porous surfaces like glass, metal, ceramic, and glazed tile because it bonds strongly without needing surface porosity. Acrylic caulk performs better on porous materials like wood, drywall, plaster, and unglazed surfaces.
Is silicone caulk worth the higher upfront cost?
Silicone caulk is worth the higher upfront cost for wet areas and exterior applications because it lasts 20 to 30 years versus acrylic’s 3 to 7 years in those conditions. A 100 linear foot bathroom project costs $130 with silicone over 20 years versus $460 to $700 with multiple acrylic replacements.
What is siliconized acrylic caulk and when should you use it?
Siliconized acrylic caulk is acrylic with silicone additives that provides middle-ground performance with 12.5 percent movement capability while remaining paintable. Use it for interior trim in high-traffic areas or doors with moderate movement where you need better flexibility than standard acrylic but still want paint compatibility.
How quickly must you tool each caulk type after application?
You must tool acrylic caulk within 5 to 10 minutes before it skins over, while silicone provides 10 to 20 minutes of working time. Both require removing masking tape immediately after tooling while still wet to prevent edge tearing.