
Ever squeezed the trigger on your caulk gun and watched caulk ooze from the cartridge seam instead of the tip? It’s messy, wasteful, and stops your project cold. Most side leaks happen because of how the cartridge’s loaded or how hard you’re pumping that trigger, not because you bought a dud tube. The good news: you can fix most leaks in under five minutes by releasing pressure, re-seating the cartridge properly, and adjusting your technique so it doesn’t happen again.
Step-by-Step Fixes for Caulking Gun Side Leaks
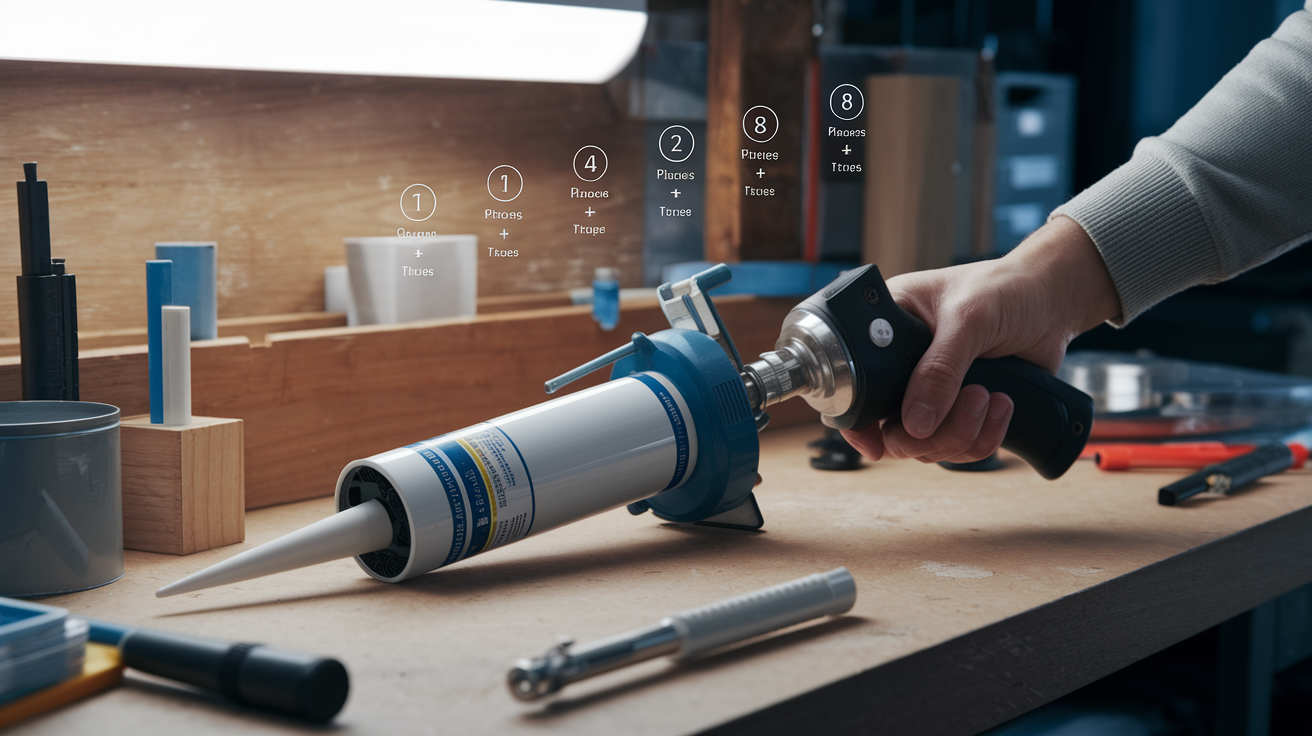
When caulk starts oozing from the cartridge body instead of the nozzle, you need a calm, step by step fix. Most side leaks can be stopped in under five minutes if you work through the problem methodically. The goal is to release pressure, find where it’s leaking, and either re-seat the cartridge properly or toss it if it’s too damaged.
-
Press the thumb release immediately. Push the release tab or lever (usually above the handle) and pull the plunger rod back about 2 inches to stop all forward pressure. This ends active leaking within seconds.
-
Remove the cartridge from the gun. Pull it straight out of the cradle without twisting. Keep it upright and set it on a flat surface where any remaining drips won’t make a mess.
-
Wipe down the cartridge sides. Use a damp rag to clean off leaked caulk so you can actually see the tube surface. Look for wet spots that show where the leak started.
-
Inspect the cartridge seams. Check the crimped metal base where the tube connects to the bottom cap. Look along the side seam that runs the length of the tube. Check for hairline cracks, split seams, or tiny puncture holes. If you see a crack wider than a hair or multiple holes, the cartridge’s done.
-
Clean the gun cradle and barrel. Dried caulk buildup in the gun frame stops the cartridge from seating properly. Use a putty knife or old rag to scrape out any hardened material from the U shaped cradle where the tube sits. Check the barrel opening for buildup too.
-
Re-install the cartridge with firm pressure. Align the tube base squarely with the plunger rod. Push the cartridge body down into the cradle until it sits flush and secure. The tube shouldn’t wobble or sit crooked.
-
Test with light trigger pressure. Give the trigger one gentle squeeze. Watch the cartridge sides as you apply pressure. If caulk oozes from the seam again, the cartridge has failed and you’ll need to replace it.
-
Replace if the leak continues. If re-seating doesn’t fix it, the cartridge has a crack or seam failure you can’t repair. Grab a new tube. If the leak was from an installation gap and re-seating fixed it, you’re good to keep going with your project.
Common Causes of Cartridge Side Leakage

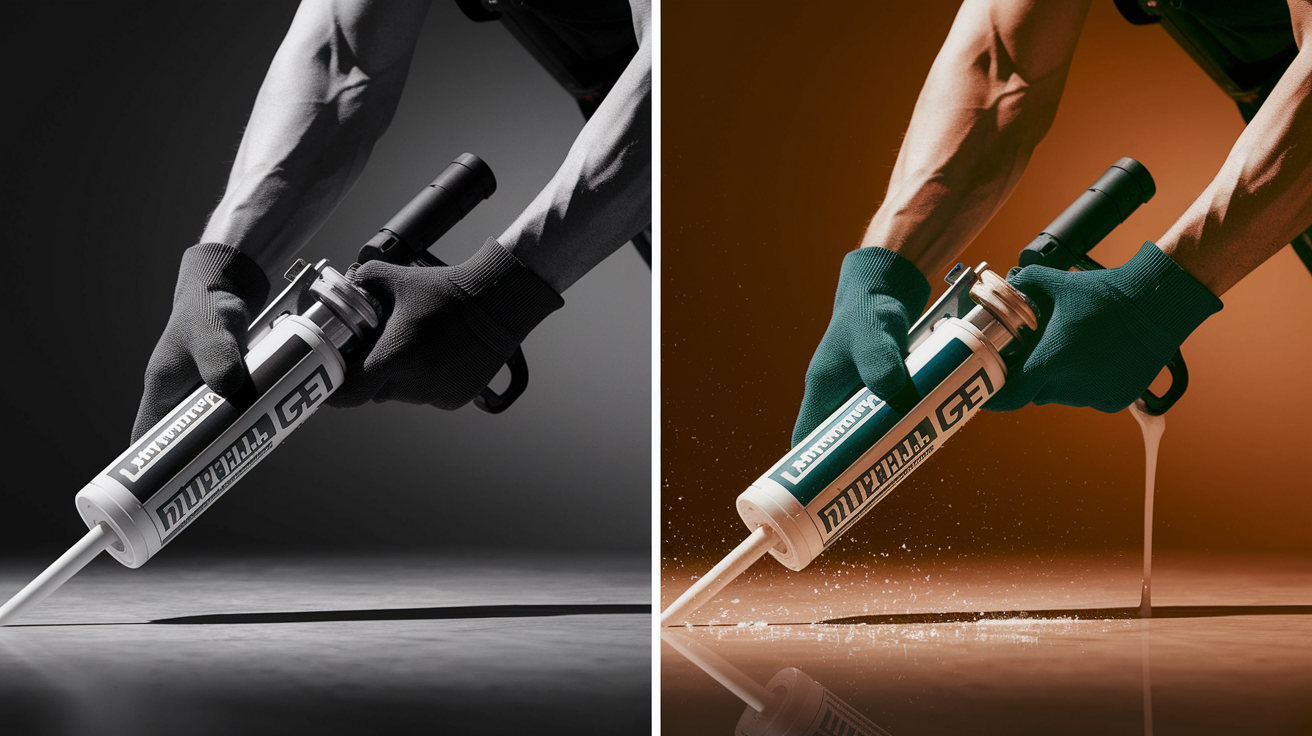
Side leakage means caulk’s escaping from somewhere on the cartridge body (the seams, base, or sidewalls) instead of flowing through the nozzle where it belongs. This wastes material, creates mess on your hands and work surface, and usually means the bead you’re laying won’t be consistent.
Three problems cause most side leaks. Damaged or cracked cartridge seams fail under pressure. Manufacturing defects sometimes create weak spots in the crimped seam that runs along the tube length, or in the base seam where the metal bottom cap connects to the plastic or foil tube body. Rough handling during shipping or storage can crack these seams before you ever load the cartridge.
Improper cartridge loading creates gaps between the tube and the gun’s cradle support. If the cartridge doesn’t sit flat and secure in the U shaped cradle, pressure finds escape routes around the edges instead of pushing material forward through the nozzle.
Punctured tube walls happen when the metal puncture pin (the spike built into the gun that breaks the inner foil seal) gets driven too deep or at an angle, tearing through the tube sidewall instead of just puncturing the base seal.
Check the seam that runs the length of the tube for splits, cracks, or separation from end to end. Inspect the crimped base where the metal cap connects to the tube body for gaps or cracks around the entire thing. Look for small puncture holes on the tube sidewalls near the base, especially if you pushed the puncture pin in aggressively. Confirm the cartridge is sitting flat and fully seated in the gun’s cradle, not tilted or riding up on one side. Verify the plunger rod is centered and making square contact with the base, not pushing at an angle. Test whether the cartridge size matches the gun frame by checking if there’s too much play or loose fit.
Cartridge to gun size compatibility matters more than most people realize. A 10 ounce cartridge in a gun designed for 10.3 ounce tubes might sit loose and not make full contact with the cradle support. Most cartridge packaging lists compatible gun sizes or tube dimensions. Before you load a cartridge, hold it next to the gun cradle and visually confirm the tube diameter matches the cradle width. If the cartridge rattles around in the frame, it won’t seat securely and pressure will leak around gaps.
How User Technique Creates Cartridge Leaks
How you handle the caulking gun and load the cartridge directly affects whether side leaks happen. These are preventable mistakes you can fix by adjusting your technique.
Aggressive trigger pumping creates pressure spikes that exceed what cartridge seams can handle. When you squeeze the trigger hard and fast, especially with thick materials like polyurethane sealant or adhesive caulks, you’re ramming the plunger forward with more force than necessary. That pressure wave hits the material inside the tube and has to go somewhere. Weak seams give out first.
Over-ramming means continuing to pump the trigger after material stops flowing smoothly, usually because you’re trying to force out the last bit of caulk or push through a partial blockage. This creates sustained high pressure against an already stressed cartridge.
Proper trigger technique uses steady, controlled strokes at a consistent rhythm. Squeeze smoothly, release fully, then squeeze again. Think of it like a bicycle pump, not a jackhammer. Hold the gun with a relaxed grip using just enough pressure to keep control. Death gripping the handle makes it harder to feel when resistance increases and leads to over-pumping without realizing it.
The metal puncture pin built into most caulking guns exists to break the foil seal at the cartridge base so material can flow to the nozzle. Common mistakes happen here. Driving the pin too deep pushes it through the base seal and into the tube sidewall, creating a puncture hole that leaks under pressure. Angling the pin sideways as you push it in tears the tube wall in a slash instead of making a clean puncture. Using too much force cracks the base seam where the metal cap crimps to the tube body, creating a leak path around the entire base.
Correct puncture technique starts with positioning the loaded cartridge squarely in the gun so the puncture pin aligns straight with the center of the base seal. Push the pin through the foil with firm but controlled pressure. You’ll feel resistance, then a pop or give as the pin breaks through. Stop immediately once resistance is gone. The pin only needs to puncture the foil seal, not drive deep into the cartridge.
Preventing Cartridge Leaks in Your Caulk Gun
Stopping leaks before they start saves material, time, and the frustration of stopping mid-project to troubleshoot. Prevention costs less than constantly replacing cartridges or cleaning up messes.
Cartridge selection and storage set you up for success or failure before you ever load the gun. Buy quality brands that use thicker tube walls and stronger seam construction. Generic or bargain tubes often use thinner materials that fail under normal pressure. Check the expiration date printed on the cartridge base. Caulk and sealant degrade over time, and old material can separate or harden inside the tube, creating pressure problems that stress seams.
Store cartridges at room temperature, not in a hot garage where summer heat causes tube expansion and material thinning, or in a freezing shed where cold makes plastic brittle. Before you buy, inspect the cartridge through the packaging if possible. Look for dents, cracks, or seam damage from rough handling.
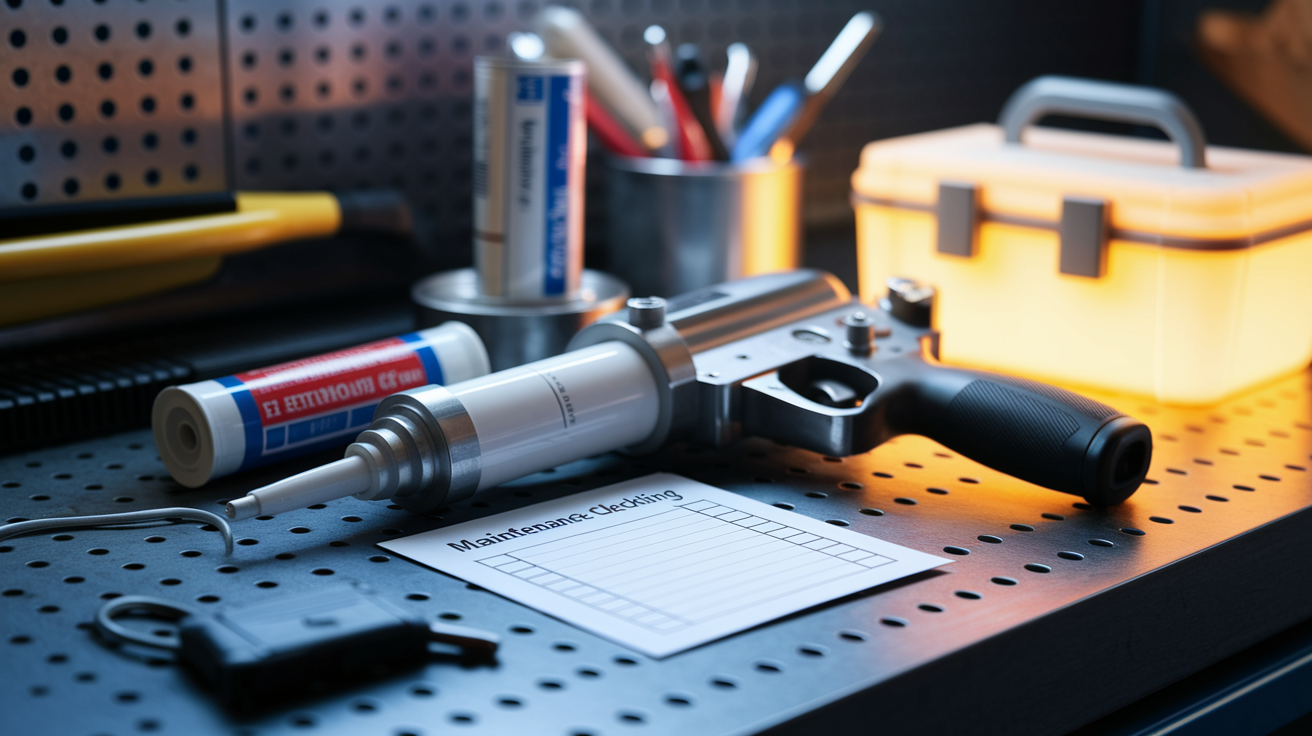
Gun maintenance prevents installation problems that cause leaks. Clean the gun cradle and barrel after each use before caulk hardens into crusty buildup. Dried material in the cradle prevents proper cartridge seating and creates gaps where pressure escapes. A damp rag or putty knife removes fresh caulk easily. Once it hardens, you’ll need to scrape and possibly soak the gun front end in warm soapy water.
Check for bent plunger rods by sighting down the rod length. A bent rod applies uneven pressure and can push the cartridge sideways in the cradle. Inspect the frame for cracks, especially if you’ve dropped the gun. Store the gun upright or hanging from a pegboard hook so leftover material doesn’t drip back into the trigger mechanism.
| Prevention Factor | How It Stops Leaks |
|---|---|
| Quality cartridges with expiration check | Thicker tube walls and stronger seams resist pressure spikes, fresh material flows consistently without separation |
| Room temperature storage | Prevents tube expansion from heat and brittleness from cold that create weak points in seams and sidewalls |
| Clean gun cradle after each use | Removes dried buildup that prevents flush cartridge seating and creates installation gaps that leak under pressure |
| Straight plunger rod alignment | Ensures even pressure distribution across cartridge base instead of concentrated force that can crack seams |
| Controlled trigger pressure | Steady consistent strokes avoid pressure spikes that exceed seam strength limits |
Follow the manufacturer’s cartridge loading instructions printed on the gun frame or included in the packaging. These tell you proper puncture depth, barrel alignment steps, and how far to insert the cartridge. Maintain steady controlled pressure during application instead of aggressive pumping. If material stops flowing smoothly, release pressure and check for nozzle clogs rather than ramming harder.
When to Replace the Cartridge or Caulking Gun

Some damage can’t be repaired. Knowing when to replace parts or the entire tool prevents wasted effort on lost causes and keeps your project moving.
Cartridge replacement becomes necessary when you see visible cracks in the seam that can’t be sealed or contained. A hairline crack might hold for a few pumps, but it’ll grow under continued pressure. Multiple puncture holes, even small ones, mean the tube has failed in several places and will keep leaking. Swollen or deformed tubes indicate the material inside has expanded due to heat or chemical reaction, stretching the tube walls thin and creating weak points. If re-seating the cartridge in the gun doesn’t stop the leak after two attempts, the tube has internal damage you can’t see or fix.
Gun replacement indicators include bent plunger rods that won’t straighten. You can try gentle hand pressure against a flat surface to straighten minor bends, but don’t force it. If the bend is severe or the rod won’t stay straight after you straighten it, the metal’s been stressed beyond recovery.
Cracked frames typically happen at the cradle or around the thumb release mechanism. These can’t be welded or glued reliably because the gun needs to handle repeated pressure cycles. Worn trigger mechanisms that feel loose, skip, or require excessive force to engage signal internal wear. Weak springs that don’t provide adequate tension to hold the plunger rod in place mean the gun’s near end of life. Missing or broken retention clips that secure the cartridge in the cradle leave the tube loose and prone to installation leaks.
When you need to replace a gun, consider upgrades that reduce leak risk. Drip free models include automatic pressure release mechanisms that back off the plunger when you release the trigger, reducing residual pressure that can cause leaks. Battery powered options with motor reversal eliminate manual thumb release errors and provide more consistent pressure than hand pumping. Professional grade tools use reinforced frames, better cartridge retention systems with secure locking mechanisms, and precision machined components that maintain alignment under heavy use.
Caulk Gun Types and Their Side-Leak Resistance

Gun design affects how likely you are to experience side leaks through the way each type controls and releases pressure against the cartridge.
Manual Ratchet and Smooth Rod Guns
Traditional manual designs rely on you pressing the thumb release to stop forward pressure when you finish a bead. Ratchet guns use a notched rod and pawl mechanism that advances in distinct clicks. Each click is a small pressure spike as the pawl engages the next notch. If you pump aggressively, these spikes stack up and stress cartridge seams.
Smooth rod guns allow more controlled pressure since there’s no notched engagement, but they still depend on proper user technique. Both types have higher potential for user error induced leaks from over-pumping because there’s no automatic pressure relief. The gun only stops pushing when you remember to hit the release. If the thumb release mechanism is sticky or you forget to press it, pressure stays on the cartridge even after you stop squeezing the trigger.
Battery-Powered Cordless Caulk Guns
Electric cordless guns automatically reverse the motor when you release the trigger. This pulls the plunger back slightly, immediately relieving pressure on the cartridge. There’s no reliance on manual thumb release or user memory. Consistent pressure delivery from the motor reduces cartridge stress compared to the variable force of hand pumping. Built in anti-drip features are standard because the motor can control pressure more precisely than manual force. Even pressure distribution from motor drive minimizes seam failure risk since there are no erratic pumping spikes. The trade off is cost and weight.
Pneumatic Caulking Applicators
Air powered guns used in commercial and industrial settings exhaust the air cylinder when you release the trigger valve. This creates instant pressure release similar to battery powered models. Professional grade cartridge retention mechanisms typically include metal cradles with locking clips that hold tubes more securely than basic manual gun frames. Precise pressure control through regulated air supply lets you dial in exactly the force needed for different materials. Reduced side leak occurrence in commercial settings reflects both better gun design and the fact that professional users typically work with higher quality cartridges.
Better gun designs help reduce leaks through improved pressure control and cartridge retention. But cartridge quality and proper user technique matter more than gun type for preventing side leakage in most DIY situations. A cheap damaged cartridge will leak in even the best gun if you over-pump it.
Material Viscosity and Cartridge Compatibility Issues

The type of caulk or sealant you’re using affects side leak risk through physical properties that change how pressure builds inside the cartridge.
Viscosity differences create varying levels of cartridge stress. Thin acrylic latex caulk flows easily with minimal resistance, so even gentle trigger pressure moves material smoothly through the tube. This low resistance flow places less stress on seams and sidewalls. Medium viscosity silicone caulk balances flowability and body. It requires moderate pressure to dispense and creates moderate stress on the cartridge structure. Most cartridges handle this without problems.
Thick polyurethane sealant and construction adhesives resist flow and require sustained high pressure to push through the nozzle. This high pressure transmits force directly to every weak point in the cartridge. Old seams, thin sidewall sections, or manufacturing defects give out first. Compressibility affects how pressure transmits through the material to the cartridge walls. Less compressible materials like thick polyurethane transmit pressure more directly to seams because the material itself doesn’t absorb much of the force. More compressible materials like some latex formulas cushion pressure spikes slightly.
Thick polyurethane and construction adhesive create the highest cartridge stress and leak risk due to high viscosity and sustained pressure requirements. Silicone caulk’s medium viscosity rarely causes pressure related leaks unless the cartridge has pre-existing damage. Thin acrylic latex flows easily and places minimal stress on cartridge seams under normal use. Some sealant formulas cause slight tube swelling as chemical components interact with plastic tube materials, creating weak points that can leak.
Matching cartridge quality to material type reduces leak risk. If you’re using thick polyurethane, buy professional grade cartridges with reinforced seams and thicker tube walls. Basic economy tubes work fine for thin latex, but they’ll fail under the pressure needed for thicker materials. Check for tube compatibility markings on the sealant packaging. Some manufacturers note “use with rigid cartridges” or “not compatible with standard tubes.”
Premium sealants sometimes come in their own proprietary cartridges designed specifically to handle that formula’s viscosity and chemical properties. Material induced cartridge swelling happens with certain solvent based sealants or multi component adhesives. The tube literally expands slightly as chemicals interact with the plastic, stretching the material thin and weakening seams. This shows up as a bulging tube shape after the cartridge’s been sitting in the gun for a while.
Safety Precautions When Dealing With Leaking Caulk
Handling a leaking cartridge safely prevents skin irritation, chemical exposure, and unnecessary mess beyond what the leak already created.
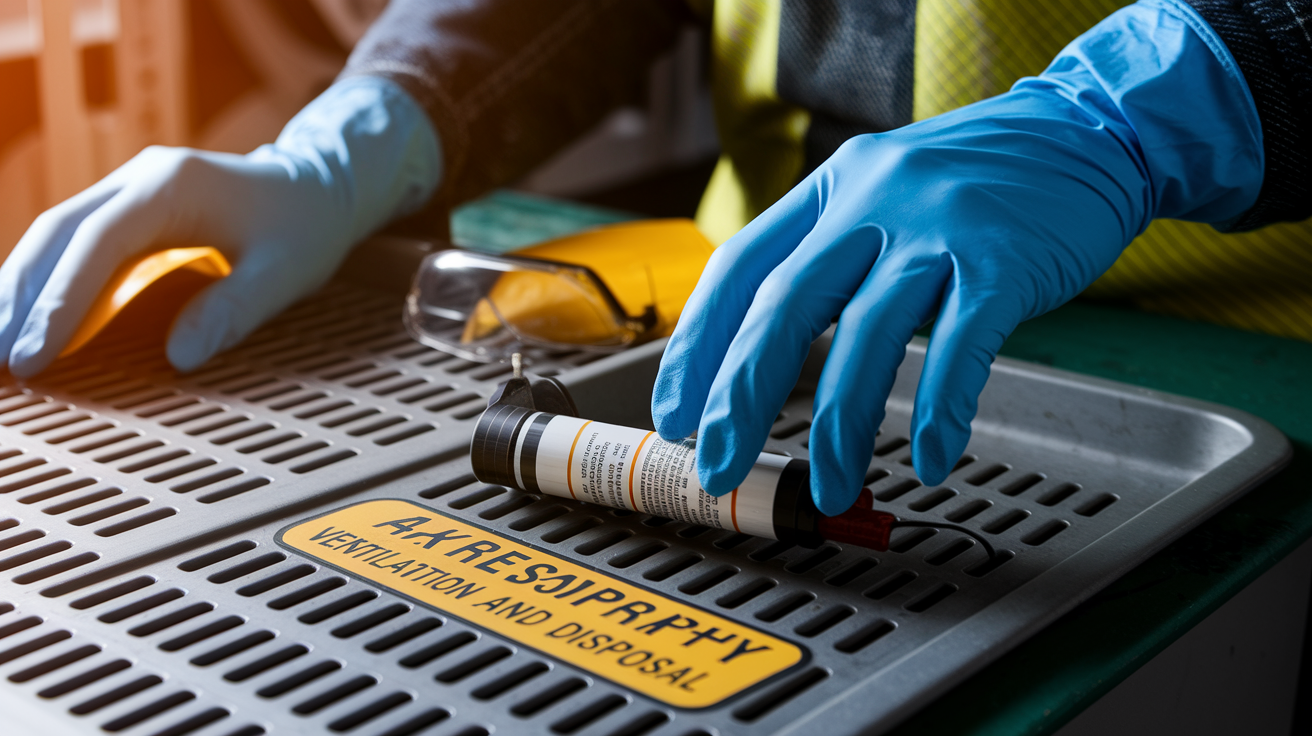
Wear nitrile gloves when troubleshooting leaks, especially before you know what type of sealant is oozing out. Latex gloves dissolve when exposed to some solvent based caulks. Keep safety glasses on if you’re releasing pressure on a loaded gun because occasionally a damaged cartridge will split and spray material when pressure releases. Immediate action when you notice a leak prevents prolonged skin contact with uncured sealants, which can cause irritation or allergic reactions in some people.
Different materials present specific hazards. Silicone caulk causes skin irritation in some users and sticks stubbornly to skin until it cures. If you get silicone on your hands, wipe it off immediately with a dry rag before it starts setting. Polyurethane sealant expands as it cures and bonds aggressively to skin. Moisture (including sweat) speeds up curing, so don’t try to wash it off with water. Use a solvent or let it cure then peel it off.
Proper ventilation matters for all types. Work in an area with airflow or open windows, especially with silicone (which releases acetic acid as it cures) and polyurethane (which off-gasses isocyanates). Material specific solvent selection for cleanup depends on what leaked. Mineral spirits or paint thinner work for most oil based and polyurethane sealants. Rubbing alcohol handles uncured silicone. Warm soapy water cleans latex and acrylic formulas.
Dispose of damaged cartridges by letting any remaining caulk cure fully, then throwing the empty cartridge in regular trash. Don’t pour liquid sealant down drains. During leak troubleshooting, keep paper towels or a rag ready to catch drips and prevent caulk contact with unintended surfaces. If you get sealant on your work surface, wipe it immediately before it skins over. For skin cleanup, use the appropriate solvent on a rag and wipe thoroughly, then wash with soap and water. Don’t use harsh solvents like acetone directly on skin.
Final Words
When caulk comes out the side of your caulk gun, you’re usually dealing with a damaged cartridge, improper loading, or too much trigger pressure.
Most leaks can be fixed in under 5 minutes by releasing pressure, reseating the tube, or swapping in a fresh cartridge.
Prevention is simple. Inspect cartridges before loading. Use steady, controlled pressure. Keep your gun clean.
Match your cartridge quality to the material you’re using, and you’ll rarely deal with messy side leaks again.
FAQ
Why does caulk keep coming out of my gun?
Caulk keeps coming out of your gun when pressure isn’t released after you stop the trigger, the cartridge has a damaged seam or crack, or the tube isn’t seated properly in the gun’s cradle. Most manual guns need you to hit the thumb release right after each stroke to stop the plunger from pushing more material out.
Is it okay to smooth caulk with fingers?
Smoothing caulk with fingers is okay if you’re using water-based acrylic latex caulk and wet your finger first, but skip this with silicone or polyurethane sealants that can irritate skin. Wash your hands immediately after and consider wearing a nitrile glove for better control and skin protection.
How do I stop fire sealant from oozing out?
Stop fire sealant from oozing by releasing pressure immediately after each trigger stroke, since fire-rated sealants are thick and stay under pressure longer than regular caulk. Check that the cartridge seam isn’t cracked from the extra force needed to push heavy-duty materials, and clean any dried buildup from the gun cradle that prevents proper seating.
What are common caulk gun problems?
Common caulk gun problems include side leaks from cracked cartridge seams, trigger mechanisms that don’t release pressure properly, bent plunger rods that create uneven force, and dried caulk buildup in the cradle that prevents secure cartridge installation. Weak springs and missing retention clips also let cartridges shift during use and develop leaks.
Can I reuse a caulk cartridge that leaked from the side?
You can reuse a caulk cartridge that leaked from the side only if the leak was caused by improper seating and re-installing it properly stops the leak completely. If the cartridge has visible cracks, puncture holes, or swollen areas, replace it since those defects will keep leaking no matter how you install it.
What causes cartridge seams to crack during use?
Cartridge seams crack during use from excessive trigger pressure, especially with thick materials like polyurethane that need more force to push through the nozzle. Manufacturing defects, rough handling during shipping, or using expired cartridges with brittle plastic also weaken seams until they split under normal application pressure.
How do I know if my caulk gun frame is damaged?
Your caulk gun frame is damaged if you see visible cracks in the cradle or barrel, the plunger rod sits crooked instead of straight, or cartridges wobble and won’t seat flush against the support. Bent frames create installation gaps that let caulk escape from the side no matter how carefully you load the tube.
Does gun type affect how often cartridges leak?
Gun type affects leak frequency because battery-powered and pneumatic guns control pressure more consistently than manual guns, reducing stress on cartridge seams. Manual guns rely on your technique and thumb release timing, which creates more opportunity for pressure spikes that rupture weak spots in the tube.
What’s the difference between side leaking and nozzle dripping?
Side leaking means caulk oozes from cracks or gaps in the cartridge body between the base and tip, while nozzle dripping is material slowly flowing from the cut tip after you stop the trigger. Side leaks waste material and make a mess on the gun, while nozzle drips are normal with most manual guns unless you have a drip-free model.
Should I clean my caulk gun after every use?
Clean your caulk gun after every use by wiping dried caulk from the cradle and barrel before it hardens completely, since buildup prevents the next cartridge from seating flush and creates installation gaps that leak. A quick wipe with a damp rag takes 30 seconds and stops most loading-related side leaks.