
Look at the caulk around your tub right now. If you installed it more than five years ago or you honestly can’t remember when it went in, there’s a good chance it’s already failing even if it looks fine. Most bathroom caulk quietly loses its seal years before you notice cracking or mold, which means water’s been sneaking behind your tile doing damage you can’t see yet. This guide breaks down realistic caulk lifespans by type and location, the warning signs that mean replacement can’t wait, and how to make your next caulk job last twice as long through smarter product choices and simple maintenance.
Expected Caulk Lifespan by Type and Location
You’ll usually get around 5 years from caulk, though that’s just a rough starting point. The actual timeline shifts pretty dramatically based on which type you’re working with and where you put it. Silicone and polyurethane last way longer than basic acrylic or latex versions. Quality makes a huge difference too. Premium silicone in a bathroom with decent airflow can outlast cheap acrylic in the same spot by ten years or more. Match your caulk to both the moisture it’ll face and what you’re sealing.
Where you apply caulk matters just as much as what you use. Bathroom caulk gets hammered by constant humidity, temperature shifts, and direct water contact. That shortens its life compared to a kitchen backsplash that only sees occasional splashes. Exterior caulk battles UV exposure, rain, freezing temps, and seasonal expansion. Indoor trim caulk in climate controlled rooms typically outlasts both since it avoids these environmental beatings.
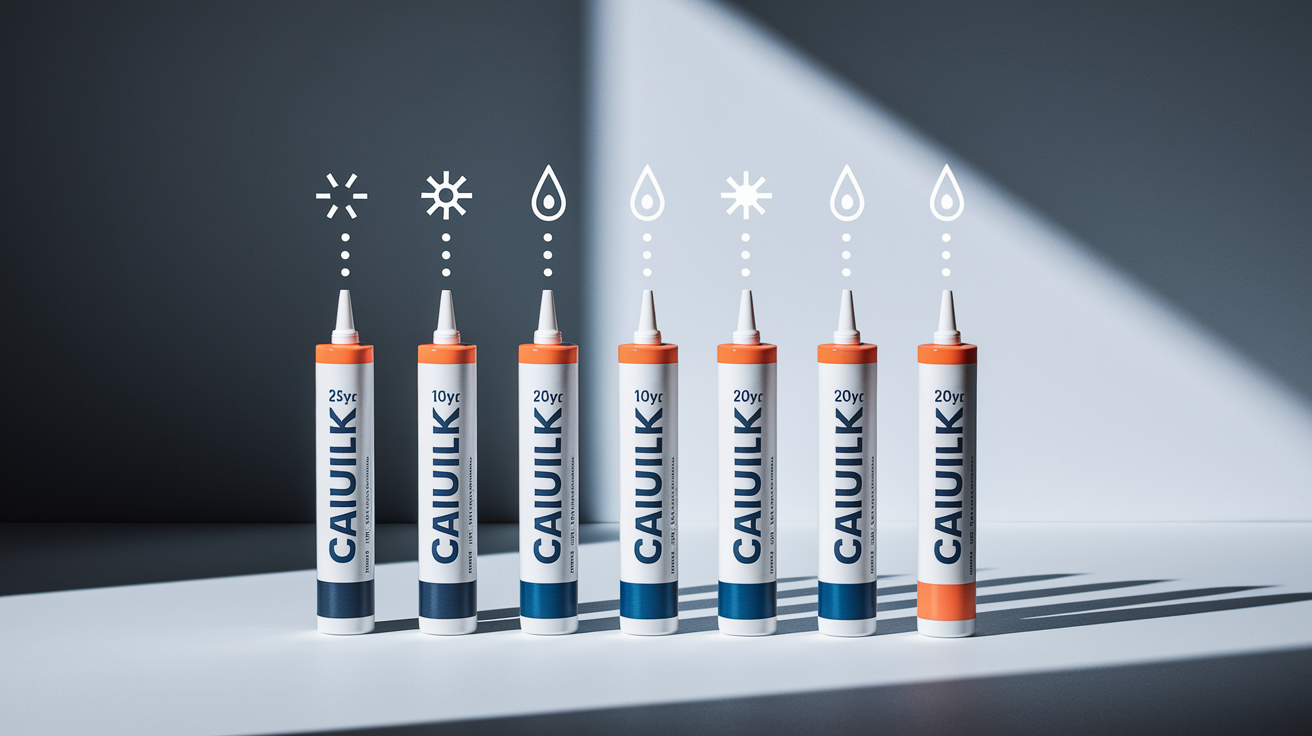
Here’s what different caulk types deliver under proper installation and normal use:
Silicone caulk: 10 to 20 years, especially in wet spots like showers and tubs where you need flexibility and waterproofing
Polyurethane caulk: 10 to 20 years, best for exterior jobs needing UV resistance and weather durability
Acrylic/latex caulk: 5 to 10 years, works fine for interior trim and spots with minimal moisture
Bathroom specific caulk: 5 years average, made with mold inhibitors for tubs, showers, and sink areas
Kitchen caulk: 5 to 8 years, balances moisture resistance with paintability for backsplashes and countertops
Exterior caulk: 7 to 10 years, built to handle weather around windows, doors, and siding joints
These ranges assume you applied the caulk correctly to clean, dry surfaces and the area gets normal use without excessive moisture problems or structural movement. If yours fails before hitting these numbers, installation mistakes or environmental factors are usually why.
Signs Your Caulk Needs Replacement
Checking every 6 to 12 months helps you catch caulk problems before they become water damage. A quick look and simple touch test during routine bathroom cleaning takes less than five minutes and can save you from finding soft drywall or mold colonies months down the road.
Watch for these specific signs:
- Visible cracks or splits running through the caulk line, even hairline thin ones
- Shrinking that creates gaps between the caulk and the wall or fixture
- Discoloration like yellowing, darkening, or brown spots that won’t wash away
- Peeling or pulling away from walls, tubs, tiles, or fixtures along one or both edges
- Dried out texture that feels brittle or crumbles when you press it
- Any caulk line older than 5 years regardless of how good it looks
- Water stains or seepage showing up around or beneath the caulk after showers or sink use
- Premature failure within 12 months pointing to wrong product choice for the spot
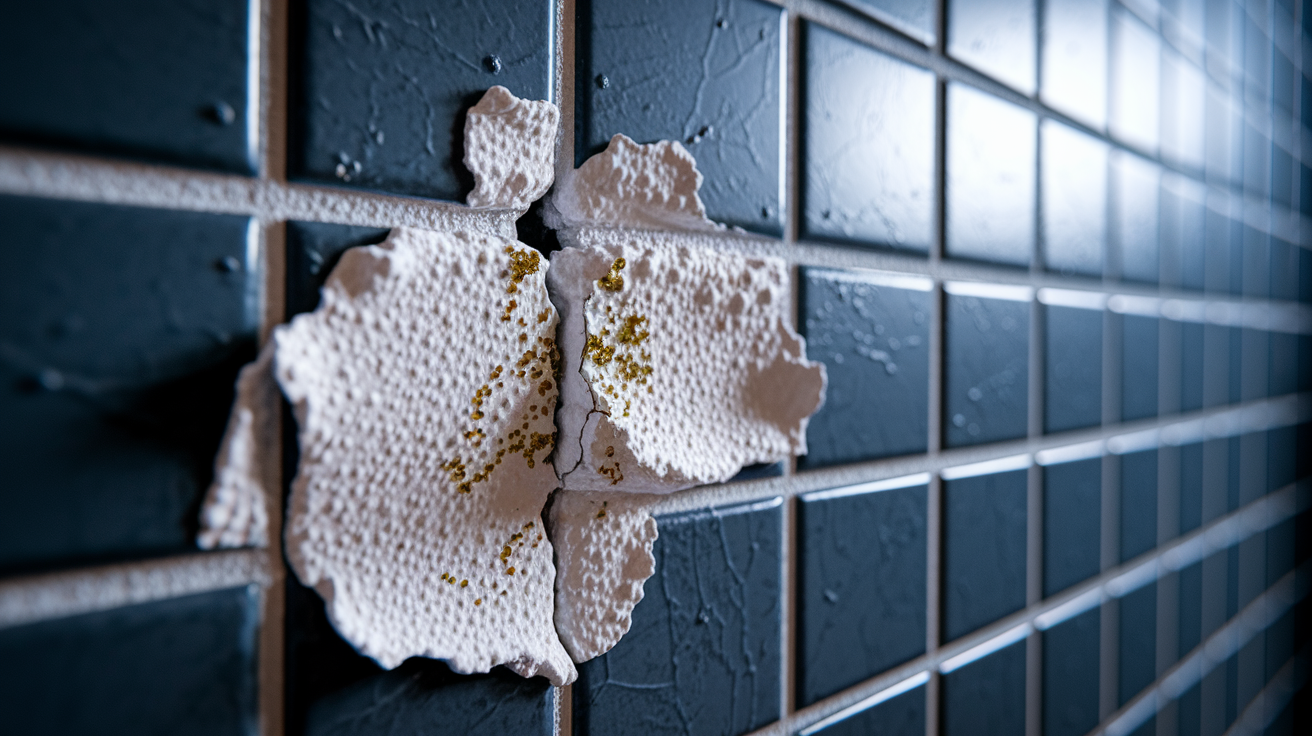
- Surface mold that returns quickly after cleaning, especially black or green growth
- Mold or mildew beneath or within the caulk structure, visible as dark shadows under the surface or soft spots showing water has gotten through the seal
Mold growing in old caulk creates real health risks, not just cosmetic ones. The CDC notes that mold exposure triggers respiratory problems along with skin, eye, and throat irritation. Mildew is early stage mold that burrows into deteriorated caulk and resists surface cleaning. You might also spot pink or orange slime around shower caulk, which is Serratia marcescens bacteria. This organism causes serious infections including meningitis, pneumonia, urinary tract infections, respiratory infections, wound infections, and eye problems in people with compromised immune systems.
Even one of these signs means you need complete caulk replacement to stop water from sneaking behind tiles and damaging drywall or other wall materials. You can sometimes clean surface mold from newer caulk with bleach solutions, but mold beneath the caulk or mildew that keeps coming back means the seal has failed. At that point, cleaning just delays what’s coming. The caulk needs to come out so you can address what’s happening underneath and start fresh with a proper seal.
Factors Affecting Caulk Longevity

Several things determine whether your caulk reaches its expected lifespan or fails years early. Some you control through maintenance habits, while others depend on your home’s environment and how the caulk was installed originally.
These conditions speed up caulk breakdown:
Constant UV exposure and direct sunlight through exterior windows and glass doors, which breaks down the chemical structure
Extreme temperature fluctuations causing repeated expansion and contraction that stresses the seal
High humidity levels without proper ventilation, especially bathrooms without exhaust fans running during and after showers
Moisture exposure from poor drainage or leaks that keeps caulk constantly wet instead of allowing dry time between uses
House settling and structural movement that pulls surfaces apart and stretches caulk beyond its flexibility limits
Incorrect surface prep before application, like caulking over damp surfaces, soap residue, or old caulk remnants
Using wrong caulk type for the specific spot or substrate, like standard acrylic in a wet shower
Harsh chemical cleaners that degrade sealant, particularly products with acetone or strong acids
Abrasive scrubbing that scratches the caulk surface and creates entry points for water and mold
You can extend caulk life significantly through consistent maintenance. Small daily habits make more difference than occasional deep cleaning.
These practices add years to caulk performance:
Wipe down caulked areas after each shower or bath to remove standing water
Use bathroom exhaust fan during showers and for 20 minutes afterward to pull humidity out
Clean caulk monthly with mild soap and water using a soft cloth instead of waiting until mold appears
Address any leaks immediately to prevent constant moisture exposure that no caulk can withstand long term
Maintain grout in good condition since failed grout compromises adjacent caulk by allowing water in
Keep windows and doors properly sealed to reduce stress on exterior caulk from air leaks and water intrusion
Conduct visual inspections every 6 months to catch early deterioration before it becomes water damage
Controlling environmental factors through proper product selection and consistent maintenance helps caulk reach or exceed its expected lifespan. A bathroom exhaust fan and quick squeegee routine after showers can add 2 to 3 years to bathroom caulk life. Skipping surface prep or using interior caulk in exterior spots can cut expected lifespan in half.
Testing Caulk Condition Without Removal

Proactive inspection catches caulk problems while they’re still minor fixes instead of discovering them after water has damaged what’s behind. These simple tests take five minutes and don’t require tools beyond your eyes and fingertips.
Run through these checks twice a year:
- Visual check for cracks or gaps by looking along the entire caulk line under good lighting, paying attention to corners and joints where stress builds up
- Gentle push test with your fingertip to check if caulk stays flexible and springs back into shape (rigid caulk has lost elasticity and no longer moves with the joint)
- Run finger along bead edge to test adhesion between caulk and surface (lifting, separation, or movement means seal failure)
- Water test by running the shower or faucet and checking for darkening behind translucent caulk, seepage at edges, or water stains appearing near the joint
- Age verification by checking installation date if you track home maintenance (caulk over 5 years old should be replaced regardless of appearance since breakdown speeds up after that point)
These tests take minutes and should become part of regular home maintenance, ideally every 6 to 12 months alongside tasks like changing HVAC filters or testing smoke detectors. Mark inspection dates on your calendar or home maintenance log. If you’re not sure when the caulk went in, assume it needs replacement if you spot any flexibility loss, adhesion problems, or visible breakdown. The cost of a caulk tube and an hour of your time beats discovering water damage behind tiles months later.
Proper Caulk Removal Process and Techniques
Complete removal of old caulk is critical for new caulk adhesion and longevity. Caulk applied over old residue or improperly cleaned surfaces fails within months instead of lasting years. So take the time to strip everything down to clean substrate.
Follow these removal steps:
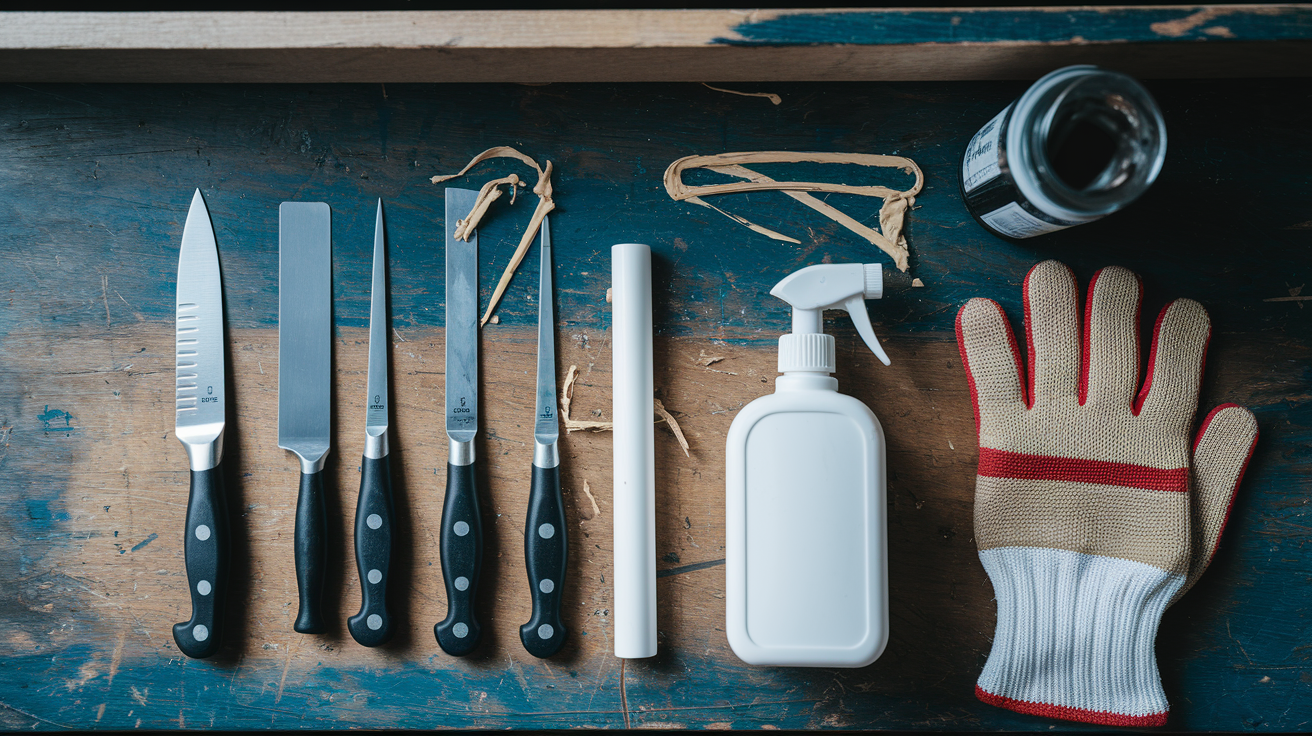
- Gather tools including utility knife, razor scraper, single edged razor blades, caulk remover solution, mineral spirits, and paper towels before starting
- Cut along both edges of the old caulk bead with a utility knife to break the seal between caulk and both surfaces
- Use razor scraper to peel away loosened caulk strips, working in 6 inch sections and pulling toward yourself
- Apply caulk remover or softener to stubborn residue that won’t scrape clean, then wait per product directions (typically 2 to 3 hours depending on formula)
- Scrape softened remnants with a razor blade held at a low angle to avoid gouging tile or surfaces
- Remove any loose grout around the area since damaged grout allows water to undermine new caulk
- Treat any visible mold with appropriate mold cleaner and let it work for the recommended time before rinsing
- Clean entire surface with mineral spirits to remove soap residue, oils, and remaining caulk traces that prevent adhesion, then rinse thoroughly and let the surface dry completely for a minimum of 24 hours (48 hours is better if you can wait)
Always cut away from your body when using utility knives or razor blades. Work in a ventilated area when using chemical caulk removers or mineral spirits, and wear gloves to protect your hands from both sharp blades and harsh chemicals. If you’re removing caulk from a tub or shower, stuff a rag in the drain to catch debris so you don’t clog pipes. The dried caulk remnants won’t dissolve, they’ll just sit in your trap.
Applying New Caulk for Maximum Longevity
Proper application makes the difference between caulk that lasts its full expected lifespan and caulk that peels within a year. Start by choosing the right product. Look for mold resistant formulas specifically labeled for kitchen and bathroom use in wet areas. Check that the caulk works with your substrate materials. Silicone works on most surfaces but won’t accept paint. Acrylic latex caulk is paintable but less waterproof. Siliconized acrylic splits the difference for areas where you need both moisture resistance and the option to paint.
Apply new caulk using these steps:
- Make sure surface is completely dry with a minimum 24 hour wait after cleaning, longer in humid conditions or if the area doesn’t get much airflow
- Cut caulk tube tip at a 45 degree angle to match your desired bead width, starting with a smaller opening (you can always cut more off)
- Puncture inner seal with the wire on your caulk gun or a long nail pushed through the cut tip
- Load tube into caulk gun and advance the plunger until it contacts the tube base with light pressure
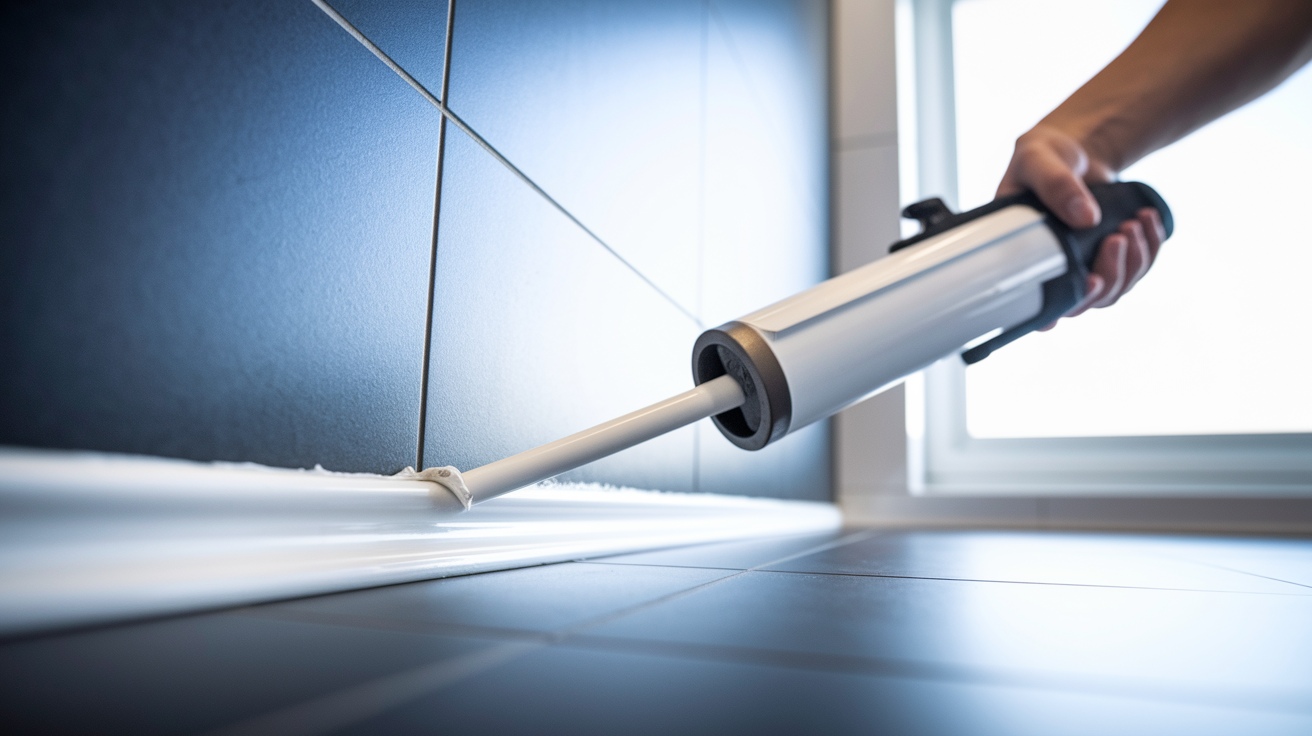
- Apply steady pressure while moving the gun smoothly along the joint at a consistent speed of about one foot every 3 to 4 seconds
- Maintain consistent speed for even bead thickness without stops, starts, or speed changes that create lumps and thin spots
- Immediately smooth bead with a wet finger or plastic smoothing tool before the caulk skins over (within 5 to 10 minutes depending on temperature and humidity)
- Wipe excess with a damp cloth before it skins, using light pressure to avoid pulling caulk from the joint
- Allow full 24 hour cure before any water exposure, bathing, or showering regardless of how dry the surface looks
| Common Mistake | Result |
|---|---|
| Applying to damp surfaces | Poor adhesion and mold risk within weeks |
| Using non bathroom caulk in wet areas | Failure within 12 months from wrong formula |
| Inadequate surface prep | Premature peeling from residue or moisture |
| Rushing cure time | Compromised waterproofing and adhesion failure |
After the 24 hour cure, maintain your fresh caulk by wiping down wet areas after each use and keeping the seal between caulk and porous tile or grout intact. Regular maintenance adds years to caulk life and prevents the water infiltration that causes expensive damage.
Product Selection: Matching Caulk Type to Location

Product selection directly impacts how long caulk lasts and performs. A premium bathroom specific caulk with mold inhibitors will outlast generic all purpose caulk by years in a shower, while that same bathroom caulk would be overkill on interior baseboards where you need paintability more than waterproofing.
| Location | Best Caulk Type | Key Features |
|---|---|---|
| Bathroom/shower | 100% silicone | Mold resistant, waterproof, non paintable, maximum flexibility |
| Kitchen backsplash | Siliconized acrylic | Paintable, mold resistant, easy cleanup, good moisture resistance |
| Window/door interior | Acrylic latex | Paintable, easy cleanup, low odor, good for low moisture areas |
| Window/door exterior | Polyurethane or silicone | UV resistant, weatherproof, flexible through temperature changes |
| Baseboards/trim | Acrylic latex | Paintable, low odor, smooth finish, minimal moisture exposure |
| Countertops | Silicone or siliconized acrylic | Food safe when cured, waterproof, resists staining |
Quality differences matter more than brand loyalty. Premium products last longer because they contain better mildewcides, maintain flexibility through more expansion and contraction cycles, and often include longer manufacturer warranties. A $12 tube of name brand silicone caulk might last 15 years while a $4 generic tube fails at 8 years. The extra $8 upfront saves you the labor of removing and replacing twice. Read the label carefully. Kitchen and bathroom specific caulk contains special mold preventing additives that are clearly marked on product packaging. Using best caulk for kitchen and bathroom applications prevents the premature failure common with wrong product selection.
Stored caulk has limited shelf life even when unopened. Unopened silicone caulk lasts 12 to 18 months from the manufacture date stamped on the tube. Acrylic and latex caulk last about 12 months when sealed. Store tubes in a climate controlled space away from freezing temperatures and extreme heat. Opened tubes rarely stay usable even if you clean the tip and reseal them, since moisture exposure begins the curing process. If you squeeze the tube and the caulk feels firm or chunky instead of smooth, toss it and start fresh.
Using bathroom specific caulk in bathrooms prevents the failure within 12 months that signals wrong product choice. That extra year or two of service life justifies spending an extra few dollars per tube. Match the caulk to the job, not the other way around.
DIY Replacement vs. Professional Caulking Services
Most interior caulking projects are DIY friendly for homeowners with basic skills and patience to follow directions. The tools are inexpensive, the techniques are straightforward, and you can pause between steps without causing problems. That said, some situations warrant professional help, either because the work requires specialized equipment or because mistakes could lead to expensive water damage.
Good candidates for DIY bathroom repairs and recaulking:
Bathroom tub and shower surrounds where you’re replacing existing caulk along visible joints
Kitchen backsplash and countertops with accessible seams between counters and walls
Interior window and door trim where caulk fills gaps between trim and walls on ground floor openings
Baseboards and crown molding that need gap filling for a finished appearance
Sink installations where caulk seals the rim to the countertop
Consider professional service for:
Exterior window and door weatherproofing on multi story homes requiring ladders or scaffolding
Large scale exterior siding projects where improper sealing causes structural moisture problems
Situations where water damage has already occurred requiring structural assessment before cosmetic repairs
When homeowner lacks confidence or mobility for the thorough old caulk removal that proper adhesion requires
DIY materials cost $15 to $40 for a typical bathroom recaulking project. That breaks down to $5 to $8 for a quality caulk tube, $6 to $10 for caulk remover, and $10 to $20 for basic tools if you don’t already own a utility knife and scraper. You’ll have leftover supplies for future projects. Professional caulking service ranges from $150 to $300 depending on project size, location, and how much old caulk needs removal. That price includes labor, materials, and the assurance that someone with experience is doing the work.
Inexperienced application can lead to water damage and mold growth that costs far more to fix than hiring a pro upfront. If you’re uncertain about your ability to remove all the old caulk, prepare surfaces properly, or apply an even bead, professional service is worthwhile. Most contractors will recaulk a standard tub surround in 90 minutes including removal and cleanup. You’re paying for skill and speed that comes from doing the job hundreds of times.
Final Words
Most caulk hits its limit around five years, but you’ll know sooner if you’re checking for cracks, shrinking, or mold creeping in.
Catching those signs early keeps water where it belongs and prevents bigger headaches down the line.
Match the right product to the spot, prep the surface completely, and give it time to cure.
Regular wipes after showers and quick inspections twice a year help your new caulk reach its full lifespan. You’ve got this.
FAQ
How often should you replace caulk?
You should replace caulk approximately every 5 years as a general rule. Silicone and polyurethane formulas last 10-20 years, while acrylic latex caulk typically needs replacement every 5-10 years. Replace sooner if you notice cracking, peeling, mold growth, or water seepage regardless of age.
Can I just put new caulk over old caulk?
You cannot apply new caulk over old caulk and expect proper adhesion or waterproofing. Old caulk must be completely removed down to the original surface using a utility knife, scraper, and caulk remover. Any residue left behind prevents the new bead from sealing correctly and causes premature failure.
How do you tell if you need to recaulk?
You need to recaulk when you see visible cracks, gaps between caulk and surface, peeling or pulling away from walls, discoloration, or dried-out texture that crumbles when touched. Water stains around caulk lines, mold growth that returns after cleaning, or any caulk older than 5 years also indicates replacement time.
What are common mistakes when caulking?
Common caulking mistakes include applying caulk to damp surfaces which prevents proper adhesion, using non-bathroom formulas in wet areas causing failure within 12 months, skipping thorough surface preparation, and exposing fresh caulk to water before the 24-hour cure time completes. These errors lead to peeling, mold growth, and water damage.