
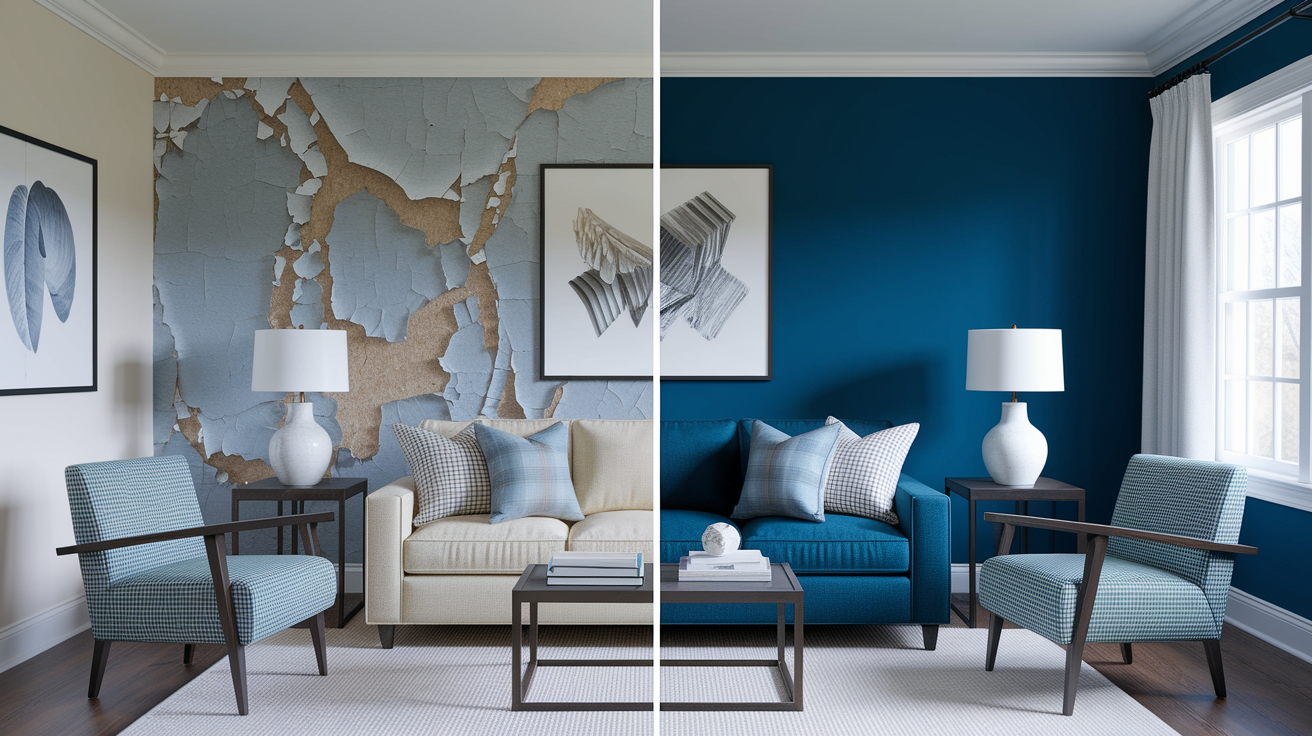
You’ve scraped peeling paint before, slapped on fresh coats, and watched the same bubbling reappear six months later. That cycle happens because most people treat the symptom instead of the cause. Moisture under your paint doesn’t quit just because you covered it up. This guide walks you through finding the actual water source, stopping it for good, and repairing the damage with products designed to handle humidity so the fix actually lasts.
Identifying the Moisture Source Behind Paint Peeling
Fixing peeling paint without addressing the moisture source is like bailing water from a boat without plugging the leak. You’ll scrape, sand, prime, and repaint only to watch the same bubbling and flaking show up again in a few months. Before you open a single can of primer, you need to figure out where the water’s coming from.
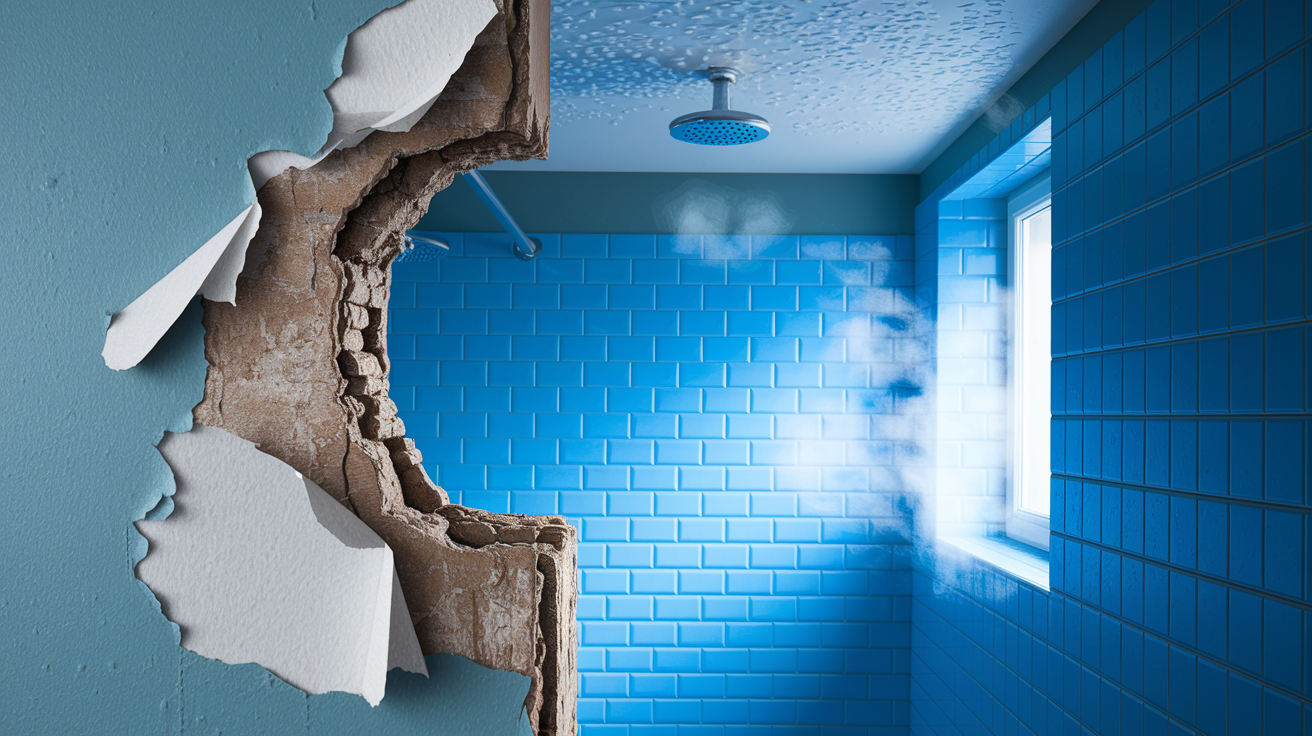
Bathroom and kitchen humidity tops the list of moisture culprits. When you shower, steam rises and condenses on cold ceilings and walls, seeping under the paint layer and pushing it away from the plaster or drywall beneath. If your bathroom doesn’t have an exhaust fan, or if you never turn it on, that moisture has nowhere to go except into your paint. Same thing happens over stoves and around sinks when steam from cooking or dishwashing accumulates day after day.
Window condensation creates its own mess. On cold days, warm indoor air hits cold glass and forms water droplets that run down onto sills and frames. That pooling water soaks into wood or painted surfaces, causing bubbling and peeling along window edges and corners. If you see condensation regularly, your windows might be old and poorly insulated, or your indoor humidity’s running too high for the outdoor temperature.
Hidden leaks are sneakier. A slow drip from a pipe inside a wall, a roof leak that only shows up during heavy rain, or foundation moisture creeping up through concrete can all cause paint to fail without obvious signs of water. Look for peeling that happens in odd spots, staining that spreads over time, or areas that feel soft or damp to the touch. Sometimes the water travels along framing or through insulation before showing up as paint damage somewhere unexpected.
Sealed modern homes can trap moisture inside even without a specific leak. If your home’s heavily insulated and tightly weatherproofed, moisture from daily living (breathing, cooking, showering) builds up because there’s no path for it to escape. In these situations, roof vents, wall vents, or mechanical ventilation systems become necessary to cycle fresh air in and humid air out.
After you identify and fix the moisture source, test a small repair area and watch it for 7 days before committing to the full job. If that test patch stays solid, you’ve solved the root problem. If it starts bubbling again, the moisture’s still active and needs more work.
Essential Tools and Materials for Paint Repair
Using proper moisture resistant products prevents recurring peeling issues and turns a frustrating cycle of repairs into a one time fix. The specialized primers and paints designed for high humidity environments cost a bit more than standard options, but they actually work. Standard bathroom paint provides only temporary fixes compared to these formulations. Within months, sometimes weeks, the peeling resurrects and you’re back at square one.
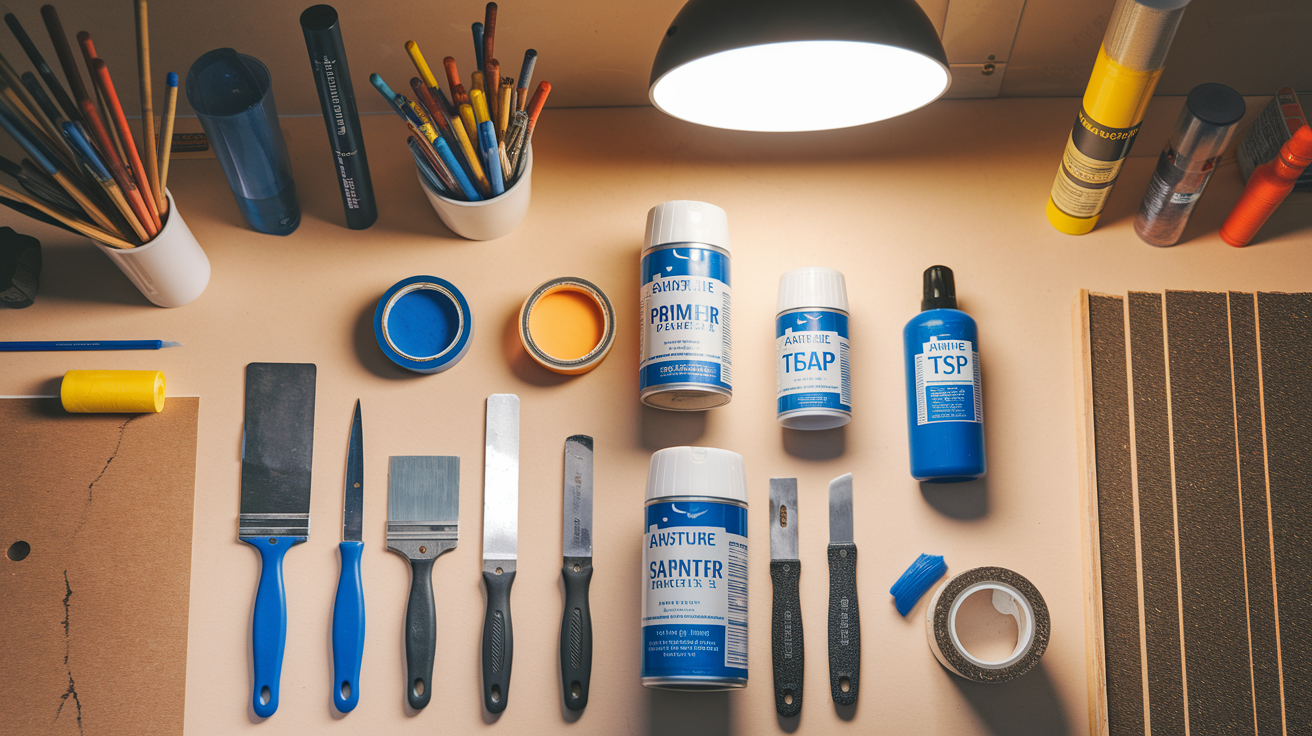
The table below organizes everything you need by repair phase. Quantities listed assume a typical bathroom ceiling or medium sized wall section.
| Tool/Material | Purpose | Recommended Type |
|---|---|---|
| Paint scraper or wire brush | Remove all loose and flaking paint | 3 inch rigid scraper with replaceable blade |
| Palm sander with dust collection | Smooth surfaces, especially overhead work | Ryobi or similar lightweight model with collection box |
| Sandpaper assortment | Feather edges and achieve smooth finish | Medium grit (120 to 150) and fine grit (220) sheets or sponges |
| Filler compound | Fill deep holes and divots | Ronseal Smooth Finish Filler or similar spackling compound |
| Patching compound | Level uneven surfaces after scraping | Polycell Finishing Skim (watery consistency) with plastic scraper |
| Moisture resistant primer | Seal cracks, bond paint edges, block moisture | Zinsser Peel Stop or Aqua Lock Plus (mildew resistant formula) |
| Anti mould paint | Final topcoat for high humidity areas | Tikkurila Luja Matt 7 or similar moisture resistant finish |
| Sugar soap or TSP cleaner | Remove dust and grease before priming | Liquid concentrate diluted per label instructions |
| Painter’s tape | Protect trim, fixtures, and adjacent surfaces | 2 inch width, medium adhesion blue tape |
| Drop cloths or plastic sheeting | Protect floors and fixtures from debris | Canvas or thick plastic, at least 9×12 feet |
| Dust mask and safety glasses | Respiratory and eye protection during scraping | N95 or KN95 mask, wraparound safety glasses |
| Brushes and small roller | Apply primer and paint in tight areas | 2 inch angled brush, 4 inch foam roller for smooth finishes |
Surface Preparation and Scraping Techniques for Peeling Paint
Set up your work area before you start flinging paint chips around. Lay drop cloths or plastic sheeting under the damaged area and tape them down so they don’t slide. If you’re working near a sink or tub, cover the drain with tape so paint flakes don’t trickle down and cause plumbing headaches later. Put on your dust mask and safety glasses. This part gets messy and the dust hangs in the air longer than you’d think.
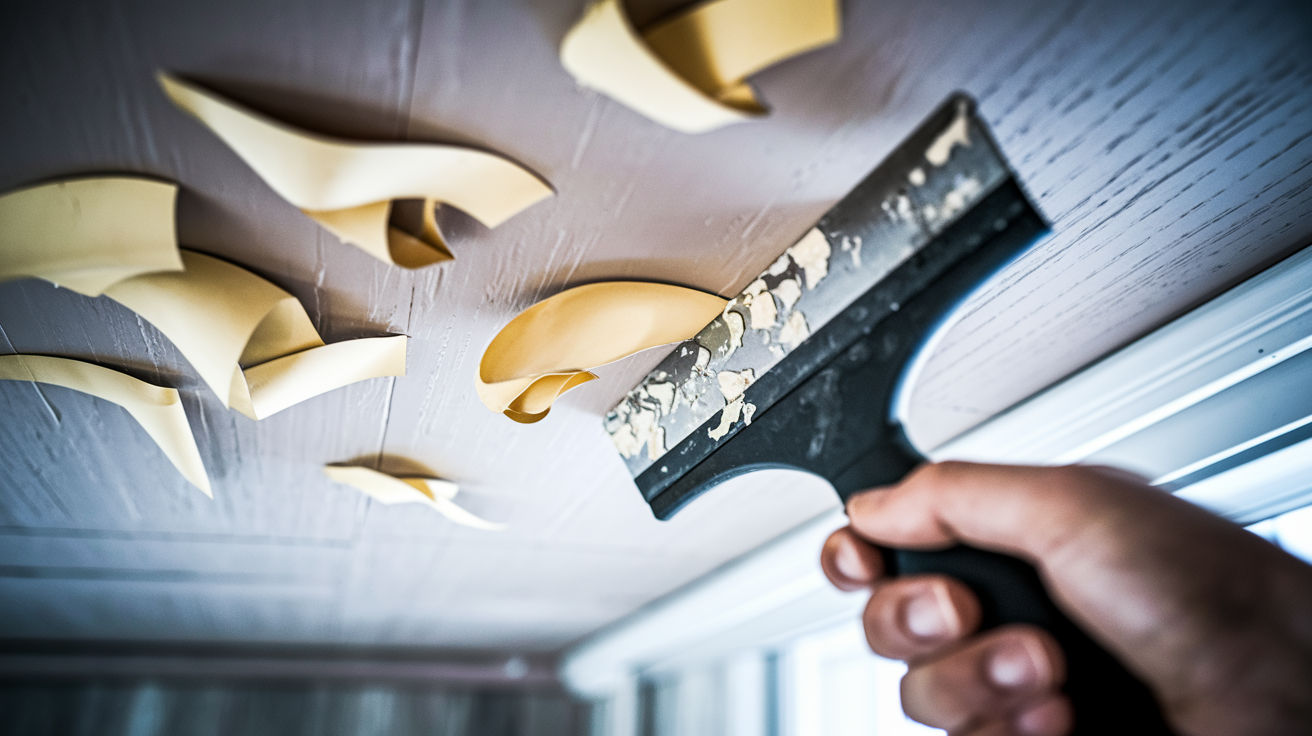
Use your paint scraper or wire brush to remove all loose and flaking paint down to bare substrate, whether that’s wood, plaster, or drywall. Hold the scraper at a low angle and push firmly to get under the paint edges. If the paint’s really loose, it’ll come off in satisfying curls. Where it’s more stubborn but still not bonded well, work the scraper edge under it until you hit solidly attached paint. Don’t gouge or dig into the underlying surface. You’re removing failed paint, not excavating.
For ceiling work, a lightweight palm sander with a dust collection box keeps debris from raining down on your face.
Test the paint surrounding your repair area, extending at least 6 to 12 inches beyond the obvious damage. Press firmly with your thumb or scraper edge. If more paint lifts or feels spongy, keep scraping. Sometimes moisture damage spreads further than it looks, and painting over compromised areas just sets you up for another round of peeling in a few weeks.
Critical safety precautions and prep steps you can’t skip:
Test for lead paint with a lead kit if your home was built before 1978. Scraping lead paint without containment and proper disposal is a health hazard. Wear an N95 or KN95 dust mask to avoid inhaling paint particles and plaster dust. Use wraparound safety glasses to protect eyes from falling debris, especially on ceiling jobs. Ensure proper ventilation by opening windows and running a fan, but not so much airflow that dust spreads throughout the house. Cover drains with tape to prevent paint chips from entering plumbing. Run a particle capture air purifier in the work area if you have one, particularly useful for absorbing fine dust during extended scraping.
Sanding and Smoothing Water Damaged Paint Surfaces
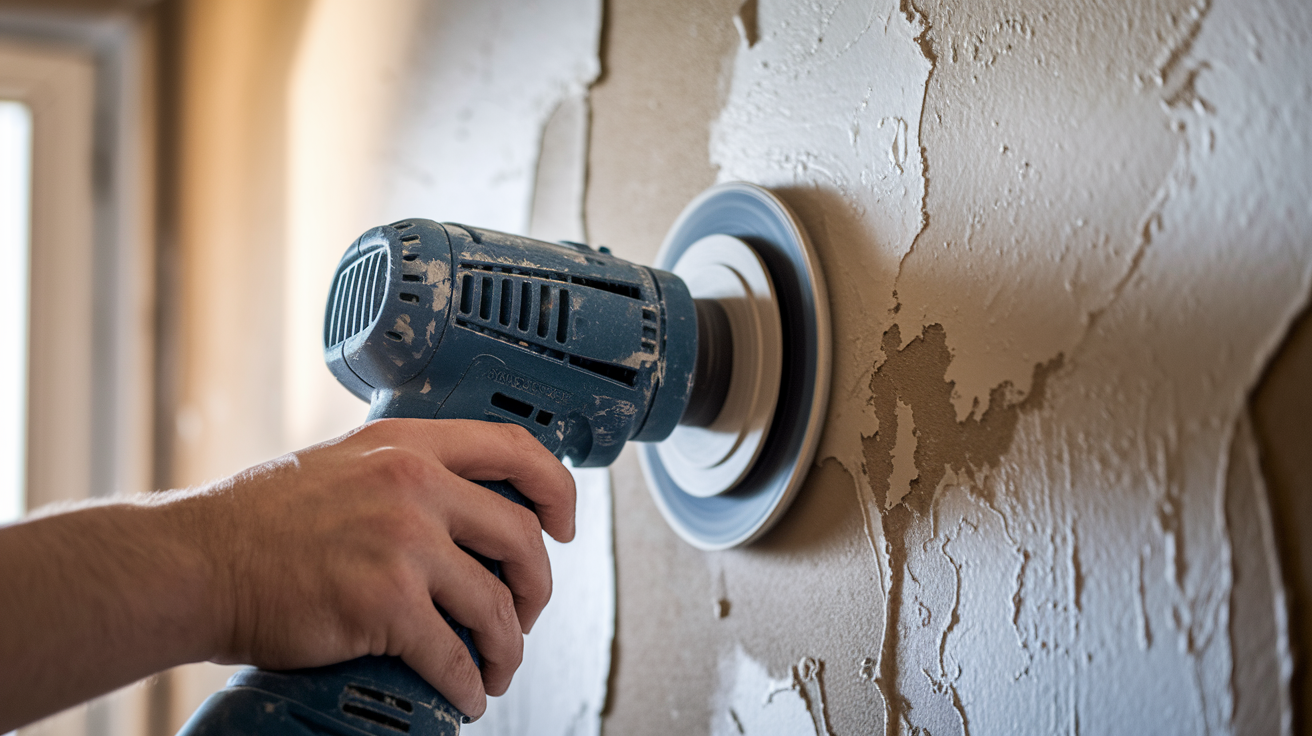
Sanding creates smooth transitions between bare spots and remaining paint so your repair doesn’t telegraph through the topcoat as a visible ridge or rough patch. It also roughens glossy surfaces just enough for primer to grab hold properly. This step determines whether your finished repair looks like a repair or not.
Start with medium grit sandpaper (120 to 150 grit) on a palm sander or sanding block. Focus on feathering the edges where old paint meets bare surface. Feather means gradually tapering the paint edge so there’s no abrupt step. Sand in gentle overlapping passes, working from the bare area outward onto the old paint. Check your work frequently by running your hand over the surface. When you can’t feel a distinct edge anymore, switch to fine grit paper (220 grit) for the final smoothing pass. For ceiling work, that lightweight palm sander with dust collection makes overhead sanding less exhausting and keeps dust somewhat contained.
After all patching compound has dried completely (usually 2 to 24 hours depending on depth), sand those areas with fine grit paper until they’re perfectly smooth and flush with surrounding surfaces. Then comes the critical cleaning step. Sanding creates a fine dust layer that prevents primer from bonding properly. Wipe everything down with a slightly damp cloth to collect dust, then wash the entire surface with sugar soap or TSP cleaner diluted according to label directions. Rinse thoroughly with clean water and allow the surface to dry completely. Some people skip this thinking a quick wipe is enough. It’s not.
Run your hand over the dried, cleaned surface one more time. It should feel smooth, uniformly textured, and completely dust free. If you feel grit or tackiness, clean again. If you find rough spots, sand again then clean. The surface is ready when it’s smooth, clean, and dry with no loose particles.
Filling and Patching Moisture Damaged Paint Areas
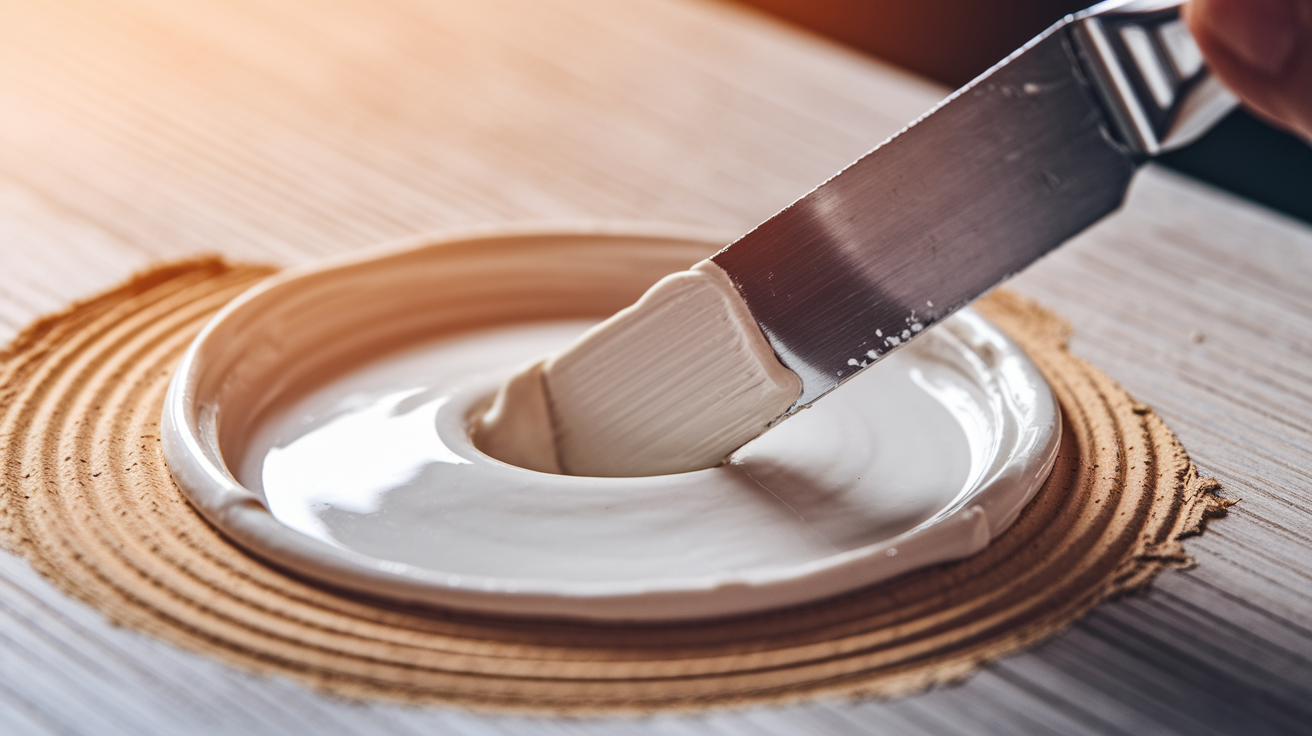
Deep holes, divots, and gouges need filling before you can create a smooth paintable surface. Use a filler compound like Ronseal Smooth Finish Filler or standard spackling for holes deeper than 1/8 inch. Press the filler firmly into the hole with a putty knife, slightly overfilling to account for shrinkage as it dries. Scrape off excess flush with the surface. For wood surfaces like window sills and frames, use wood putty instead, which handles expansion and contraction better than standard filler.
After filler dries completely (check product label, usually 1 to 4 hours depending on depth), sand it flush with surrounding surface using 220 grit paper. If you’ve scraped away a large area of paint, you may have uneven surfaces where old paint remains in some spots and bare substrate shows in others. This is where patching compound comes in. Products like Polycell Finishing Skim have a watery consistency that you apply with a paintbrush, then smooth with a plastic scraper held nearly flat to the surface. This technique levels the entire area in one thin coat.
If you’re working on plaster walls that feel soft, powdery, or crumbly after scraping, they need stabilization before patching. Mix 1 pint of household vinegar into 1 gallon of water. Brush this solution onto the weak plaster and let it soak in. Apply multiple coats, allowing each to dry, until the surface feels solid and stops absorbing liquid. This treatment hardens deteriorated plaster so filler and primer have something stable to bond to.
Once all patching compound dries (usually 2 to 6 hours for thin skim coats), sand the entire repaired area with fine grain paper until it’s completely smooth and flat. You’re aiming for a surface where you can’t tell by touch where the repair stops and original surface begins.
Applying Moisture Resistant Primer to Prevent Paint Peeling
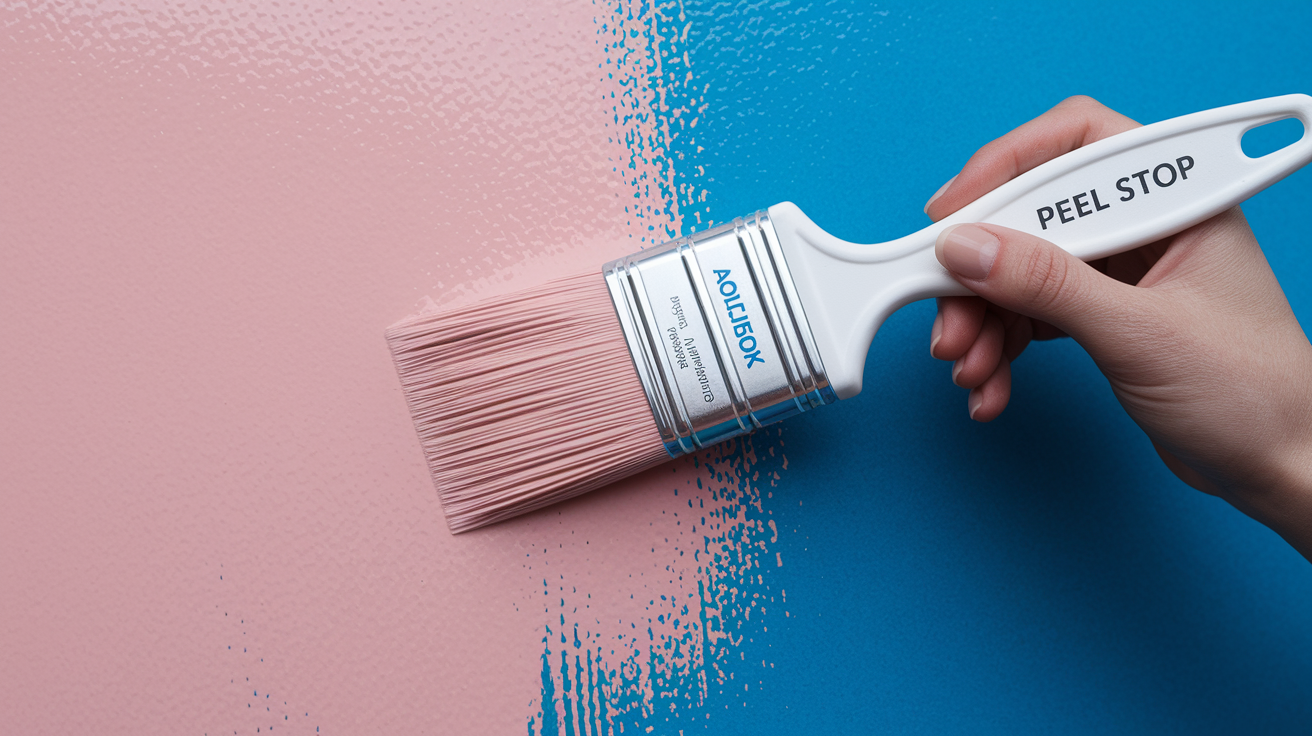
Moisture resistant primer does three jobs at once. It seals the porous surface and blocks moisture from penetrating, it actively bonds down the edges of remaining old paint so they can’t lift later, and it creates a uniform surface for topcoat adhesion. Skipping this step or using standard primer defeats the whole repair because moisture will just seep through and start the peeling process again.
For wood surfaces like window sills and frames, use a product like Aqua Lock Plus primer which provides mildew resistant coating and helps seal porous wood while blocking water stains. Apply two thin coats about 30 minutes apart to build proper moisture protection. For plaster and drywall, Zinsser Peel Stop Primer actively bonds down old paint edges and seals cracks to prevent moisture penetration. One generous coat of Peel Stop, allowed to dry overnight, creates a solid moisture barrier.
If you’re working on new plaster that hasn’t fully cured, the timeline changes. Fresh plaster needs 30 days to cure completely before painting. But if you can’t wait that long, use a product like Loxon Masonry Primer after 7 days. This primer handles the high pH of uncured plaster without failing. For old plaster that’s been stabilized with the vinegar solution, standard moisture resistant primer works fine.
Apply primer with a brush or small roller, working it into all the repaired areas and extending a few inches beyond onto solidly attached old paint. Don’t thin the primer or apply it too sparingly trying to stretch it further. Full strength coverage is what creates the moisture barrier. Let the primer dry completely according to label directions, typically 1 to 4 hours for surface dry but overnight is better for full cure before topcoating. The surface should look uniformly sealed with no bare spots showing through.
Choosing and Applying Paint for High Moisture Areas
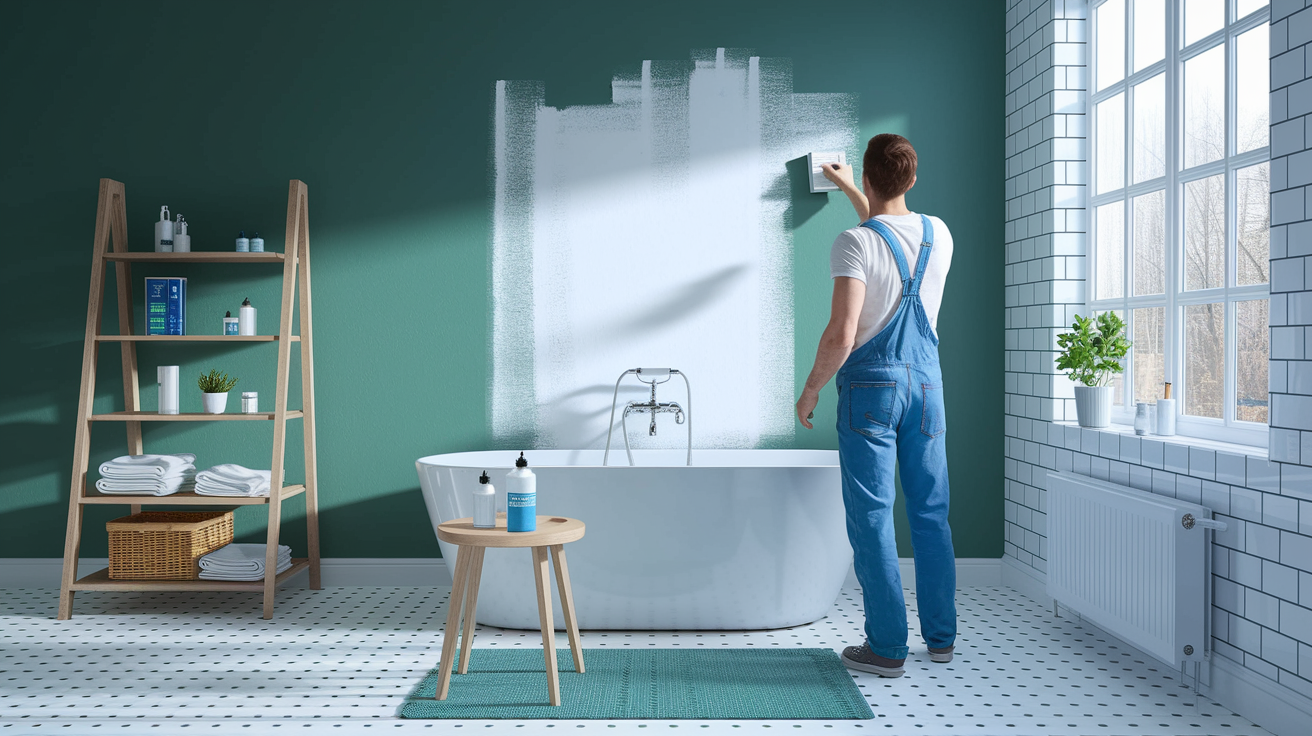
Standard bathroom paint provides only temporary fixes versus specialized moisture resistant formulations. Within a year, sometimes months, the peeling starts again because regular paint softens and breaks down when exposed to repeated moisture and humidity. Specialized products like Tikkurila Luja Matt 7 Anti Mould paint are designed for high humidity environments like swimming pools, distilleries, and hospitals. This Finnish brand doesn’t soften when exposed to moisture and stays extremely hard wearing. You can find it at local trade paint specialists and decorators merchants.
For paint sheen selection, semi gloss works well on window trim and millwork because it sheds moisture better than flat finishes and wipes clean easily. For ceilings and walls, a satin or eggshell finish in a moisture resistant formula provides some washability without the high gloss that emphasizes surface imperfections. Check that whatever product you choose specifically mentions moisture resistance, mildew resistance, or bathroom/kitchen suitability on the label. If it doesn’t make those claims, keep looking.
Apply three light coats rather than one or two heavy ones. Thin coats dry faster, cure harder, and build a more durable film. Brush or roll the first coat on evenly, working in one direction. Let it dry 30 minutes to 1 hour (check your specific product’s label). Apply the second coat, then wait again. The third coat goes on the same way. Light and even beats thick and drippy every time.
Remove painter’s tape while the final coat is still slightly wet to the touch. If you wait until it’s fully dry, the tape can pull up paint edges and create new problems. After tape removal, keep windows open or run a fan for 4 to 6 hours to allow proper initial drying. Full cure takes longer, usually 24 to 48 hours, before the surface can handle moisture exposure.
Improving Ventilation and Humidity Control to Stop Paint Peeling
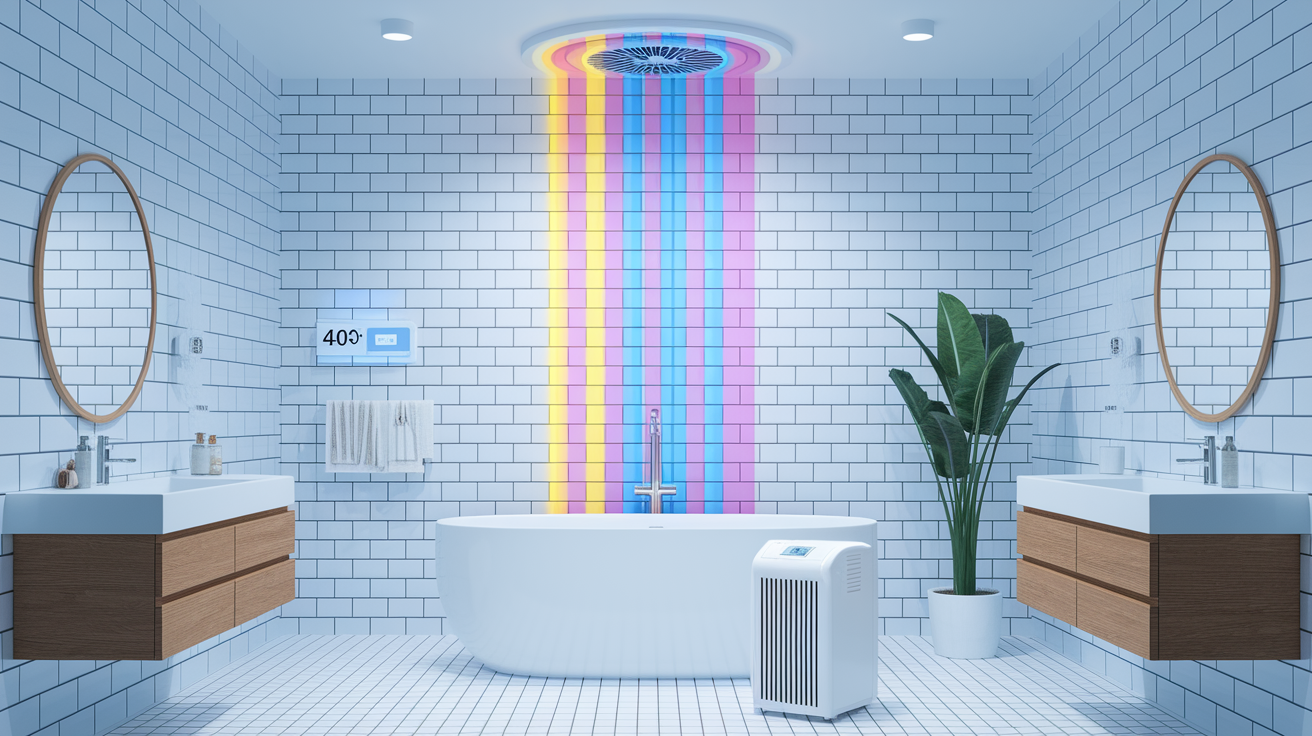
Proper ventilation is what makes the difference between paint that lasts and paint that fails again in six months. All the moisture resistant primer and specialized paint in the world won’t help if you’re continuously saturating surfaces with humidity and condensation. Moisture control and good paint work together. One without the other is incomplete.
Install exhaust fans in bathrooms with showers and tubs, and in kitchens over stoves. The fan needs to vent to the outdoors, not just into the attic or between floors where the moisture still hangs around causing problems elsewhere. Run the fan during showers and for 20 to 30 minutes afterward to clear residual humidity. In kitchens, turn it on whenever you’re boiling water or cooking anything steamy. A lot of people install fans but never use them, which accomplishes nothing. For specific guidance on selecting and installing the right fan for your space, check out this exhaust fan installation guide which walks through proper sizing and venting.
In sealed or heavily insulated homes, whole house ventilation becomes necessary because moisture from daily living has no path to escape. Roof vents, soffit vents, or wall vents allow trapped moisture to exit. Some newer homes include heat recovery ventilators or energy recovery ventilators that exchange indoor and outdoor air while conserving heat. If your home feels stuffy, you rarely need to crack a window even in winter, and you’re fighting condensation on multiple windows, your house might be too sealed up. An HVAC technician can assess whether you need additional ventilation paths.
Dehumidifiers help in persistently damp spaces like basements or during humid summer months in bathrooms without windows. Place the unit in the problem area and set it to maintain 30 to 50 percent relative humidity. Empty the collection bucket regularly or run a drain line if your model allows it. In basements, a dehumidifier’s often the difference between paint that lasts and an endless cycle of peeling and mildew.
Monitor humidity levels with an inexpensive hygrometer (humidity meter). You can find basic digital versions for under $15. Place one in your bathroom and check it regularly. If humidity consistently stays above 60 percent, your ventilation system isn’t keeping up and needs improvement. Ideal indoor humidity runs 30 to 50 percent year round.
Preventing Future Moisture Damage and Paint Failure
Establish a regular inspection schedule for early detection of moisture intrusion and paint deterioration. Every few months, walk through bathrooms, kitchens, basements, and around windows looking for soft spots, discoloration, new cracks, or paint that feels loose when you press it. Catching problems when they’re small means a quick repair instead of major work. Look at ceilings after heavy rain to spot roof leaks. Check basement walls during wet seasons for foundation moisture.
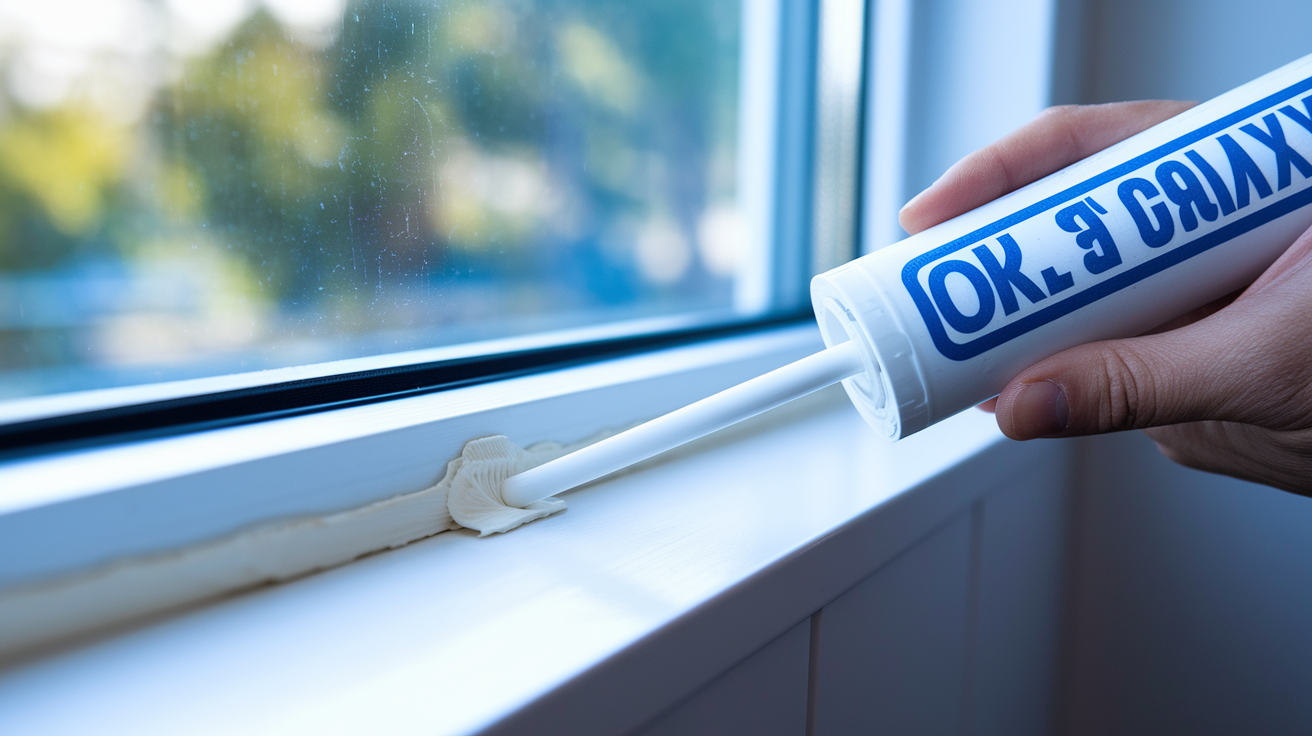
Caulk and sealant maintenance around windows, tubs, sinks, and other water exposed areas prevents moisture from sneaking into wall cavities and under paint. Check caulk joints every 6 months. If you see cracks, gaps, or areas where caulk has pulled away, scrape out the old material and apply fresh caulk. Use silicone caulk for tub and shower surrounds, acrylic latex caulk for most other indoor applications. A failed caulk joint is an open door for water damage.
Exterior maintenance protects your paint from the outside in. Clean gutters twice a year so water doesn’t overflow and run down walls. Position downspouts to discharge water at least 4 to 6 feet away from the foundation. Check foundation grading to ensure soil slopes away from the house, not toward it. Water pooling against foundation walls eventually makes its way inside, causing basement dampness and first floor moisture problems. For comprehensive foundation moisture prevention strategies, this guide on waterproofing basement walls covers both interior and exterior approaches that stop water before it reaches your paint.
Seasonal maintenance tasks include checking for ice dams in winter (which cause roof leaks), increasing ventilation during humid summer months, and inspecting window seals before wet seasons. Weather specific considerations matter. In humid climates, mold and mildew control becomes more important. In cold climates, condensation on windows demands attention. Adjust your maintenance routine to your local conditions.
Recognize when structural upgrades are needed. If you’ve repaired paint properly, addressed ventilation, and maintained caulking, but peeling keeps recurring in the same spots, something bigger is wrong. Repeated peeling around windows may mean the windows themselves are failing and allowing air, water, and moisture infiltration that’s beyond surface repairs. Foundation cracks, roof damage, or plumbing leaks inside walls require professional assessment and structural fixes. At that point, the paint’s just the symptom, not the problem.
Common Mistakes When Repairing Moisture Damaged Paint
Avoiding common mistakes saves time and money by ensuring repairs last. You don’t want to invest hours of work and materials only to watch the same peeling show up again because you rushed a step or used the wrong product. Most failures happen from these preventable errors.
Painting over the moisture source without fixing it. The paint will fail again, often faster than the first time, because the underlying problem keeps attacking the new finish. Condensation, leaks, and ventilation issues must be resolved first.
Insufficient surface preparation. Leaving loose paint, skipping sanding, or not cleaning dust and grease off creates a weak foundation. Primer and paint can’t bond to contaminated or unstable surfaces.
Using non moisture resistant products. Standard paint and primer aren’t formulated to handle continuous humidity exposure. They soften, break down, and allow moisture penetration that causes recurring peeling.
Inadequate drying time between coats. Rushing from primer to paint or between paint coats traps moisture in the film layers and prevents proper curing. The whole system stays weaker and more prone to failure.
Painting in wrong temperature or humidity conditions. Most paint requires temperatures between 50°F and 85°F and relative humidity below 70% for proper application and cure. Cold, hot, or humid conditions cause improper drying and poor adhesion. Choose a warm, dry day.
Applying too few or too many coats. One coat doesn’t provide adequate protection. But more than 4 to 5 total coats (including primer) creates a thick, inflexible film that’s more prone to cracking and peeling as the substrate expands and contracts.
Incompatible paint and primer combinations. Oil based primer under water based paint usually works, but water based primer under oil based paint can fail. Always check product compatibility or stick with the same base throughout (latex primer with latex paint, for example).
Ignoring ventilation needs after repainting. New moisture resistant paint buys you durability, but it’s not magic. If you don’t run exhaust fans, control humidity, and manage condensation, even the best products will eventually fail.
When to Call a Professional for Paint Peeling Issues
Some moisture and damage issues exceed DIY scope and safety. Attempting repairs beyond your skill level or in situations that require specialized equipment and expertise often creates bigger problems and costs more to fix later. Knowing when to step back and call in professionals protects your home and your health.
Specific situations requiring professional help include extensive mold growth covering more than about 10 square feet, suspected structural damage like soft or sagging drywall and framing, recurring problems after multiple proper repair attempts that suggest hidden moisture sources, lead paint in homes built before 1978 that requires containment and certified abatement for large scale work, and large scale peeling throughout multiple rooms or whole house moisture problems that indicate systemic issues. If you’re looking at any of these scenarios, a professional assessment is worth the cost.
Professional assessment capabilities go beyond what most DIYers can do. Contractors use moisture meters to find hidden water in walls and ceilings, thermal imaging cameras to spot insulation problems and moisture patterns, and experience based evaluation of whether damage is cosmetic or structural. They can trace moisture to its source even when it’s traveling through building cavities. Pros also handle jobs that involve working at height, accessing enclosed spaces, or disturbing materials that might contain asbestos or lead.
Professionals can address root causes that are beyond paint repair. That includes plumbing system repairs and rerouting, roofing work to fix leaks and improve ventilation, foundation waterproofing and drainage improvements, and HVAC system modifications for better humidity control. If your paint peeling connects to any of these larger systems, bringing in the right trade professional solves the problem instead of just covering it up. Sometimes the paint guy isn’t the answer. Sometimes you need a plumber, roofer, or foundation specialist first.
Cost and Time Estimates for Fixing Peeling Paint from Moisture
Costs vary based on repair extent, product quality, and whether you need to purchase tools. If you already own a palm sander, scrapers, and basic painting supplies, materials for a typical bathroom ceiling run $50 to $100. Starting from zero with tool purchases pushes that to $150 to $200. Larger projects cost more, but the per square foot price drops as you spread fixed costs like primer and cleaner over more area.
Proper timeline includes drying and curing time which cannot be rushed without compromising results. Scraping and sanding might take 2 to 4 hours, but then filler needs to dry, patching compound needs to dry, primer needs to dry overnight, and paint needs adequate drying time between three coats. What looks like a quick Saturday project actually spans 3 to 4 days when you respect product drying times.
| Project Scope | Materials Cost | Time Required | Difficulty Level |
|---|---|---|---|
| Small patch (2×2 feet, single wall area) | $30 to $50 | 4 to 6 hours spread over 2 days | Beginner friendly |
| Bathroom ceiling (standard 5×8 feet) | $75 to $125 | 8 to 12 hours spread over 3 days | Moderate |
| Full bathroom (ceiling and walls, small room) | $150 to $250 | 16 to 24 hours spread over 4 to 5 days | Moderate to challenging |
| Window frames and sills (3 to 4 windows) | $60 to $100 | 10 to 14 hours spread over 3 days | Moderate |
| Multiple rooms or whole house moisture damage | $400 to $800+ | 40+ hours spread over 1 to 2 weeks | Challenging, consider professional help |
Final Words
Peeling paint from moisture won’t fix itself, and skipping the moisture source just means you’ll be back here in six months with the same problem.
How to fix peeling paint from moisture comes down to three things: find where the water’s coming from, prep the surface right, and use products that can actually handle humidity.
The scraping and sanding aren’t fun, but they matter. So does waiting for primer to dry overnight, even when you’re tempted to rush it.
If you knock out the ventilation issue and stick with moisture-resistant primer and paint, this repair should hold for years. You’ve got this.
FAQ
How to fix peeling paint due to moisture?
To fix peeling paint due to moisture, you first identify and eliminate the moisture source, then scrape all loose paint, sand smooth, apply moisture-resistant primer, and finish with specialized high-humidity paint. Skipping the moisture fix guarantees the peeling comes right back.
Can I fix peeling paint myself?
You can fix peeling paint yourself if the damage is limited, you’ve stopped the moisture source, and there’s no mold or structural issues. Small to medium repairs in bathrooms or around windows are manageable DIY projects with the right materials.
What are common mistakes when fixing peeling paint?
Common mistakes when fixing peeling paint include painting over active moisture without fixing the source, using standard paint instead of moisture-resistant products, rushing between coats, and inadequate surface prep. These shortcuts cause the repair to fail within weeks or months.
Can you paint over flaking paint?
You cannot paint over flaking paint and expect it to last. All loose and flaking paint must be scraped away completely, the edges feathered smooth with sandpaper, and the surface primed before applying new paint for a durable repair.