
You probably think a loose tile is no big deal until it cracks under your foot or starts letting water seep underneath. The fix itself isn’t hard, but picking the wrong adhesive means you’ll be back on your hands and knees redoing the same repair in six months. The right choice depends on where the tile is, what it’s made of, and what caused it to pop loose in the first place. This guide breaks down the top adhesive options so you can match the product to your actual situation and get a repair that lasts.
Top Adhesive Options for Reattaching Loose Tiles

Picking the right adhesive isn’t a one-size-fits-all thing. It comes down to your tile type, where it’s going, and what’s underneath. Floor tiles need stronger stuff than walls. Wet spots need waterproof formulas. And the substrate matters, whether you’re dealing with concrete, plywood, or old tile that’s still stuck down.
| Adhesive Type | Best For | Cure Time | Waterproof Rating | Cost Range |
|---|---|---|---|---|
| Thinset Mortar | Floor tiles, wet areas, permanent repairs | 24-48 hours initial set, 7 days full cure | Excellent | $15-40 per bag |
| Mastic | Wall tiles, quick repairs, dry areas only | 24 hours | Poor | $20-35 per gallon |
| Epoxy Adhesive | Maximum strength, underwater bonding, high-traffic floors | 12-24 hours initial, 5-7 days full cure | Excellent | $40-80 per kit |
| Construction Adhesive (Hybrid Polymer) | Multi-surface compatibility, injection repairs, DIY-friendly | 24 hours initial, 48-72 hours full cure | Good | $15-30 per tube |
Thinset mortar is what you want for floors and anywhere water shows up regularly. It’s a powder you mix with water or a latex additive, creating a cement-based bond that handles weight and moisture without falling apart. Modified thinset includes polymer additives for flexibility and better water resistance. That 24 to 48 hour initial set means you can’t walk on it right away. Full strength takes a week. But you get excellent durability in bathrooms, kitchens, entryways.
Mastic works for wall tiles and quick fixes in dry spots. It comes pre-mixed, so you skip the measuring step. The 24-hour cure gets you back to normal faster than thinset. But don’t use standard mastic in showers or anywhere water pools. It softens when it stays wet.
Epoxy costs more but bonds stronger than thinset or mastic combined. It’s a two-part system where you mix resin and hardener right before you use it. Epoxy can bond underwater, which makes it perfect for pool tiles, fountain repairs, or anywhere you need maximum strength. Trade-off is the price and you’ve got to mix it precisely.
Hybrid polymer adhesives like CT1 give you versatile bonding without the traditional sand-water-cement routine. These construction adhesives are solvent-free and stick to practically everything: wood, porcelain, stone, marble, even tiles with underfloor heating. You apply it through an applicator nozzle for controlled flow and exact placement. The formula bonds stronger than the material itself and won’t shrink or break down indoors or out.
Understanding Why Tiles Become Loose
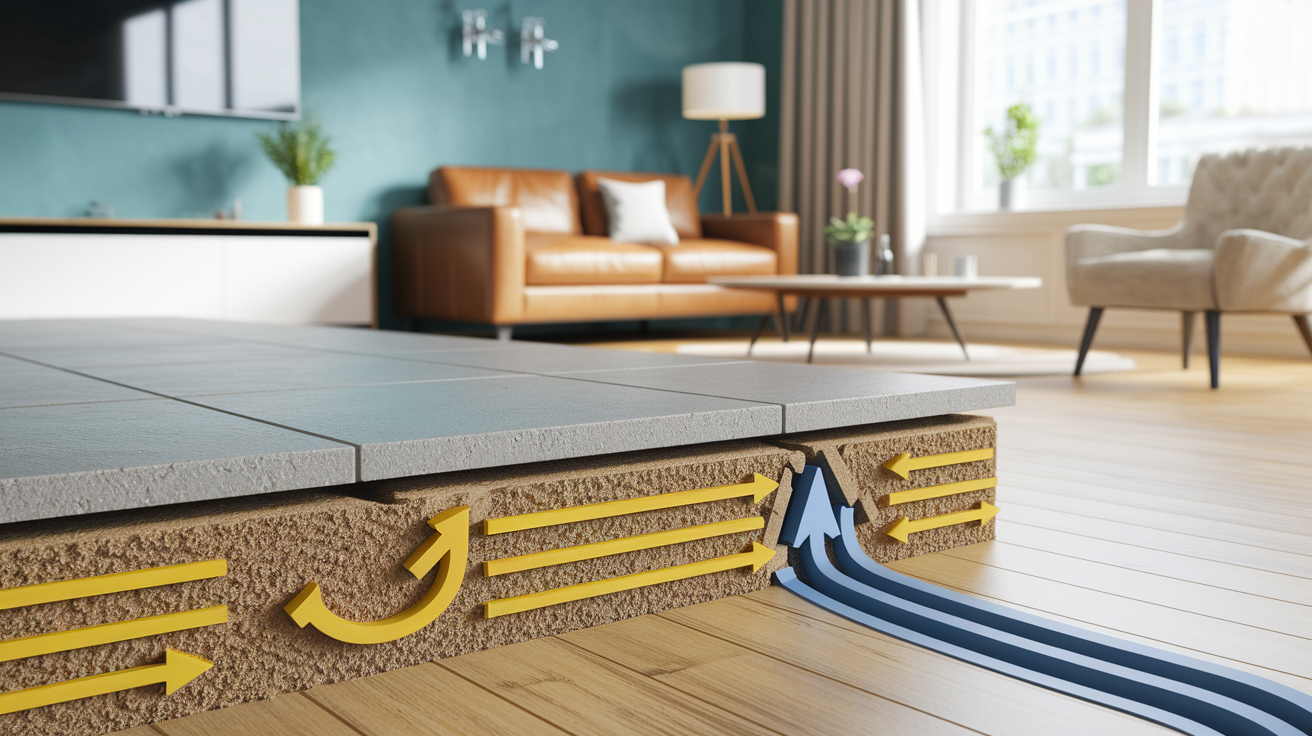
Figure out what made the tile pop loose and you’ll know how to fix it so it doesn’t happen again.
Installation problems cause most failures. Poor initial bonding happens when whoever installed it skipped back buttering (spreading adhesive on both the floor and the tile back), didn’t use enough adhesive, or spread it unevenly. Sometimes they used the wrong adhesive type for that substrate or tile material. Maybe the substrate wasn’t prepped right, with dust or moisture stopping the adhesive from grabbing. These problems might not show up immediately, but eventually gravity and foot traffic win.
Environmental stuff breaks down even good installations over time. Moisture weakens adhesive through repeated wet-dry cycles, especially if water gets through grout lines. Temperature changes cause expansion and contraction. Your floor gets hot in summer, cold in winter, and the tile and substrate move at different rates. Subfloor movement or settling creates pressure points where the house shifts slightly. An uneven subfloor that wasn’t leveled before installation concentrates stress on high spots. All of this wears down the bond until tiles rock when you step on them.
Warning signs tell you tiles are coming loose before they fully let go. Tap tiles with your knuckle. A hollow sound instead of a solid thunk means the adhesive separated. Cracks spreading through grout lines show movement. Tiles that rock slightly when you step on them have partially failed adhesive underneath. Water seeping around tile edges after you mop means the seal broke.
Substrate Preparation and Compatibility
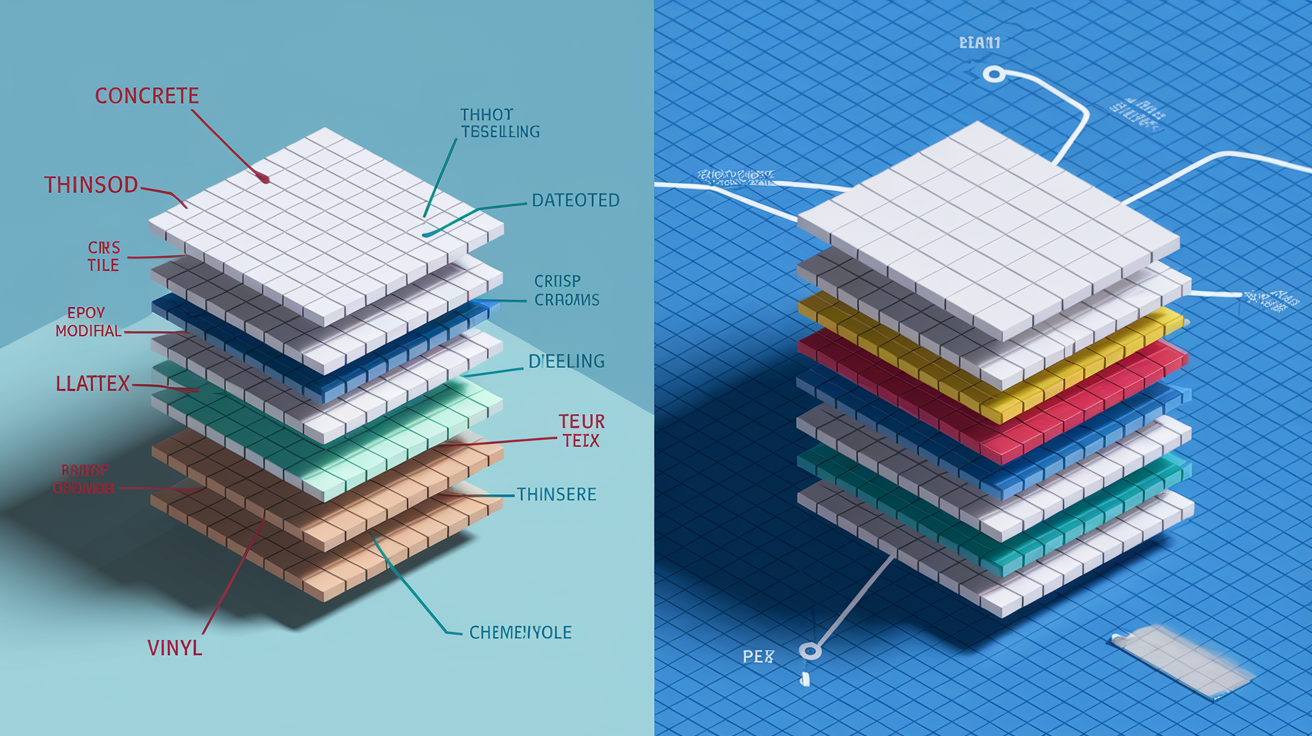
Match your adhesive chemistry to both tile material and what’s underneath or you’re setting yourself up for another failure.
Ceramic tiles work with all adhesive types because they’re porous enough to bond mechanically with thinset, mastic, or epoxy. Porcelain needs modified thinset or epoxy because its non-porous surface requires chemical bonding rather than mechanical grip. Natural stone needs white thinset to prevent dark adhesive from showing through translucent stone or causing stains. Floor tiles need weight-bearing formulas rated for foot traffic and furniture loads. Wall tiles can use lighter-duty mastic since they don’t support weight.
Concrete substrates accept all adhesive types with good mechanical bonding to the rough surface. Plywood subfloors require flexible latex-modified adhesives that move with the wood’s expansion and contraction. Vinyl tiles need specialized construction adhesive formulated to bond to smooth non-porous surfaces.
Radiant heating systems add another variable. The substrate expands and contracts with temperature changes throughout the day. Use flexible formulas specifically rated for radiant heat, typically latex-modified thinset or hybrid polymer adhesives. Check the adhesive label for maximum temperature tolerance.
Here’s your prep sequence:
- Identify all loose tiles by tapping each one to find hollow sounds that mean separation
- Remove damaged grout around the loose tile using a grout saw or rotary tool with a cutting attachment
- Carefully lift the tile to check old adhesive and substrate condition, looking for crumbling material or moisture damage
- Clean the back of the tile and substrate surface, removing all old adhesive with a scraper and cloth
- Check the substrate for damage, moisture, or unevenness that needs fixing before you reattach
- Let both surfaces dry completely before applying new adhesive, waiting at least 24 hours if moisture is present
Substrate prep determines whether your repair lasts or fails again in six months. Uneven areas need leveling compound to create a flat surface. Concrete that’s dusty or chalky requires primer to seal the pores and improve adhesive grip. Plywood with water damage needs replacement sections before you reattach tiles. If the substrate is compromised, even the best adhesive won’t hold.
Deciding whether to reattach or replace depends on tile condition and substrate damage. If the tile’s intact and the substrate is solid, reattachment works fine. Drilling 2 to 4 holes in the grout lines around the tile lets you inject adhesive underneath without lifting it. This injection method with products like Fix-A-Floor keeps the tile in place and cuts down the chance of breakage during removal.
Application Methods for Tile Adhesive Repair

How you apply it depends on whether you’re lifting tiles or keeping them in place during the fix.
Injection Method for Tiles Left in Place
Drill small holes in the grout lines at each corner of the loose tile using a masonry bit. Keep the holes close to the tile edge so fresh grout covers them later. Insert the applicator nozzle or caulk gun tip into one hole. Inject adhesive slowly, watching for it to appear at the other holes. That tells you the void underneath is filling. Work around all four sides if you need to.
Apply weighted pressure right after injection. Set partially filled water buckets, books wrapped in plastic, or other heavy flat objects on top of the tile. The weight forces the tile down into the wet adhesive and squeezes out air pockets. Keep the weight there for the full cure time listed on your adhesive package, usually at least 24 hours. Wipe excess adhesive from the grout lines right away using a damp cloth. Once it hardens, you’ll need a grout saw to get it out.
Traditional Method for Removed Tiles
Spread adhesive on the substrate using the right technique for your adhesive type. Thinset gets combed with a notched trowel to create ridges that collapse when you set the tile. The notch size depends on tile size. Small tiles under 8 inches use a 1/4-inch notch. Larger floor tiles need 3/8-inch or 1/2-inch notches. Mastic spreads with a smoother trowel in a thinner layer.
Back butter the tile by spreading a thin layer of adhesive directly on the tile back with the flat side of your trowel. This improves coverage and gets rid of air gaps. Press the tile into place with a slight twisting motion that helps the adhesive spread evenly. Don’t slide the tile more than half an inch or you’ll scrape away the adhesive layer. Use spacers if you’re resetting multiple tiles to keep grout line width consistent.
Check tile height against surrounding tiles by placing a straight edge or level across several tiles. The repaired tile should sit flush with neighbors, not higher or lower. Too high means pull it back up, remove some adhesive, and reset. Too low means you didn’t use enough. Lift and add more.
Clean up immediately before adhesive starts setting. Remove any smears from tile surfaces using a damp sponge for water-based adhesives or whatever solvent the manufacturer recommends for epoxy. Dried adhesive on tile faces is nearly impossible to remove without scratching.
Adhesive Cure Times and Traffic Restrictions
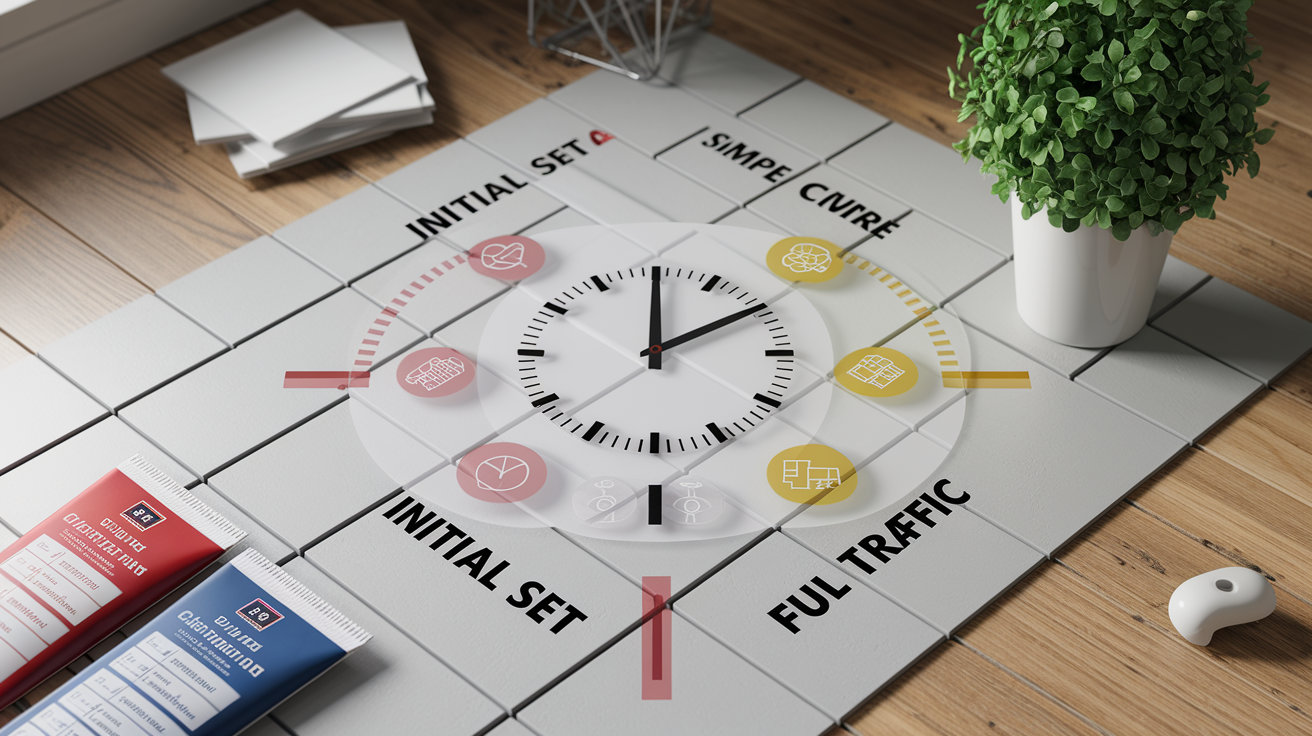
Cure time varies by adhesive type, temperature, and humidity. Rush this step and you get tiles that pop loose again because the bond never fully developed.
Initial set time is when the adhesive becomes firm enough that the tile won’t shift if you bump it. Full cure time is when the adhesive reaches maximum strength and can handle normal use. These are different timeframes. Walking on tiles before full cure can break the developing bond even if the surface feels solid.
| Adhesive Type | Initial Set | Full Cure | Light Traffic | Heavy Traffic |
|---|---|---|---|---|
| Thinset Mortar | 24 hours | 7 days | 48 hours | 7 days |
| Mastic | 24 hours | 72 hours | 24 hours | 72 hours |
| Epoxy | 12-24 hours | 5-7 days | 24 hours | 7 days |
| Construction Adhesive | 24 hours | 48-72 hours | 24 hours | 72 hours |
Apply weighted pressure during the cure period by placing heavy objects on repaired tiles. Use partially filled water buckets (easier to move than full ones) or stack books wrapped in plastic to protect them from moisture. The weight keeps the tile pressed firmly against the substrate while the adhesive hardens. Don’t walk on the repair area even to check progress. Each footstep applies hundreds of pounds of pressure to a small area, potentially shifting the tile.
Temperature and humidity affect cure speed significantly. Most adhesives cure best between 65 and 75 degrees with moderate humidity. Cold slows curing, sometimes doubling the wait time. High humidity also extends cure periods because moisture must evaporate for the chemical reaction to complete. If you’re fixing tiles in winter or during humid summer weather, add extra days to the manufacturer’s timeline.
Advanced Installation for Wet Areas and Waterproofing
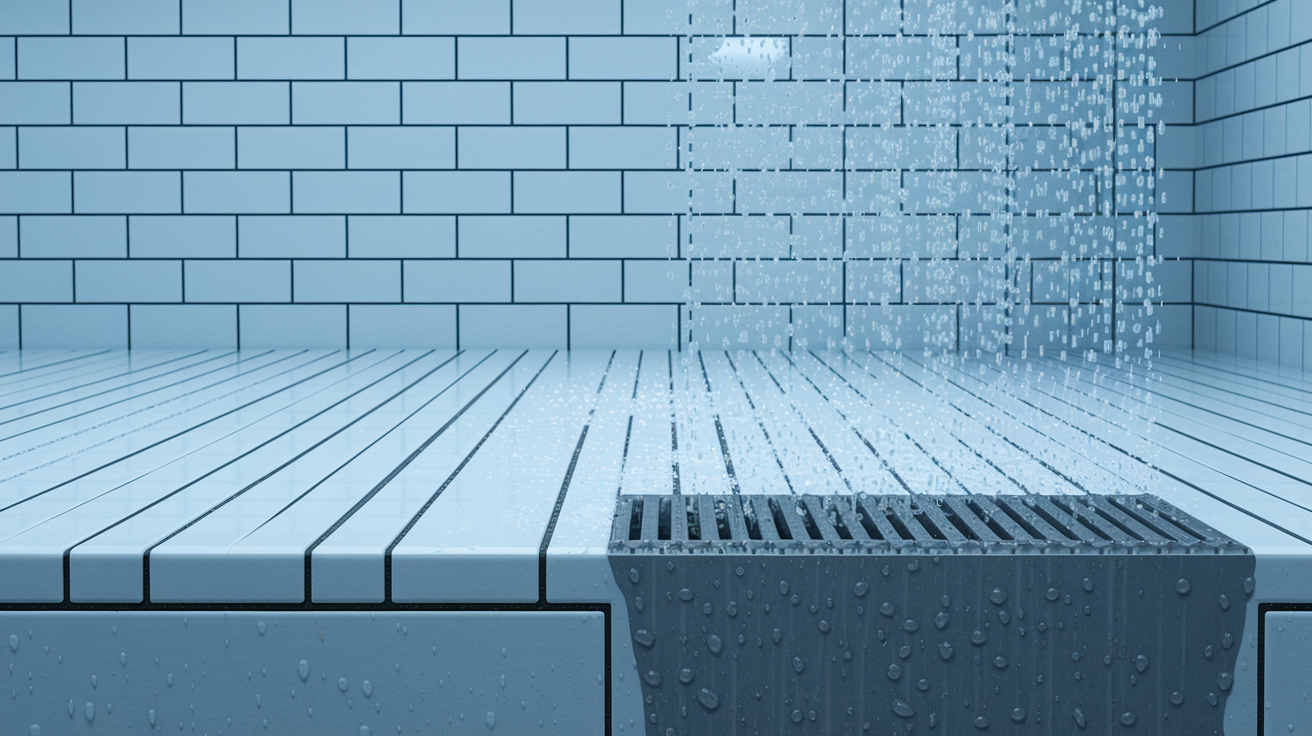
Continuous water exposure in showers and bathroom floors requires extra waterproofing beyond just picking the right adhesive.
Waterproof membrane or primer on the substrate before adhesive creates backup protection. Think of it as insurance. If water does get through the grout lines, the membrane stops it from reaching the subfloor where it would cause wood rot or mold. This matters most in shower walls, steam rooms, and areas around bathtubs where water penetration risk is highest. The membrane goes on before any tile work, creating a barrier that seals the entire surface including seams and corners.
Apply waterproof membrane to substrate before tile work in all wet areas. Use latex-modified thinset with waterproofing additives for the adhesive layer. Make sure you’ve got proper slope for drainage in shower floors, typically 1/4 inch per foot toward the drain. Seal all corners and penetrations with waterproof tape or sealant before membrane application. Allow extended cure time in humid environments, adding 24 to 48 hours beyond standard recommendations.
Specific products handle extreme moisture exposure better than standard options. Epoxy adhesives provide maximum water resistance in pool areas, fountain surrounds, and outdoor water features. The two-part system creates a chemical bond that water can’t break down. Hybrid polymer adhesives like CT1 can bond underwater and seal at the same time. If you’re fixing a tile in a fountain you can’t drain, CT1 provides watertight sealing that stops water penetration permanently while resisting temperature extremes and chemical exposure.
Proper ventilation during curing prevents trapped moisture and mold development. Run exhaust fans continuously for the first 48 hours after applying adhesive in bathrooms. Leave doors open if possible. The adhesive needs air circulation to cure right. Trapped humidity in an enclosed shower stall slows curing and can lead to mold starting to grow in the damp grout before it fully hardens.
Recommended Adhesive Products and Brands

While plenty of brands exist, certain products consistently perform well for loose tile repairs based on formulation and real-world testing.
Fix-A-Floor Extra Strength is an injection-style adhesive made specifically for loose tile repair without removal. It works on wood subfloors, porcelain, stone, marble, and tiles installed over radiant heating systems. The formula flows easily through drilled holes in grout lines. You apply it with a standard caulk gun. Cure time is at least 24 hours under weighted pressure before light traffic. A single bottle costs roughly $20 to 30 and covers several tiles depending on void size underneath.
CT1 Hybrid Polymer Adhesive uses TRIBRID Technology in a solvent-free formula that bonds to practically all materials. It works on ceramic, porcelain, stone, metal, wood, and plastic without needing different products for each substrate. The adhesive bonds stronger than the material itself and can bond underwater, useful for fountain repairs or tiles you can’t fully dry before reattachment. You apply it through a controlled applicator nozzle. Cost runs about $15 to 25 per tube. The product has gotten endorsements from industrial operatives and trades people across Europe for both DIY and professional applications.
CustomBuild Products or Mapei Latex-Modified Thinset represents professional-grade powder options for permanent repairs. These require mixing with water to a peanut butter consistency. The latex modification adds flexibility and better bonding compared to standard cement-based thinset. They provide strong bonding for floor tiles, wet areas, and high-traffic locations. Cost ranges from $15 to 40 per bag depending on size and specific formulation. A 50-pound bag covers roughly 95 square feet with a 1/4-inch notch trowel.
Coverage area matters when you’re calculating quantity needed. Thinset coverage depends on notch size. Larger tiles need deeper notches and more adhesive per square foot. Injection adhesives depend on how much void space exists under your loose tiles. If you’re fixing just a few tiles with small separated areas, one tube handles it. Widespread hollowness under multiple tiles might need two or three tubes.
Read manufacturer specs for specific tile types and substrates. Some thinsets are formulated specifically for porcelain or natural stone. Others focus on large-format tiles. Match the product to your situation rather than grabbing the cheapest option.
Cost Comparison and Budget Considerations

Loose tile repair is way cheaper than full replacement, even when you factor in tools and materials you don’t already own.
| Repair Option | Material Cost | Time Investment | Skill Level | Longevity |
|---|---|---|---|---|
| DIY Adhesive Injection | $15-30 | 2-3 hours | Beginner | 5-10 years |
| DIY Tile Removal and Reset | $25-50 | 4-6 hours | Intermediate | 10-20 years |
| Professional Repair | $150-300 per tile | Minimal homeowner time | Expert | 20+ years |
DIY makes sense for single tiles, accessible areas, and stable substrates. If you can see the problem, reach it comfortably, and the tile sounds hollow but the surrounding area is solid, injection or removal/reset works well for most homeowners. The skills aren’t complicated. Drilling holes, mixing adhesive, and setting tiles are straightforward tasks if you follow instructions and take your time.
Call a pro when you’re dealing with multiple tiles in the same area, which suggests substrate problems rather than simple adhesive failure. Structural concerns like cracked subfloors, significant water damage, or settling foundations need expert assessment. Difficult locations matter too. Shower walls where waterproofing failure might exist, or intricate patterns where one wrong move ruins the design, are worth hiring out. The professional brings experience with diagnosis and repair techniques that prevent repeat failures.
Factor in additional materials for first-time DIY repairs. You might need a grout saw, mixing bucket, notched trowel, and spacers if you don’t already have them. These tools add $30 to 50 to your first project but last for years and multiple repairs.
Essential Equipment and Safety Precautions

Having proper equipment improves results and keeps the work safer.
You’ll want a grout saw or rotary tool for grout removal around loose tiles. Drill with masonry bit for injection method holes in grout lines. Cloth for cleaning tile backs and substrate surfaces. Caulk gun or applicator nozzle for injection adhesives with controlled flow. Notched trowel in the right size for traditional adhesive spreading. Mixing bucket and paddle for powder adhesive prep. Tile spacers for keeping consistent grout line width when resetting multiple tiles. Rubber mallet for setting tiles without cracking them. Level for checking tile height against surrounding tiles. Grout float for regrout work after adhesive cures. Sponges and cleaning cloths for removing excess adhesive and grout. Weights or heavy objects like partially filled water buckets for applying curing pressure.
Safety equipment protects you from common hazards in tile repair work. Safety glasses are non-negotiable when drilling through grout lines or cutting with a rotary tool. Ceramic and porcelain dust flies up toward your face. A dust mask or respirator prevents breathing fine particles when grinding old adhesive or cutting grout. Chemical-resistant gloves protect hands when mixing and applying adhesive, especially important with thinset that can irritate skin. Knee pads make floor work tolerable for more than ten minutes.
Ventilation requirements vary by adhesive type. Even though many modern formulas like CT1 are solvent-free, some epoxies and construction adhesives release fumes during application and curing. Open windows and run fans to move air through the work area. If you’re working in a small bathroom without windows, consider using a different adhesive or setting up a box fan in the doorway to exhaust fumes.
Cleanup matters because dried adhesive is difficult to remove without damaging surfaces. Wipe excess adhesive before it cures using a damp sponge for water-based products or the solvent specified on the label for chemical-cure adhesives. Check tile faces every 15 minutes during the first hour to catch any smears. Dispose of adhesive properly according to local regulations, usually as household chemical waste rather than regular trash.
Preventing Future Tile Adhesion Problems

Proper maintenance extends tile adhesive life and prevents costly repairs down the road.
Seal grout lines every 1 to 2 years to prevent water getting underneath and weakening adhesive. Wipe up standing water immediately, especially in bathrooms and kitchens where water exposure happens constantly. Use bathroom exhaust fans during showers and for 30 minutes after to cut down humidity and moisture buildup. Inspect tiles quarterly by tapping them to catch early hollow sounds before complete failure. Fix grout cracks immediately before water reaches the adhesive layer and substrate. Keep indoor temperature and humidity stable to minimize expansion and contraction cycles.
Check subfloor condition during any renovations or when replacing nearby materials. Water damage to plywood or settling in concrete creates the conditions for future tile failure. Make sure you’ve got proper substrate prep for any new tile work by leveling uneven areas, priming porous surfaces, and allowing adequate drying time after any moisture exposure. Use the right adhesive for the specific location and tile type rather than whatever’s on sale.
Recognize early warning signs before tiles fully detach. Grout discoloration, especially darkening in wet areas, indicates water penetration. Slight tile movement when you step on certain spots means the adhesive is starting to fail. Musty odors near tile areas suggest moisture reached the substrate. Address these problems promptly with targeted repairs rather than waiting for complete adhesion failure that might damage surrounding tiles when the loose one pops up.
Final Words
Choosing the best adhesive for loose tile depends on your tile type, where it’s installed, and how much water exposure it gets.
Thinset mortar works for most floor repairs and wet areas. Mastic handles quick wall fixes. Epoxy gives maximum strength when you need it. Hybrid polymer options like CT1 simplify the whole process without mixing.
Clean your substrate completely, match the adhesive to your material, and give it full cure time before walking on it.
Most single-tile repairs cost under $30 in materials and take just a few hours. That beats replacement every time.
Seal your grout regularly and catch hollow-sounding tiles early. You’ll save yourself bigger headaches down the road.
FAQ
What adhesive should you use for loose tile?
The best adhesive for loose tile depends on the tile location and type. For floor tiles and wet areas, use thinset mortar or epoxy adhesive for maximum strength and waterproofing. For wall tiles and quick repairs, mastic works well in dry areas. Injection adhesives like Fix-A-Floor are ideal when you don’t want to remove the tile.
How do you restick a loose tile?
You restick a loose tile by either lifting it to apply fresh adhesive or using an injection method through drilled holes in the grout lines. Clean the tile back and substrate completely, apply appropriate adhesive (thinset, epoxy, or injection formula), press the tile into place, and weight it down for 24-48 hours while the adhesive cures.
How do you fix loose wall tiles without removing them?
You fix loose wall tiles without removing them by drilling 2 to 4 small holes in the grout lines around the loose tile, then injecting adhesive through the holes using a caulk gun. Apply pressure with weighted objects for at least 24 hours, wipe excess adhesive from grout lines, and repair the drilled holes with fresh grout.
How do you stop tiles from slipping?
You stop tiles from slipping by identifying the cause of adhesion failure first. Clean the substrate and tile back thoroughly, remove all old adhesive residue, then reattach using the correct adhesive type for your substrate and tile material. Weight the tile during the full cure period (24 hours to 7 days depending on adhesive type) to ensure proper bonding.
Can you reattach tiles with epoxy adhesive?
Yes, you can reattach tiles with epoxy adhesive, which provides the strongest bond and works in underwater or high-moisture areas. Epoxy is more expensive than other options but offers maximum durability. It requires 12-24 hours initial set and 5-7 days for full cure before heavy traffic.
What’s the difference between thinset and mastic for tile repair?
Thinset is a cement-based adhesive that offers excellent waterproofing and works for floor tiles and wet areas, requiring 24-48 hour cure time. Mastic is a pre-mixed organic adhesive that sets faster (24 hours) and works well for wall tiles in dry areas but isn’t suitable for showers or continuous water exposure.
How long does tile adhesive take to cure?
Tile adhesive cure time varies by type. Thinset mortar needs 24 hours initial set and 7 days full cure. Mastic requires 24 hours initial set and 72 hours full cure. Epoxy needs 12-24 hours initial and 5-7 days full cure. Construction adhesive takes 24 hours initial and 48-72 hours full cure. Temperature and humidity affect these timeframes.
Should you use waterproof adhesive for bathroom tiles?
Yes, you should use waterproof adhesive for bathroom tiles, especially in showers, around tubs, and on floors with direct water exposure. Latex-modified thinset or epoxy adhesive provides the best moisture resistance. For areas with continuous water exposure, apply waterproof membrane to the substrate before adhesive for redundant protection.
How much does it cost to reattach loose tiles yourself?
DIY loose tile repair costs $15-30 for adhesive injection method or $25-50 for complete tile removal and reset. This includes adhesive, basic tools, and supplies. Professional repair costs $150-300 per tile. DIY makes sense for single tiles in accessible locations with stable substrates, saving significant money compared to replacement.
What tools do you need to fix loose tiles?
You need a grout saw or rotary tool for grout removal, drill with masonry bit for injection method, caulk gun or applicator nozzle for adhesive, non-abrasive cloth for cleaning, tile spacers, rubber mallet, level, and weighted objects like water buckets. Safety gear includes glasses, dust mask, and gloves.
Can hybrid polymer adhesive work on all tile types?
Yes, hybrid polymer adhesive like CT1 works on practically all tile types including ceramic, porcelain, natural stone, and vinyl. It bonds to multiple substrates (wood, concrete, plywood), can seal underwater, and requires no mixing. It’s solvent-free and flexible, allowing material movement without bond failure, making it versatile for various repair situations.
How do you know if a tile is loose?
You know a tile is loose by tapping it with a hard object and listening for a hollow sound instead of a solid thud. Other warning signs include tiles that rock when stepped on, visible cracks in surrounding grout lines, and water seepage around tile edges. Regular quarterly inspections help catch problems early.