
You just noticed brown stains spreading across your ceiling and thought, “Can I just paint over that?” Short answer: maybe, but only if the drywall’s still solid, completely dry, and the leak’s actually fixed. Paint over soft, damp, or moldy drywall and you’re setting yourself up for peeling paint, worse damage, and wasted money within weeks. This guide walks you through exactly when painting works, when you need to replace instead, and how to prep water damaged drywall so the fix actually lasts.
Water Damaged Drywall: When You Can Paint and When You Can’t

You can paint over water damaged drywall, but there’s a catch. The material needs to be structurally sound, bone dry, and the leak has to be fixed. Press on the damaged spot. If it feels soft, crumbles under your fingers, or sags, painting won’t help. You’re looking at replacement.
Three things tell you whether it’s safe to paint: the drywall needs to feel firm (not spongy), moisture readings should sit below 16% on a meter (or feel completely dry if you’re going by touch), and you need to know what you’re dealing with contamination wise. Surface stains? Fine. Mold that’s worked its way into the core? That’s a different situation entirely, one that needs professional help or a full tearout.
Here’s a simple way to think about it. If the drywall still works as a wall, you can probably paint it after you prep it right.
Signs you need to replace instead of paint:
- Sections pulling away from studs or joists
- Drywall that falls apart when you touch it
- Soft spots bigger than your palm that stay soft even after days of drying
- Mold that’s penetrated past the surface
- Damage covering more than half a panel
- Paper facing that’s deteriorated across large areas, not just a couple spots
- Moisture that won’t go away even with fans and dehumidifiers running
- Lost rigidity where the drywall can’t support paint or hold a screw anymore
Paintable damage looks different. The drywall feels solid when you press on it. You’re seeing surface stains, brown spots, yellow marks. The material reads dry on a meter (under 16%) or feels completely dry. And critically, the leak’s been fixed. Could be cracked grout, roof trouble, plumbing issue, whatever it was, it’s handled now. There’s no water coming back.
Surface discoloration from reactions between paper, paint, and rust happens all the time. Doesn’t mean the drywall’s shot. A quarter sized black stain around a nail? Peeling paint along a two foot seam? Those are fixable with cleaning, primer, and paint.
You have to fix the leak source before you do anything else. Not negotiable. Paint over an active leak and you’re just hiding it. Give it a few weeks, maybe a couple months. You’ll see bubbling paint, new stains bleeding through, mold starting up.
Preventing Future Water Damage to Drywall
Prevention beats repair every time. Easier, cheaper, less mess. Catch water problems within days instead of weeks and you’re dealing with surface stains, not structural replacement.
Six ways to protect your drywall:
- Check caulking and grout in bathrooms and kitchens once a year, replace anything that’s cracked or separated
- Inspect roof and gutters twice yearly (spring and fall), look for missing shingles, damaged flashing, debris blocking water flow
- Keep basement and crawl space humidity below 50% with a dehumidifier if needed
- Run exhaust fans during showers and cooking, leave them on for 20 minutes after
- Fix small leaks right away. A few drops daily from failing grout turns into damage that needs drywall replacement
- Use moisture resistant drywall (green board or purple board) in high risk spots like bathroom walls during renovations
Early detection saves you real money. Spot brown spots or yellow discoloration within days of a leak starting and you prevent the kind of damage that requires cutting out entire sections. You’re talking $30 repair versus $500 project.
Bathroom walls and kitchen ceilings are the trouble spots in most homes. Use moisture resistant paint there, run the exhaust fan, do quarterly inspections. Look at ceiling corners, around fixtures, along the tub or shower surround. Check for paint that feels soft, color changes, caulking pulling away.
If you’re in a newer home and seeing moisture damage in the first year or two, document it before you fix anything yourself. Contact your builder. Moisture problems can point to bigger installation issues, flashing problems, HVAC troubles that should get corrected under warranty.
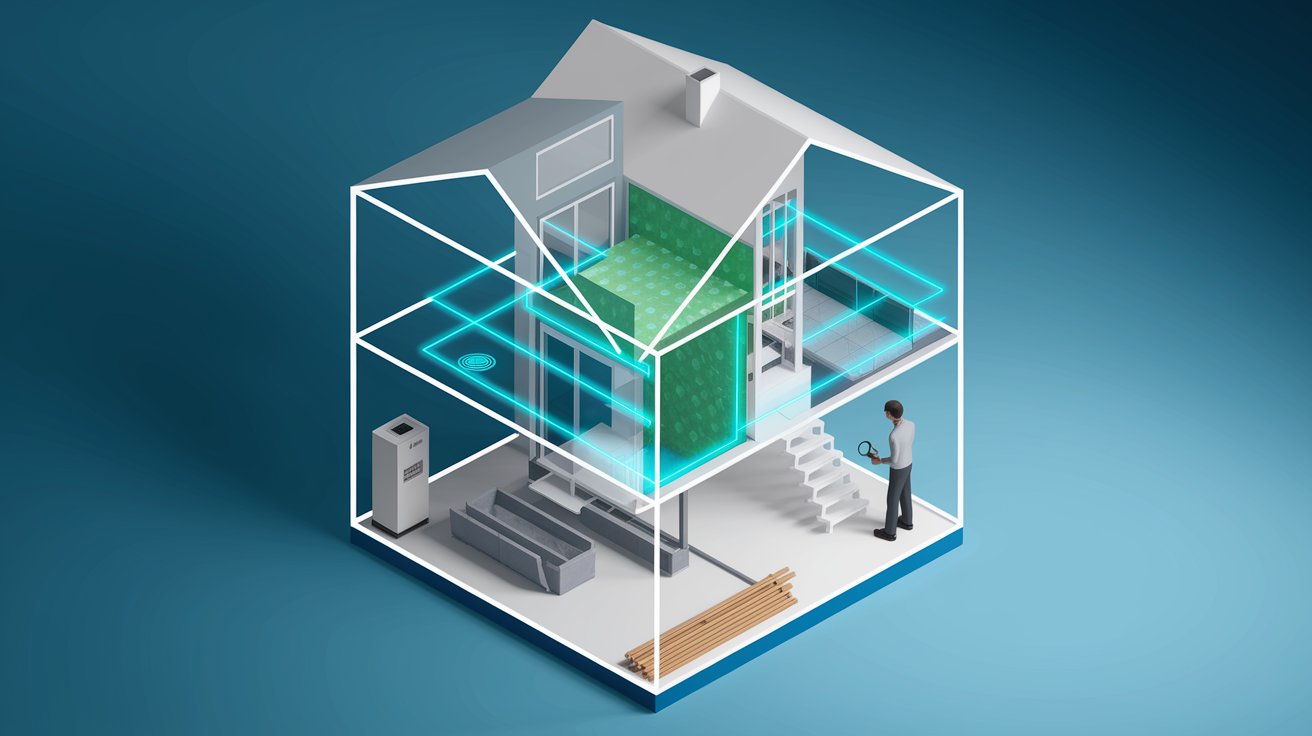
Comprehensive Inspection and Assessment of Water Damaged Drywall
Proper inspection prevents wasted work. Skip steps here and you might paint over drywall that’s still damp, structurally shot, or growing mold. Then you’re dealing with peeling paint, recurring stains, health issues, all within a few weeks.
Visual Assessment of Stains and Discoloration
Start with the staining pattern and color. Brown spots usually mean water’s been sitting there, absorbed tannins from wood or rust from nails. Yellow discoloration typically signals fresh water damage or leaching from the drywall paper. Black spots are trickier. Could be water stains from reactions with paper, paint, and rust. Not necessarily black mold. A quarter sized black stain around a nail head? Classic water stain pattern, not an emergency.
Peeling paint along seams is another typical minor damage sign. Water follows the easiest path, often traveling along seams and tape joints before showing up on the surface. Two feet of peeling paint near a ceiling seam might mean a small leak directly above, or water traveled along the seam from several feet away.
Check whether the staining’s contained or spreading. Defined edges suggest old damage from a leak that’s stopped. Fuzzy edges that seem to grow or change? Active moisture or mold.
Testing Drywall Structural Integrity
Press firmly on the stained area with your palm. Healthy drywall feels solid, pushes back. Soft spots that give under pressure, feel spongy, or leave an indentation mean the gypsum core’s absorbed water and broken down. Small soft area (smaller than a quarter) that firms up after drying? Usually repairable. Soft spots bigger than your palm that stay soft after a week of drying? Failed structural integrity.
Run your hand along the surface. Crumbling edges, flaking paper, powdery feel means the drywall’s deteriorated past the point of painting. Check for sagging by looking along the ceiling or wall from an angle. Even slight bowing means fasteners have pulled loose and the drywall’s lost its attachment to framing.
Firm drywall with only surface staining? Paintable. The structure’s sound, just stained from water exposure and material reactions.
Confirming Complete Dryness
Drywall has to be completely dry before you prime or paint. Moisture trapped under paint causes peeling, bubbling, creates perfect conditions for mold. A moisture meter gives you a definitive answer. Readings should be below 16% for safe painting, ideally below 12%.
No moisture meter? Use the plastic sheet test. Tape a piece of plastic (about one foot square) over the stained area, seal all edges with painter’s tape. Wait 24 hours, peel back the plastic. Condensation on the underside means there’s still moisture in the drywall. No condensation? Dry enough to proceed.
Touch is the least reliable method but still useful. The area should feel exactly like surrounding dry drywall. Cool to the touch is fine, but not cold or clammy. Press a paper towel firmly against the surface for 30 seconds. Any dampness on the towel means it’s not ready.
Mold Evaluation and Safety Assessment
Surface mildew looks different from deep mold growth. Mildew appears within 24 to 48 hours of water exposure, stays on the surface as dark spots or light fuzz, wipes away easily with a damp cloth and cleaning solution. It’s annoying but not structural.
Deep mold penetrates the drywall paper and gypsum, feels fuzzy or slimy rather than flat, spreads rapidly even after the moisture source is gone, often produces a musty smell you notice when entering the room. This type needs professional remediation or replacement.
When to call professionals:
- Mold coverage exceeding 10 square feet (roughly 3 by 3 section)
- Mold behind walls (persistent musty odor even when you can’t see growth)
- Health issues like respiratory problems, persistent coughing, allergic reactions that started after water damage appeared
- Contaminated HVAC systems where mold or water entered ducts or air handlers
- Sewage related water damage (introduces bacteria, needs specialized cleaning)
For DIY surface mold treatment that’s safe to handle, wear proper safety gear: respirator mask rated N95 minimum (not just a dust mask), waterproof gloves, eye protection, long sleeves. Ventilate by opening windows and running fans that exhaust air outside, not just circulating room air.
Document damage with photos for insurance coverage if you need to file a claim. Take pictures showing stain extent, any mold growth, source of the leak if visible, surrounding areas for context. Note the date you first discovered it.
Clean with a bleach and water solution (1 part bleach to 3 parts water) to neutralize mold spores on the surface and prevent regrowth after painting. Do this even if you don’t see obvious mold. Spores can be present before visible growth appears.
Finding and Fixing the Water Damage Source

Identifying and repairing the water source is mandatory before any painting work. Paint over an unfixed leak and you’re putting a bandaid on a broken pipe. It hides the problem temporarily. Within weeks or months the damage reappears. Reoccurring damage after painting means wasted time, wasted materials, often worse drywall deterioration because moisture was trapped under the new paint.
Common water sources:
- Plumbing issues (pipe leaks behind walls, failing fixtures like tub spouts or shower valves, supply line connections that drip, drain pipes leaking during use)
- Roof damage (missing or damaged shingles, failed flashing around chimneys or vents, ice dams in winter, clogged gutters overflowing onto walls)
- Failed grout or caulking, especially in bathrooms where shower surrounds, tub edges, sink backsplashes allow water to seep behind surfaces
- Condensation from high humidity, poor ventilation, cold surfaces in contact with humid air (common in basements and poorly insulated exterior walls)
- HVAC leaks from condensate drain lines, overflow pans, ductwork condensation
- Window seals that have deteriorated, allowing rain to enter around frames or through failed weatherstripping
A few drops of water after each shower use, like from cracked grout in a second floor shower stall, doesn’t seem like much. But those drops add up. Daily exposure over weeks creates quarter sized stains, peeling paint along seams, eventually soft drywall needing repair. Cumulative damage from small repeated leaks often causes more problems than a single large leak that gets noticed and fixed immediately.
Call a professional for plumbing issues behind walls or roof damage requiring climbing or structural work. DIY fixes work fine for replacing caulking, regrouting shower surrounds, sealing window frames, adjusting condensation issues with better ventilation.
Drying Out Water Damaged Drywall Properly
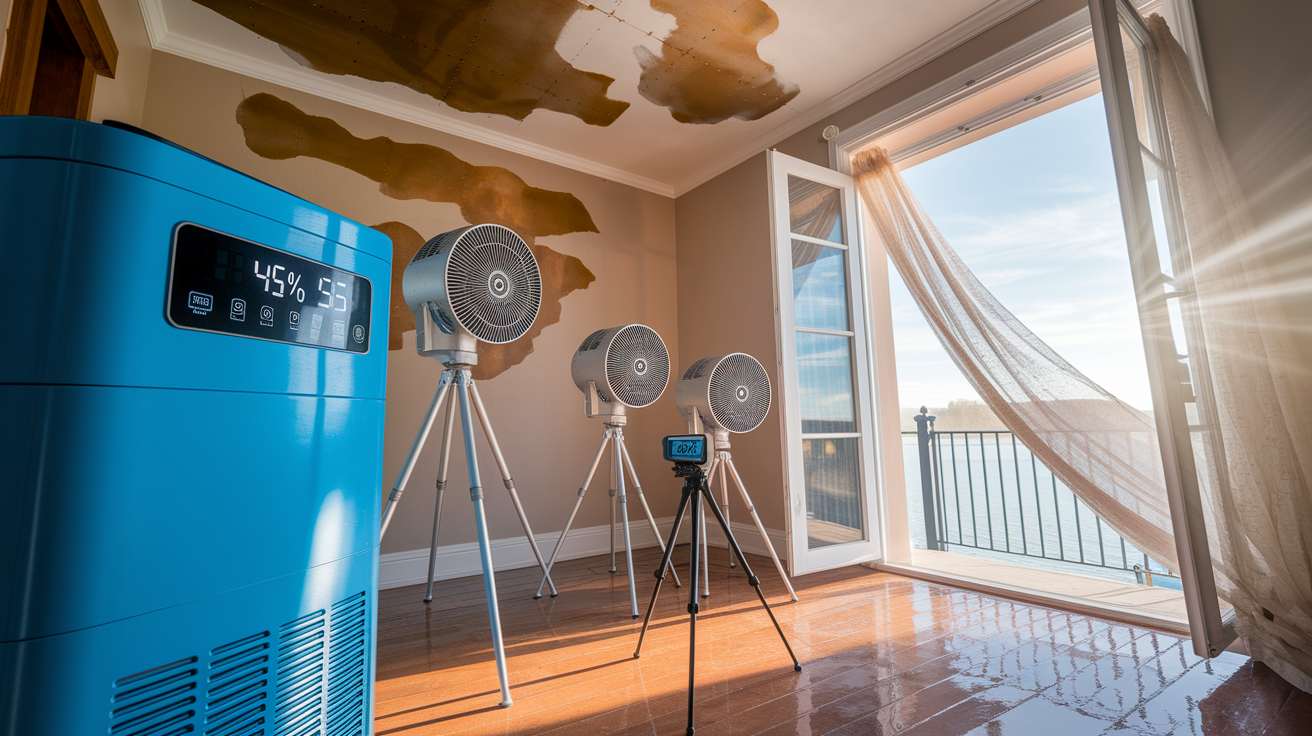
Paint before complete drying and you trap moisture between the drywall and paint layer. That trapped moisture causes paint adhesion failures within days, creates peeling paint and bubbling sections, gives mold the perfect dark, damp environment to grow. You end up redoing the work, but now you’re also scraping off failed paint.
Active drying methods speed things up and reduce mold risk. Open windows for ventilation and cross airflow, especially if outdoor humidity’s lower than indoor. Run a dehumidifier set to maintain humidity below 50%, empty the tank or make sure the drain line works. Position fans to create air circulation across the damaged area. Aim fans at the wall or ceiling, not just into the room. Increase room temperature slightly (5 to 10 degrees) to help moisture evaporate faster, but don’t overdo it or use direct heat sources like space heaters aimed at drywall.
Drying process in order:
- Remove wet materials from the room (rugs, furniture, stored items) that slow drying and can develop mold
- Establish cross ventilation within 24 to 48 hours by opening windows on opposite sides of the space or using fans to move air in and out
- Run the dehumidifier continuously for 3 to 7 days depending on damage extent. Small ceiling stain might dry in 3 days, soaked wall section could take a full week
- Verify complete dryness with a moisture meter before proceeding to repairs and painting
Emergency water removal for major flooding, burst pipes, sewage backups requires professional restoration crews with commercial extraction equipment, antimicrobial treatments, documentation for insurance. They get water out fast (within hours) and dry the structure properly using industrial dehumidifiers and air movers. Minor leak drying from a slow drip, small roof leak, condensation issue is DIY friendly using the methods above.
Preparing Water Damaged Drywall for Painting

Proper surface prep determines whether your paint job lasts six months or six years. Rush this step or skip parts of it and you get poor paint adhesion, visible patches, finish quality that looks amateur.
Step by step prep sequence:
- Scrape away all peeling paint, bubbling areas, flaking sections using a putty knife, work until you reach solid paint or bare drywall that doesn’t lift when you press the knife edge against it
- Wash the entire affected area (not just visible stains) with bleach and water solution mixed 1 part bleach to 3 parts water, use a sponge or cloth to neutralize mold spores and clean residue
- Let the washed area dry completely for 24 hours minimum after cleaning. You just added moisture, it needs time to evaporate before you patch or prime
- Fill any cracks, holes, depressions with patching compound for small repairs or joint compound for larger areas and seams, use a putty knife to press compound into damaged spots and smooth flush with the surface
- Allow patching compound to cure per manufacturer instructions, typically 4 to 24 hours depending on depth and product type. Thick applications take longer
- Sand repaired areas smooth using 120 grit sandpaper, feather the edges to blend with the surrounding surface so you can’t feel a ridge where patch meets existing drywall
- Wipe down with a damp cloth to remove all sanding dust before priming. Dust under primer causes adhesion problems and a rough finish
Pay attention to drywall seams where peeling paint commonly occurs after water damage. Water follows the tape joint and paper facing, causes the mud and tape to separate from the drywall core. Two feet of peeling paint along a seam usually means you need to scrape wider than the visible damage. Test the paint on both sides of the peel by pressing with your putty knife to find where it’s still solidly attached.
Texture matching matters for textured walls or ceilings if you want professional looking results. Match the existing texture before priming using spray texture for orange peel or knockdown patterns, or stipple compound with a sponge for hand applied textures. Matching texture before the primer coat gives you a better sense of coverage and lets you adjust the pattern while it’s still wet.
Choosing the Right Primer for Water Damaged Drywall
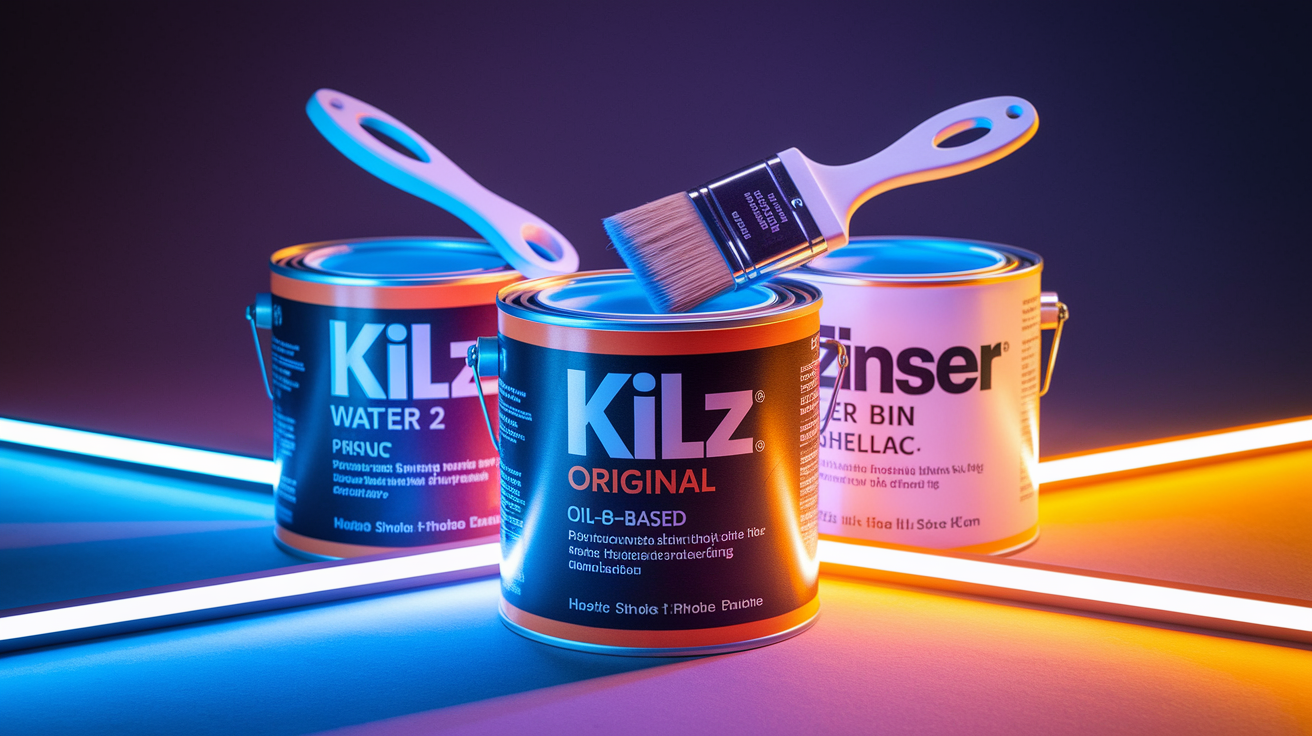
Regular primer allows water stains to bleed through the top coat. You waste time and materials when brown or yellow stains reappear within days. You’ll be looking at those stains through two coats of fresh paint, wondering what went wrong. Stain blocking primer seals water stains, tannins, rust, other discoloration permanently so nothing leaches through topcoat layers.
| Primer Type | Best For | Drying Time | Odor Level |
|---|---|---|---|
| Oil based (KILZ Original, Zinsser Cover Stain) | Heavy water stains, smoke damage, tannin bleed, rust spots | 24 hours to recoat | Strong, requires ventilation |
| Shellac based (BIN) | Severe stains, odor sealing, fast dry time needed | 45 minutes to 1 hour | Very strong, alcohol based fumes |
| Water based stain blockers (KILZ 2, Zinsser Bulls Eye 1-2-3) | Light to moderate stains, low odor requirement, easy cleanup | 1 to 2 hours to recoat | Mild, low VOC options available |
Oil based primers like KILZ Original are the recommended choice for water damage repair. They offer superior stain blocking that handles even severe discoloration, seal tannins from wood and rust from nails that cause recurring stains, prevent leaching through topcoat even after multiple years, provide excellent adhesion to compromised surfaces where the paper facing is rough or partially deteriorated. The trade off is strong odor and slower drying, but the performance is worth it for water damaged drywall.
Prime the entire affected area, not just the spotted sections. Extend primer coverage 6 to 12 inches beyond visible staining to create complete sealer coverage. Water often travels through drywall before appearing on the surface, so the actual affected area is larger than the visible stain. Spot priming just the stained sections can leave untreated areas that bleed through your topcoat later.
Ventilation is required for oil based products and shellac primers. Open windows, run fans to exhaust fumes outdoors, avoid working in the space for several hours after application. Latex based alternatives like KILZ 2 work well for those with chemical sensitivity or when you can’t ventilate adequately, though they may require two coats for heavy staining where oil based would need only one.
Step by Step: Painting Over Water Damaged Drywall

You can only paint after the leak’s been repaired, drywall’s dried completely, surface prep is finished, and stain blocking primer’s been applied and cured. Skip any of those steps and you’re setting yourself up for failure.
The painting process in order:
- Allow stain blocking primer to cure fully. 24 hours for oil based products, 2 to 4 hours for latex based primers, before applying topcoat
- Inspect the primed surface carefully for any stain bleed through by looking at the area in good light from different angles. Apply a second primer coat to any spots showing discoloration
- Apply first top coat using quality moisture resistant paint, work in thin, even layers with a roller or brush, avoid thick application that drips or sags
- Let the first coat dry per manufacturer specifications printed on the can, typically 2 to 4 hours but sometimes longer in humid conditions
- Apply second top coat for complete coverage and uniform finish quality, make sure you can’t see variations in sheen or slight color differences
- Allow a final curing period of 72 hours before returning furniture, hanging items, or applying moisture stress like showers in a bathroom
Choose moisture resistant or washable paint formulations for bathroom walls, kitchen ceilings, basement applications where humidity levels are higher and surfaces need cleaning. Look for paints labeled “bath and kitchen” or “mold and mildew resistant” with antimicrobial additives. These cost slightly more per gallon but reduce the chance of recurring mold growth and hold up better to moisture exposure.
Color matching existing paint is tricky if you’re only painting the repaired section. Paint fades over time, especially in rooms with sun exposure, so a fresh batch of the same color often looks noticeably different. Paint the entire wall or ceiling (rather than just patched spots) and you get professional looking results because the color and sheen match perfectly from corner to corner. Takes more paint and time, but the finished appearance is worth it.
DIY vs Professional Repair for Water Damaged Drywall

Minor water damage is well suited for DIY when you’re dealing with surface level staining under 10 square feet, no structural issues like sagging or soft spots, and a fixed leak source that won’t reoccur. Small ceiling stain from a roof leak that’s been repaired, or bathroom walls with surface mildew from humidity, are examples where DIY makes sense.
Extensive damage warrants professional assessment when you’re looking at structural compromise, mold growth beyond surface level, or damage covering large areas where you’re not confident about the scope of repairs needed.
| Scenario | DIY Appropriate | Professional Recommended |
|---|---|---|
| Small ceiling stain from fixed roof leak | Yes, if drywall is firm and leak is confirmed stopped | If stain keeps growing or drywall feels soft |
| Bathroom walls with surface mildew | Yes, for surface growth that wipes away easily | If mildew returns repeatedly or penetrates drywall |
| Extensive mold growth over 10 square feet | No | Yes, requires containment and remediation |
| Sagging or soft drywall | No, indicates structural failure | Yes, requires replacement and framing inspection |
| Flooding or burst pipe damage | No | Yes, needs extraction equipment and fast drying |
Cost factors help you decide what makes financial sense. DIY materials for a small repair (stain blocking primer, paint, sandpaper, patching compound, putty knife, cleaning supplies) typically run $50 to $150 depending on what tools you already own. Contractor consultation starts around $500 for assessment and minor repairs. Professional restoration for significant damage ranges from $1500 to $3000 depending on damage extent, square footage requiring replacement, whether mold remediation is needed.
Insurance coverage considerations change the math. Document damage with photos showing the full extent before you start repairs, the source of water damage if visible, close ups of staining, mold growth, structural issues. Understanding your policy coverage for restoration work prevents surprises. Some policies cover the restoration but not the source repair, or vice versa. Some insurance companies require professional assessment for claims over certain dollar amounts, so attempting DIY first could complicate your claim if damage turns out worse than expected.
Timeline expectations differ substantially. DIY repairs span 3 to 7 days including drying time for the drywall, curing time for patching compound and primer, final paint application. You’re working around your schedule, so actual work time might be 6 to 10 hours spread across a week. Professional restoration crews complete work faster in terms of calendar time, often 2 to 4 days from start to finish, but you’ll need to schedule them, wait for availability, coordinate access to your home.
Final Words
So, can you paint over water damaged drywall? Yes, but only after you’ve stopped the leak, dried everything completely, and confirmed the drywall is still firm.
Skip those steps and you’re just covering up a problem that’ll come back worse.
Fix the source first. Let it dry. Prime with a stain blocker. Then paint.
Most small water stains are totally fixable without replacing drywall. If it’s soft, sagging, or covered in deep mold, that’s replacement territory.
But for those surface stains and minor peeling? You’ve got this.
FAQ
How do you paint over water damaged drywall?
You paint over water damaged drywall by first confirming the drywall is completely dry and structurally sound, scraping off all loose or peeling paint, cleaning the area with a bleach solution, applying an oil-based stain blocking primer like KILZ, and finishing with two coats of quality paint.
Can you use Kilz on torn drywall?
You can use Kilz primer on torn drywall only after repairing the torn sections with joint compound or patching compound, allowing repairs to fully cure, and sanding smooth. Kilz primer seals stains but does not fill gaps or structural damage in drywall.
How long does it take for drywall to dry from water damage?
Drywall typically takes 3 to 7 days to dry completely from water damage depending on damage extent, humidity levels, and airflow. Use a dehumidifier, fans, and ventilation to speed drying, and verify moisture readings below 16% with a moisture meter before painting.
What is the best paint to cover water stains?
The best paint to cover water stains starts with an oil-based stain blocking primer like KILZ Original or Zinsser Cover Stain applied first, followed by moisture-resistant latex paint. Regular paint without stain-blocking primer allows water stains to bleed through the topcoat.
When should you replace water damaged drywall instead of painting?
You should replace water damaged drywall instead of painting when you find sagging sections, soft spots larger than your palm that stay soft after drying, crumbling material, active mold penetrating the drywall core, or damage affecting more than 50% of a panel.
How do you test if water damaged drywall is dry enough to paint?
You test if water damaged drywall is dry enough to paint by using a moisture meter (readings should be below 16%) or taping plastic over the stained area for 24 hours and checking for condensation. Any moisture indicates the drywall needs more drying time.
Can you paint over mold on drywall?
You cannot paint directly over mold on drywall. First clean surface mildew with a bleach-and-water solution (1:3 ratio) wearing protective equipment, allow complete drying, then prime with stain-blocking primer. Deep mold penetrating the drywall core requires professional removal or replacement.
Why does paint peel after water damage?
Paint peels after water damage because moisture trapped behind or within the drywall prevents proper paint adhesion, or because painting occurred before the drywall dried completely. Water stains also bleed through regular primer, causing the topcoat to separate from the surface.
Should you prime the entire wall or just the water stain?
You should prime the entire affected area extending 6 to 12 inches beyond visible water staining, not just the spotted sections. This ensures complete stain sealing, prevents uneven texture, and stops hidden moisture or discoloration from bleeding through the topcoat later.