
You squeeze the trigger and get nothing. Not a slow trickle, just zero caulk. Before you blame the gun or toss it, know this: most “dead” caulk guns aren’t broken at all. The issue is usually a foil seal you forgot to puncture, a clogged nozzle tip, or a plunger rod that isn’t making contact with the cartridge. These aren’t complicated failures. They’re quick setup mistakes you can fix in under five minutes. Here’s exactly what to check first and how to get caulk flowing again without buying new tools.
Why Your Caulk Gun Won’t Dispense: Common Causes and Immediate Fixes

When you pull the trigger mid-project and nothing comes out, it’s easy to think the gun is broken. Most of the time, it isn’t. The majority of dispensing problems trace back to how the cartridge was prepped, whether something’s blocking the flow, or how the plunger rod is positioned inside the frame.
These aren’t mysterious mechanical failures. They’re usually simple setup mistakes or small obstructions that take less than five minutes to identify and fix. Before you assume the gun is dead, work through these checks in order.
- The inner foil seal wasn’t punctured or only partially pierced. This is the number one cause, especially if the cartridge is brand new.
- The nozzle tip is clogged with dried caulk. Common when you’re reusing a cartridge from a previous job.
- The plunger rod isn’t making solid contact with the cartridge’s push plate. Often happens when the cartridge wasn’t seated fully in the cradle.
- The trigger mechanism is gummed up with old sealant. You’ll feel resistance when squeezing but nothing moves forward.
- The caulk itself is too cold or too thick to flow. Temperature drops below 50°F can turn smooth silicone into peanut butter consistency.
Start at the top of that list and work your way down. Check the seal first, then the nozzle, then rod alignment. In most cases, you’ll find the problem before you get to step four. About 90% of dispensing issues come down to the first three checks, and they’re all fixable without tools.
Cartridge Preparation and Nozzle Obstruction Problems
If caulk won’t come out but the trigger squeezes normally and the rod moves forward, the issue is almost always at the cartridge itself. Either the seal inside wasn’t opened, the tip is blocked, or both.
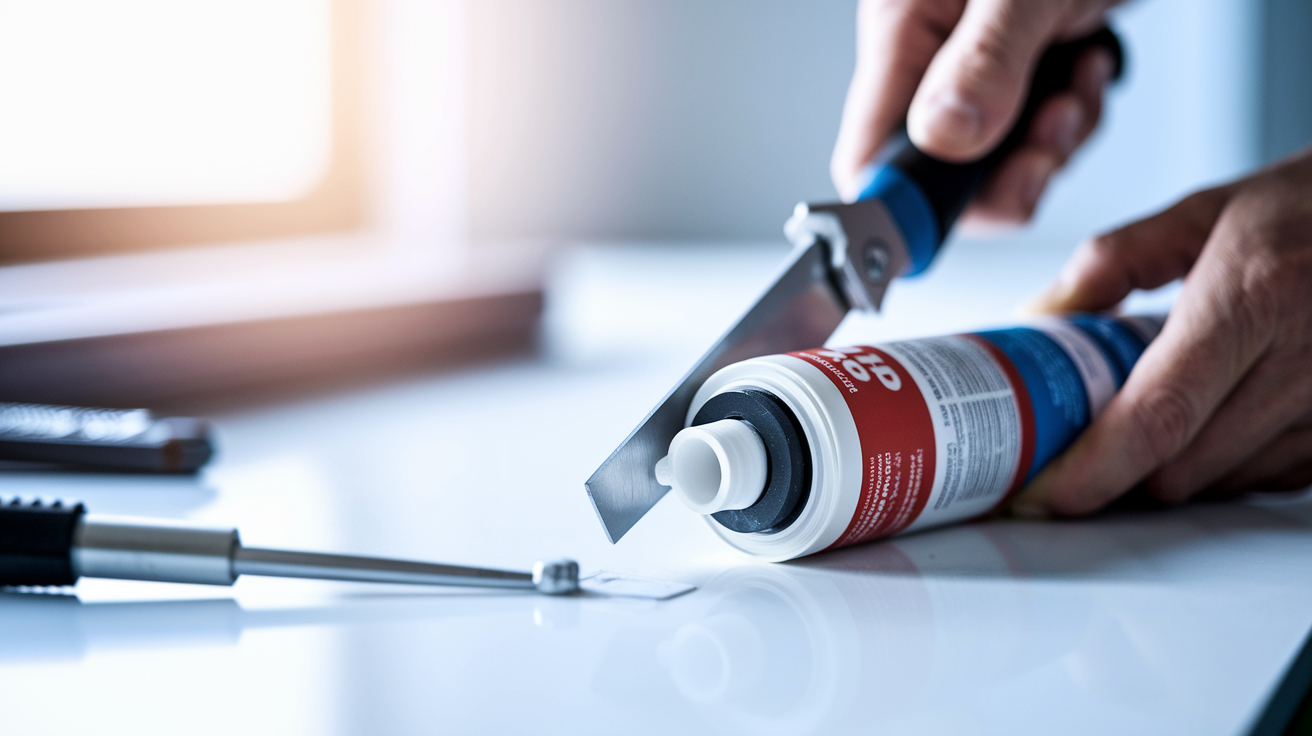
Cutting the Nozzle Tip Correctly
The tip needs a clean 45 degree angle cut. Hold the nozzle steady and cut with a utility knife or the built-in cutter if your gun has one. Start small, about ¼ inch from the end for narrow beads or ½ inch up for wider applications like baseboards or tub surrounds.
If you cut straight across instead of at an angle, the bead won’t lay flat against the joint. If you cut too close to the tip, the opening is too small and the caulk can’t push through, especially with thicker formulas like polyurethane. You’ll feel heavy resistance on the trigger, but nothing flows. When that happens, make a fresh cut a little higher up the nozzle.
Puncturing the Inner Foil Seal
After cutting the nozzle, there’s a foil membrane inside the neck of the cartridge. It keeps the caulk fresh during storage, but it also blocks flow completely until you break it. Most caulk guns come with a thin metal rod attached to the side of the frame, specifically for this.
Push the puncture tool all the way into the nozzle until you feel it break through the seal. Twist it a few times and pull it back out. You should see fresh caulk on the tool tip. If it comes out dry, push deeper. Sometimes the seal sits farther back than you expect, especially in larger cartridges. A straightened wire coat hanger or a long finish nail works if the built-in tool is missing or bent.
Clearing Dried Material and Blockages
If you punctured the seal and cut the nozzle but still get no flow, dried caulk is blocking the tip. This happens when you stored a partially used cartridge, even if you capped it. Moisture in the air can harden the exposed material at the nozzle opening.
Insert the puncture tool or a thin screwdriver into the nozzle and rotate slowly while pushing gently. Pull it out and check for chunks of dried sealant. Repeat until you break through. You’ll know you cleared it when fresh, soft caulk appears at the tip. If nothing comes out after several attempts, either the blockage is deeper than your tool can reach or the entire cartridge has cured from the inside. At that point, the cartridge is done.
Tools that clear blockages effectively:
Built-in puncture rod works best for fresh cartridges and light clogs. Straightened wire coat hanger reaches deeper blockages, flexible enough to navigate the nozzle curve. Long finish nail or small screwdriver handles stubborn dried material near the tip. Compressed air clears loose debris after mechanical clearing, but won’t break through hardened caulk.
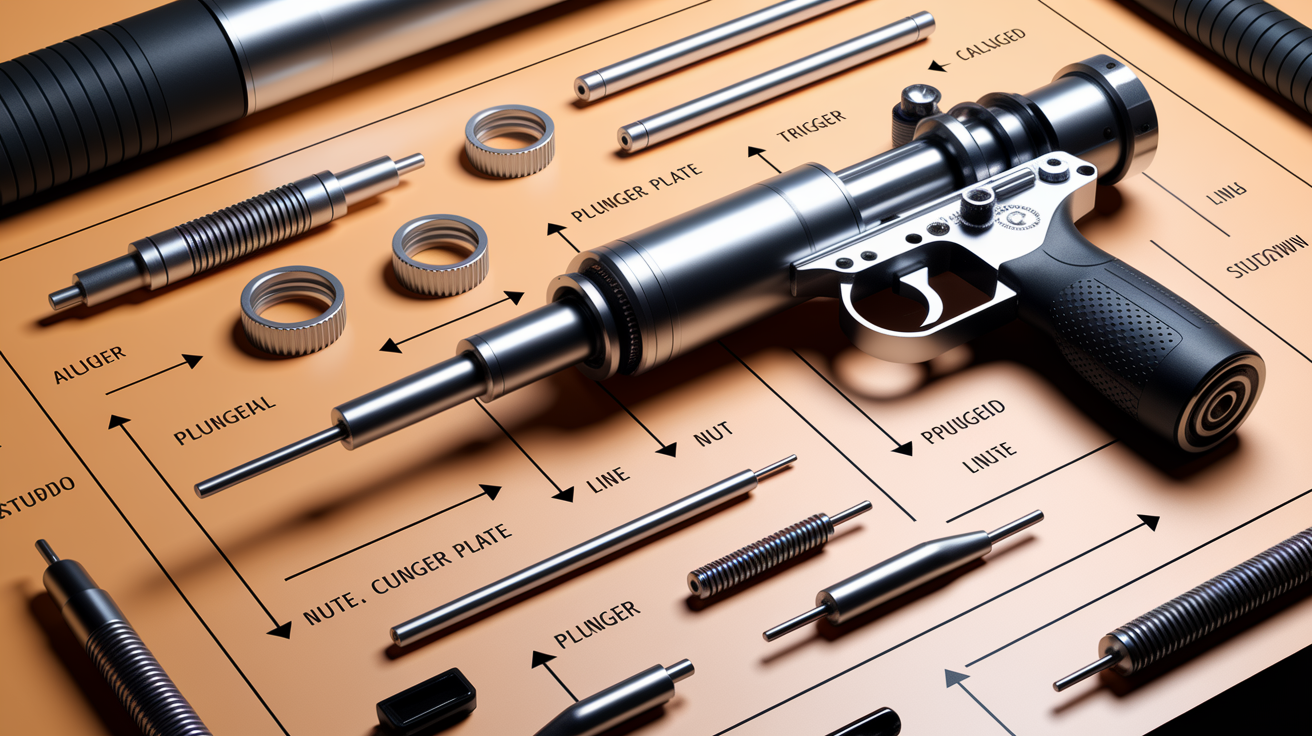
Plunger Rod Alignment and Cartridge Loading Issues
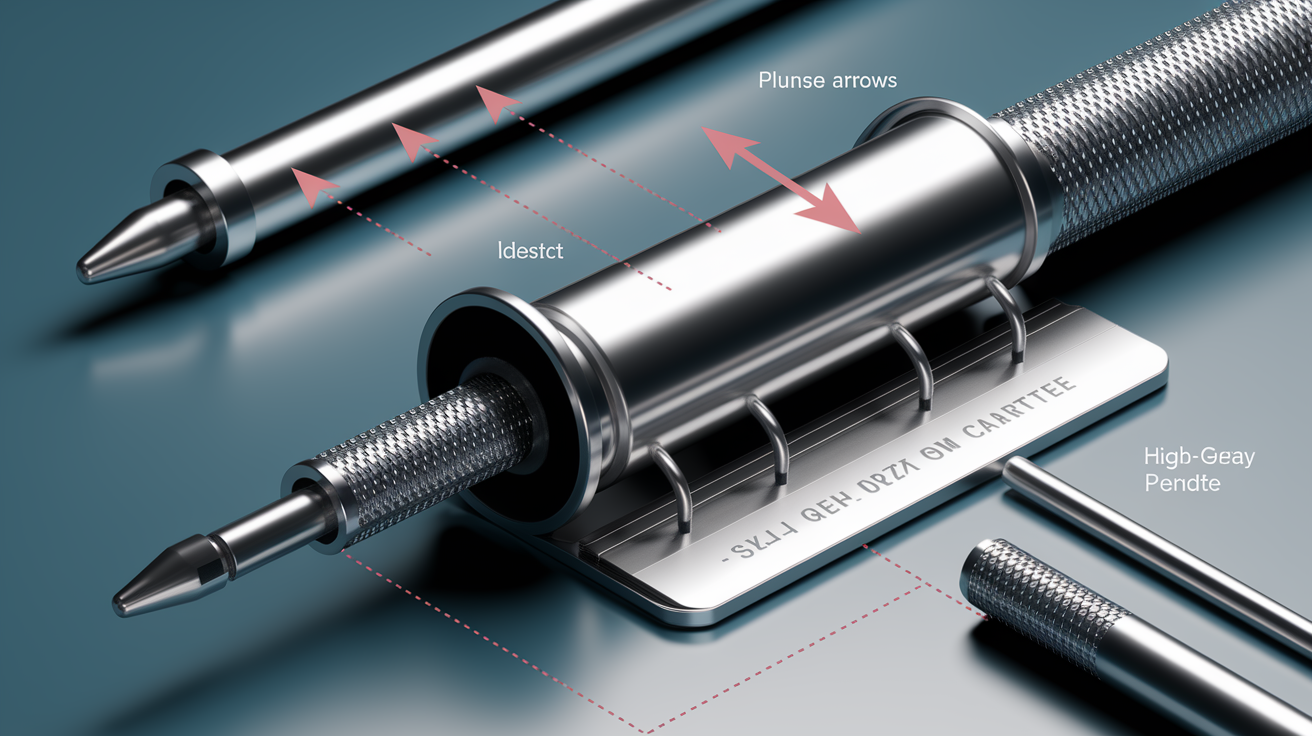
The plunger rod has one job. Push the cartridge’s internal plate forward to create pressure. If the rod isn’t moving, isn’t contacting the plate squarely, or the cartridge is sitting crooked in the frame, you won’t get flow even if the nozzle and seal are perfect.
Start by checking whether the rod will move at all. Press the thumb release tab, usually located on the top or back of the handle, and pull the rod all the way out. It should slide smoothly with no grinding or sticking. If it’s stuck, look for dried caulk crusted on the rod or in the cradle where the cartridge sits. Scrape off any buildup with a putty knife, wipe the rod clean, and rub a tiny bit of oil on the shaft. Then push the rod back in and test the movement again.
When the rod won’t retract, it’s usually because you’re gripping the gun in a way that keeps the ratchet mechanism engaged. Hold the gun at a 45 degree downward angle with one hand on the back handle only. Press the thumb release and pull the rod back with your other hand. If you’re holding the frame near the barrel or gripping both ends at once, the friction plate stays locked and the rod won’t budge. Grip location matters more than you’d think.
Now check how the cartridge is sitting in the cradle. The bottom of the tube should rest flat against the frame, not tilted to one side. The plunger plate at the back of the cartridge must be perpendicular to the push rod, making full contact across the entire surface. If the cartridge is angled even slightly, the rod only contacts part of the plate. That creates uneven pressure and weak or no dispensing. Pull the cartridge out, reseat it, and make sure it’s not wobbling when you apply light pressure by hand.
Standard caulk cartridges are 10 ounces and fit most skeletal frame guns. If you’re using a different size or trying to load a sausage pack in a cartridge only gun, it won’t fit properly no matter how you position it. Match the cartridge type to your gun’s design.
To reload correctly: retract the rod fully, place the cartridge in the cradle with the nozzle facing forward, press the rod forward until it contacts the plate firmly, then squeeze the trigger a few times to build initial pressure before starting your bead.
Rod maintenance steps to prevent future jams:
Wipe the rod clean after each use before retracting it into the gun. Check for caulk buildup in the cradle and frame every few projects. Apply a light coat of machine oil or WD 40 to the rod shaft once a month if you use the gun regularly. Store the gun with the rod retracted to keep dust and debris out of the mechanism.
Trigger Mechanism and Application Pressure Problems
The trigger has to move freely and generate enough force to push thick sealant through the nozzle. If the trigger feels stiff, barely moves, or the spring feels weak, you’re not building the pressure needed to dispense.
Dried caulk or sealant that leaked into the trigger assembly is the most common culprit. You’ll notice grinding or sticking when you squeeze, or the trigger won’t return to its starting position on its own. To clean it, soak the front end of the gun (where the trigger pivots) in warm soapy water for 10 to 15 minutes. Don’t submerge the entire handle if it’s foam or rubber. Scrub around the pivot points with an old toothbrush to loosen residue, rinse, dry completely, and apply a small amount of light machine oil to the moving parts. Test the trigger motion. It should move smoothly with no catching.
Spring fatigue is different. If the spring that controls the ratchet mechanism has lost its tension, the gun won’t hold pressure between trigger pulls. You’ll squeeze, caulk comes out, you release, and the rod drifts backward slightly instead of holding position. That means the spring is worn out. Springs can’t be tightened or adjusted. Once they’re weak, they stay weak. On budget guns, replacing the spring isn’t practical since the spring often costs nearly as much as a new gun. On higher end models, replacement springs are sometimes available, but you’ll need to disassemble the trigger assembly to swap them.
| Symptom | Likely Cause | Fix or Replace |
|---|---|---|
| Trigger won’t move at all or extremely stiff | Dried sealant in pivot points or rust buildup | Clean with warm soapy water, scrub, lubricate pivot points |
| Trigger moves but caulk flow is weak or stops mid-bead | Weak or fatigued ratchet spring | Replace gun (spring replacement not cost effective on budget models) |
| Trigger feels loose, rod drifts backward after squeezing | Worn ratchet teeth or spring | Replace gun (ratchet mechanism wear is permanent) |
| Trigger squeaks or grinds but moves normally | Lack of lubrication or light surface rust | Apply light oil to pivot points and trigger spring |
Environmental and Material Factors Affecting Dispensing
Sometimes the gun works perfectly but the caulk itself won’t cooperate. Temperature and material condition affect how sealant flows, and cold weather or old product can stop dispensing completely even when every mechanical part is functioning.
Silicone, acrylic latex, and polyurethane sealants all thicken when cold. If your cartridge has been sitting in a garage or truck when it’s below 50°F outside, the material turns stiff and resists flowing through the nozzle. You’ll feel heavy resistance on the trigger, the rod might move forward slightly, but nothing comes out. The colder it gets, the worse it becomes. At freezing temps, some sealants become nearly solid.
Warming the cartridge solves this. Place it in a bucket of warm (not hot) water for 10 to 15 minutes. The heat transfers through the plastic and softens the caulk back to normal consistency. If you’re in a hurry, tuck the cartridge inside your jacket or sit it near a space heater. Body heat works but takes longer, maybe 30 to 60 minutes depending on how cold the tube started. Don’t microwave it or put it directly on a heating element. Rapid temperature changes can cause the cartridge to split or the sealant to separate.
Expired or improperly stored caulk develops problems even at normal temperatures. If a cartridge sat opened for months, the material near the nozzle cures into a thick plug. You might clear the tip and puncture the seal, but the partially cured caulk behind it still won’t flow. It feels like dispensing through jelly.
Check the date stamped on the cartridge. Most sealants have a shelf life of one to two years unopened, less if they’ve been opened. If the caulk is expired or has been sitting in a hot shed for multiple summers, it’s degraded. No amount of troubleshooting will fix material failure.
When the gun or cartridge fails mid-project and you need to finish the joint right now, here are temporary workarounds. Cut the cartridge open with a utility knife and scoop the caulk out with a putty knife, then tool it into the gap by hand. Use pliers to squeeze the cartridge from the bottom, forcing material up toward the nozzle. Transfer the caulk into a plastic bag with one corner snipped off and use it like a pastry bag. These are not quality methods, they’re just ways to get material into a joint when you’re stuck. Proper gun function is necessary for consistent beads and clean results.
Alternative dispensing methods ranked by effectiveness:
Putty knife application after cutting cartridge open gives best control, works for small gaps, messy but functional. Pliers or clamps to manually squeeze cartridge offer moderate control, requires constant adjustment, tiring on larger jobs. Plastic bag with corner cut as makeshift piping bag provides least control, difficult to create consistent bead width, emergency use only.
Disassembly and Component Inspection for Mechanical Failures
When you’ve checked the cartridge, cleared the nozzle, confirmed the rod moves, and the trigger still won’t build pressure, it’s time to take the gun apart and inspect the internal parts. Most caulking guns are simple assemblies held together with a single nut and a few moving pieces.
Press and hold the thumb release tab while using a wrench or adjustable spanner to remove the nut securing the plunger plate to the end of the rod. The nut threads onto the rod behind the plate. Turn it counterclockwise while keeping pressure on the release tab so the rod doesn’t spin. Once the nut is off, slide the plunger plate off the rod and set both aside.
Pull the plunger rod completely out of the gun frame. Inspect the rod for bends, cracks, or heavy corrosion. Even a slight bend changes how the rod tracks through the frame and causes binding. Hold it up to a straight edge or roll it on a flat surface. If it’s bent, you can try to straighten it by applying slow, even pressure with your hands against a solid flat surface, but forcing it can snap the rod.
Remove the release tab from the trigger assembly. This small metal tab pivots when you press it and disengages the ratchet teeth that hold the rod in place. Examine it for bending, cracks, or worn edges. If the tab is bent so it doesn’t fully disengage the ratchet, the rod won’t retract. Flip the tab over and reinsert it, making sure the hole in the tab lines up with the path the plunger rod travels through.
Check the trigger spring while the rod is out. This coiled spring sits behind or below the trigger and provides return tension. Pull it slightly and release. It should snap back firmly. If it barely moves or feels loose, the spring is worn and the gun won’t hold pressure. Springs aren’t adjustable and rarely sold separately for budget guns.
Reassemble in reverse order. Reinsert the plunger rod with the hooked or angled end facing toward the top of the gun, hold the release tab and spring in place while threading the rod back through, slide the plunger plate onto the rod, and thread the nut back on. Tighten the nut snugly but not gorilla tight. If you overtighten, the plunger plate won’t swivel properly and will bind when contacting the cartridge at an angle.
Test the trigger function without a cartridge loaded. Squeeze the trigger and watch the rod advance. Press the release tab and confirm the rod retracts smoothly. If it still binds, recheck the rod alignment and make sure the release tab is seated correctly.
If you find cracked components, stripped threads, or a frame that’s bent or split, the gun is beyond repair. Budget guns ($5 to $15) aren’t designed for disassembly and part replacement. Once they fail internally, replacement is the only option. Mid range and professional grade guns sometimes have replacement parts available, but you’ll spend as much time sourcing and installing them as you would researching and buying a better gun.
Preventive Maintenance to Keep Your Caulk Gun Dispensing
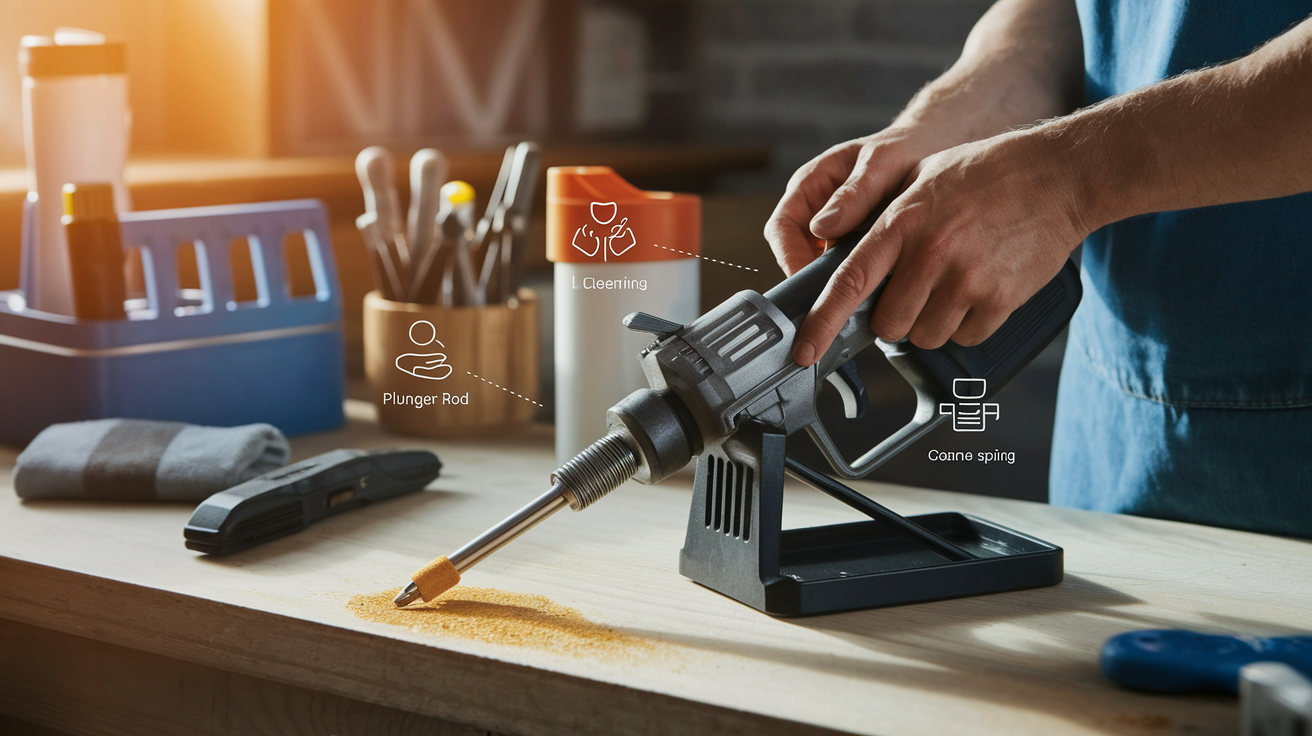
Most dispensing problems come from dried caulk, lack of lubrication, or careless storage. Five minutes of care after each use prevents hours of troubleshooting and mid-project failures later.
The single most important step is removing the cartridge as soon as you’re done. Leaving a cartridge in the gun, even with the cap on, allows caulk to seep backward into the cradle and harden on the rod. Once it dries, it creates friction that makes the rod stick and can jam the ratchet mechanism. Pull the cartridge out, wipe down the cradle, and retract the rod fully before putting the gun away.
Maintenance actions that prevent future dispensing issues:
Wipe the plunger rod clean after every use, removing any wet or sticky residue before retracting it. Clean the cartridge cradle with a damp rag, checking for dried caulk buildup in the corners. Store the gun upright or hang it so excess caulk doesn’t leak into the trigger assembly.
Apply a light coat of oil to the rod shaft and trigger pivot points once a month if you use the gun regularly. Inspect the thumb release tab every few months for bending or wear, especially if you’ve dropped the gun. Remove and soak the trigger area in warm soapy water every 10 to 15 uses to prevent buildup.
Check the spring tension periodically by squeezing the trigger without a cartridge and observing how firmly the rod holds position. Store cartridges in a climate controlled space (not hot sheds or freezing garages) to prevent premature curing or viscosity changes.
When to Replace Your Caulk Gun Instead of Repairing
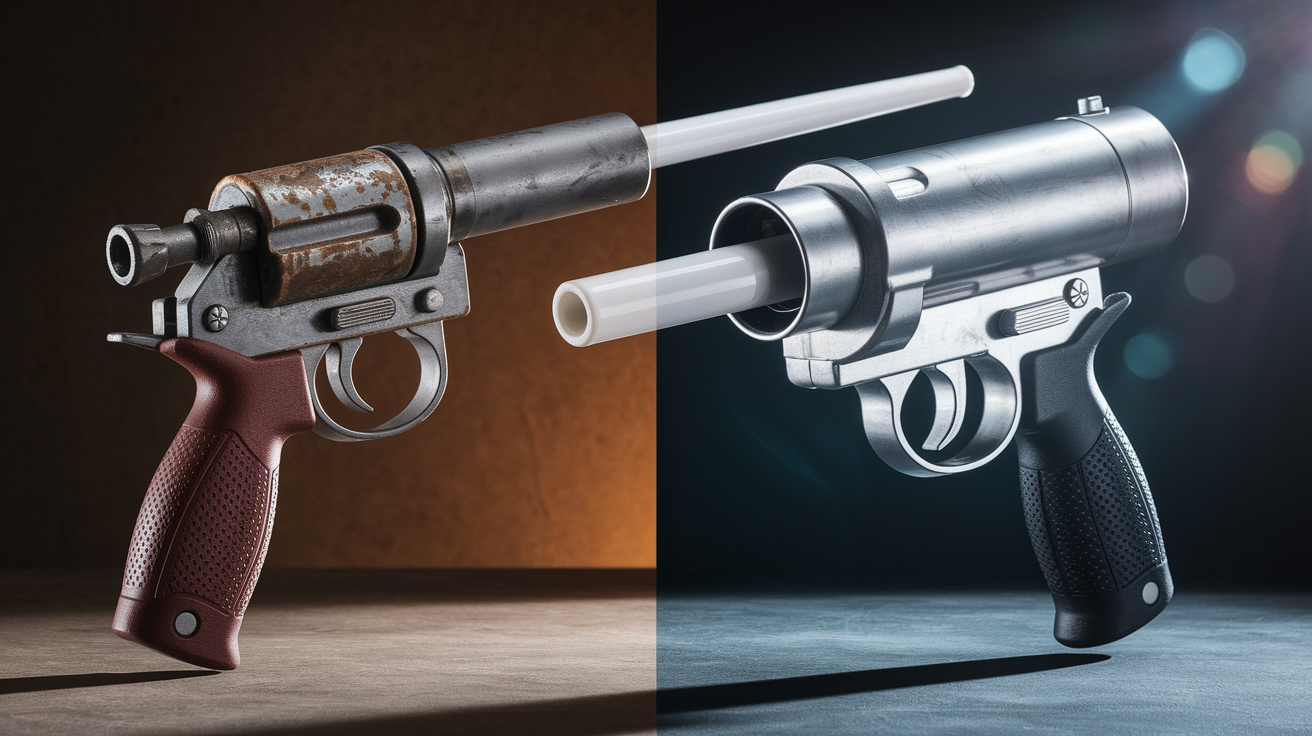
Some problems can’t be fixed, and trying to repair a worn out gun wastes more time than it saves. Spring fatigue is the clearest sign the gun is done. Once the spring loses tension, the ratchet won’t hold the rod in place and you’ll get inconsistent pressure and weak flow. Springs aren’t sold separately for most models under $30, and even if you found one, disassembling and reassembling the trigger assembly takes longer than driving to the store for a new gun.
Frame damage is another no fix situation. If the metal frame is cracked, bent, or the cradle is deformed from overtightening or dropping the gun, it won’t hold cartridges squarely. The rod will bind, the plunger plate won’t contact evenly, and you’ll fight it on every project. Stripped threads on the plunger rod nut, corroded ratchet teeth, or a bent rod that won’t straighten all indicate the gun has reached the end of its usable life.
Budget guns in the $5 to $10 range aren’t designed for repair. When they fail, replace them. Mid range guns ($15 to $30) might justify one or two repairs if parts are available, but after that, you’re spending more effort maintaining old equipment than investing in better tools. Professional grade guns ($40 and up) are built for longevity, with replaceable parts and more durable materials, but even those have limits.
If you’re replacing a gun that’s given you trouble, consider upgrading to one with features that reduce common problems. Automatic pressure release mechanisms stop caulk from dripping when you release the trigger, eliminating the need to manually retract the rod after every bead. Built-in tube cutters and puncture tools mean you always have the right prep tools attached to the gun.
Higher thrust ratios (12:1 or 18:1 instead of 6:1) make thick sealants easier to dispense with less hand fatigue. Rotating barrels let you adjust the cartridge angle without bending the rod. These aren’t luxuries, they’re design improvements that prevent the exact problems you’ve been troubleshooting.
Final Words
A caulk gun not dispensing caulk usually comes down to three quick checks: inner seal still intact, clogged nozzle, or plunger rod misalignment.
Most of these fixes take under five minutes and don’t require replacing the gun or the cartridge.
Regular cleaning after each use and proper cartridge storage prevent most of these headaches in the first place. When the gun does act up, start with the simplest fix first and work your way through the list.
You’ll be back to sealing gaps and stopping leaks faster than you think.
FAQ
Why is my caulk gun not pushing out the caulk?
Your caulk gun is not pushing out caulk usually because the inner foil seal wasn’t punctured, the nozzle is clogged with dried material, or the plunger rod isn’t aligned properly with the cartridge. Check these three issues in order—most dispensing problems come from skipped cartridge prep, not gun failure.
How do you unclog a caulking gun?
You unclog a caulking gun by inserting the built-in puncture tool, a wire hanger, or a long nail into the nozzle and rotating it slowly to break up dried caulk blocking the opening. Pull the tool out to remove the blockage, then test flow. If nothing dispenses after clearing, the entire cartridge has likely cured and needs replacement.
How do you release pressure on a caulking gun?
You release pressure on a caulking gun by pressing the thumb release tab on the back handle while holding the gun at a 45-degree downward angle, then pulling the plunger rod backward. Grip only the back handle—gripping anywhere else engages the friction plate and prevents rod movement in both directions.
How do you make a caulking gun squeeze easier?
You make a caulking gun squeeze easier by warming cold cartridges in a warm water bath or heated space for 30 to 60 minutes before use, cleaning dried sealant from the trigger assembly with warm soapy water, and applying light lubrication to the plunger rod and trigger mechanism.