
You know that grimy yellow line where your tub meets the tile? That’s not dirt you can scrub away. It’s caulk breaking down from moisture, mold, and time. Good news: you can rip it all out and replace it in one afternoon without calling anyone. The trick isn’t brute force. It’s knowing whether to scrape, soften with chemicals, or add a little heat to make old silicone let go without wrecking your tile or tub finish.
Understanding Yellowed Caulk: Removal vs. Cleaning Decision

Caulk yellows because of mold and mildew feeding on trapped moisture, UV exposure breaking down the material’s structure, hard water minerals building up on the surface, and chemical reactions with bathroom cleaners. In humid spots like showers, this happens faster. What you’re seeing is either surface discoloration or damage that’s worked its way into the caulk itself.
You can clean it if the caulk is still structurally okay, less than three years old, and the yellowing sits only on the surface. Press on it. If it feels firm, the edges stay tight against the wall, and you don’t see cracks or gaps, cleaning might work. Try a vinegar solution or baking soda paste if you catch it early enough.
Full removal becomes necessary when you’ve got cracks, sections pulling away from surfaces, sponginess when you press down, or mold that goes deeper than what you can scrub off. Caulk older than five years usually won’t come clean no matter how hard you scrub. And here’s the thing: putting new caulk over yellowed old stuff doesn’t work. It won’t bond right and you’ll have leaking gaps within weeks.
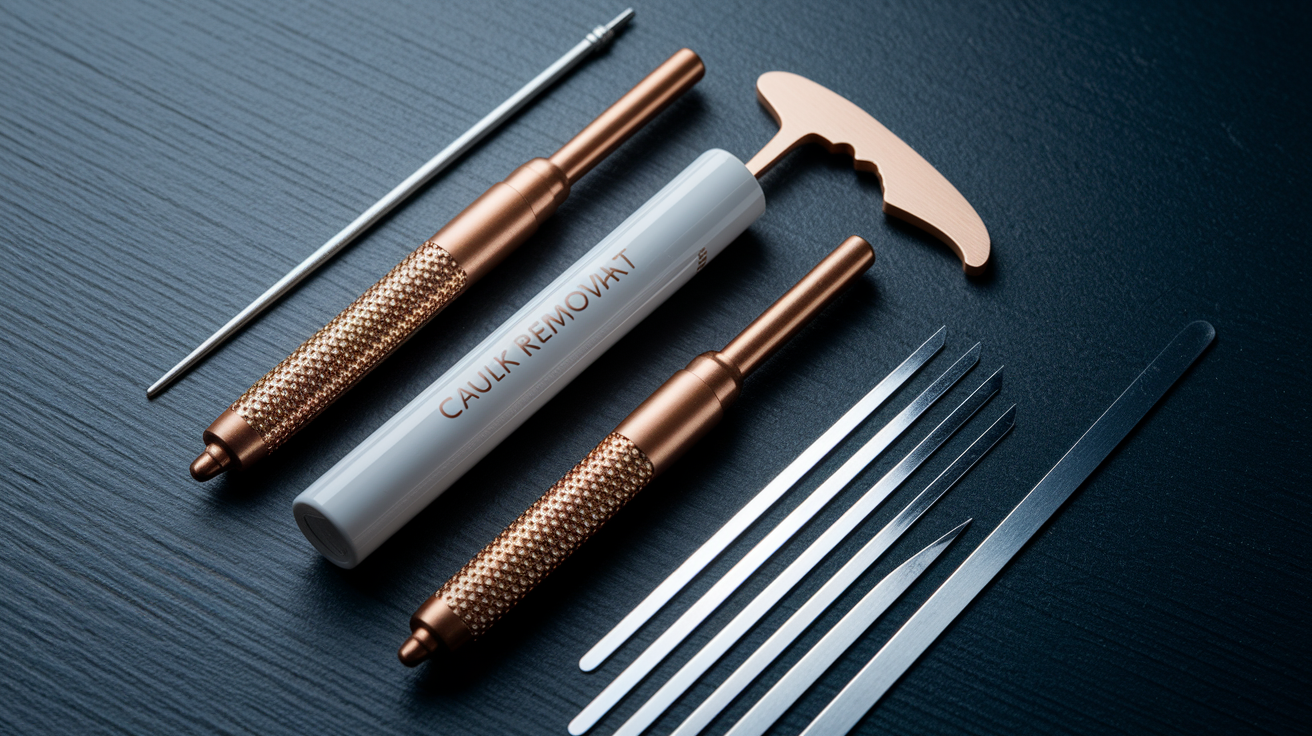
Essential Tools and Safety Equipment for Caulk Removal

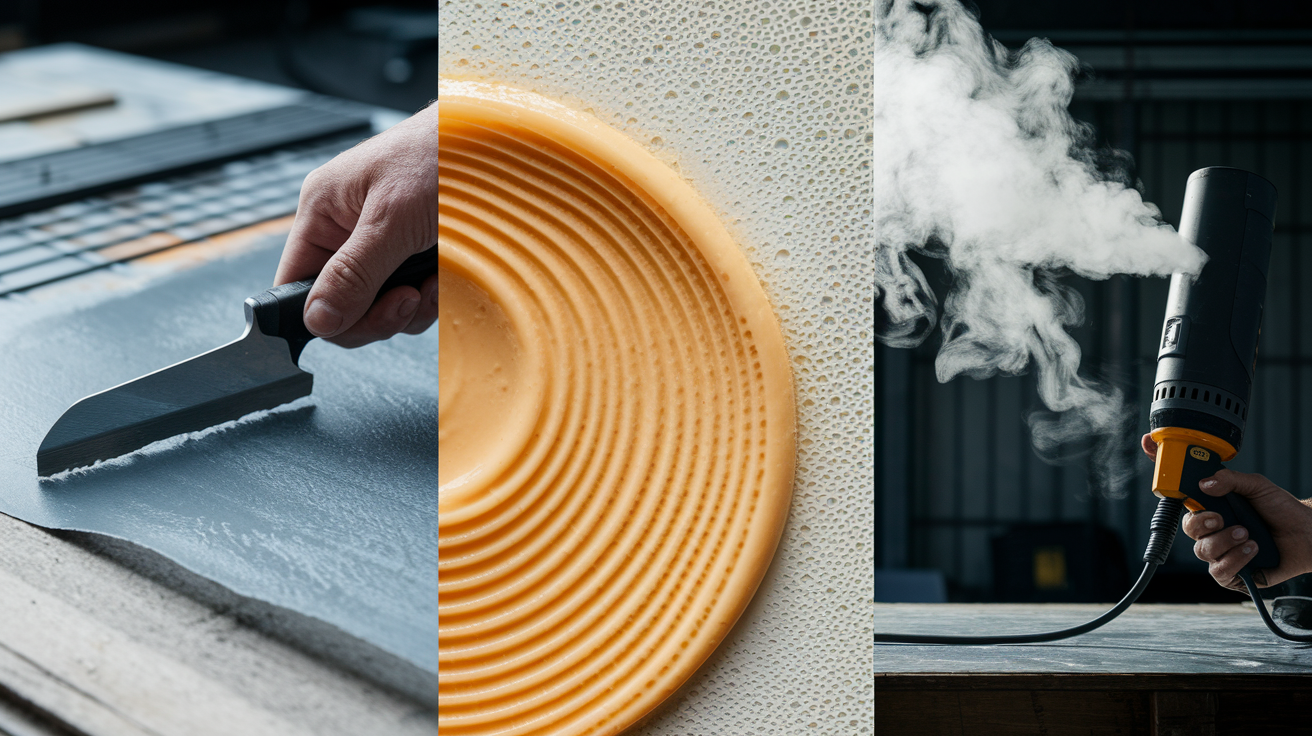
Getting the right tools prevents gouged tile, scratched tubs, and spending hours picking at stubborn bits. A five dollar utility knife and ten dollar scraper get the job done, but a dedicated caulk removal tool speeds things up with less chance you’ll slip and damage something.
Safety gear matters more than you’d think. Chemical removers contain solvents that irritate skin and release fumes in closed bathrooms. Latex or nitrile gloves protect your hands from chemicals and sharp scraper edges. Safety glasses keep debris out of your eyes when you’re working at eye level around showers. Keep windows open or run the bathroom fan. If you’re using a heat gun, those fumes from heated silicone need somewhere to go besides your lungs.
| Tool Type | Purpose | Priority Level |
|---|---|---|
| Utility knife with fresh blade | Score caulk edges to break seal | Essential |
| Putty knife or scraper (plastic or metal) | Lift and remove bulk caulk | Essential |
| Razor blade scraper | Remove thin residue on smooth surfaces | High |
| Caulk removal tool (hook-style) | Pull out caulk from corners and edges | Medium |
| Chemical caulk remover gel | Soften hardened or old caulk | Medium |
| Latex or nitrile gloves | Protect hands from chemicals and sharp edges | Essential |
| Safety glasses | Prevent debris from entering eyes | High |
| Painter’s tape (1-inch width) | Protect adjacent tile and tub surfaces | Medium |
Complete Removal Methods: Manual, Chemical, and Heat Techniques
Start manual, add chemicals if things won’t budge, then bring in heat for really stubborn sections. Most yellowed bathroom caulk comes out with scraping alone, but old silicone that’s been there for years might need all three. Work through them progressively instead of jumping straight to chemicals and heat.
Begin by scoring both edges of the caulk line with a sharp utility knife. Cut where the caulk meets the tub and where it meets the tile, pressing firmly to slice through the seal. This breaks the adhesive bond and gives your scraper a starting point. Slide a putty knife or removal tool under the scored edge at a shallow angle and push forward in short sections, maybe three or four inches at a time. Keep the blade nearly flat against the surface so you don’t dig in. Dry caulk scrapes cleaner than wet, so don’t spray water on it.
For pieces that won’t lift with the scraper, grab them with needle nose pliers and pull straight out from the joint. Twist slightly as you pull to break the grip. Works especially well in tight corners where a scraper can’t get good contact.
When manual scraping hits hardened caulk that feels like rubber cement, that’s when you bring in chemical softeners. Caulk remover gels dissolve the polymer bonds. Apply a thick layer along the entire line, let it sit for the time on the bottle (usually two to three hours), then scrape again. The caulk should feel softer and come up in longer strips instead of crumbling.
If you don’t have specialized remover, here are household alternatives and how well they actually work:
Isopropyl alcohol (70% or higher) works well on acrylic latex caulk and for dissolving leftover residue on smooth tile. Less effective on pure silicone.
White vinegar helps soften silicone a bit, but takes longer than chemical removers and needs multiple applications. Better for final cleanup than bulk removal.
WD-40 penetrates and softens old caulk surprisingly well, but leaves an oily film you’ll need to clean thoroughly before recaulking. Test on a hidden spot because it can discolor some plastics.
Mineral spirits are effective on silicone and hybrid caulks, but the fumes are strong. Use only with excellent ventilation.
Acetone (nail polish remover) dissolves some types quickly but can damage acrylic tub surfaces, plastic, and painted finishes. High risk option.
Heat breaks down adhesive bonds in silicone that chemicals barely touch. Use a hair dryer on high or a heat gun on low, holding it about four to six inches from the caulk line. Keep it moving in a slow back and forth pattern for 30 to 45 seconds per section until the caulk feels warm. Don’t hold it in one spot or you’ll scorch the surface. Apply painter’s tape along both sides of the caulk line first to protect tile glaze and tub finish from concentrated heat. Heated caulk becomes pliable and peels away in longer sections, almost like pulling up a rubber gasket.
If you find black or green spots on the wall or tub after pulling out the caulk, that’s mold growing behind the seal. Clean it right away with warm water and a few drops of dish detergent on a brush or rough sponge. Scrub until the spots disappear, then rinse. Bleach seems like the obvious choice but it doesn’t actually penetrate porous grout, just whitens the surface temporarily while creating harsh fumes. It’s ineffective and unpleasant in an enclosed bathroom.
Test any chemical remover, household solvent, or heat method on a hidden area first. That means the underside of the tub lip, the back corner of a tile, or inside a cabinet edge. Wait five minutes and check for discoloration, softening, or finish damage before using it on visible areas.
Residue Cleanup and Surface Preparation After Removal
Even after scraping out all the visible caulk, a thin sticky film usually remains. That residue prevents new caulk from forming a waterproof seal because it can’t bond to the contaminated surface. You’ll end up with a repair that peels away within months if you skip thorough cleanup.
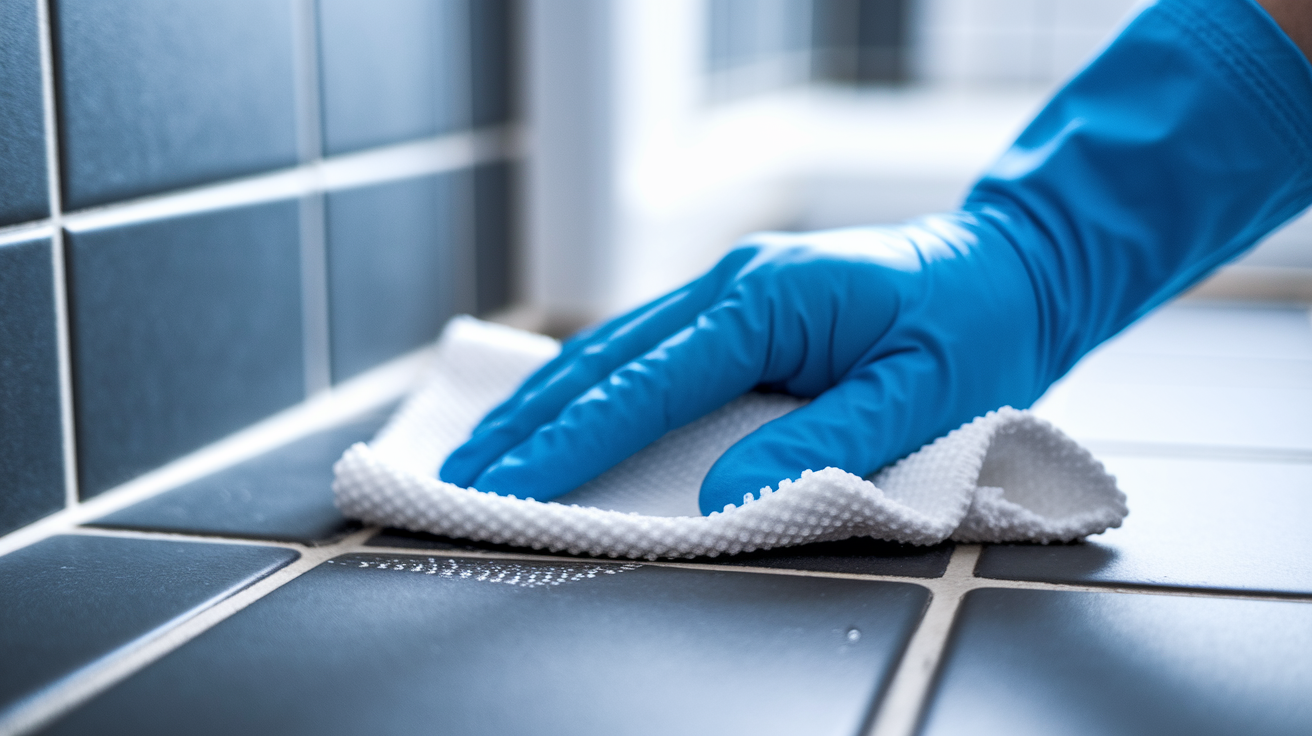
For smooth surfaces like ceramic tile, porcelain tubs, and fiberglass surrounds, saturate a clean rag with isopropyl alcohol and wipe along the joint in one direction. Don’t scrub back and forth, just wipe and flip to a clean section of rag. The alcohol dissolves silicone and acrylic residue without leaving its own film behind. You’ll see the rag pick up a slight tackiness and possibly some yellowed residue even after scraping. Keep wiping with fresh alcohol until the rag comes away clean.
Textured surfaces and grout lines need a different approach because alcohol just runs off. Use a wire brush with soft brass bristles or a green scrub pad wrapped around your finger to work into the texture. Brush in the direction of the joint, not across it, using light pressure. You’re removing residue without grinding away grout or tile texture. For really stubborn spots, make a paste with baking soda and a few drops of water, apply it to the residue, wait two minutes, then scrub with the brush.
Let everything dry completely before you even think about applying new caulk. That means waiting at least two to four hours in a ventilated bathroom, longer if humidity is high. Run your finger along the joint. It should feel completely dry with no tackiness and no coolness that indicates moisture. Look closely for any remaining flecks of old caulk or hazy residue you missed. If you spot anything, clean it now. Caulking onto a properly prepared surface takes 10 minutes. Removing failed caulk that didn’t bond because you rushed takes another full afternoon.
Surface-Specific Caulk Removal Strategies

Different surfaces scratch, chip, and dent at different pressures. What works on tile might gouge a fiberglass tub. Adjust your tool selection and scraping angle based on what you’re protecting.
Bathtub and Shower Caulk Removal
Acrylic and fiberglass tubs scratch easier than you’d think. Use a plastic putty knife instead of metal for bulk removal to avoid permanent marks in the finish. Keep your blade angle at 30 degrees or less, almost flat against the surface. Tile surrounds can handle metal scrapers, but maintain that shallow angle near grout lines because even ceramic tile can chip if you dig the corner in. These wet areas usually have the oldest, most degraded caulk because of constant moisture exposure, so expect to spend extra time softening with chemicals or heat.
Kitchen Sink and Countertop Edges
Laminate countertops chip along edges if you press too hard with a metal scraper. Plastic tools work better, or wrap the blade of a putty knife with one layer of masking tape to reduce sharpness. Granite and quartz are harder materials but the polished finish can still scratch, especially on black or dark colors where marks show clearly. Score carefully along the sink rim where caulk often bonds to both the sink and countertop. Pull pieces toward the sink, not toward the counter edge.
Window Frame Caulk Removal
Painted wood frames gouge and dent easily, and once you damage paint, moisture gets underneath and causes bigger problems. Use a plastic scraper first, only switching to metal if the caulk absolutely won’t move. Vinyl window frames can handle more pressure but avoid the corner edges where the frame pieces meet because that’s where they’re weakest. Aluminum frames are forgiving but watch out for oxidation. If you scrape off the protective finish, that spot will discolor over time.
Tile and Grout Line Techniques
When caulk runs along a grout line, your scraper needs to stay on the caulk and off the grout. Grout is softer than tile, so you can accidentally carve a channel if your blade drifts. Work with the tip of a utility knife to trace the caulk edge, then use a narrow scraper or the hook end of a removal tool to lift out the caulk without widening the grout joint. Don’t use a wire brush on grout because it pulls out granules and leaves a pitted surface.
Recaulking Process After Yellowed Sealant Removal
Proper recaulking prevents you from doing this same project again in two years. The effort you just put into removal gets wasted if you use cheap caulk or rush the application.
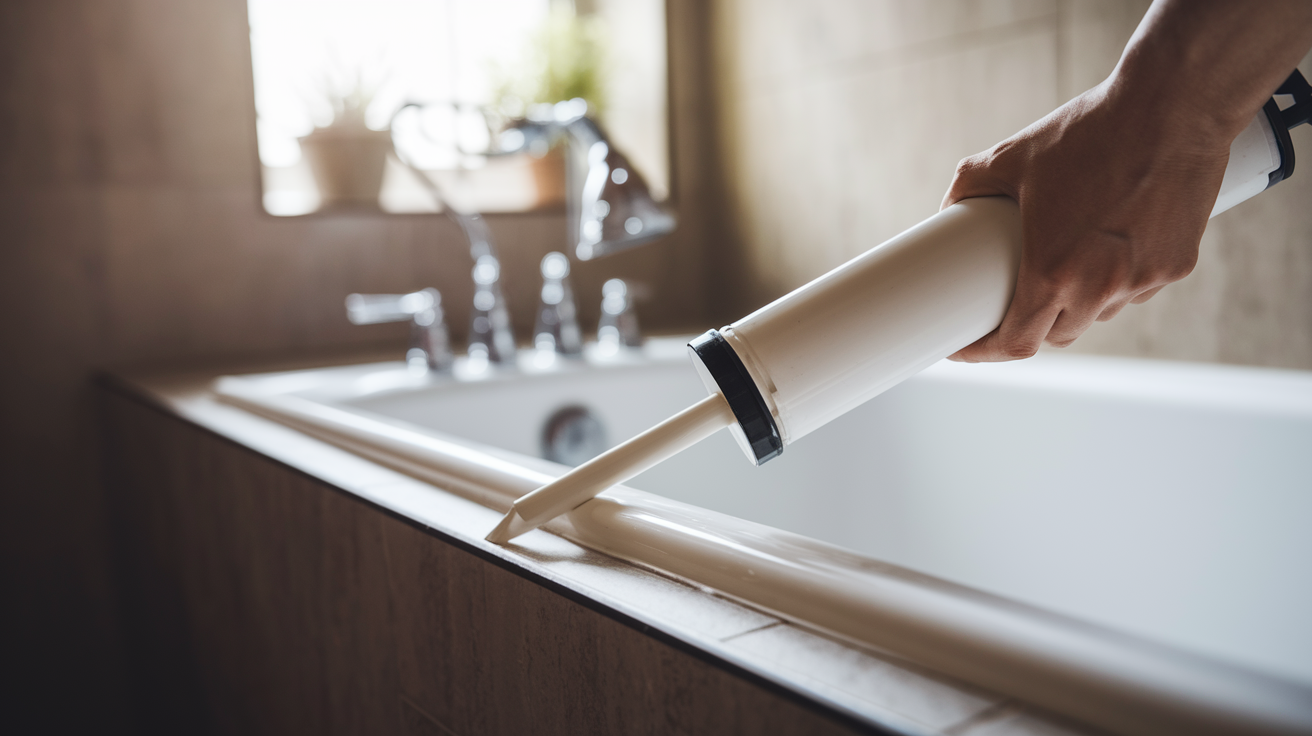
Choose 100% silicone caulk for any area that sees water. Tubs, showers, kitchen sinks. It costs a few dollars more than acrylic latex but stays flexible, resists mold better, and doesn’t yellow as quickly. Look for labels that specifically say “mold and mildew resistant.” For areas that stay dry like window frames or trim, acrylic latex caulk works fine and you can paint over it if needed. Don’t use acrylic in wet areas because it softens and peels when moisture soaks in.
Load the caulk tube into the gun, cut the tip at a 45 degree angle about a quarter inch from the end, and puncture the inner seal. Hold the gun at a 45 degree angle to the joint with steady pressure on the trigger. Move at a consistent speed, about one foot every three to four seconds, so the bead diameter stays even. Too fast creates gaps. Too slow creates a bulging mess. For detailed guidance on getting professional results around bathroom fixtures, see how to caulk around bathtub. Start at a corner and work continuously to the opposite end without stopping mid wall. Stopping creates a visible seam that’s hard to smooth out.
Smoothing makes the difference between a repair that looks DIY and one that looks professional. Wet your finger with soapy water or use a caulk smoothing tool dipped in water. Run it along the fresh bead in one continuous motion, pressing gently to push the caulk into the joint and create a slight concave curve. Wipe excess caulk onto a damp rag as you go. Don’t make multiple passes trying to perfect it. One smooth motion, then leave it alone to cure. Touch ups after it starts setting create texture and ridges that trap dirt.
Common Mistakes That Complicate Caulk Removal

Mistakes don’t just add time, they can damage surfaces in ways that cost money to fix. A gouged tub or chipped tile edge costs more to repair than the caulk project saved.
Removing wet caulk. Water makes caulk slippery and stretchy instead of brittle. It slides around under your blade instead of breaking away in chunks, and you end up smearing it into the surface texture.
Skipping the scoring step. Trying to scrape without first cutting the edges means you’re fighting the full adhesive bond. The caulk tears in tiny pieces instead of lifting in strips, turning a 30 minute job into two hours.
Using the wrong chemical on the wrong surface. Acetone on acrylic tubs, bleach on grout, or heat on plastic fixtures causes permanent damage that wasn’t there before you started.
Excessive force with scrapers. Pushing hard doesn’t make stubborn caulk come off faster, it just digs grooves into your tub or tile. If it’s not lifting, the caulk needs softening, not more pressure.
Insufficient residue cleanup. Leaving that invisible sticky film seems fine until your new caulk starts peeling at the edges within weeks.
Applying new caulk over old. This is the most common shortcut people try. It never works because the new caulk bonds to the old deteriorating layer instead of the solid surface, and both layers fail together.
Patience beats rushing. If a section won’t come up, stop scraping and soften it first. If your hand gets tired, take a break. Slow, methodical work with the right tools prevents the damage that turns a simple refresh into a renovation project.
Time Investment and Difficulty Level for Yellowed Caulk Removal
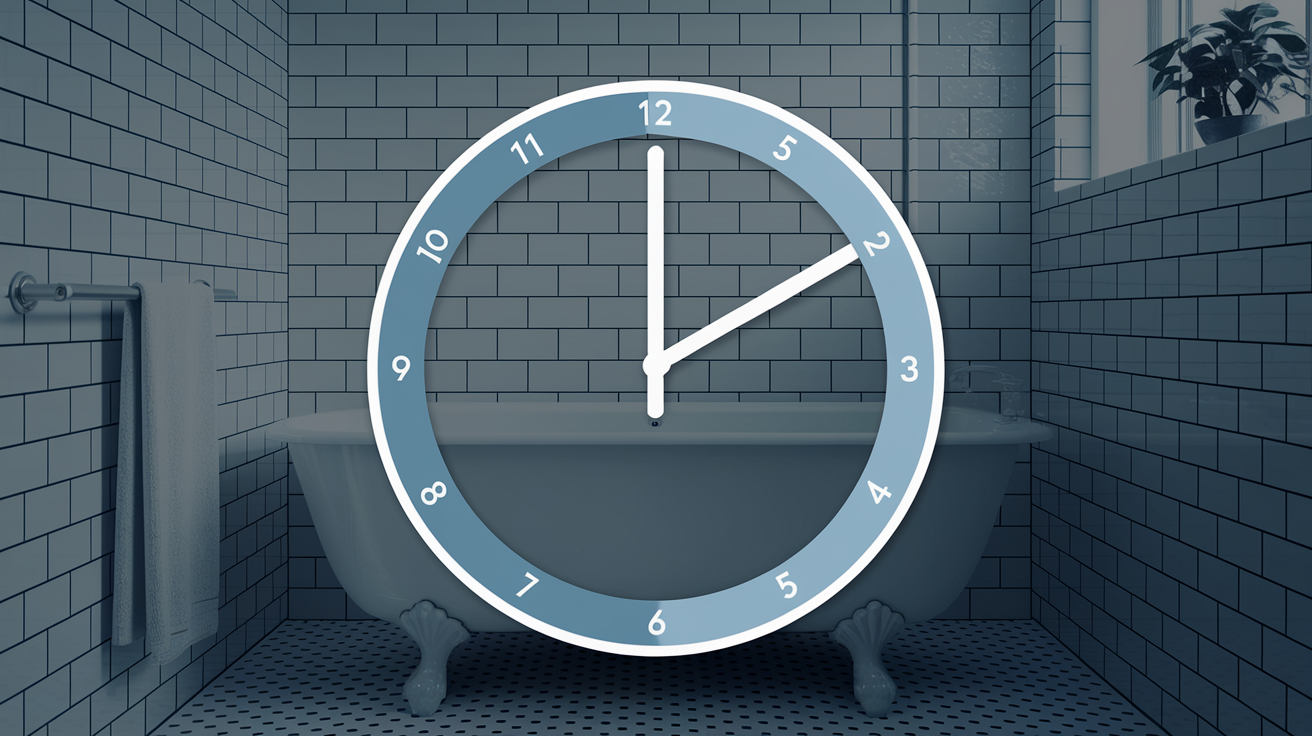
How long this takes depends on what type of caulk you’re removing, how old it is, and how much linear footage you’re tackling. A standard bathtub surround has about 12 to 15 feet of caulk lines. Fresh acrylic caulk from three years ago might come up in an hour. Twenty year old silicone could take three hours plus drying time before recaulking.
Break down your timeline this way. 15 to 30 minutes for softening with chemicals if needed, 30 to 90 minutes for scraping and removal depending on caulk type and age, 15 to 20 minutes for residue cleanup, then two to four hours of drying time before you can recaulk. If you’re using heat, add another 20 to 30 minutes. The actual hands on work for a typical bathroom runs 90 minutes to two hours, but you need to plan for a half day project when you factor in drying.
| Caulk Type | Removal Time | Difficulty Level |
|---|---|---|
| Silicone caulk | 60-120 minutes for 12-15 feet | Moderate – requires chemical or heat softening |
| Acrylic latex caulk | 30-60 minutes for 12-15 feet | Easy – softens with water and scrapes readily |
| Hybrid/polyurethane caulk | 90-150 minutes for 12-15 feet | Difficult – very strong adhesion, needs aggressive softening |
This is a beginner friendly project if you work carefully and don’t rush. The biggest risk is surface damage from excessive force or wrong tool choices, but those are preventable with the methods outlined here. Consider professional help if you’re dealing with more than 30 linear feet, if the surfaces are expensive or delicate (like natural stone or antique tile), or if you discover widespread mold that suggests a moisture problem beyond just old caulk.
Prevention Strategies to Stop Future Caulk Yellowing

Yellowing happens when moisture feeds mold growth, UV rays degrade the polymer structure, minerals from hard water deposit on the surface, and harsh cleaners react with caulk chemicals. Humid bathrooms with poor ventilation speed up all these processes. Every shower that doesn’t dry fully gives mold another chance to establish.
After every shower, squeegee the walls and tub to remove standing water. This 30 second habit cuts moisture exposure by 80% and makes the single biggest difference in caulk lifespan. Keep a squeegee hanging in the shower so you actually use it. Open the bathroom door or run the exhaust fan for 20 to 30 minutes after showering to dry out the air. Mold needs sustained humidity above 60% to grow, and ventilation keeps levels lower.
Clean bathroom surfaces weekly with mild detergent and water or a pH neutral bathroom cleaner. Avoid products with ammonia, bleach, or highly alkaline formulas because these break down caulk structure over time. The caulk might look clean, but chemically it’s degrading underneath. When you do need stronger cleaning for soap scum, spray it on tile only and rinse thoroughly so it doesn’t sit on caulk lines. For routine mold prevention around shower areas, see how to clean mold in shower. Vinegar and baking soda work on surface mold without the harsh chemical impact that degrades caulk.
Inspect caulk every few months by running your finger along the lines and looking for changes. Small cracks, slight pulling away from surfaces, or early discoloration are signals to reseal before it becomes a removal project. Apply a thin fresh bead of clear silicone over existing caulk every one to two years as a protective top coat. This maintenance layer extends the life of the base caulk underneath. Plan for complete caulk removal and replacement every five to 10 years depending on moisture exposure. Showers and tubs are closer to five years, while kitchen sinks and low moisture areas last toward 10 years.
Product and Tool Recommendations for Efficient Removal
Investing 20 to 30 dollars in proper tools saves hours of frustration and prevents surface damage that costs more to fix than the tools cost. A quality caulk removal tool with a sharp hook edge pulls out caulk from tight corners where scrapers can’t reach. The PRO CAULK Tool Kit includes this specialized removal tool along with finishing tools for recaulking.
Look for chemical removers that have gel consistency rather than liquid. Gel stays where you apply it instead of running down the wall, giving it time to penetrate and soften. Low fume formulas matter in bathrooms where ventilation is limited. The label should specifically state it works on both silicone and acrylic caulk because you often don’t know which type you’re removing until you start scraping. Application time between one to three hours is ideal. Products that claim to work in 15 minutes usually don’t penetrate deep enough on old, hardened caulk.
When selecting manual removal tools, quality indicators include handle design with grip texture that prevents slipping when your hands get sweaty or wet during removal. Blade sharpness out of the package matters because dull blades tear caulk instead of cutting it cleanly, creating more work. Blade material durability like tool steel or carbon steel holds an edge longer than cheap stamped metal. Multiple angle options with adjustable or interchangeable blades let you match the tool to different joint configurations. Safety features like blade guards protect both you and the tool when you set it down between sections.
Isopropyl alcohol from the drugstore works as well as specialty residue removers for final cleanup, especially on smooth tile and tub surfaces. A five dollar bottle of 70% or 91% alcohol handles cleanup for multiple bathroom projects. Household items have their limits though. For initial softening of stubborn old silicone, specialized chemical removers get you done in half the time with less elbow strain. That time savings is worth the 10 to 15 dollar cost difference when you’re already hours into scraping. Budget your tool investment based on how much caulk you’re removing. A single tub surround can be done with basic household tools. Multiple bathrooms or a whole house recaulking project justifies buying the specialized kit.
Final Words
Knowing how to remove old yellowed caulk comes down to three things: the right approach for your specific situation, the right tools, and patience through each phase.
Score both edges, work in small sections, and test any chemicals on a hidden spot first.
If you hit stubborn areas, heat or a chemical softener usually gets things moving again.
Once the old stuff is out and residue is gone, you’ve got a clean foundation for fresh caulk that’ll actually stick and last.
Take your time on the prep, and the recaulking part goes smooth.
FAQ
How can you whiten yellowed caulking?
You can whiten yellowed caulking by cleaning surface stains with rubbing alcohol or a bleach solution if the caulk is structurally sound and less than three years old. For deep yellowing from mold penetration or chemical degradation, complete removal and replacement is the only effective solution that restores appearance.
What dissolves old caulk effectively?
Specialized caulk remover gels dissolve old caulk most effectively by breaking down the adhesive bond after a waiting period. Rubbing alcohol, mineral spirits, and acetone also work on caulk residue, particularly on smooth surfaces, though they’re less effective than commercial removers on thick, aged silicone.
Can you reverse silicone yellowing permanently?
You cannot reverse silicone yellowing permanently once the material has degraded from UV exposure, humidity, or harsh chemicals. Surface cleaning may temporarily improve appearance on newer caulk, but yellowing caused by chemical breakdown within the silicone itself requires complete removal and replacement with fresh sealant.
Why did my caulking turn yellow over time?
Caulking turns yellow over time due to mold growth, mildew, UV exposure from sunlight, mineral deposits from hard water, and degradation from harsh cleaning chemicals. Humidity and poor ventilation accelerate the yellowing process, especially in bathrooms and kitchens where moisture exposure is constant and drying between uses is incomplete.