
You’ve probably scraped and repainted that bubbling wall twice already, and it keeps coming back. That’s because painting over damp without fixing the moisture source is like mopping the floor while the tap’s still running. The only permanent fix is a three-stage process: diagnose which type of damp you’re dealing with, eliminate the moisture at its source, then repair and repaint the surface properly using the right products. Skip any step and you’re back to staring at fresh bubbles in a few weeks.
Identifying and Fixing Paint Bubbling Caused by Damp
Stopping paint bubbling from damp requires fixing the moisture source first, not just repainting.
The only permanent solution follows three stages: diagnose the damp type, eliminate the moisture source, then repair and repaint the surface properly. This sequence matters because each stage depends on the one before. Skip straight to painting and you’re just covering up a problem that’ll resurface within weeks or months.
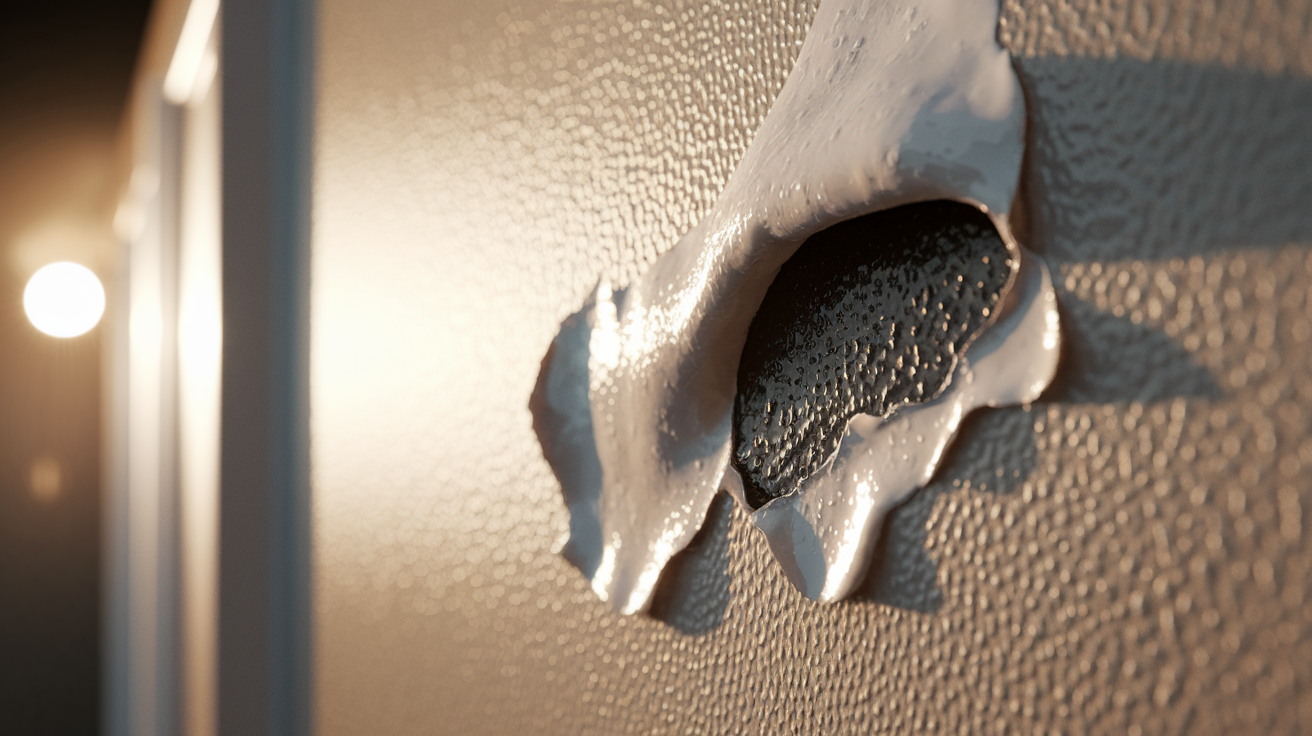
Painting over damp walls without treatment always fails. Moisture continues building pressure beneath new paint layers. The water vapor pushes upward, forcing the paint film to lift and form those frustrating blisters. You might get a few weeks of smooth looking walls, but the bubbles will return as soon as moisture accumulates again. It’s like putting a bandage on a leaking pipe.
Hidden moisture sources often get missed in initial repairs, which explains why bubbling keeps coming back. Condensation inside walls, vapor drive from unheated spaces below, seasonal roof leaks that only show up during heavy rain, and concealed plumbing problems behind fixtures all create ongoing moisture without obvious signs. You might fix one damp patch near a window and miss the fact that your guttering is overflowing and soaking the wall higher up.
Temporary fixes exist for emergencies, like when you need to make a room presentable before guests arrive. But only addressing the root cause delivers lasting results. If moisture is still entering your walls, no amount of special paint will keep bubbles away permanently.
Diagnosing the Type of Damp Behind Paint Bubbling

Before you can fix paint bubbling, you need to identify which of three main damp types is causing it: rising damp (ground moisture moving up walls), penetrating damp (external water entering through walls or roofs), and condensation (airborne moisture settling on cold surfaces). Each type needs a different treatment approach, so getting the diagnosis right saves you from wasting time and money on the wrong solution.
Using a moisture meter gives you accurate readings and takes the guesswork out of diagnosis. Moisture meters cost under £20 online for DIY diagnosis. Press the meter against your wall in several spots around the affected area and record the readings. Anything over 15 to 20 percent indicates a damp problem requiring treatment before you repaint. Take readings at different heights, near the floor, mid wall, and near the ceiling, because the moisture pattern helps identify the damp type.
Visual and tactile checks back up your meter readings. Press your hand against the wall. Does it feel cold and clammy, or just cool? Look for yellowing or discoloration under peeling paint layers, soft plaster that gives slightly when you push it, white powdery residue (called efflorescence), and musty smells that get stronger in closed rooms. Each damp type leaves specific clues.
Diagnostic signs for each damp type:
Rising damp appears typically below 1 metre high with a horizontal tide mark where moisture stops climbing, creates a band of damp that’s worst at floor level, leaves salt deposits as a white powdery line, and makes skirting boards soft or discolored.
Penetrating damp shows up after heavy rain near problem areas like leaking gutters or cracked pointing, appears as patches rather than horizontal lines, often concentrated around windows or where walls meet roofs, and gets worse during wet weather then improves when dry.
Condensation forms on cold surfaces like exterior walls and window corners, appears as water droplets or damp patches in humid rooms (bathrooms and kitchens especially), causes black mould growth in corners and behind furniture, and is worst during winter when temperature differences are greatest.
High indoor humidity means keeping a humidity meter running. Readings consistently above 60 percent mean your ventilation isn’t keeping up with moisture production from cooking, bathing, and breathing.
Sometimes you’ll find rising damp at floor level and condensation higher up on the same wall, which means you need to tackle both problems for the paint repair to last.
Seasonal patterns matter too. If bubbling appears in winter but improves in summer, condensation is likely the culprit. If it appears after rain regardless of season, suspect penetrating damp or leaks.
Preparing Damp Walls Before Repainting
Surface preparation determines repair success. Shortcuts lead to recurring bubbling within weeks. Most failed damp repairs trace back to rushing this stage rather than problems with paint selection or application technique.
This preparation sequence must be followed systematically for lasting results. Missing a step or doing them out of order leaves contamination or moisture that prevents proper adhesion.
Complete surface preparation workflow:
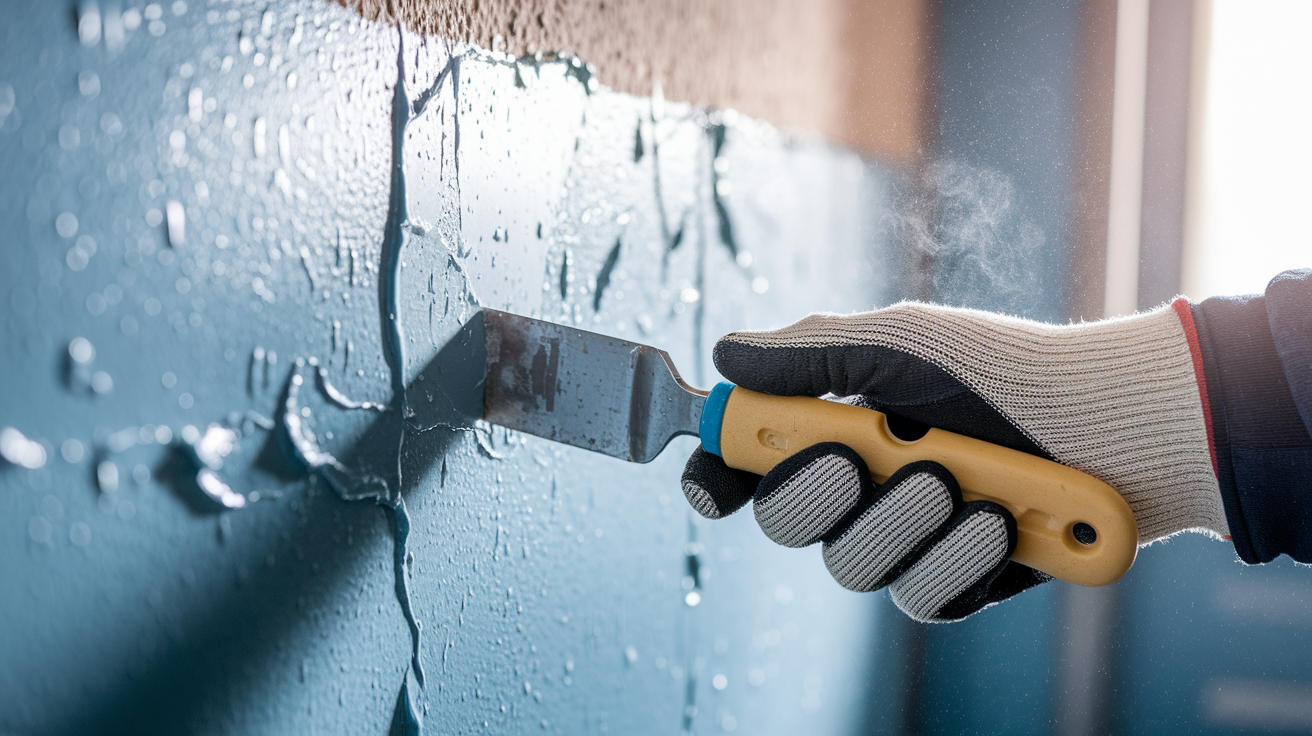
Scrape all loose and bubbled paint back to sound edges using a paint scraper or wire brush until reaching a firm edge where paint is bonded tightly to the wall. Don’t stop at the obvious bubbles. Test surrounding areas by pressing with your thumb. If paint flexes or feels spongy, keep scraping. You’re looking for paint that doesn’t move when you push it.
Sand scraped areas with medium grit sandpaper (around 120 grit) to smooth transitions between scraped spots and intact paint, blending chipped edges so you can’t feel a lip when you run your hand across. Sand glossy areas of old paint to improve adhesion. Shiny surfaces prevent new paint from gripping properly. Wipe all dust away with a dry cloth afterward, then vacuum the floor and baseboards because dust gets kicked up and lands back on your wet paint.
Remove white powdery salt deposits (efflorescence) using a wire brush. These salts appear when moisture brings minerals to the surface, and they break down adhesive over time. Brush vigorously until you’ve removed all visible powder, then wipe with a dry cloth. If salts keep reappearing after brushing, it means moisture is still active and you haven’t fixed the source yet.
Clean walls thoroughly with sugar soap solution mixed according to package directions to remove dust, grease, and surface contamination. Work from bottom to top to avoid streaks. In areas with mould growth (black or green spots), apply a fungicidal wash and leave it on for the recommended time, usually 15 to 30 minutes. Rinse the entire wall with clean water and wipe down with a damp cloth. This step matters more than most people realize, especially in kitchens where grease film prevents paint from sticking.
Fill cracks and damaged plaster areas with appropriate filler. Use fine surface filler for hairline cracks, deeper filler for holes larger than a few millimeters. Press filler firmly into cracks so you’re not just bridging the surface. Let it dry completely according to the product instructions, which usually means several hours or overnight for deeper fills.
Sand filled areas smooth with fine grit sandpaper (180 grit or finer) until they blend perfectly into the surrounding wall surface. Run your hand across. You shouldn’t feel any bumps or ridges. Wipe dust away again with a dry cloth.
Dry walls thoroughly for 48 to 72 hours using heaters and dehumidifiers before proceeding to priming. This is the step people skip most often, and it’s the one that causes the most repeat failures. Even if your wall feels dry to touch, moisture can be trapped deeper in the plaster. In cold weather or naturally damp rooms like basements, extend this to a full 72 hours.
Verifying walls are dry enough means using your moisture meter again. Readings should drop below 15 percent before you prime. If they’re still high after 72 hours of drying, you haven’t eliminated the moisture source yet, and repainting is pointless. In that case, trace back through your diagnosis and find what you missed.
After cleaning with sugar soap, rinse thoroughly and allow complete drying time. Soap residue acts as a barrier between paint and plaster, so don’t skip the rinse. In kitchens where grease buildup is heavy, you might need to clean twice. Let the wall dry completely after rinsing, usually overnight, before moving to the next stage.
Selecting the Right Primer and Paint for Damp Walls
Standard emulsion paints fail on damp walls because they create a non-breathable film that traps moisture underneath, leading to the same bubbling you’re trying to fix. The moisture has nowhere to go, so pressure builds until it lifts the paint film. Moisture proof primers create a barrier that blocks water while still allowing vapor transmission, which prevents that pressure buildup.
Breathable paints work for walls that need to release moisture gradually, like solid brick or stone walls where some vapor movement is normal and healthy for the building. Waterproof barriers are for severe damp situations where you need complete moisture blocking, like below grade walls in basements or flood prone areas. Using a waterproof barrier on walls that need to breathe can trap moisture in the masonry and cause deterioration, so matching the product type to your specific situation matters.
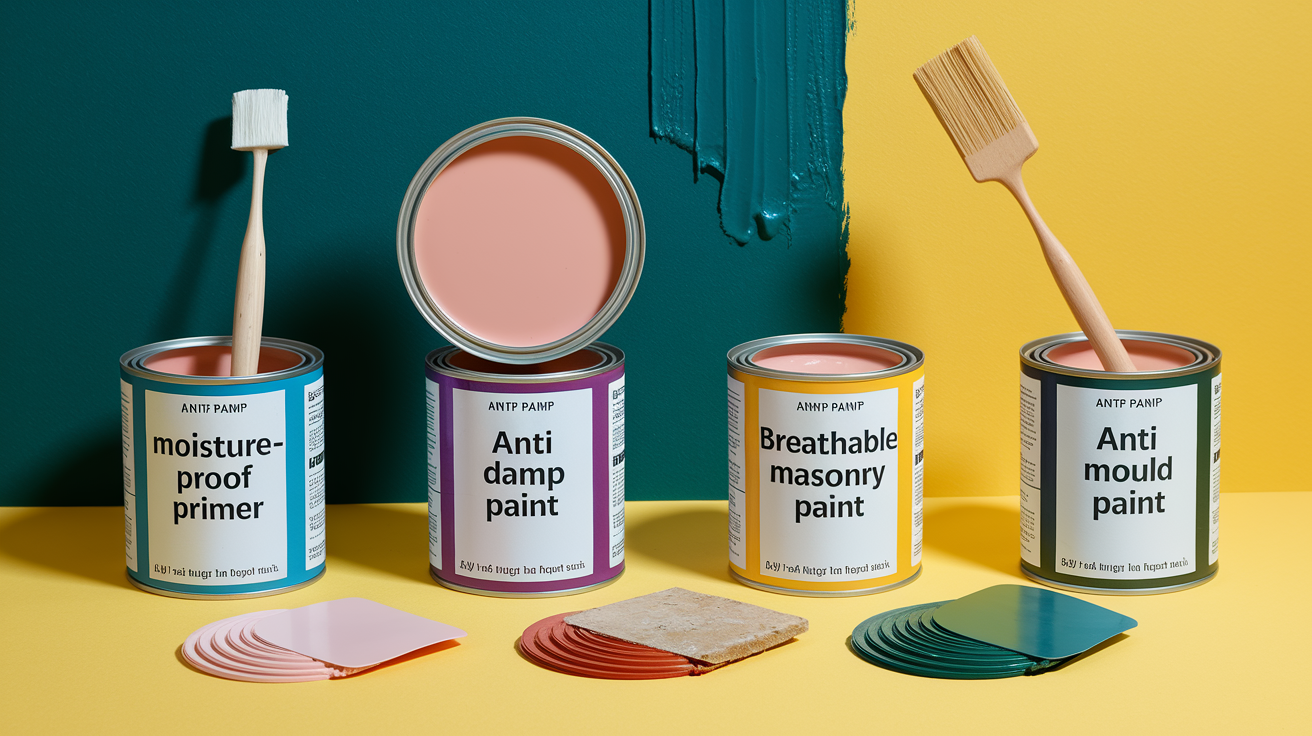
| Product Type | Best For | Example Products |
|---|---|---|
| Moisture proof primer | Creating a base coat on previously damp walls, sealing porous surfaces before painting, blocking stains from old water damage | Zinsser Damp Seal (penetrates and seals porous surfaces), Ronseal One Coat (quick drying option for small areas) |
| Anti damp paint | Basements, cellars, below grade rooms, areas with persistent low level moisture after source is fixed | SPO Anti Damp Paint (bonds to damp surfaces, low odor, ideal for occupied basements) |
| Breathable masonry paint | Solid brick or stone walls, period properties, exterior walls, any surface that needs vapor permeability | Sandtex Microseal (allows walls to breathe while repelling rain) |
| Anti mould paint | Bathrooms, kitchens, any high humidity room, areas prone to condensation, rooms with poor ventilation | Johnstone’s Anti Mould Paint (durable for humid rooms with easy application), mould resistant silicone paints for highest risk areas |
| Waterproof barrier | Flood prone areas, severe penetrating damp after structural fixes, tanking basements, areas subject to water pressure | Coo Var Anti Damp (heavy duty water resistant barrier for extreme conditions) |
Apply products in thin coats rather than trying to get full coverage in one thick layer. Thick coats trap solvent and moisture, which causes new bubbling as they try to escape. Allow full drying time between coats, usually 4 to 6 hours minimum, but check your product instructions because some need longer. Don’t paint when indoor humidity is above 60 percent or when temperatures are outside the 10 to 15 degrees Celsius range, because those conditions prevent proper curing and adhesion.
Controlling Moisture Through Ventilation and Dehumidification
Proper ventilation and humidity control directly address condensation related paint bubbling by removing moisture from the air before it settles on cold wall surfaces and soaks into plaster. A family of four produces around 10 to 15 liters of water vapor daily through breathing, cooking, bathing, and washing, so unless that moisture has a way out, it will condense on your coldest surfaces. Typically exterior walls and corners.
Maintain indoor humidity at 40 to 60 percent to prevent moisture issues. Below 40 percent feels uncomfortably dry and can cause other problems like cracking woodwork. Above 60 percent creates ideal conditions for condensation and mould growth. You can pick up a basic humidity meter for under £10 at hardware stores, and it’s worth having one in rooms where you’ve had damp problems before. Check readings at different times of day, especially after cooking and bathing when humidity spikes.
Five steps for improving ventilation and reducing humidity:
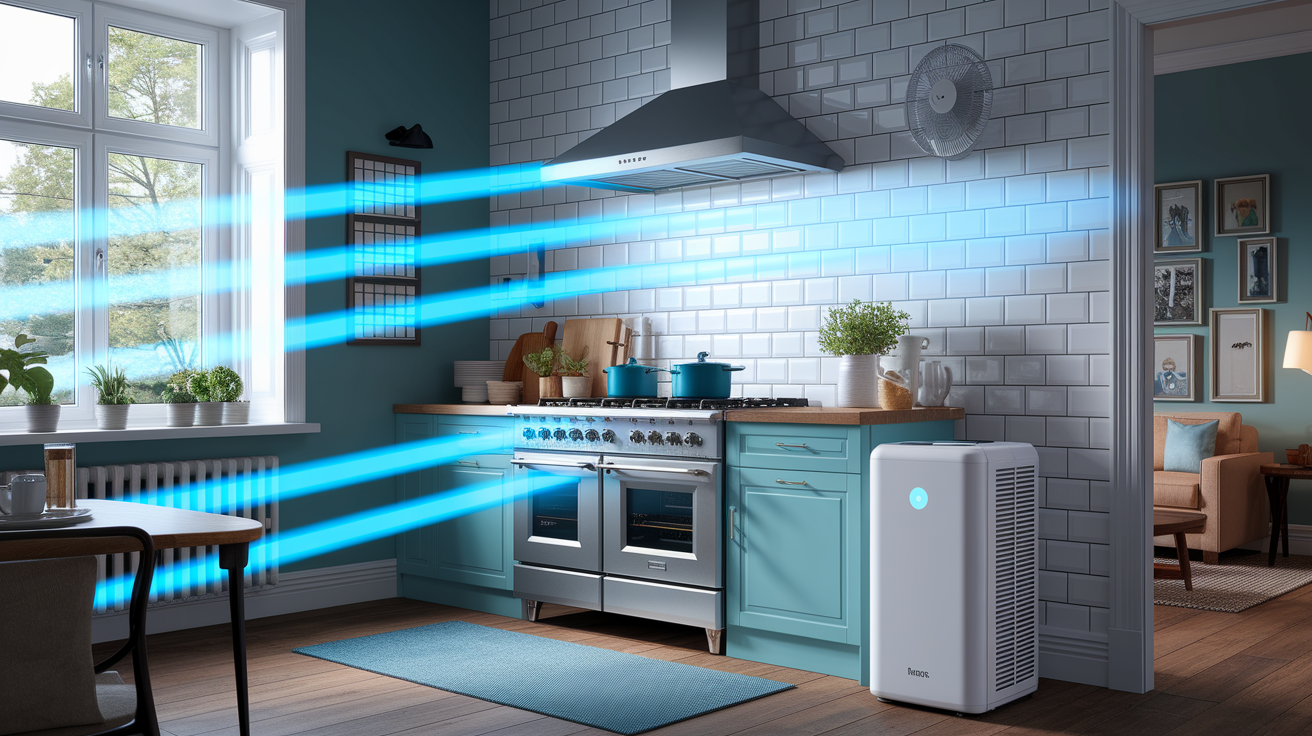
Install extractor fans in kitchens and bathrooms wired to the light switch so they run automatically when the room is in use. Look for fans rated for the room size. Bathroom fans should achieve at least 6 air changes per hour. Position them as close to the shower or hob as possible so they capture moisture at the source.
Open windows after bathing or cooking for at least 15 to 20 minutes to let humid air escape and fresh air in. Even in winter, a brief window opening makes a bigger difference than leaving it closed and running a dehumidifier all day. Crack open windows on opposite sides of your home when possible to create cross ventilation that moves air through the whole space.
Use dehumidifiers in rooms with persistent humidity problems, especially during winter when you keep windows closed more often. Empty the collection tank daily in very humid conditions. Place the dehumidifier in the middle of the room rather than against a wall for better air circulation. Expect to run it continuously during damp seasons in problem rooms.
Ensure air circulation behind furniture by pulling sofas and wardrobes a few inches away from exterior walls. Stagnant air pockets trap moisture and create mould growth spots that damage paint. Avoid drying laundry indoors unless you’re venting a tumble dryer outside or using a dehumidifier in the same room.
Maintain consistent heating levels rather than letting rooms get very cold then heating them rapidly, which causes temperature swings that drive condensation. Low background heating (around 15 degrees Celsius) prevents walls from getting cold enough for moisture to condense on them. This matters especially in unoccupied rooms. Don’t shut off radiators completely in spare bedrooms.
Prevention habits like opening the bathroom window for 20 minutes after every shower and running the kitchen extractor while cooking stop moisture from accumulating in the first place. Annual damp checks in autumn before winter humidity arrives help catch problems early. If you spot new condensation patterns or musty smells developing, address them immediately rather than waiting for paint to start bubbling again.
Applying Paint to Prevent Future Bubbling and Blistering

Environmental conditions during painting and drying have as much impact on bubbling as the paint quality itself. High temperatures above 25 degrees Celsius cause paint to dry too quickly on the surface while moisture underneath tries to escape, forming blisters. High humidity (above 60 percent) prevents proper drying and traps moisture in the paint film. Direct sunlight heats the wall surface unevenly, causing some areas to dry faster than others and creating tension that lifts the paint. Maintain room temperature at 10 to 15 degrees Celsius and 50 percent humidity during painting and for 24 hours afterward while the paint cures.
Thin coats beat thick application every time because thin layers allow moisture and solvents to escape gradually without pressure buildup. When you load your brush or roller too heavily, the outer surface skins over before the deeper paint has dried, trapping everything underneath. Apply thin paint coats allowing 4 to 6 hours drying time between coats, and longer if your room is cool or humid. Two or three thin coats provide better coverage and adhesion than one thick coat, even though it takes longer. Rushing by applying a second coat before the first has properly dried is one of the most common mistakes that leads to blistering.
Follow manufacturer instructions for paint application and recommended drying times between coats because different paint formulations cure at different rates. Anti damp paints often need longer between coats than standard emulsion. Temperature and humidity also affect drying time. What dries in 4 hours on a warm, dry day might need 8 hours in cold, damp conditions. Test by touching an inconspicuous spot lightly with your finger. If it feels tacky or leaves a mark, wait longer.
Proper application technique means using light, steady strokes with your brush or roller and avoiding overworking the paint. For larger repaired spots, feather paint out around edges by gradually reducing pressure as you move away from the center. This blends the repair seamlessly into surrounding paint. On a brush, that means using just the tip for the final feathering strokes. Don’t go back over paint once it starts to set. You’ll lift it and create marks that show through the final finish.
Waterproofing Treatments for Interior and Exterior Walls

Waterproofing becomes necessary when surface treatments alone can’t handle the moisture load or when damp has caused structural damage that needs protection while it dries out.
DIY Waterproofing Solutions
Surface sealants work for minor penetrating damp after you’ve fixed the external cause, like repairing cracked pointing or replacing damaged roof tiles. Apply waterproofing masonry paint or clear masonry sealant to exterior walls to repel rainwater while allowing the wall to breathe. For interior basement walls with slight dampness, waterproof membranes create a plastic barrier between the damp wall and your living space. These membranes have dimpled surfaces that create an air gap, allowing moisture to evaporate harmlessly behind the membrane while keeping your interior surfaces dry. You fix them to the wall with special plugs, then plasterboard over the top to create a normal wall surface.
Exterior masonry treatments include clear water repellent sealants that don’t change the wall’s appearance but stop rain from penetrating. Clean the wall thoroughly first, let it dry for several days, then apply the sealant according to instructions, usually two coats with 4 to 6 hours between. These treatments typically last 5 to 10 years before needing reapplication and work best on porous surfaces like brick, stone, or render.
Professional Damp Proofing Systems
Chemical damp proof injection becomes necessary for rising damp in older properties without modern damp proof courses. Specialists drill holes at regular intervals along the base of your wall and inject a water repellent chemical that forms a barrier preventing ground moisture from rising. This is a specialist job because the drilling pattern, injection depth, and chemical selection all require professional assessment. Dry Rod and Storm Dry are professional systems that use similar principles but with different chemical formulations for severe damp cases.
Cavity wall treatment addresses damp penetrating through the cavity, either from cavity wall insulation that’s gotten wet or from mortar debris bridging the cavity gap. Professionals use inspection cameras to assess the cavity condition, then may inject foam or extract contaminated insulation before installing replacement material. Tanking systems for below grade spaces involve applying multiple layers of waterproof render or membrane systems to create a completely waterproof shell, effectively turning your basement into a sealed box. This stops water entering but requires proper ventilation because the space can’t breathe.
Upgrading from DIY to professional waterproofing makes sense when damp extends above 1 metre (suggesting rising damp or failed damp proof course), when you have basement flooding or persistent seepage, when cavity walls are suspect, or when DIY treatments have failed to solve the problem after following all the correct steps. Professional damp surveys catch hidden problems like cavity wall failures, concealed leaks, or structural issues that DIY diagnosis misses.
Essential Tools and Materials for Damp Paint Repair
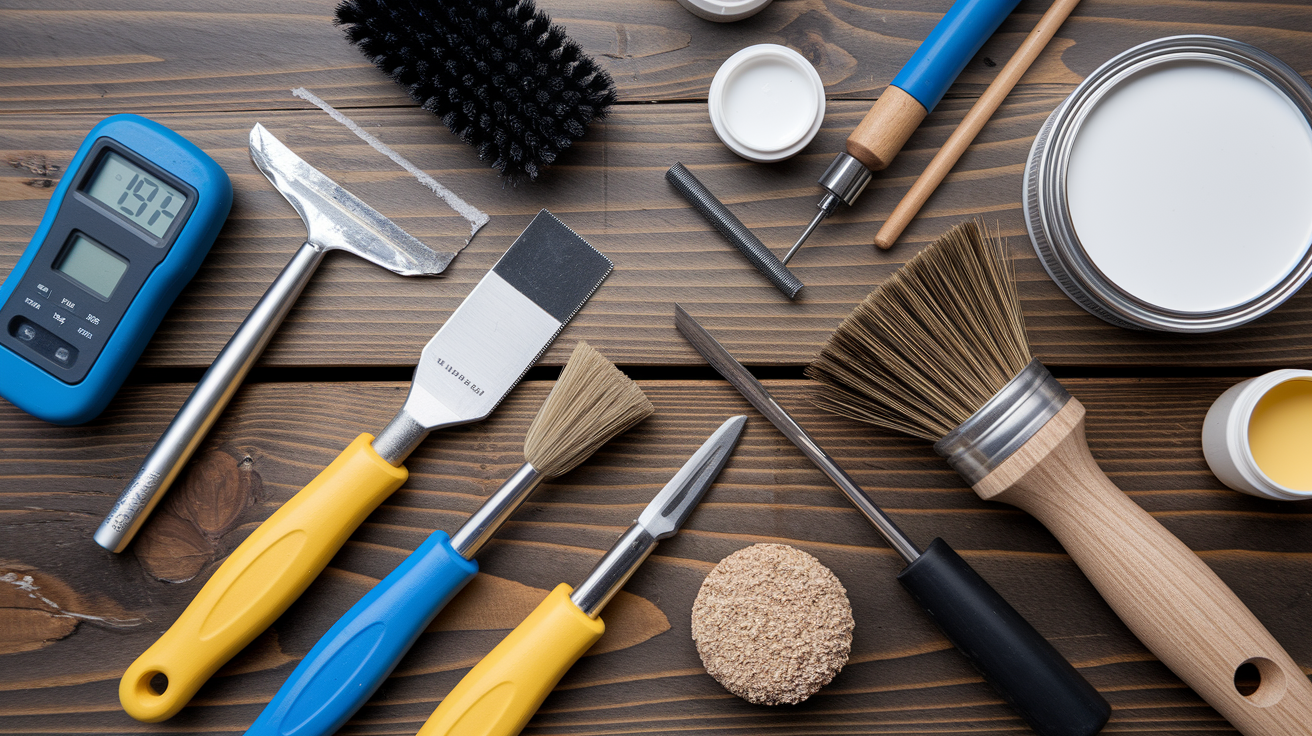
Having the right tools on hand before you start prevents mid project trips to the hardware store and ensures you can complete each preparation step properly. Essential tools differ from nice to have extras depending on your repair scale. A small patch needs less equipment than treating a whole room.
Must have tools and materials:
Moisture meter for accurate diagnosis and verifying dryness before painting. Readings over 15 to 20 percent mean walls aren’t ready, costs under £20 online for basic pin type models that are perfectly adequate for DIY use.
Paint scraper and putty knife. Rigid scraper for lifting bubbled paint back to firm edges, flexible putty knife for applying filler smoothly, get one of each rather than trying to make one tool do both jobs.
Wire brush removes loose material, cleans off efflorescence salt deposits, roughens glossy surfaces. Choose one with a comfortable grip because you’ll use it more than you expect.
Sandpaper in multiple grits. 120 grit (medium) for initial smoothing and removing gloss, 180 grit or finer for finishing filled areas and final prep before priming. Buy a variety pack rather than individual sheets.
Filler or spackle. Interior grade fine surface filler for small cracks and holes, deeper filler for anything more than 5mm deep. One small tub usually handles several square meters of minor damage.
Sugar soap and fungicidal wash. Sugar soap removes grease and contamination, fungicidal wash treats mould growth. Get both if you’re dealing with bathroom or kitchen walls, dilute according to instructions.
Appropriate primer. Moisture proof primer like Zinsser Damp Seal for previously damp areas. One liter typically covers 6 to 8 square meters depending on surface porosity.
Suitable paint. Anti damp or anti mould paint depending on your situation. Calculate coverage by room area then add 10 percent for touch ups and second coats.
You can source most materials from general DIY stores, though specialist damp products might need trade suppliers or online ordering. A basic moisture meter plus hand tools and enough primer and paint for a single room typically costs £60 to £80 total. Add a basic dehumidifier for another £50 to £100 if you don’t already own one and you’re working in a naturally damp space.
Long Term Prevention Methods for Moisture and Paint Bubbling

Prevention costs far less than repeated repairs, both in money and in the frustration of watching the same patches bubble up again six months later. Once you’ve fixed paint bubbling and treated the underlying damp, maintaining dry walls becomes a matter of regular habits and seasonal checks rather than major projects.
Annual moisture inspections catch developing problems before they damage paint. Check walls with your moisture meter in autumn before winter humidity arrives, paying special attention to spots that bubbled before and to areas prone to condensation (exterior walls, corners, window reveals). Take readings at the same spots each year so you can track trends. A gradual increase in moisture levels warns you that something’s changing even if you can’t see visible damp yet. Early detection means you can fix a small problem like a loose roof tile before it causes interior damage.
External maintenance prevents penetrating damp from ever reaching your interior walls. Clean gutters and downpipes twice yearly (spring and autumn) so rainwater flows away from walls instead of overflowing and soaking into brickwork. Check exterior pointing annually for cracks or missing sections, and repoint as needed. This is especially important in older properties where lime mortar deteriorates faster than modern cement based pointing. Inspect your roof condition from ground level with binoculars, looking for slipped or broken tiles. In rainy UK regions, these external checks matter more than in drier climates because your walls are under constant moisture attack during wet months.
Six prevention practices that stop bubbling before it starts:
Schedule annual damp surveys in autumn using your moisture meter to check all previously affected areas plus high risk spots like exterior walls, basement surfaces, and rooms above or below bathrooms. Record readings so you can compare year on year.
Clean gutters and check exterior drainage twice yearly in spring and autumn. Ensure downpipes discharge at least 1 meter away from building foundations. Check that ground slopes away from walls rather than toward them.
Maintain ventilation habits by opening windows for 15 to 20 minutes after cooking or bathing, running extractor fans whenever rooms are in use. Never block air vents or extractor grilles with furniture or decorations.
Monitor humidity with a meter keeping readings between 40 and 60 percent year round. Use dehumidifiers when readings stay high despite ventilation, increase heating slightly in winter rather than letting rooms get very cold.
Fix leaks and moisture sources immediately when you notice them rather than waiting until convenient. A dripping tap or slow shower leak gets worse and causes progressively more damage the longer you leave it.
Consider cavity wall insulation or upgraded insulation to reduce temperature differences between interior wall surfaces and room air, which reduces condensation risk. This is particularly effective in older properties with solid walls and single glazed windows.
When to Call a Damp Specialist Instead of DIY Repair
Some damp problems exceed DIY capability because they involve structural issues, concealed damage, or moisture sources that require specialist equipment to locate and treat properly. Recognizing when you’re out of your depth saves you from wasting money on repeated failed repairs while the underlying problem gets worse.
Warning signs requiring professional help:
Black mould growth that’s widespread (covering more than about 1 square meter) or keeps returning within weeks of cleaning, especially if it appears in multiple rooms or in unusual spots like mid wall rather than just corners and windows.
Damp extending above 1 metre from floor level which typically indicates rising damp from a failed or bridged damp proof course rather than simple condensation or a minor leak you can fix yourself.
Crumbling plaster that comes away easily when you press it or that has separated from the wall behind it, leaving hollow sounding areas when you tap. This suggests long term moisture damage that needs replastering after damp treatment.
Widespread or recurring problems where you’ve already attempted proper DIY repair including fixing obvious moisture sources and allowing thorough drying, but bubbling returns within a few months anyway.
Suspected rising damp or cavity wall failure based on moisture patterns, location, or persistent dampness that doesn’t respond to improved ventilation and doesn’t correlate with rain or condensation patterns.
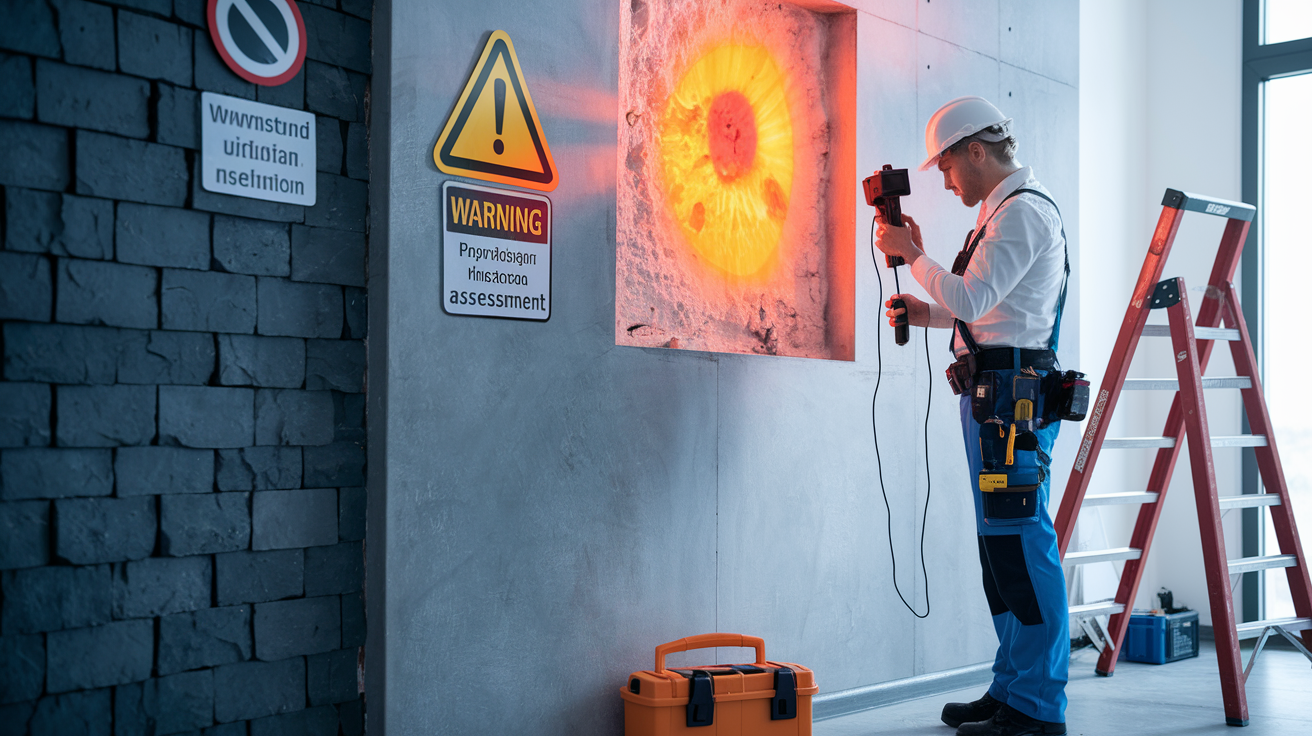
Professional damp surveys include thermal imaging to detect hidden moisture and cold spots, invasive testing where specialists take core samples from walls to measure moisture at different depths, and pressure testing to identify breaches in damp proof courses. Surveyors also check for less obvious problems like defective cavity wall ties, failed renders trapping moisture, or underground drainage defects. The survey typically costs £200 to £400 depending on property size, but it identifies exactly what’s wrong and what treatment is genuinely needed rather than you guessing based on visible symptoms.
Professional treatment systems for rising damp include chemical injection damp proof courses, replacement of physical damp proof membranes, and tanking systems for basements. Costs vary widely. Chemical injection for a typical terraced house might cost £1,000 to £2,500, while full basement waterproofing can reach £5,000 to £10,000 depending on the system and room size. These prices often include guarantees of 10 to 20 years, which DIY methods can’t provide. The Dry Rod and Storm Dry systems offer alternatives to traditional injection with rods inserted into drilled holes that slowly release water repellent chemicals over time.
Cost and Time Estimates for Damp Paint Repair Projects
Drying time represents the longest part of any damp repair, not the actual labor of scraping and painting. A small patch repair might only take two hours of hands on work, but you’ll need three to five days total when you factor in drying the wall, drying the filler, waiting for primer to cure, and allowing paint coats to dry properly between applications. Rushing any of these stages causes the repair to fail, so plan your project timeline around drying rather than around work time.
Cost components break down into diagnosis tools (moisture meter at under £20 that you’ll use for years), surface prep materials (scrapers, sandpaper, sugar soap, filler, around £15 to £25 total for a single room), primers and paints (£30 to £60 depending on brand and area coverage), and optional dehumidifier rental or purchase (£50 to £100 if you don’t already own one). For a typical single wall repair in a bedroom, expect to spend £60 to £100 on materials if you’re starting with no tools. A whole bathroom needing anti mould paint and new ventilation might reach £200 to £300 including an extractor fan.
| Repair Scope | Time Required | Estimated Cost |
|---|---|---|
| Small patch repair (under 0.5 square meters) | 3 to 4 days total: 2 hours hands on work spread over multiple days for drying stages | £20 to £40 in materials if you have basic tools; add £20 for moisture meter if first time |
| Single room treatment (one or two walls) | 5 to 7 days: 6 to 8 hours hands on work for prep, priming, and two paint coats plus extended drying time | £60 to £120 depending on room size and whether you need anti mould or anti damp products |
| Whole wall repair with ventilation improvements | 1 to 2 weeks: includes extractor fan installation, wall treatment, and full cure time before room is back to normal use | £150 to £300 including extractor fan, wiring (if DIY capable), paint, and prep materials |
| Professional damp proofing treatment | 2 to 4 weeks: includes survey, treatment installation, plastering if needed, and drying time before decoration | £1,000 to £2,500 for chemical injection; £3,000 to £10,000 for basement tanking depending on severity and property size |
Final Words
Paint bubbling from damp won’t stop until you fix the moisture source first. Repainting alone just delays the problem.
The three-stage process works: diagnose the damp type, eliminate the source, then prep and paint properly with the right products.
Skip the surface prep or rush the drying time, and you’ll be scraping bubbles again in six months. Take the extra days to dry walls thoroughly and use moisture-proof primer.
If you’re seeing black mould, crumbling plaster, or damp above 1 metre, call a specialist. Some problems need professional equipment and treatment.
Fix it right once, maintain good ventilation habits, and those bubbles stay gone. You’ve got this.
FAQ
How to fix bubbling paint from damp?
To fix bubbling paint from damp, you must first identify and eliminate the moisture source (leak, condensation, or rising damp), then scrape away loose paint, clean and dry the wall thoroughly for 48 to 72 hours, apply moisture-proof primer, and repaint with anti-damp paint.
Will paint bubbles go away?
Paint bubbles will not go away on their own. Moisture trapped beneath the paint film continues creating pressure that worsens the bubbling over time. The only solution is to remove affected paint, fix the underlying moisture problem, and properly prepare and repaint the surface.
What is the difference between blistering and bubbling?
Blistering and bubbling describe the same paint failure where moisture or air lifts paint from the surface. Some use “blistering” for larger raised areas and “bubbling” for smaller ones, but both terms refer to paint lifting due to trapped moisture, heat, or poor surface preparation.
Does bubbling paint always mean moisture?
Bubbling paint does not always mean moisture. While moisture is the most common cause, paint can also bubble from applying thick coats in high heat, painting over contaminated or glossy surfaces without proper preparation, or painting in direct sunlight causing rapid surface drying before underlying layers cure.
How long do walls need to dry after damp treatment?
Walls need to dry for 48 to 72 hours after damp treatment before repainting. Use heaters and dehumidifiers to speed the process, and verify walls are dry using a moisture meter. Readings should drop below 15 percent before applying primer or paint.
Can you paint over bubbling paint without scraping?
You cannot paint over bubbling paint without scraping. New paint applied over bubbles will fail quickly because trapped moisture continues building pressure beneath all paint layers. You must scrape back to sound edges, address the moisture source, and properly prepare the surface first.
What primer stops paint bubbling on damp walls?
Moisture-proof primers like Zinsser Damp Seal or Ronseal One Coat stop paint bubbling on damp walls. These specialized primers penetrate porous surfaces and create a moisture barrier that prevents water vapor from reaching topcoat paint, but only work after you’ve eliminated active moisture sources.
How do you remove salt deposits before repainting damp walls?
You remove salt deposits (efflorescence) from damp walls using a wire brush to scrub away the white powdery residue. These salts break down paint adhesion over time, so complete removal is essential before priming. Brush thoroughly until no powder remains, then wipe clean.
What humidity level prevents paint bubbling?
Maintaining indoor humidity between 40 and 60 percent prevents paint bubbling from condensation. Use a hygrometer to monitor levels, run dehumidifiers when humidity climbs above 60 percent, and improve ventilation with extractor fans in bathrooms and kitchens to reduce moisture accumulation.
When should you call a professional for bubbling paint?
You should call a professional for bubbling paint when black mould is present, damp extends above 1 metre height, plaster is crumbling, problems recur after DIY repairs, or you suspect rising damp requiring chemical injection treatment that exceeds typical DIY capability.