
You’ve probably heard that water-damaged paint just needs a quick patch and fresh coat. Wrong. Moisture damage paint repair only works if you find where the water’s getting in, dry everything completely, and tackle hidden problems before you touch a brush. Skip any of those steps and you’re painting over a ticking clock. Below, we’ll walk through exactly how to stop the source, assess what’s really damaged, and finish with a repair that actually lasts.
Understanding Moisture Damage and Immediate Action Steps
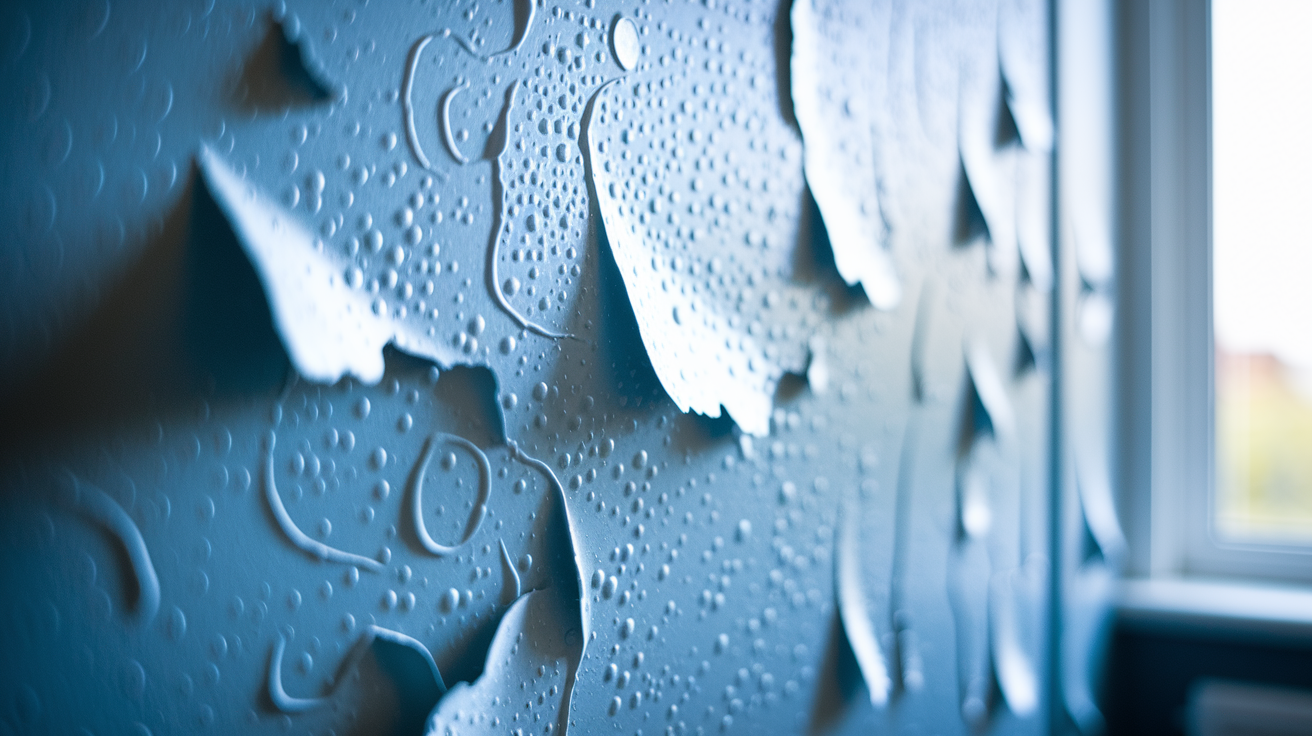
Moisture wrecks paint when water sneaks into walls through leaks, condensation, or just humid air that won’t quit. Once it’s trapped between your paint and the wall, it builds pressure and starts separating everything. You’ll see bubbles, peeling, blisters, weird discoloration. Water gets in through obvious stuff like burst pipes and roof leaks, but also through sneaky culprits like failed grout, window condensation, and humidity that builds up season after season. Once moisture’s trapped, it keeps degrading your paint and whatever’s underneath.
Catching the visible symptoms early helps you stop things before they spiral. Watch for paint bubbles that feel hollow when you press them, flaking edges where paint’s lifting away, blistering that exposes bare drywall underneath, brown or yellow stains creeping across your ceiling or walls, and soft spots that compress under firm pressure. These tell you water’s either active right now or was very recently.
Acting fast keeps this from turning into serious structural problems, mold growing behind your walls, and repair bills that jump from hundreds to thousands. The sections below walk you through moisture damage paint repair from start to finish: finding where the water’s coming from, all the way through to your final protective coat.
Finding the Moisture Source Before Paint Restoration
Fixing paint without stopping the moisture source is pointless. The new paint will bubble and peel again, you’ll waste your time and money, and hidden damage will keep spreading while you’re not looking.
Plumbing and Fixture Leaks
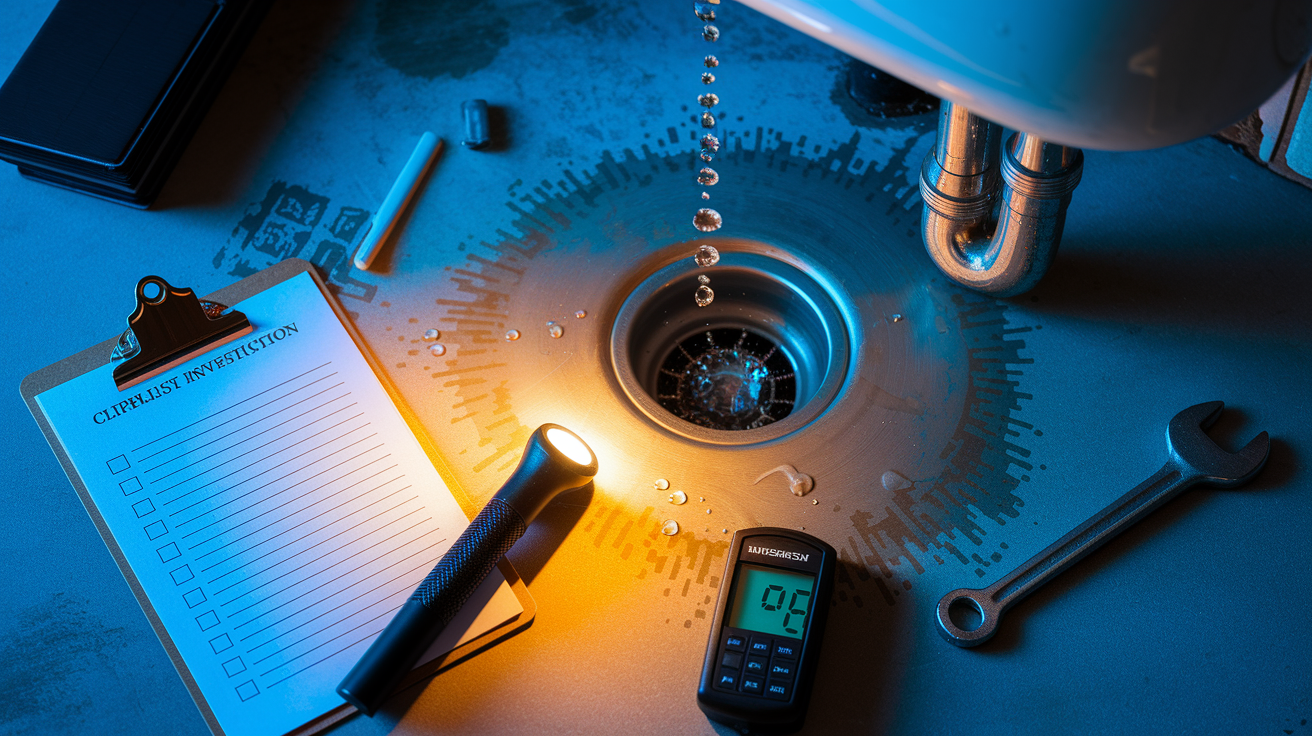
Check every plumbing connection near the damaged area and in rooms above or next to it. Look around toilet bases for seal failures, under sinks for dripping supply lines or leaky drains, near water heaters for valve leaks or tank corrosion. Showers and tubs are usual suspects, especially when grout cracks or caulking fails around fixtures. HVAC systems drip condensation from air handlers or refrigerant lines and create ceiling stains that seem to appear out of nowhere. Run water in sinks, showers, tubs while someone checks below for drips.
Structural Water Entry Points
Roof leaks travel along rafters or inside walls before showing up as ceiling stains way far from where water actually got in. Check your attic during rain for active leaks, wet insulation, water trails on wood. Gutters and downspouts that overflow or dump too close to your foundation push water into basements and crawl spaces. Foundation cracks wider than 1/8 inch let groundwater seep through. Window and door frames fail when caulking breaks down or flashing gets damaged during installation. Water enters at these spots, runs down inside the wall, and pops out as paint damage on interior surfaces below.
Humidity and Condensation Issues
Condensation forms when warm, humid air hits cold surfaces like single pane windows, uninsulated exterior walls, or cold water pipes. Bathrooms and kitchens without exhaust fans trap steam that soaks into drywall and wrecks paint. Basements in humid climates get condensation on cool foundation walls during summer. Thermal bridging, where metal studs or framing conduct cold through insulation, creates condensation zones that damage paint in specific vertical lines.
Use a moisture meter to find hidden moisture behind walls without cutting exploratory holes. Readings above 15% mean you’ve got active dampness that needs more digging. Once you’ve identified and stopped all water coming in, you can move on to drying and repair.
Complete Drying Requirements for Water Damaged Surfaces

Rushing repairs before everything’s completely dry guarantees paint failure, mold growth, and adhesion problems. Trapped moisture will keep pushing new paint off the surface, and mold spores hanging out on damp materials will multiply inside sealed wall cavities. Patience during drying saves you from redoing this entire repair in a few weeks.
Moisture meters give you objective proof instead of relying on surfaces that feel dry when you touch them. Walls should register below 15% moisture content before you apply primer or paint. Test multiple spots around the damaged area, not just the most obvious stain.
Effective drying methods:
- Industrial dehumidifiers for rooms with extensive damage. They pull gallons of water from air and materials daily.
- Box fans positioned to create cross ventilation from one side of the room to the other.
- Opening windows when outdoor humidity is lower than indoors (check weather apps for dewpoint comparisons).
- Air movers aimed at affected wall surfaces to speed up evaporation from porous materials.
- Removing baseboards to expose the bottom plate and wall cavity, letting air circulate behind the drywall.
- Extended drying time of 3 to 7 days minimum depending on how bad the damage is, wall thickness, and humidity levels.
Climate makes a big difference in drying timeframes. High humidity environments like coastal areas or subtropical regions need longer drying and stronger dehumidification equipment. Basements stay damp longer than upper floors. Winter months with closed windows slow evaporation. Plan for longer drying if you’re repairing damage during humid seasons or in poorly ventilated spaces.
Assessing Structural Damage Behind Failed Paint

Paint damage shows you where moisture was, but the real problem might be deeper. What looks like simple cosmetic stuff can hide softened drywall, damaged framing, or active mold growth.
Press firmly on the wall around paint damage to check for soft spots that mean water saturated drywall or plaster. Sound walls feel solid and resist pressure. Compromised areas compress like a sponge or crackle as you push. Look for sagging sections where ceiling drywall pulls away from joists, or walls that bow outward from studs. Dark discoloration spreading beyond the paint damage suggests water traveled through the wall cavity. Smell for musty odors that point to hidden mold behind intact surfaces.
| Damage Sign | Surface Repair OK | Replacement Required |
|---|---|---|
| Paint bubbling only, wall feels solid | Yes | No |
| Slight softness, no buckling or mold | Yes, if completely dried | Recommended if soft area exceeds 12 inches |
| Severe buckling or sagging sections | No | Yes |
| Visible mold growth on surface | Only if area under 1 square foot | Yes if exceeds 1 square foot |
| Structural sagging of ceiling or wall | No | Yes, immediate attention needed |
Inspect trim and molding around damaged areas carefully. Baseboards, crown molding, and window casings made from MDF or composite materials soak up water fast and swell, warp, or crumble. These materials rarely dry back to their original shape and usually need replacement.
Small areas like quarter sized stains from a brief leak can typically be surface repaired once the source is fixed and everything’s dried completely. Larger damage zones, especially those over two square feet or showing soft spots and buckling, need drywall or plaster removal and replacement to make sure you’ve got structural integrity and prevent mold developing in wall cavities.
Removing Damaged Paint and Preparing Moisture Affected Surfaces
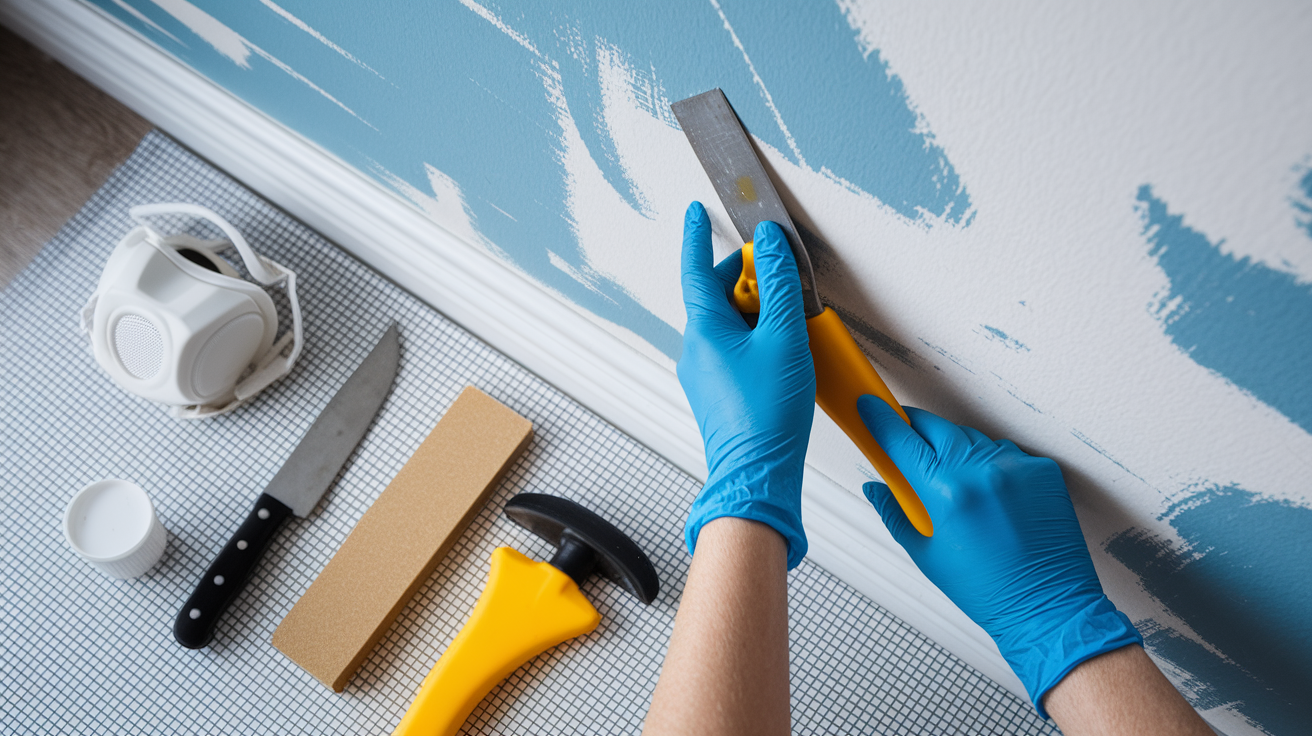
Safety precautions prevent exposure to mold spores and dust. Wear disposable gloves, an N95 respirator mask (not a basic dust mask), and safety glasses throughout removal and cleaning. Open windows and run a fan to keep air moving. If you’re dealing with more than a few square feet of damage, consider mold contaminated material protocols.
Score around bubbled areas with a utility knife to create clean removal boundaries and keep from pulling loose paint from surrounding stable areas. Hold the knife at a shallow angle and use light pressure to avoid gouging the drywall paper or plaster beneath. Carefully scrape or peel damaged paint, working from scored edges toward the center of the damage. A putty knife with rounded corners cuts down the risk of creating new divots in the substrate.
Surface preparation steps:
- Mix cleaning solution using 1 gallon of water, 1 tablespoon of ammonia, 1/4 cup of vinegar, and 1/4 cup of borax in a bucket.
- Wash the entire affected area with a soft sponge, extending several inches beyond visible damage to treat the whole moisture exposure zone.
- Allow complete drying for at least 24 hours after washing. Verify with moisture meter before moving forward.
- Sand edges of removed paint using 120 grit sandpaper with moderate pressure, creating smooth transitions between bare substrate and intact paint so repairs blend invisibly.
- Fill any holes or cracks with spackling paste for small defects under 1/4 inch, or joint compound for larger voids and seams.
Clean walls with a solution of mild dish detergent and warm water after sanding, using a damp (not wet) sponge to wipe away all dust and debris. Dust contamination stops primer from sticking and creates a gritty finished surface. Let everything dry completely before applying primer.
Mold Prevention and Remediation in Paint Repair Areas

Mold needs three things to grow: air (always there), a food source like drywall paper or wood (present in all homes), and water. Getting rid of moisture by fixing leaks and drying surfaces completely stops mold development. Without water, existing spores go dormant and new growth can’t start.
Black spots on water damaged surfaces are often stains from chemical reactions between moisture, drywall paper, paint pigments, and rust from fasteners, not actual black mold growth. A quarter sized stained area isn’t a concern once the leak’s been repaired and the surface has dried.
Treating small mold areas (under 10 square feet):
- Wash with bleach water solution using 1 part household bleach mixed with 3 parts water in a spray bottle.
- Scrub gently with a soft bristle brush to remove surface mold without damaging the substrate.
- Rinse thoroughly with clean water to remove bleach residue that can discolor primer and paint.
- Allow complete drying for at least 48 hours with fans and dehumidifiers running.
- Apply antimicrobial treatment designed specifically for construction surfaces before priming.
Professional mold remediation becomes necessary when damage exceeds 10 square feet, when you identify toxic mold species like Stachybotrys (confirmed by lab testing, not visual inspection), or when mold’s grown inside wall cavities requiring demolition to access. Professionals use containment barriers, HEPA filtration, antimicrobial treatments, and disposal protocols that prevent spore spread to unaffected areas.
Prevent future mold problems by improving ventilation. Install exhaust fans in bathrooms that vent outdoors (not into attics), use range hoods that exhaust outside when cooking, and run fans during and for 20 minutes after activities that generate moisture.
Selecting and Applying Stain Blocking Primers for Water Damage

Paint and primer combination products don’t cut it for water damaged surfaces. These convenience products work on clean, undamaged surfaces but lack the sealing and stain blocking properties you need to prevent bleed through from water stains, smoke damage, or tannin leaching. You need separate stain blocking primers to seal compromised surfaces and create a stable foundation for topcoat paint.
Oil based primers like KILZ Original offer better coverage for stubborn water stains and provide stronger adhesion to surfaces where paint’s failed. Water reacts with minerals, rust, and organic compounds in building materials, creating stains that keep bleeding through latex primers. Oil based products seal these contaminants effectively.
Primer types for specific applications:
- Stain blocking primers (shellac or oil based) for brown, yellow, or rust colored water stains and smoke damage.
- Anti mold primers containing mildewcide additives for bathrooms, kitchens, basements, and other humid areas.
- Moisture resistant primers for exterior applications and areas with ongoing humidity exposure.
- Shellac based primers like BIN for severe staining, odor sealing, and situations needing fast drying (20 to 45 minutes).
Prime the entire affected area, not just visible stain spots. Water typically spreads wider than discoloration shows, and spot priming creates visible boundaries where sheen and texture differ. Apply thin, even coats using a quality brush for edges and corners, and a roller for larger flat areas. Thick primer application increases drying time and can create texture differences.
Allow proper drying between coats according to manufacturer specifications. Oil based primers typically need 2 to 4 hours before recoating, though full cure takes 24 hours. Water based primers dry faster (1 to 2 hours) but may need two coats for adequate stain blocking. Inspect the primed surface under good lighting for any bleed through before applying topcoat paint. If brown or yellow discoloration appears through the primer, apply a second primer coat.
Proper priming creates a moisture barrier that protects against future water intrusion by sealing the porous drywall or plaster surface, reducing water absorption if minor moisture exposure happens again.
Repairing Drywall and Plaster After Water Intrusion
Minor damage showing only surface paint problems and slight softness can be patched if the substrate dried completely without permanent compression or mold contamination. Situations requiring drywall replacement include buckling, sagging, persistent soft spots after drying, and mold growth that penetrated the paper facing.
Small Hole and Crack Patching
Press patching compound firmly into all crevices using a putty knife, filling the void completely without air pockets. Slightly overfill the depression so the patch sits just above the surrounding surface. Allow complete drying per manufacturer specs (typically 1 to 4 hours depending on depth and humidity). Sand smooth using 120 grit sandpaper wrapped around a sanding block, checking frequently with your hand to feel for level transitions.
Texture matching requires recreating the original wall finish. Smooth walls need only sanding. Orange peel texture can be replicated by thinning joint compound slightly and applying it with a textured roller. Knockdown texture requires spraying or stippling compound, then lightly flattening the peaks with a trowel after partial drying (about 10 to 20 minutes). Practice on cardboard before attempting repairs on the actual wall.
Cutting and Replacing Damaged Drywall Sections
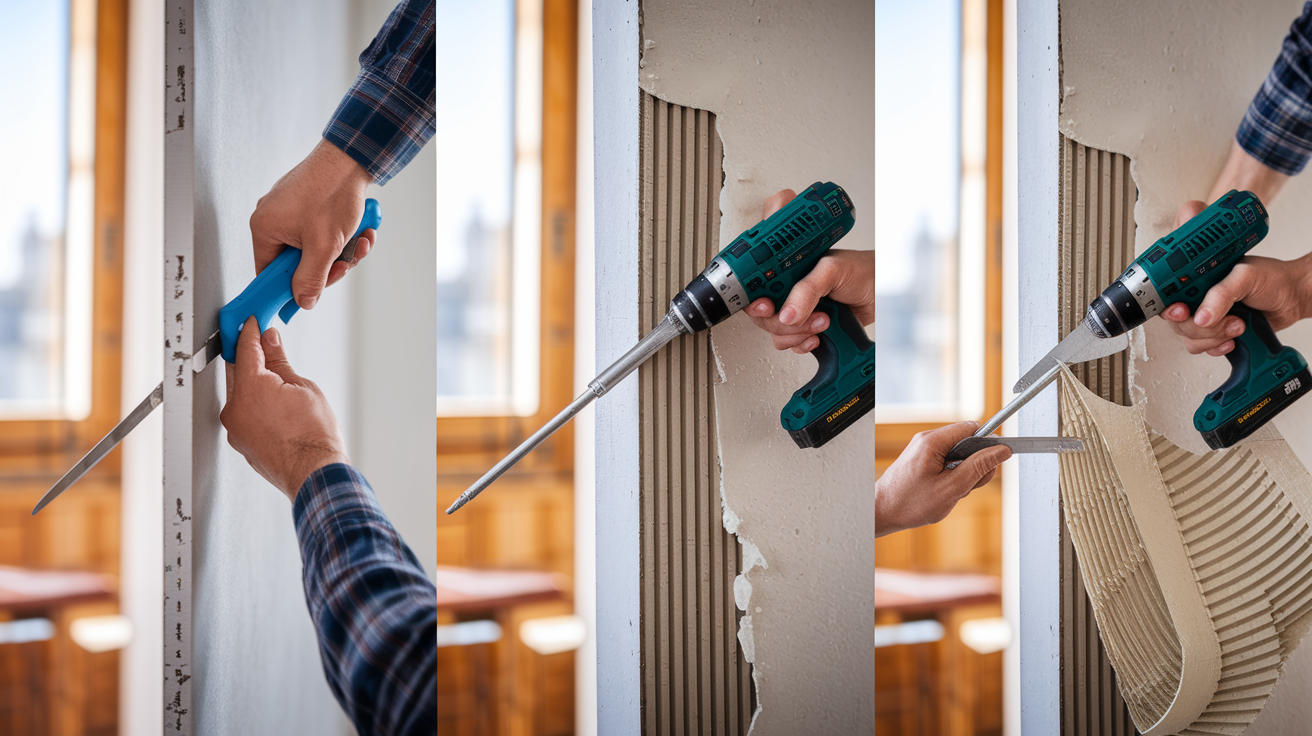
Measure the damaged area and mark a rectangular cutout that extends to the center of studs on each side, using a stud finder to locate framing. Score along marked lines multiple times with a utility knife and straight edge until the blade cuts completely through the drywall. Remove the damaged section carefully.
Install replacement drywall pieces cut to fit the opening precisely. Secure with drywall screws placed 16 inches apart along all edges where the patch contacts studs. Drive screws slightly recessed so heads sit just below the surface, creating shallow dimples without breaking through the paper facing. Breaking the paper compromises holding strength.
Apply mesh joint tape or paper tape over all seams where new drywall meets existing surfaces. Spread joint compound over the tape using a 6 inch taping knife, pressing firmly to embed the tape and squeeze out excess compound. Feather edges thin. Allow drying (typically 24 hours), then apply a second coat with an 8 or 10 inch knife, spreading compound several inches wider than the first coat. Sand smooth after the second coat dries. A third skim coat may be necessary for completely invisible repairs.
Feathering edges during sanding creates gradual transitions from repair compound to existing wall surface, preventing visible ridges and lines. Use light pressure and long, sweeping strokes. Check your work by holding a work light at a low angle to highlight any remaining imperfections.
Final Paint Application on Repaired Water Damaged Areas
Select moisture resistant paints for previously damaged areas to give extra protection against future humidity exposure. Look for products labeled specifically for bathrooms, kitchens, or high humidity environments. These formulations contain mildew resistant additives and create less permeable films than standard interior paints.
Color matching becomes critical when repairing small areas instead of repainting entire walls. If your original paint has faded from years of light exposure, the color on the old paint can label won’t match anymore. Remove a small paint chip from an inconspicuous area like inside a closet or behind furniture, and take it to a paint store for color matching analysis using spectrophotometer technology. This gives you the closest possible match to your current wall color.
Application steps for professional results:
- Clean the primed surface with a dry tack cloth to remove all dust particles that would create bumps in the finish coat.
- Apply the first coat in thin, even layers using a quality synthetic brush for cutting in edges and corners, followed by a 3/8 inch nap roller for flat areas.
- Allow proper drying time per manufacturer specs, typically 2 to 4 hours for latex paints, though humidity and ventilation affect drying speed.
- Lightly sand between coats with 220 grit sandpaper only if the first coat dried rough or shows roller marks. Most modern paints don’t require inter coat sanding.
- Apply the second coat for uniform coverage, color depth, and durability. Even premium paints labeled “one coat coverage” perform better with two coats over repairs.
Proper curing time for latex paint is approximately 30 days for full hardness and maximum durability. During this period, the paint film continues cross linking and hardening as solvents evaporate and polymers bond. Avoid aggressive cleaning or scrubbing repaired areas for at least two weeks. Wait 30 days before installing fixtures that contact painted surfaces or applying painter’s tape over new paint.
Exterior Paint Restoration After Moisture Exposure
Exterior paint faces moisture challenges that don’t exist indoors. Rain, snow, ground splash, sprinkler overspray, morning dew, and seasonal temperature swings that create freeze thaw cycles all stress paint films beyond what interior coatings experience. Failed exterior paint requires both addressing the moisture source and using specialized products designed for weather exposure.
Identify exterior moisture sources by inspecting around the damaged paint area during and after rain. Foundation problems like improper grading that slopes toward the house push water against basement walls and create splash back onto siding. Clogged gutters overflow and dump water directly onto walls below. Missing or damaged flashing around chimneys, skylights, windows, and door frames allows water penetration. Failed caulking at joints between siding and trim, around penetrations, and where different materials meet creates entry points for wind driven rain.
Weatherproofing steps before repainting:
- Clean gutters and extend downspouts at least 6 feet from the foundation using downspout extensions or splash blocks.
- Improve grading so soil slopes away from the foundation at a minimum 6 inch drop over 10 feet of horizontal distance.
- Seal foundation cracks wider than 1/8 inch using hydraulic cement or polyurethane sealant rated for below grade applications.
- Replace failed caulking around all window and door frames, removing old caulk completely before applying new beads.
- Repair or replace damaged trim and siding that shows rot, warping, or delamination from water exposure.
- Apply waterproof membrane in problem areas like behind exterior mounted light fixtures or where deck ledgers attach to the house.
Select exterior grade primers and paints specifically formulated to resist moisture penetration, UV degradation, mildew growth, and temperature extremes from -20°F to 140°F. Acrylic latex formulations outperform older oil based exterior paints for flexibility, color retention, and resistance to chalking. Read labels carefully and choose products rated for your climate and substrate material.
Proper caulking application as the final step seals all joints between dissimilar materials. Use exterior grade polyurethane or siliconized acrylic caulk (not cheap acrylic latex caulk that shrinks and fails within two years). Apply smooth beads, tool with a wet finger or caulk smoother, and allow full cure before painting (typically 24 to 48 hours).
Preventing Future Paint Damage From Moisture
Prevention costs way less than repeated repairs. Addressing moisture issues before they cause visible damage protects both your paint investment and the building materials beneath.
Ventilation and Humidity Control
Install exhaust fans in bathrooms that vent outdoors through the roof or exterior wall, never into attics where moisture damages insulation and promotes mold growth. Fans should move at least 50 cubic feet per minute (CFM) for bathrooms under 100 square feet, with higher CFM ratings for larger spaces. Run fans during showers and for 20 minutes afterward.
Use range hoods that exhaust outside when cooking to remove steam and grease laden air. Recirculating hoods with charcoal filters don’t remove moisture.
Install dehumidifiers in basements and crawl spaces where humidity consistently exceeds 50%. Empty collection buckets daily, or connect drain hoses to floor drains or condensate pumps for continuous operation.
Make sure you’ve got proper attic ventilation with balanced intake (soffit vents) and exhaust (ridge vents or roof vents) to prevent condensation on roof decking during winter months.
Maintain indoor humidity between 30% and 50% year round. Below 30% causes wood shrinkage and cracking. Above 50% promotes mold growth and dust mite proliferation.
Regular Maintenance Inspections
Conduct seasonal inspections each spring and fall, checking for new leaks, plumbing drips, or fixture problems before they cause extensive damage. Test all faucets, supply lines, and drain connections. Inspect roof flashings, shingles, and penetrations. Examine windows and doors for caulk and weatherstripping condition.
Check interior walls and ceilings for small water stains, minor paint bubbling, or subtle discoloration that indicates early moisture intrusion. Addressing these immediately prevents them from escalating into major damage requiring drywall replacement.
Clean gutters twice yearly (spring and late fall) to prevent overflow and ice dam formation. Examine downspout discharge areas to confirm water flows away from the foundation, not back toward it.
Moisture Barrier Installation
Install vapor barriers (6 mil polyethylene sheeting) on crawl space floors, extending the plastic several inches up foundation walls and sealing seams with construction tape. This prevents ground moisture from evaporating into the crawl space and condensing on floor joists.
Use moisture resistant paint with built in mildewcides in bathrooms, laundry rooms, and kitchens where humidity levels regularly exceed 60%.
Waterproof basements from the outside when possible during new construction or major renovations, applying membrane barriers to foundation walls before backfilling. Interior waterproofing manages existing seepage but doesn’t address the source.
Seal concrete basement floors with epoxy or moisture vapor barrier coatings to prevent moisture transmission through the slab, especially before installing flooring.
Early intervention when you notice small moisture issues stops extensive damage. A $15 tube of caulk applied to a window crack today prevents a $2,000 drywall replacement project next year.
Cost Expectations and When Professional Help Is Required
Small repair projects handled as soon as damage appears typically cost $50 to $150 for materials including stain blocking primer, matching paint, patching compound, sandpaper, and basic tools if you don’t already own them. This covers repairs up to about 20 square feet of damaged paint with minor substrate damage.
Medium projects involving more extensive paint damage, small drywall replacements, or multiple damaged areas run $150 to $400 for materials. This includes larger quantities of joint compound, additional primer and paint, replacement drywall sheets, and possibly rental equipment like industrial fans or dehumidifiers.
Extensive damage requiring professional help starts around $500 and can reach $3,000 or more depending on square footage affected, structural repairs needed, mold remediation requirements, and whether insurance claims necessitate detailed documentation.
Factors affecting cost include damage extent (a few square feet versus entire walls), material type (drywall repairs cost less than plaster restoration), accessibility (first floor rooms versus upper floors requiring scaffolding), and whether structural components like studs, insulation, or framing need replacement.
Professional contractors should be called for these situations:
- Mold growth exceeding 10 square feet or contamination requiring containment and HEPA filtration during remediation.
- Structural damage or sagging indicating compromised framing, floor joists, or roof components.
- Electrical wiring exposure in wet areas creating shock hazards.
- Unidentifiable moisture sources that keep causing damage despite surface repairs.
- Recurring damage in the same location after you’ve already attempted repairs.
- Insurance claim documentation requiring professional estimates, moisture readings, and certification of proper restoration.
Professional restoration contractors bring capabilities beyond DIY approaches. They use advanced moisture detection equipment including infrared cameras that reveal wet building materials behind finished surfaces. Thermal imaging identifies temperature differentials indicating hidden leaks or missing insulation. Commercial grade drying systems with high velocity air movers and refrigerant dehumidifiers extract moisture in 2 to 3 days instead of the week plus required with household equipment. Professionals guarantee their work, providing warranties that cover both materials and labor.
Insurance claims for water damage coverage depend on your policy and damage cause. Most homeowner policies cover sudden, accidental water damage from burst pipes, appliance failures, or roof damage during storms. Policies typically exclude gradual deterioration from maintenance neglect, foundation seepage, flooding (requires separate flood insurance), and long term leaks that went unnoticed. Document damage with photos before repairs begin. Contact your insurance company immediately after discovering extensive damage to understand coverage and requirements for approved contractors.
Final Words
Moisture damage paint repair isn’t just about making walls look better. It’s about stopping the source, drying everything completely, and building layers that last.
You’ve got the steps now. Find the leak, let it dry, test for softness, prime with the right blocker, and finish with moisture-resistant paint.
Skip a step and you’ll be back here in six months staring at new bubbles.
But do it right and you’ve got durable walls that can handle what your home throws at them.
FAQ
How can you fix water damage on painted walls without sanding?
You can fix water damage on painted walls without sanding by scoring around bubbled areas with a utility knife, carefully peeling damaged paint, washing with a cleaning solution, applying stain-blocking primer, then repainting with moisture-resistant paint once completely dry.
Is October too late to paint outside?
October is generally not too late to paint outside if daytime temperatures stay above 50°F and no rain is forecasted for 24-48 hours, but check your specific paint’s temperature requirements and avoid painting when frost or freezing nights are predicted.
What is the most common reason for paint failure from moisture?
The most common reason for paint failure from moisture is water becoming trapped between paint layers and the wall surface from leaks, condensation, or high humidity, which causes bubbling, peeling, blistering, and eventual adhesion loss before the source is fixed.
Can you paint over damp paint?
You cannot paint over damp paint because trapped moisture prevents proper adhesion, leads to immediate peeling and bubbling, promotes mold growth, and guarantees paint failure—walls must be completely dry (below 15% moisture content) before applying primer or paint.
How long does water-damaged drywall take to dry completely?
Water-damaged drywall takes 3-7 days minimum to dry completely depending on damage extent, humidity levels, and ventilation, and you should use a moisture meter to verify readings below 15% before proceeding with repairs rather than relying on visual assessment alone.
What type of primer should you use on water stains?
You should use oil-based stain-blocking primers like KILZ on water stains because they seal surfaces better than water-based options, prevent bleed-through, and create a moisture barrier—paint-and-primer combination products are insufficient for water-damaged surfaces.
When should you call a professional for water-damaged paint?
You should call a professional for water-damaged paint when mold growth exceeds 10 square feet, structural sagging or severe buckling appears, moisture sources remain unidentifiable, damage recurs despite repairs, or you need insurance claim documentation.
How do you know if water damage requires drywall replacement?
Water damage requires drywall replacement when you find severe buckling or sagging, soft spots that don’t spring back when pressed, visible mold growth behind paint, dark discoloration throughout the material, or musty odors indicating hidden moisture.
What cleaning solution removes water stains before repainting?
A cleaning solution that removes water stains before repainting combines 1 gallon water, 1 tablespoon ammonia, 1/4 cup vinegar, and 1/4 cup borax applied with a soft sponge, followed by complete drying before priming.