
You’ve spotted peeling paint behind your toilet and thought, “Can I just paint over it?” No. If you don’t fix what’s causing the peel, you’ll be repainting the same spot again in six months. Peeling paint behind toilets almost always means moisture is getting trapped between the wall and the paint layer, whether from tank condensation, a slow leak, or poor ventilation. This guide walks you through finding the actual cause, prepping the surface right, and using bathroom-grade products that’ll hold up to the humidity instead of bubbling off again.
Quick Diagnosis: Identifying Your Paint Peeling Problem

You need to know what’s actually causing the peeling before you grab a paint brush. Otherwise, you’re just covering up a problem that’ll come right back.
- Check for active water leaks at supply line connections. YES = plumbing repair needed first
- Inspect tank bolts for moisture or rust. YES = potential leak requires immediate attention
- Look for water pooling at the base. YES = wax ring failure, toilet removal required
- Feel the wall surface for dampness or soft spots. YES = active moisture problem present
- Check for visible mold (black, green, or white spots). YES = mold treatment before painting
- Examine the toilet tank exterior for condensation. YES = ventilation/insulation needed
- Assess the paint condition (blistering vs. flaking). Blistering = moisture trapped under paint
- Note any musty odors. YES = hidden mold investigation required
Toilet tank sweating: Cold tank surface, water droplets, wet wall
Hidden plumbing leaks: Damp spots, rust stains, soft drywall
Poor ventilation: High humidity, foggy mirror persists, no exhaust fan
Improper paint products: Flat finish used, no primer, cheap paint
Surface preparation failure: Paint peeling in sheets, no adhesion
Mold growth: Black spots, musty smell, recurring peeling
Structural moisture: Peeling on exterior walls, basement moisture issues
Active leaks and moisture sources must be resolved before any paint repair begins. You’ll often find multiple causes working together (condensation plus poor ventilation plus wrong paint type). The rest of this guide walks you through fixing each problem you identify.
Removing Loose Paint and Preparing the Wall Surface

Here’s the thing about paint prep. About 80% of paint failure comes from skipping or rushing this step, not from bad paint.
Start scraping with a putty knife to get all the loose and flaking paint off. Work carefully so you don’t gouge the drywall. Scrape until only firmly stuck paint remains. Test edges by pressing firmly to make sure nothing else is ready to let go.
Look for soft or crumbling spots caused by water damage. Use spackling compound for small divots and cracks, applying with a putty knife and slightly overfilling. Allow 2 to 4 hours to dry. For larger damaged areas, use joint compound and apply thin layers with 24 hours drying between coats. Severe damage? That’s when you call a professional for drywall replacement.
Grab 120 grit sandpaper and smooth the edges between scraped and intact paint areas. Sand repaired spots flush with the surrounding surface. Feather all transitions to create a smooth base for new paint. Don’t over sand or you’ll damage the drywall paper.
Mix 1 teaspoon soap per 1 quart water. Wipe down the entire area with a cellulose sponge to remove all dust, debris, and hair buildup. Rinse with clean water. Let the wall dry completely (minimum 24 hours, 48 to 72 hours if it was previously damp). Use a tack cloth for final dust removal right before priming.
Selecting the Right Primer and Paint for Bathroom Moisture

Standard interior paint won’t cut it behind a toilet. It’ll fail within 2 to 3 years in that high moisture environment.
Investing in quality bathroom specific products extends paint life from the typical 3 to 5 years to 5 to 10 years. That saves you money and effort over time.
Oil based stain blocking primer for water stains and mold kill (Zinsser Cover Stain, Kilz Original)
Water based moisture resistant primer as an alternative for low odor application
Semi gloss or high gloss finish paint for maximum moisture resistance and easy cleaning
Bathroom specific paint lines with mildew resistance (Benjamin Moore Aura Bath and Spa)
Anti mold paint with fungicide additives for chronic moisture areas
100% acrylic latex paint for durability, flexibility, and adhesion to glossy surfaces
Consider vapor barrier primers for severe moisture issues. Waterproof coating options exist for extreme condensation problems. Combination primer paint products seem convenient, but a two step process usually gives you better results. For toilet areas with chronic condensation that can’t be fixed through better ventilation, you might need waterproofing membrane.
Applying Primer and Paint in the Tight Space Behind Your Toilet
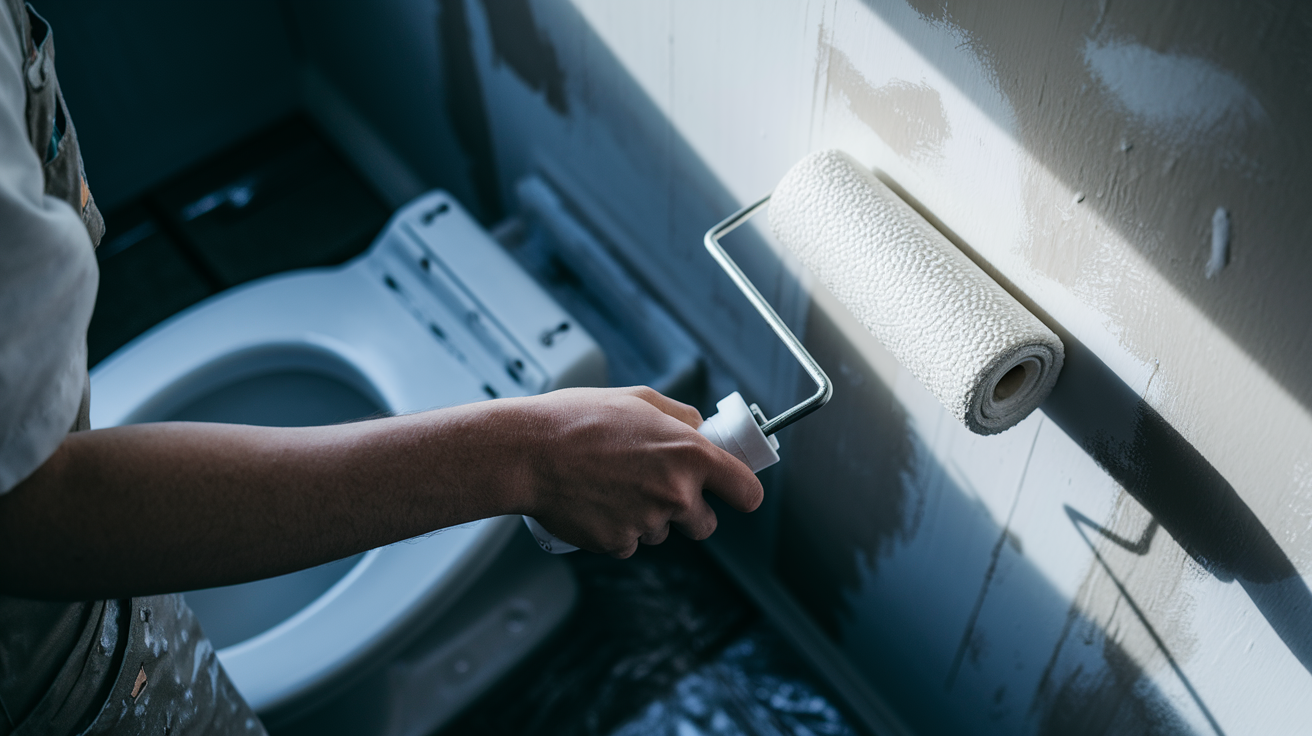
That 1.5 inch gap between toilet tank and wall needs specialized narrow tools and the right technique. But you can get quality results without removing the toilet in most situations.
- Cover toilet tank with 30 to 50 gallon contractor cleanup bag secured with tape
- Protect floor with drop cloth and tape edges to prevent slipping
- Make sure you’ve got proper ventilation going. Exhaust fan on, window open if available
- Stir primer thoroughly for 3 to 5 minutes to ensure proper mixing
- Load 4 inch roller (3/8 inch nap) or 3 inch foam brush with primer
- Apply primer to all bare spots, feathering onto surrounding intact paint, keeping paint covered side against wall
- Use 1 inch angled brush for detail work around supply line and fixtures
- Allow manufacturer recommended drying time (typically 2 to 4 hours, longer in high humidity)
- Apply second primer coat if bare drywall still shows or stains bleed through
- Stir topcoat paint thoroughly for 3 to 5 minutes
- Apply first paint coat using same roller/brush technique, back and forth motions from different angles for complete coverage
- Allow 2 to 4 hours drying, inspect for drips or missed spots, then apply second paint coat
Two topcoats are typically needed for complete coverage and color uniformity. Each coat takes about 20 minutes to apply. Check for drips between coats and smooth with gentle roller application to prevent texture issues. Run the exhaust fan during drying periods (especially between coats) to cut drying time significantly and improve results. The total project spans 2 to 3 days when you account for proper drying time between coats. For detailed guidance on painting technique options, specialized tools for tight spaces can help reach difficult areas.
When You Must Remove the Toilet to Complete Paint Repairs

Sometimes you just can’t avoid pulling the toilet.
If the gap is less than 0.75 inches between tank and wall, or the tank sits flush against wall, removal is required. Extensive mold remediation covering an area larger than 2 square feet requires toilet removal. Major drywall repair needing multiple sections or replacement needs clear access. A suspected wax ring leak requiring plumbing repair makes removal unavoidable. If you’re combining paint repair with toilet replacement or bathroom renovation, removal makes practical sense.
Toilet removal basics involve turning off the water supply valve and flushing to empty the tank. Sponge remaining water from both tank and bowl. Disconnect the supply line with an adjustable wrench. Remove tank bolts and bowl bolts. Lift the toilet straight up off the wax ring flange. The old wax ring can’t be reused and must be replaced before reinstallation. Place the tank lid on a carpeted surface or towel to prevent breakage.
Hire professional help if you’re uncomfortable with plumbing work or have never removed a toilet before. Old toilets (15+ years) may have bolts that break during removal, requiring new hardware. Extensive mold remediation requires a certified professional. Combining paint repair with other bathroom renovation work makes coordinated professional work more efficient. Professional removal and reinstallation typically costs $150 to $300 but includes a new wax ring and proper resealing.
Preventing Moisture Problems: Ventilation and Condensation Solutions
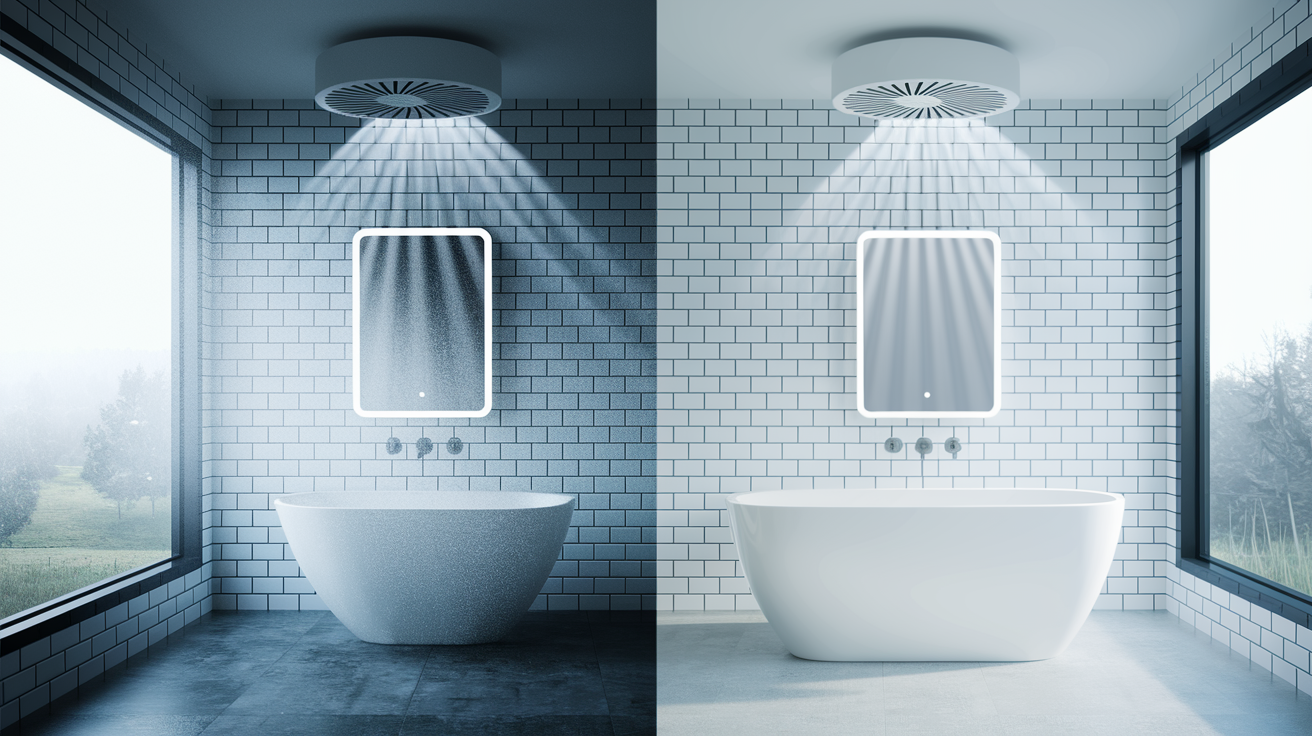
Controlling moisture at its source is way more effective than constantly repainting. Most paint peeling behind toilets comes from poor ventilation combined with toilet tank condensation.
Install or upgrade bathroom exhaust fan (minimum 50 CFM for small bathrooms, 80+ CFM for larger spaces)
Run exhaust fan during showers and for 30 minutes after each use
Keep bathroom door open when space is not in use to improve air circulation
Add window or improve existing window ventilation for natural air exchange
Install portable or permanent dehumidifier in bathrooms without windows
Maintain relative humidity below 50 to 60% in bathroom using hygrometer to monitor
Install toilet tank insulation kit (foam panels adhered to interior tank walls)
Consider toilet tank anti condensation valve that mixes warm water with cold supply
Address air circulation issues in enclosed toilet rooms or alcoves with secondary fan
Toilet tank condensation happens through a simple process. Cold water (typically 50 to 60°F) fills the toilet tank. The tank exterior becomes cold. Warm humid bathroom air (often 70 to 80°F with 60 to 80% humidity) contacts the cold tank surface. Moisture condenses and drips down behind the toilet onto the wall. Tank insulation solves this by purchasing a foam insulation kit, draining and thoroughly drying the tank interior, and applying adhesive foam panels to all interior tank walls. The insulation keeps the exterior warm (reducing temperature differential) to prevent condensation formation.
Chronic severe tank sweating means you’ve got inadequate ventilation requiring a more complete solution beyond insulation alone. Combining an exhaust fan upgrade with tank insulation provides best results. Raising overall bathroom temperature slightly during humid summer months reduces condensation. Some situations (bathrooms in humid climates without windows) may need professional HVAC assessment to design a proper ventilation system for long term moisture control.
Safety Precautions: Testing for Mold and Lead Paint

Hidden mold and lead paint (in homes built before 1978) pose serious health risks during paint scraping and sanding. Proper testing and safety equipment protect everyone in your household.
Test for lead paint using EPA approved test kit if home built before 1978
Wear N95 respirator mask when scraping or sanding any paint (necessary for lead, smart for all work)
Use HEPA vacuum to collect dust during prep work rather than sweeping
Test for mold with surface test kit if musty odors or visible growth present behind toilet
Wear nitrile gloves and eye protection during all phases of work
Ventilate space continuously during work. Exhaust fan on, door and window open
Professional intervention is legally required or strongly recommended in specific situations. Mold covering an area larger than 10 square feet requires a certified mold remediation professional. Structural damage from water intrusion needs assessment before cosmetic repair. Lead paint removal in homes built before 1978 requires an EPA certified contractor in many jurisdictions (especially if pregnant women or children under 6 live in the home). Occupants with respiratory sensitivities (asthma, COPD, allergies) should leave the home during scraping and sanding work even with proper ventilation. DIY lead paint removal creates serious contamination risks that can poison the entire home if not done with proper containment and HEPA cleanup procedures.
Cost and Time Estimates for Paint Peeling Repairs

Repair costs and timeframes vary a lot based on damage extent, whether underlying plumbing or mold issues need professional help, and whether toilet removal is necessary.
DIY costs reflect mainly materials (paint, primer, tools, supplies) while professional costs include labor at $50 to $100 per hour. Catching problems early during quarterly inspections cuts both cost and time investment significantly by stopping minor peeling before it becomes major drywall damage.
| Repair Scenario | DIY Cost | DIY Time | Professional Cost |
|---|---|---|---|
| Minor peeling, no moisture issues (scrape, prime, 2 paint coats) | $20-50 | 4-6 hours over 2-3 days | $150-250 |
| Moderate peeling with minor drywall repair (spackling, priming, painting) | $40-80 | 6-8 hours over 3-4 days | $250-400 |
| Extensive peeling with mold treatment (test, treat, repair, seal, paint) | $80-150 | 8-12 hours over 5-7 days | $400-800 |
| Full repair with toilet removal and reinstallation | $100-200 | 10-14 hours over 3-5 days | $500-900 |
| Plumbing leak repair plus paint restoration | $150-400 | Varies significantly | $600-1,500 |
| Complete bathroom repaint including behind toilet | $100-250 | 12-16 hours over 4-6 days | $600-1,200 |
Hidden costs get overlooked a lot. Specialty tools like 4 inch narrow roller and angled brushes cost $15 to $30 if you don’t already own them. Tool rental makes sense for one time exhaust fan installation. Protective equipment (respirator, gloves, drop cloths) adds to the budget. Proper ventilation improvements such as exhaust fan upgrade ($150 to $400 installed) are worthwhile investments preventing recurring problems that should be factored into total project budget. Spending $300 on a complete moisture solution (fan upgrade, tank insulation, quality paint products) prevents $1,000+ in recurring repairs every 2 to 3 years.
Maintaining Painted Surfaces in High Moisture Bathroom Areas

Simple maintenance routines extend bathroom paint life from 3 to 5 years to 5 to 10 years and catch small problems before they turn into major repairs requiring complete repainting.
Clean bathroom walls monthly with mild soap and water solution (1 tsp soap per quart water) using cellulose sponge
Inspect behind toilet quarterly for early signs of moisture, condensation, or paint bubbling
Run exhaust fan during and 30 minutes after every shower to remove moisture laden air
Wipe down toilet tank exterior weekly if condensation forms regularly
Check caulk lines annually around toilet base and recaulk with mildew resistant caulk as needed
Maintain consistent bathroom temperature (avoid extreme fluctuations) to reduce condensation
Address any plumbing leaks immediately when discovered. Even small drips cause cumulative damage
Touch up paint chips or small peeling spots promptly with matching paint to prevent moisture getting into drywall
Prevention costs pennies compared to repair dollars. Early detection during quarterly inspections allows simple touch ups ($5 and 15 minutes) before drywall damage occurs requiring extensive repair ($200+ and days of work). Consistent ventilation habits (running exhaust fan, keeping door open after showers) are the single most important factor in preventing moisture related paint failure in bathrooms. Investing 10 minutes monthly in inspection and cleaning prevents 95% of paint peeling problems behind toilets. When touch ups become necessary, detailed repainting guidance helps maintain that fresh look.
Final Words
Peeling paint behind your toilet usually comes down to moisture—from tank sweating, poor ventilation, hidden leaks, or wrong paint choices.
Fix the water problem first. Then prep the wall right, use bathroom-grade primer and semi-gloss paint, and work carefully in that tight space.
Add an exhaust fan upgrade or tank insulation if condensation keeps coming back.
Clean monthly, inspect quarterly, and you’ll stretch that paint job from 3 years to 10. Catch it early and you’re looking at a $30 touch-up instead of a $400 redo.
FAQ
Does peeling paint mean water damage?
Peeling paint behind a toilet often indicates water damage, but not always. The peeling can result from moisture sources like toilet tank condensation, hidden plumbing leaks, poor ventilation causing high humidity, or simply using the wrong paint type without proper primer in a moisture-prone area.
What does mold look like behind a toilet?
Mold behind a toilet typically appears as black, green, or white spots on the wall surface. You might also notice a musty odor, soft or damp drywall when touched, or recurring paint bubbling and peeling in the same area even after repainting.
Does peeling paint in the bathroom mean mold?
Peeling bathroom paint doesn’t automatically mean mold is present. Common causes include toilet tank sweating, poor ventilation, using flat paint instead of semi-gloss, skipping primer, or inadequate surface prep. Check for visible spots, musty smells, or dampness to confirm mold before treating.
Can I just paint over peeling paint?
You cannot paint over peeling paint successfully. The loose paint must be scraped away completely, the surface sanded smooth, any water damage repaired with spackling or joint compound, and the wall cleaned and dried thoroughly before applying primer and new paint for proper adhesion.
How long does it take to paint behind a toilet?
Painting behind a toilet takes approximately 20 minutes per coat, but the complete project spans 2-3 days when accounting for proper drying time. You’ll apply two primer coats and two paint coats, allowing 2-4 hours drying between each coat for best results.
What size roller works behind a toilet?
A 4-inch paint roller with a 3/8-inch nap works best behind toilets because it fits the typical 1.5-inch gap between tank and wall. Alternatively, use a 3-inch foam brush with the paint-covered side against the wall and a 1-inch angled brush for detail work around pipes.
When should I remove the toilet to paint?
You must remove the toilet to paint when the gap measures less than 0.75 inches, the tank sits flush against the wall, extensive mold covers more than 2 square feet, major drywall replacement is needed, or you’re repairing a suspected wax ring leak simultaneously.
How do I stop my toilet tank from sweating?
Stop toilet tank sweating by installing a foam insulation kit inside the tank to keep the exterior warm, upgrading your bathroom exhaust fan to remove humid air, running the fan during and 30 minutes after showers, and maintaining bathroom humidity below 50-60 percent.
What paint finish prevents bathroom peeling?
Semi-gloss or high-gloss paint finishes prevent bathroom peeling best because they repel moisture better than flat or matte paints. Always use moisture-resistant primer first, then bathroom-specific paint with mildew resistance for the 5-10 year durability you need behind toilets.
How much does it cost to fix peeling paint behind a toilet?
DIY repair of peeling paint behind a toilet costs $20-50 for minor peeling, $40-80 for moderate damage with drywall repair, or $80-150 if mold treatment is needed. Professional repair ranges from $150-250 for simple repainting to $400-800 for extensive mold remediation and repair.