
You’ve probably heard that loose tiles mean you’re stuck with a full removal and re-tile job. Actually, you can reattach most loose tiles permanently without prying them up, and it takes about an hour. This injection method uses small drilled holes in the grout lines to deliver adhesive directly under the tile, bonding it back to the floor or wall without the mess, cost, or skill level of traditional removal. If your tile sounds hollow when you tap it or rocks slightly when you step on it, this fix works.
Essential Tools and Materials for Tile Adhesive Application
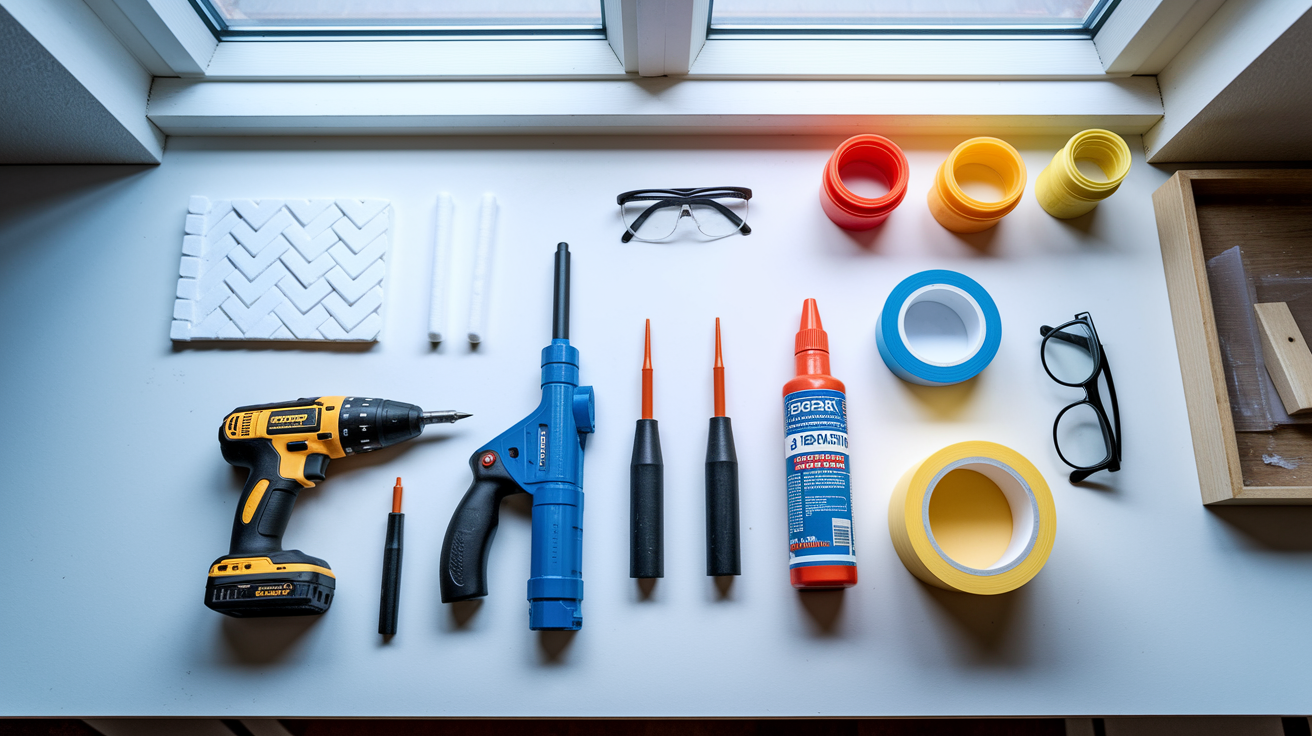
Before you start any tile repair, gather everything you need so you’re not scrambling mid-project. Using the right materials from the start makes the difference between a fix that lasts five years and one that fails in five months.
| Material/Tool | Purpose | Approximate Cost |
|---|---|---|
| Masonry drill bit (3/16″ or 1/4″) | Creates access holes in grout lines for adhesive injection | $6-$12 |
| Caulking gun with 10:1 thrust ratio | Delivers consistent pressure for controlled adhesive flow | $15-$30 |
| Specialized tile adhesive or two-part epoxy | Bonds tile to substrate through injected application | $12-$25 |
| Matching grout | Fills drilled holes after adhesive cures | $8-$15 |
| Cotton swabs or toothpicks | Cleans debris from holes and removes excess adhesive | $3-$5 |
| Heavy weights (15-20 lbs total) | Maintains pressure during cure time for proper bonding | $0 (use household items) |
| Masking tape | Protects surrounding grout during cleanup | $4-$7 |
| Safety glasses | Protects eyes from drilling debris and dust | $5-$10 |
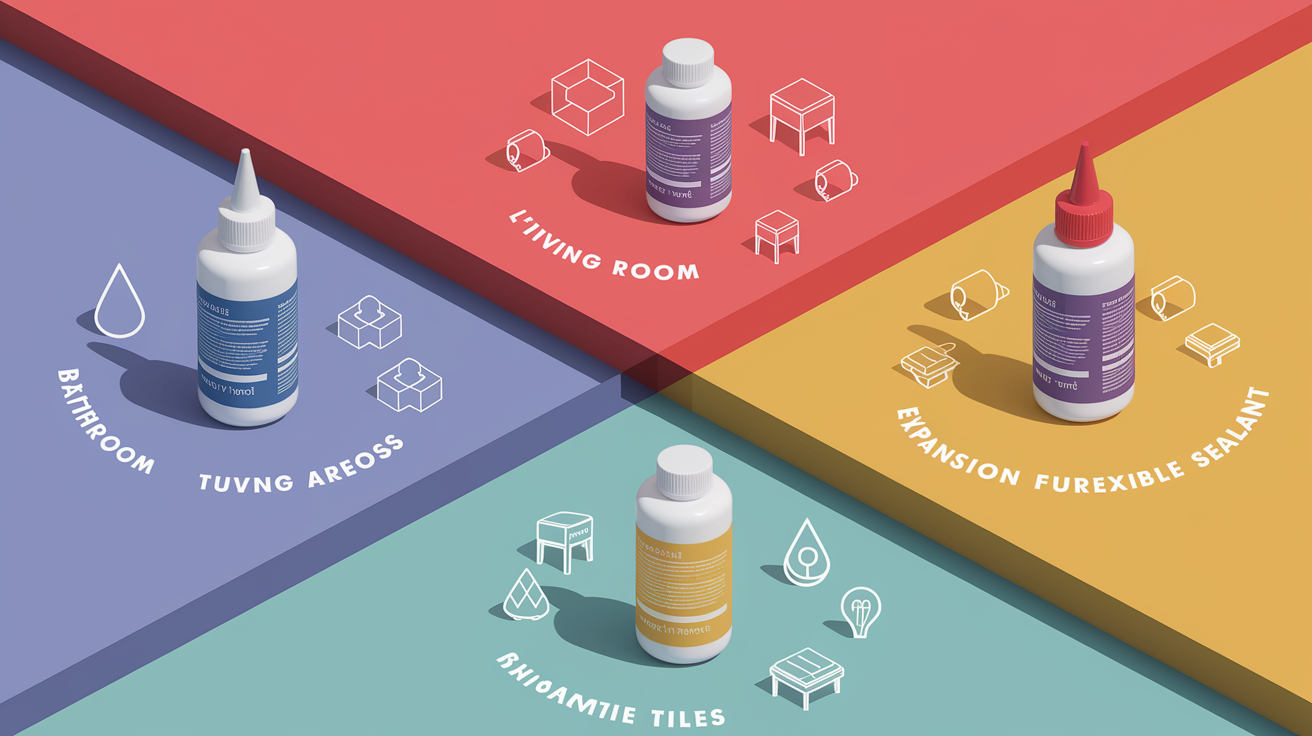
Match the adhesive to your specific situation. Two-part epoxy gives you maximum strength and water resistance, making it the best choice for bathrooms, showers, and anywhere moisture shows up. Construction adhesive works well for floor tiles in dry areas like living rooms or bedrooms where water exposure is minimal. Thinset mortar makes sense when you’re addressing multiple loose tiles at once since it’s more economical in larger quantities and gives you professional results, though it needs longer cure times than epoxy.
Work in a ventilated space whenever you can. Open windows, run a fan, and wear safety glasses throughout the drilling process. If chemical smells bother you, grab a basic respirator rated for organic vapors. Keep a damp cloth nearby to wipe up spills immediately before they set.
Complete Adhesive Injection Process for Loose Tile Repair

You can permanently fix loose tiles without the mess of full removal by injecting adhesive through carefully placed holes in the surrounding grout lines.
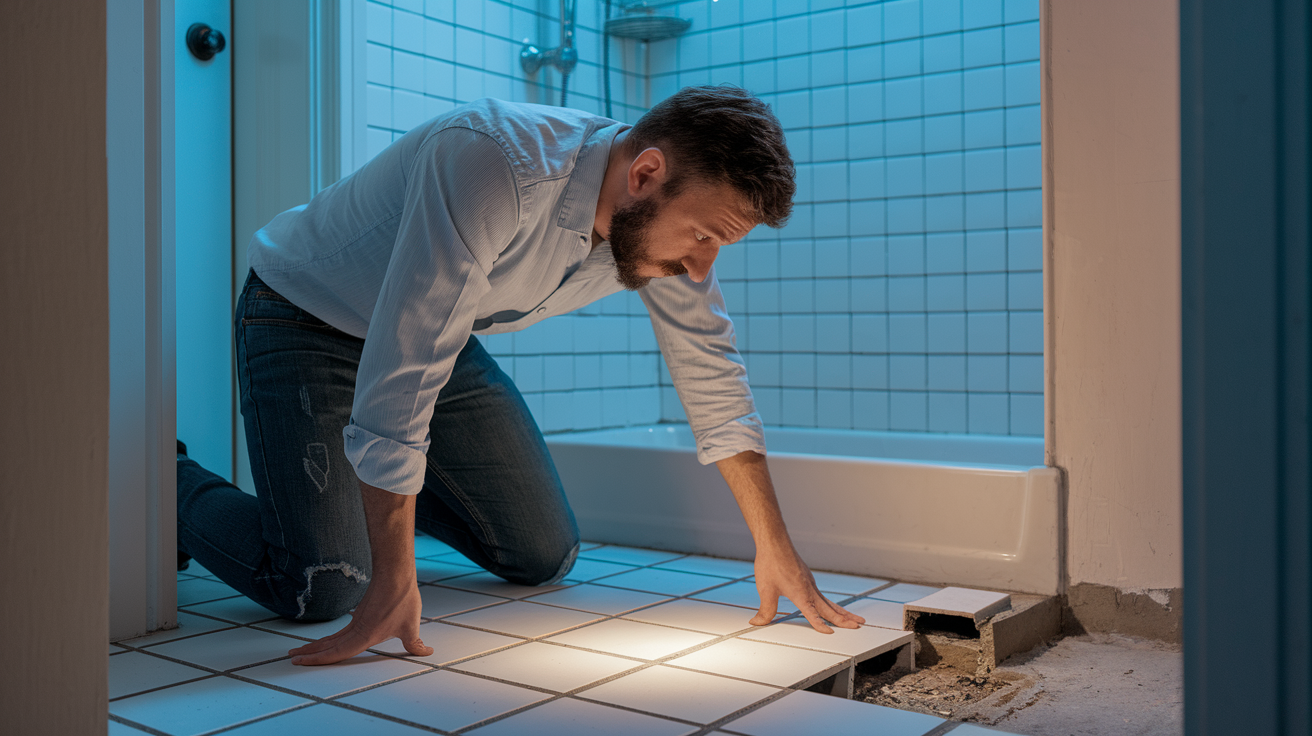
Start by identifying which tiles actually need repair. Walk across the floor and listen for tiles that sound different when you step on them. A hollow sound when you tap a tile with your knuckle usually means there’s empty space underneath where adhesive has failed. Press down on suspected tiles with your palm to check for movement or rocking. Mark problem tiles with small pieces of masking tape so you don’t lose track of them.
Before you repair anything, check for moisture issues by running your hand across the tile surface to feel for dampness or looking for water stains around edges. If tiles are loose because of an active leak or water damage, fix that first or the repair will fail. Also check the tile itself for cracks. If it’s cracked, injection won’t work and you’ll need full replacement.
-
Clean the tile surface and all surrounding grout lines with a mild detergent and warm water, scrubbing with a brush to remove soap scum, grease, or dirt. Vacuum the entire area thoroughly, getting into grout lines to remove all dust and debris. The work area must be completely dry before you start drilling. If there’s been recent water exposure or the area feels damp, wait a full 48 hours. Moisture trapped under the tile prevents proper bonding.
-
Drill 2 to 4 evenly spaced holes in the grout lines surrounding the loose tile using a masonry drill bit. For a standard 12 inch tile, drill holes at each corner where grout lines intersect. For larger tiles, add holes at the midpoint of each side. Position your drill at a slight downward angle pointing toward the center of the tile so adhesive flows underneath rather than just sitting in the hole. Drill to a depth that reaches the substrate, typically 1/4 to 3/8 inch past the grout depth. You’ll feel the drill break through the grout and hit the harder surface below. Space holes about 2 to 3 inches apart for tiles larger than 12 inches. Never drill into the tile itself, only through grout lines.
-
Clean all debris from the drilled holes immediately after drilling. Use a cotton swab dipped in rubbing alcohol to wipe inside each hole, or blast them with compressed air if you have it. Remove every bit of dust and grit because it interferes with adhesive bonding. This step takes 2 minutes but dramatically improves your results.
-
Load your caulking gun with the epoxy or tile adhesive cartridge according to the manufacturer’s instructions. For two-part epoxy, make sure the mixing tip is attached and you’ve dispensed a small amount into a rag first to confirm both parts are flowing. Insert the applicator tip fully into the first hole, making sure it reaches the bottom. Apply slow, steady pressure on the caulking gun trigger while watching the other holes. When adhesive starts appearing at an adjacent hole, that section is full. Work systematically, starting from the outer holes and moving toward the center to prevent air pockets from getting trapped. If you work too quickly, air stays trapped and creates void spaces. Stop injecting when you feel increased resistance or see squeeze-out appearing at multiple holes.
-
Immediately wipe excess adhesive from the tile surface and grout lines with a damp cloth before it starts to set. Work quickly since most adhesives begin curing within 5 to 10 minutes. Use a toothpick to carefully remove adhesive from the grout surface so you don’t create bumps that show after you regrout. Tap the tile gently with your palm or a rubber mallet to help distribute the adhesive evenly beneath the surface and encourage any remaining air bubbles to escape through the holes.
-
Press the tile firmly into place with steady hand pressure for about 30 seconds, then distribute 15 to 20 pounds of weight evenly across the tile surface. Water filled plastic jugs, a cinder block, or a stack of heavy books all work. Place a protective towel or piece of cardboard between the weight and the tile to prevent scratching. Make sure the weights won’t shift or tip during the cure time. Don’t pile all the weight in one spot or you might crack the tile.
-
Leave the weights in place for a minimum of 24 hours before allowing any foot traffic if you used a fast curing adhesive. Wait 48 hours before filling the holes with grout. For bathroom tiles, shower tiles, or any high moisture area, leave weights on for 72 hours to ensure full cure strength. Resist the temptation to check it early. Premature weight removal or walking on the tile causes bond failure even if the surface feels dry.
-
After the adhesive has fully cured, fill the drilled holes with matching grout. Scoop a small amount onto your finger or a grout float and press it firmly into each hole, packing it down to eliminate air gaps. Wipe away excess with a damp sponge after 10 to 15 minutes, using a circular motion. Wait another 30 minutes, then buff away the light haze left on the tile surface with a dry cloth.
Common mistakes ruin otherwise solid repairs. Injecting adhesive too quickly creates air pockets that leave void spaces under the tile, so it never fully bonds. Using too little adhesive because you’re trying to stretch the product leaves the tile only partially attached. Drilling holes too shallow means adhesive never reaches the substrate. If your adhesive cartridge seems too thick to flow, warm it slightly by running hot water over it for a minute or setting it in the sun. Removing weights too soon or walking on the repair before it’s fully cured breaks the bond while it’s still forming.
This injection method works on floor tiles, wall tiles, ceramic, and porcelain in any room as long as the tile itself isn’t cracked and the substrate underneath is still solid and stable.
Finishing Your Tile Repair With Grout Restoration

Proper grout filling makes the repair virtually invisible. Most people won’t notice anything was ever wrong if you match the color and texture correctly.
Getting the grout color right takes a little effort but makes a huge difference in the final appearance. Use a flathead screwdriver or utility knife to carefully chip out a small piece of existing grout from an inconspicuous spot like behind an appliance or under a cabinet. Take this sample to the hardware store and hold it against the grout color cards in good lighting. Grout looks different when wet versus dry, so ask for a sample card if you’re between two colors. Choose unsanded grout for lines narrower than 1/8 inch or sanded grout for wider lines to match the texture of your existing grout. If you can’t find a perfect match, grout colorant can adjust the shade. Test your color choice on the most hidden drilled hole first, let it dry completely, and check it the next day before doing all the holes.
-
Remove any adhesive residue from the holes using a toothpick or cotton swab before mixing your grout. Even small amounts of adhesive residue prevent the grout from adhering properly.
-
Mix a small amount of grout with water to a thick, peanut butter consistency. You need less than you think. A quarter cup of mixed grout typically fills 10 to 12 small holes.
-
Press grout firmly into each hole using your finger or the edge of a grout float, packing it down to eliminate voids. Overfill slightly since grout shrinks a bit as it dries.
-
Wipe excess grout with a damp sponge after 10 to 15 minutes, before it fully hardens. Use a light touch so you don’t pull grout out of the holes. After 30 minutes, buff away the hazy film with a dry cloth.
Apply grout sealer to all the grout lines 48 hours after filling the holes. Sealer prevents moisture penetration that could compromise your adhesive repair over time and makes future cleaning easier. A small bottle of grout sealer costs around $8 and protects your work for years.
Alternative Adhesive Options for Different Tile Scenarios
The adhesive you choose should match where the tile is located and what kind of stress it faces.
| Adhesive Type | Best For | Water Resistance | Cure Time | Cost Range |
|---|---|---|---|---|
| Two-part epoxy | Bathroom, shower, kitchen | Excellent | 24 hours | $18-$28 |
| Specialized tile adhesive | General floor and wall tiles | Very good | 24-48 hours | $15-$25 |
| Construction adhesive | Dry areas only (bedrooms, living rooms) | Moderate | 24 hours | $6-$12 |
| Thinset mortar | Multiple tiles, larger repairs | Good | 48-72 hours | $12-$20 |
| Flexible sealant | Edge tiles near expansion joints | Good | 12-24 hours | $8-$15 |
Two-part epoxy delivers superior bonding strength for both ceramic and porcelain tiles. It creates a chemical bond that’s stronger than mechanical adhesion alone. The biggest advantage is excellent moisture resistance, making it the only real choice for shower tiles, tub surrounds, and kitchen backsplash areas where water exposure is constant. Epoxy remains slightly flexible after curing, which lets it accommodate minor substrate movement from temperature changes or settling without losing grip. For a permanent solution in high traffic hallways or entryways where floor tiles take repeated impact, epoxy provides the most reliable long term hold.
Construction adhesive makes sense for single tile repairs in living rooms, bedrooms, or other low moisture areas. It’s faster to apply since there’s no mixing required, just load the tube and go. The bond is strong enough for areas that stay consistently dry, and it costs about half what epoxy does. Good for quick repairs when you don’t want to wait for a two-part system to set up.
When you’re dealing with multiple loose tiles in the same area, thinset mortar provides better coverage and costs less per square foot than cartridge adhesives. You mix it to the consistency you need and can work it into larger areas more efficiently. The tradeoff is longer cure time, usually 48 to 72 hours before the area is fully walkable, but you get professional results. It’s also the right choice if you’re addressing an entire section of flooring where several tiles have failed.
Addressing Common Loose Tile Problems and Solutions
Figuring out why the tile came loose in the first place helps you fix it correctly and prevents the same problem from happening again.
Hollow sound in multiple adjacent tiles usually means more than just surface adhesive failure. If five or six tiles in a row all sound hollow when you tap them, there’s likely a larger substrate issue like water damage to the subfloor or concrete cracking underneath. This situation typically needs professional evaluation before you attempt any repair. Injecting adhesive into multiple tiles won’t fix a failing subfloor.
Edge tiles along walls that repeatedly loosen often indicate the installation is missing expansion joints. Tiles expand and contract slightly with temperature changes, and if they’re locked tight against a wall with no room to move, they pop up. For these situations, use a flexible sealant product instead of rigid adhesive or grout. This allows the tile to move slightly without breaking the bond.
Corner tiles in a shower that keep popping up signal water is getting behind the tile and compromising the substrate. You’ll need to address the moisture barrier and waterproofing before reattaching the tile or it’ll just fail again. Check for missing or damaged grout, failed caulk joints, or cracks that let water through.
Adhesive not flowing between drilled holes means either the holes aren’t deep enough to reach the substrate, or your adhesive is too thick to flow properly. Try warming the cartridge by running it under hot water for a minute, which thins the adhesive slightly and improves flow. If that doesn’t work, your holes may be too shallow and you’ll need to drill deeper.
Tile rocks back and forth but won’t stay flat even after injection suggests the substrate underneath is uneven or has deteriorated. Injected adhesive can’t fill a large gap or level out a warped surface. This situation usually requires full tile removal, substrate repair, and reinstallation.
Repair fails within weeks typically means insufficient adhesive coverage left void spaces under the tile, or someone walked on it before the adhesive fully cured. You might also be dealing with ongoing substrate movement that no surface repair can overcome.
Preventing air pockets and void spaces requires patience during the injection process. Work slowly and watch for adhesive to appear at adjacent holes before moving to the next injection point. Start from the outer holes and work toward the center so air can escape. After injecting, tap the tile gently with your palm while the weights are on it to help adhesive spread into any remaining gaps.
The injection method won’t work for cracked tiles since the tile itself has failed and needs replacement. It also won’t work when the substrate has failed, when there’s significant structural movement like foundation settling creating new stress every season, or when the tile has lifted more than 1/4 inch above surrounding tiles.
Understanding When Loose Tiles Require Full Removal
Some situations are beyond what injection can fix. Knowing when to remove and replace saves you from wasting time on a repair that’s doomed to fail.
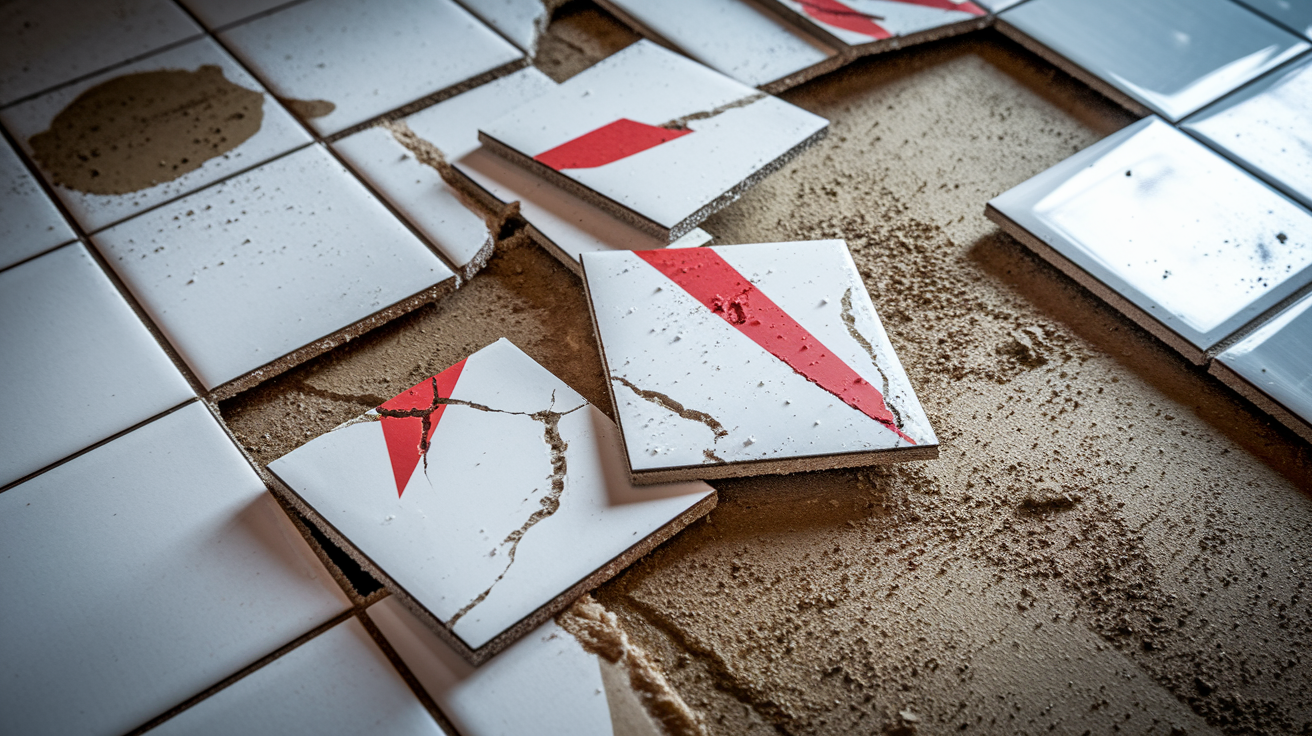
The tile has visible cracks or chips that could worsen. Injecting adhesive under a cracked tile just delays the inevitable. The crack will continue expanding and the tile will eventually break completely, usually when someone steps on it wrong.
Water damage is visible on the substrate or surrounding materials like baseboards, drywall, or adjacent tiles showing discoloration. If the substrate is compromised, it can’t hold adhesive properly. You’ll need to let everything dry completely, assess damage, possibly replace sections of subfloor or concrete, then reinstall the tile.
Multiple tiles are loose in the same area, suggesting the substrate has failed rather than just the adhesive bond. When an entire section of flooring has separated, the problem is structural and injection won’t provide adequate repair.
A previous injection repair failed within six months. If you’ve already tried this method and it didn’t last, something else is wrong. Repeated failures indicate substrate problems, ongoing moisture issues, or structural movement.
The tile sits noticeably higher or lower than surrounding tiles, indicating the substrate has deteriorated, swelled from moisture, or was never level to begin with. Adhesive injection can’t correct height differences or level problems.
Professional assessment becomes valuable when you’re seeing these warning signs. A tile contractor can identify foundation settling that’s causing ongoing movement, structural issues like floor joists that have sagged, or installation errors from the original job like improper bedding or insufficient coverage that left large voids under multiple tiles from day one. Professional tile repair typically costs between $400 and $4,250 depending on the extent of damage, number of tiles, and any substrate work required, but it prevents recurring problems and stops water damage from spreading to the subfloor, joists, or adjacent rooms.
For new installations or full replacements, back buttering each tile ensures complete adhesive coverage on both the substrate and the back of the tile, eliminating the air pockets that cause future failures. Proper substrate preparation including cleaning, priming, and leveling creates the foundation for long lasting tile installation. Following manufacturer cure times before grouting or allowing traffic prevents premature stress on developing bonds.
Cost and Time Comparison for DIY Tile Reattachment

The injection method costs a fraction of professional removal and replacement while delivering solid results for the right situations.
| Repair Aspect | DIY Injection Method | Professional Removal/Replacement |
|---|---|---|
| Materials cost | $15-$40 | $200-$600 |
| Labor cost | $0 | $200-$3,650 |
| Total time | 3-4 hours active, 48-72 hours cure | 1-2 days |
| Skill level required | Beginner to intermediate | Professional |
| Success rate for single tile | 85-90% | 98% |
| Warranty | None | Often 1-2 years |
Breaking down the DIY timeline helps you plan around the cure periods. Expect to spend about 30 minutes drilling holes and preparing the work area including cleaning and marking problem tiles. The actual adhesive injection takes roughly 45 minutes for one to three tiles, including loading the caulking gun, working through each hole, and managing squeeze-out. Cleanup and weight placement adds another 15 minutes. Then you wait. The adhesive needs 24 to 48 hours under weights to cure properly before you can walk on it normally. Final grouting to fill the holes takes about 30 minutes. Total elapsed time runs 2 to 3 days from start to finish, but you’re only actively working on it for about 2 hours total.
DIY injection makes the most financial sense for single tile repairs or small clusters of two to three tiles, situations where the tiles themselves are in good condition without cracks or chips, areas with no underlying water damage or substrate failure, and when you’re comfortable using basic power tools and following detailed instructions. The $450 to $3,800 you save versus professional replacement easily justifies the small time investment.
Preventing Future Tile Loosening and Maintenance Tips

Taking care of the grout and watching for early warning signs keeps tiles firmly attached for decades instead of years.
Regularly inspect grout lines for small cracks or crumbling and reseal them every 1 to 2 years. Damaged grout lets water reach the adhesive layer where it causes deterioration and bond failure.
Maintain consistent indoor temperature to minimize expansion and contraction cycles that stress tile adhesion. Tiles in rooms that swing from 55 degrees in winter to 85 degrees in summer experience more movement and higher failure rates.
Address plumbing leaks immediately to prevent moisture from compromising the adhesive bond. Even small drips under sinks or behind toilets cause substrate damage that leads to loose tiles months later.
Use appropriate pH neutral cleaning products that won’t degrade adhesive over time. Harsh acidic cleaners or strong alkaline degreasers can slowly break down the chemical bonds in some adhesives.
Avoid dropping heavy objects on floor tiles since impact can crack the adhesive layer even when the tile surface looks fine. The damage might not be visible but creates weak points that fail later.
Ensure proper ventilation in bathroom tiles and shower tiles areas to control moisture levels. Run the exhaust fan during showers and for 20 minutes afterward to remove humidity that would otherwise condense on surfaces and work its way into grout lines.
Check for foundation settling signs like new cracks appearing in walls or floors, doors that suddenly stick, or windows that won’t open smoothly. These indicate structural movement that puts stress on tile installations and causes adhesive failure.
Expansion joints become critical in specific locations. Tiles installed near doorways where they meet different flooring materials need flexible sealant rather than rigid grout to handle the different expansion rates between materials. Transitions between rooms often have slight movement as you walk across them, and rigid connections crack. Large tiled areas bigger than 12 by 12 feet benefit from expansion joints running through them to divide the field into smaller sections that can move independently. Temperature changes cause tiles to expand in summer and contract in winter, and without relief points, that stress concentrates at random weak spots and causes failures.
Grout sealing provides three important benefits for preventing future loose tiles. It stops moisture from penetrating down to the adhesive layer where it causes bond deterioration and substrate damage. Sealed grout stays cleaner with normal mopping, which means you don’t need harsh chemical cleaners that could attack the adhesive. It also protects against staining and surface deterioration that makes grout crumbly and ineffective at keeping water out. Reseal grout every 12 to 18 months in kitchen backsplash installations and bathroom areas where moisture exposure is constant.
Final Words
You can reattach loose tile without removing it using the adhesive injection method through carefully drilled grout lines.
The process takes just a few hours of active work spread over 2-3 days of cure time, and it costs $15-$40 in materials compared to hundreds for professional removal and replacement.
Stick with two-part epoxy for bathroom and shower areas where moisture is a factor, and remember to weight the tile down for the full 24-48 hours before you fill those holes with matching grout.
With the right adhesive, patience during curing, and regular grout maintenance, your repair should hold up for years.
FAQ
How can you stick back loose tiles?
You can stick back loose tiles by drilling small holes in the surrounding grout lines and injecting specialized tile adhesive or two-part epoxy through those holes. This method reattaches tiles without removing them, using weights to hold the tile flat while the adhesive cures for 24-48 hours.
How do you fix tiles that have lifted?
Tiles that have lifted are fixed by drilling 2-4 holes in the grout around the loose tile, injecting adhesive underneath using a caulking gun, and weighing down the tile with 15-20 pounds for at least 24 hours. After curing, fill the drilled holes with matching grout.
What adhesive repairs loose tile?
Two-part epoxy repairs loose tile with maximum strength and water resistance, especially in bathrooms and showers. Construction adhesive works for floor tiles in dry areas, while thinset mortar suits larger multi-tile repairs. Choose adhesive based on moisture exposure and tile location.
Can you use Liquid Nails on floor tile?
Liquid Nails construction adhesive can work on floor tiles in dry areas for single-tile repairs. However, two-part epoxy provides superior bonding strength and water resistance for permanent repairs, especially in high-traffic areas or locations with any moisture exposure like kitchens or bathrooms.
How long does tile adhesive take to cure before walking on it?
Tile adhesive needs 24 hours minimum before light foot traffic, 48 hours before regrouting the drilled holes, and 72 hours for full cure in high-moisture bathroom tiles. Premature weight or traffic causes bond failure, so follow manufacturer cure time instructions closely.
What tools do you need to reattach loose tile?
You need a masonry drill bit (3/16″ or 1/4″), a caulking gun with 10:1 thrust ratio, specialized tile adhesive or epoxy, matching grout, cotton swabs for cleaning, heavy weights (15-20 lbs), masking tape, and safety glasses for tile reattachment.
How do you know if a tile is loose?
A loose tile makes a hollow sound when tapped compared to the solid thud of well-bonded tiles. Check for movement by pressing firmly on the tile surface. Mark problem tiles with masking tape and inspect for water damage before attempting repair.
When should you call a professional instead of DIY tile repair?
Call a professional when tiles are cracked, multiple tiles in the same area are loose suggesting substrate failure, water damage is visible, previous injection repair failed within 6 months, or tiles sit noticeably higher or lower than surrounding tiles indicating substrate deterioration.
How much does DIY tile adhesive injection cost compared to professional repair?
DIY adhesive injection costs $15-$40 in materials with no labor cost and takes 2 hours active work plus 48-72 hours cure time. Professional removal and replacement costs $400-$4,250 total, including labor, materials, and typically includes warranty coverage.
How do you match grout color for filling drilled holes?
Match grout color by removing a small chip from an unstained section of existing grout and taking it to a hardware store for comparison. Select unsanded grout for lines narrower than 1/8 inch or sanded for wider lines. Consider grout colorant if perfect match is unavailable.
What prevents tiles from coming loose again after repair?
Prevent future loosening by sealing grout lines every 1-2 years, maintaining consistent indoor temperature, addressing leaks immediately, avoiding harsh cleaning chemicals, ensuring proper bathroom ventilation, and using flexible sealant in expansion joints where flooring materials change or near doorways.