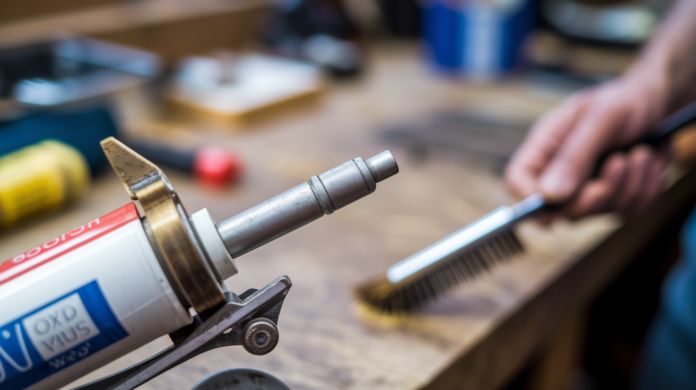

Ever squeezed a caulk gun trigger and gotten… nothing? No pressure, no movement, just a dead click that makes you wonder if the whole tool just gave up on you. A jammed trigger or stuck pressure rod can turn a simple seal job into a frustrating standoff with your own equipment. The good news is most trigger failures trace back to dried caulk buildup, a flipped release tab, or a bent rod you can straighten in under 20 minutes. We’ll walk through the quick diagnostic steps that pinpoint exactly what’s broken and show you the fixes that get your gun working again without buying a replacement.
Quick Diagnostic Steps and Immediate Fixes
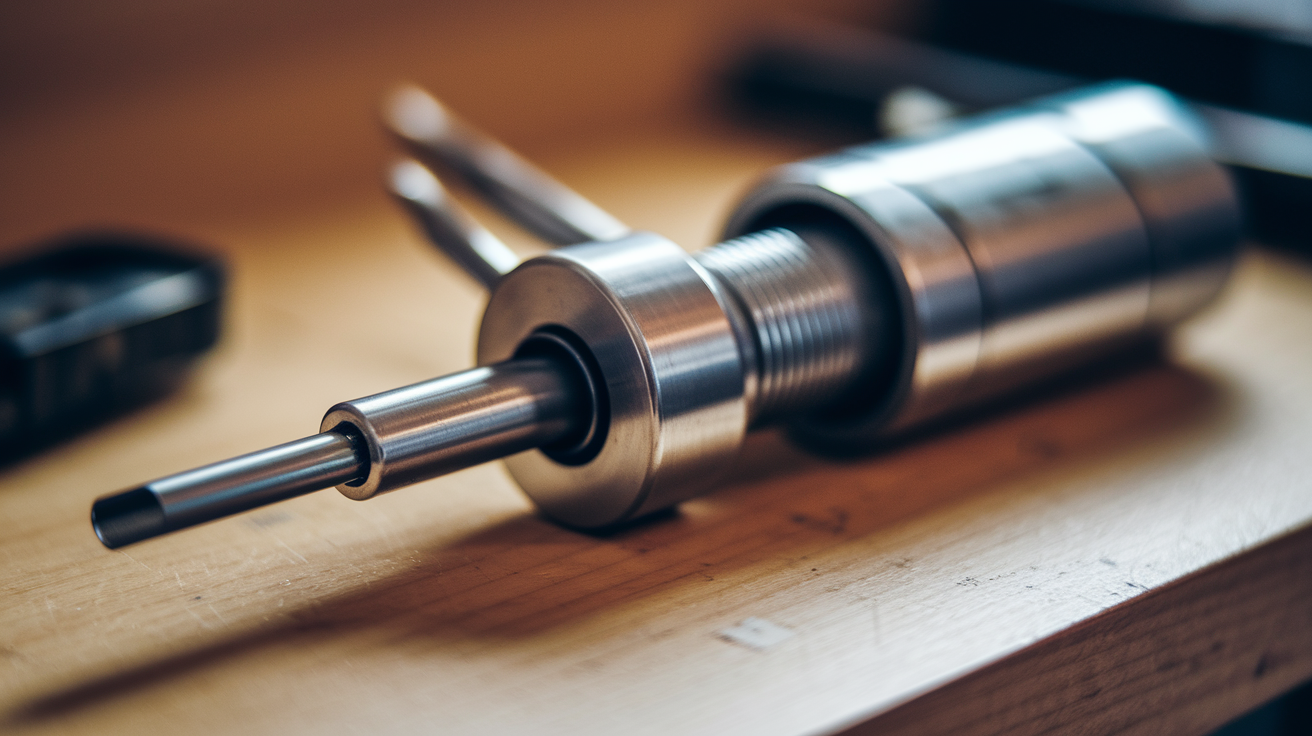
Most trigger failures come down to simple mechanical issues you can spot and fix in under 20 minutes. No professional help needed. The trick is testing each part methodically and applying the right fix before moving on. Budget guns fail more often than quality models, but even expensive tools need occasional attention when dried caulk or bent parts mess with the trigger mechanism.
-
Test the thumb release tab. Press and hold that small tab or lever above or behind the trigger while you try pulling back the pressure rod. If the tab feels bent, loose, or won’t stay engaged, you’ll need to flip it over. Here’s how: remove the plunger plate nut with a wrench while holding the tab to control spring tension. Flip the tab over while continuing to hold the spring and making sure the alignment holes match up. Reinsert the pressure rod with the hook end facing toward the top of the gun while keeping control of both tab and spring. Reattach the nut and test the trigger several times to confirm it’s working right.
-
Check trigger movement. Take out any loaded caulk tube and press the trigger without resistance. If it feels stiff, grinds, or won’t return smoothly to resting position, soak just the front trigger section in warm soapy water for 15 to 20 minutes. Don’t submerge the handle grip. Scrub around the trigger pivot points with a wire brush or old toothbrush to remove dried caulk and grime. Rinse, dry completely, and test again.
-
Inspect visible components. Look carefully for bent metal parts, cracks in plastic trigger guards, or visible dried caulk caked around the trigger assembly and rod cradle. Dried caulk acts like glue and stops normal movement. Scrape away any hardened material right away using a putty knife or the gun’s built-in cleaning tool before it spreads further into internal components.
-
Test rod movement. Pull the pressure rod all the way back while holding the thumb release fully engaged. The rod should slide smoothly without catching or grinding. If you feel resistance or hear scraping sounds, clean the rod with a damp rag to remove debris. Apply 2 to 3 drops of light machine oil along the rod’s length and work it back and forth several times to distribute the lubricant evenly.
-
Verify trigger return. Press the trigger fully and release it quickly. The trigger should snap back to its original position immediately without sticking partway. Weak or slow return means spring failure inside the trigger assembly, which typically requires replacing the spring or the entire gun depending on parts availability for your model.
-
Check proper technique. Even functional triggers won’t work if you’re holding the gun wrong. Angle the gun downward at roughly 45 degrees, press the thumb release tab fully until you feel it engage, and grip only the rear handle. Touching or gripping the front barrel can accidentally engage the friction plate that locks the pressure rod in place. Makes it impossible to pull back no matter how hard you try.
If these quick diagnostics and fixes don’t resolve your trigger issue within 15 to 20 minutes of testing, the problem likely involves internal components that need more thorough disassembly and repair. Move on to component specific repairs for deeper mechanical problems that quick fixes can’t address.
Step-by-Step Component Repair Instructions
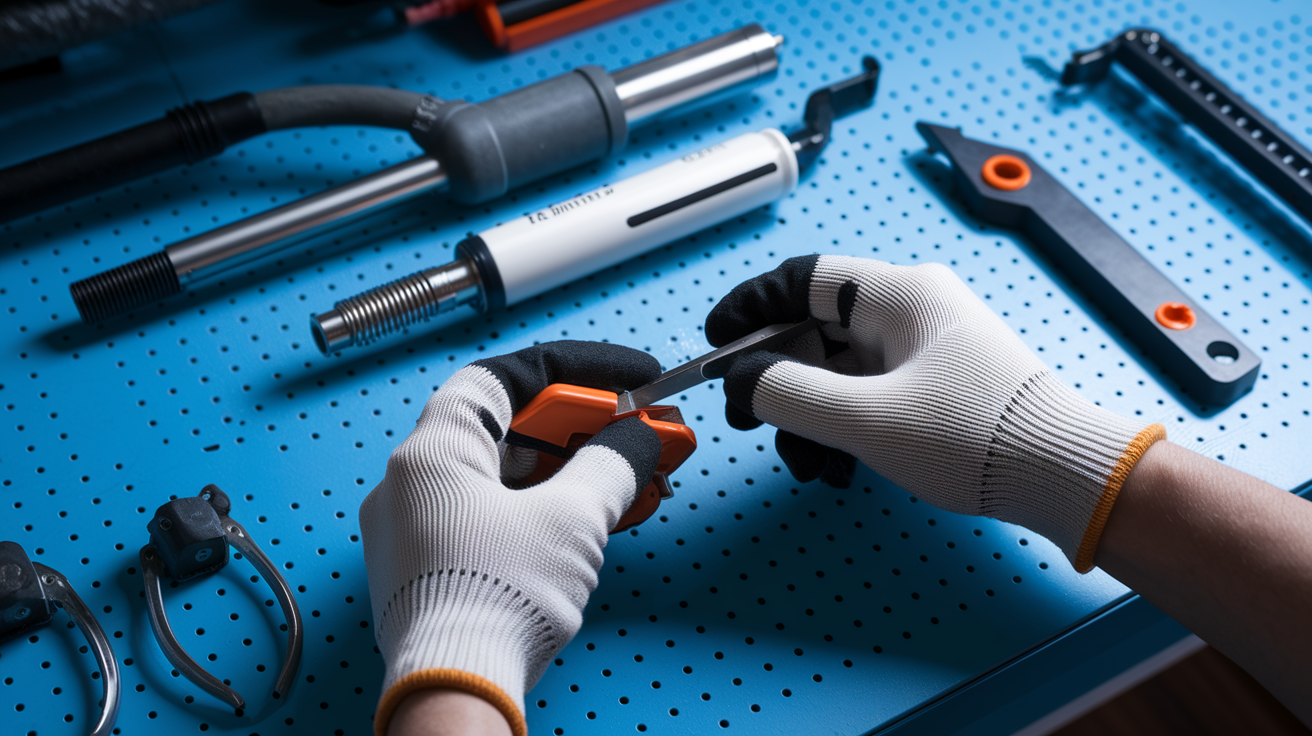
Before starting any disassembly, gather these tools: adjustable wrench or spanner for nuts, flathead and Phillips screwdrivers for any screws, wire brush or old toothbrush for scrubbing, bucket of warm soapy water, clean rags, and light machine oil or silicone lubricant. Having everything within reach prevents mid-repair trips to the garage and keeps small parts from getting lost.
Release Tab Repair
The release tab is that small metal or plastic lever above or behind the trigger that disengages the rod’s friction mechanism. When bent, it won’t fully release the pressure rod no matter how hard you press it.
Remove the plunger plate nut using your wrench while actively holding the release tab with your other hand. This is important because the spring behind the tab is under tension and can launch small parts across the room if released suddenly. Once the nut is off, carefully pull the pressure rod straight out of the gun frame.
Flip the release tab over to the opposite side while maintaining constant pressure on the spring. You should feel the spring trying to push the tab outward. Make sure the alignment holes in the tab line up perfectly with the spring and mounting points. If they don’t align, rotate the tab slightly until everything matches.
Reinsert the pressure rod with the hook end facing toward the top of the gun while continuing to hold both the release tab and spring in place. This step feels awkward because you’re managing three things at once, but take your time. Once the rod is through, secure the nut and tighten it firmly. Test the thumb release at least 10 times to confirm the tab engages and releases smoothly. If the tab is visibly cracked rather than just bent, this repair won’t hold. You’ll need a replacement tab if your manufacturer sells parts separately.
Trigger Mechanism Deep Cleaning
Dried caulk and rust in the trigger pivot points cause the grinding, stiffness, and stuck triggers that make the gun unusable. Remove the caulk tube and pull the pressure rod completely back and out of the gun. Submerge only the front trigger section in warm soapy water for 15 to 20 minutes. Don’t dunk the rear handle grip because water trapped inside foam or rubber grips breeds mold and takes days to dry.
Scrub all visible pivot points where the trigger connects to the frame using a wire brush. You’re trying to break up dried sealant that’s gummed up the moving parts. Rinse thoroughly under running water while working the trigger back and forth to flush out loosened debris. Dry everything completely with clean rags, checking crevices where water likes to hide.
Apply 2 to 3 drops of light machine oil to each pivot point where metal rubs against metal. Work the trigger through its full range of motion 20 to 30 times to distribute the lubricant into the internal contact surfaces. If you see rust spots that won’t brush off, you may need a rust dissolving solution and additional soaking time. Heavy rust means the metal is compromised and the gun is nearing the end of its usable life.
Pressure Rod and Plunger Alignment
A bent pressure rod won’t slide through the cradle channel smoothly and can jam the entire mechanism. Lay the rod on a flat, hard surface like a workbench or concrete floor. Roll it slowly while applying very gentle downward pressure with your palm. High spots will reveal themselves as the rod rocks slightly rather than rolling smoothly. Apply small corrective pressure in the opposite direction of the bend, testing frequently by rolling again. Think “nudging,” not “forcing” the metal straight.
Pull the rod completely out and inspect the cradle channel where the rod slides through the gun frame. Scrape away any dried caulk that’s built up in this channel using a flathead screwdriver or putty knife. Even thin layers of hardened material create enough friction to prevent smooth operation.
When reinstalling the rod, the hook end must face toward the top of the gun so it properly engages with the plunger plate. Check that the plunger plate sits flush against the tube opening without tilting to one side. Misalignment here means caulk won’t dispense evenly even if the trigger finally works.
Rods with deep gouges, stripped ratchet teeth, or severe bends that won’t straighten need replacement. Some manufacturers sell replacement rods for $6 to $12, but many budget guns cost less than the replacement part, making repair pointless.
Spring Tension Issues
The spring inside the trigger assembly provides the return force that resets the trigger after each squeeze. Disassemble the trigger housing by removing the screws or pins that hold the trigger assembly together. The exact method varies by gun design, so work slowly and note how parts fit together for reassembly.
Once exposed, visually inspect the spring for stretched coils, breaks, or corrosion. Test the tension by compressing the spring manually between your fingers. It should offer firm, consistent resistance and return to full length immediately when released. A weak or stretched spring compresses too easily and feels “soft.”
Replacement springs cost $4 to $8 when available, but you’ll need your gun’s exact model number to order the correct part from the manufacturer. Many budget guns don’t offer replacement parts at all, making spring failure a clear signal to replace the entire tool rather than repair it. If your gun cost under $15 and the spring fails, put that repair time toward researching a better replacement model.
Test each repair thoroughly before final reassembly. Trigger should move freely, rod should slide smoothly, and thumb release should engage and disengage with light pressure. If you’ve repaired multiple components and the gun still malfunctions, or if you found damage to more than two separate parts, replacement makes more sense than continuing repairs. The underlying tool quality is likely too poor for reliable long term use.
Understanding Common Causes of Trigger Failure
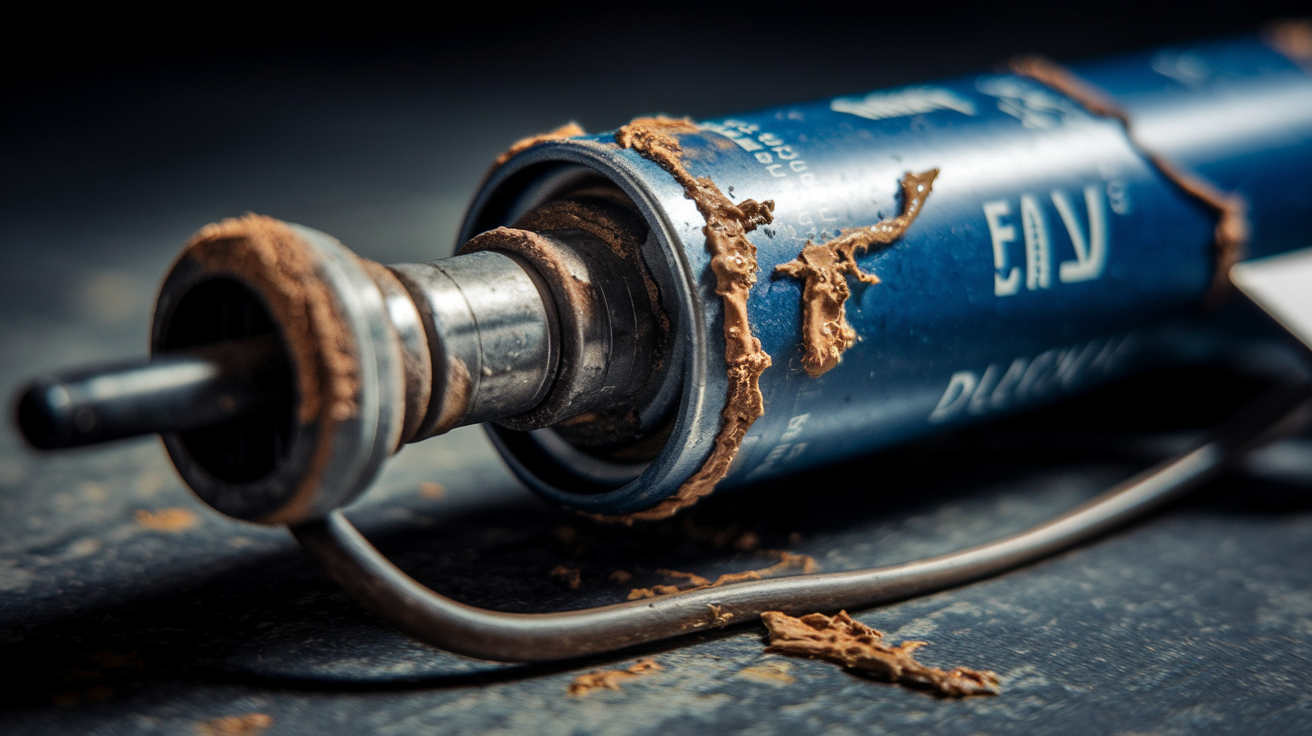
Trigger mechanism failures follow predictable patterns that reveal much about tool quality and how the gun was used and maintained. Recognizing these patterns helps you prevent future failures and make smarter decisions about which tools deserve repair effort versus immediate replacement.
Low quality materials and manufacturing tolerances in budget guns priced between $5 and $12 lead to premature component failure. Thin metal bends easily, weak plastic cracks under normal pressure, and loose fitting parts allow excessive play that accelerates wear. You get what you pay for with caulk guns.
Inadequate post-use cleaning allows caulk to harden inside trigger assembly pivot points and around springs. Once caulk sets up inside these tight spaces, it acts like cement and physically blocks the moving parts. This is the single most preventable cause of trigger failure.
Environmental factors like moisture exposure cause rust on metal trigger components and weaken springs over time. Guns stored in damp basements, outdoor sheds, or work vehicles see accelerated corrosion that eventually seizes the trigger mechanism or causes metal to crack.
Excessive force during operation bends release tabs and pressure rods beyond their design limits. Users who squeeze triggers with full hand strength or force stuck rods by pulling harder rather than diagnosing the blockage create the very damage they’re trying to overcome.
Improper storage positions allow unused caulk remaining in tubes to drain backward into trigger mechanisms. Storing guns horizontally or upside-down after use lets liquid sealant migrate into places it was never meant to reach.
Normal wear and tear on high use professional tools gradually degrades spring tension, smooths out ratchet teeth on pressure rods, and wears down pivot points where metal rubs against metal. Even quality guns eventually wear out after hundreds of tubes, but they fail gracefully rather than catastrophically.
Recognizing these failure patterns helps you make better choices. If you bought a $7 gun and it failed after three tubes, that’s tool quality, not bad luck. If your gun worked flawlessly for two years until you forgot to clean it after a bathroom tile job, that’s a maintenance lesson. Honest assessment of what caused your specific failure guides better tool selection, proper technique, and maintenance habits that prevent the next breakdown.
Tools and Materials Needed for Trigger Repair
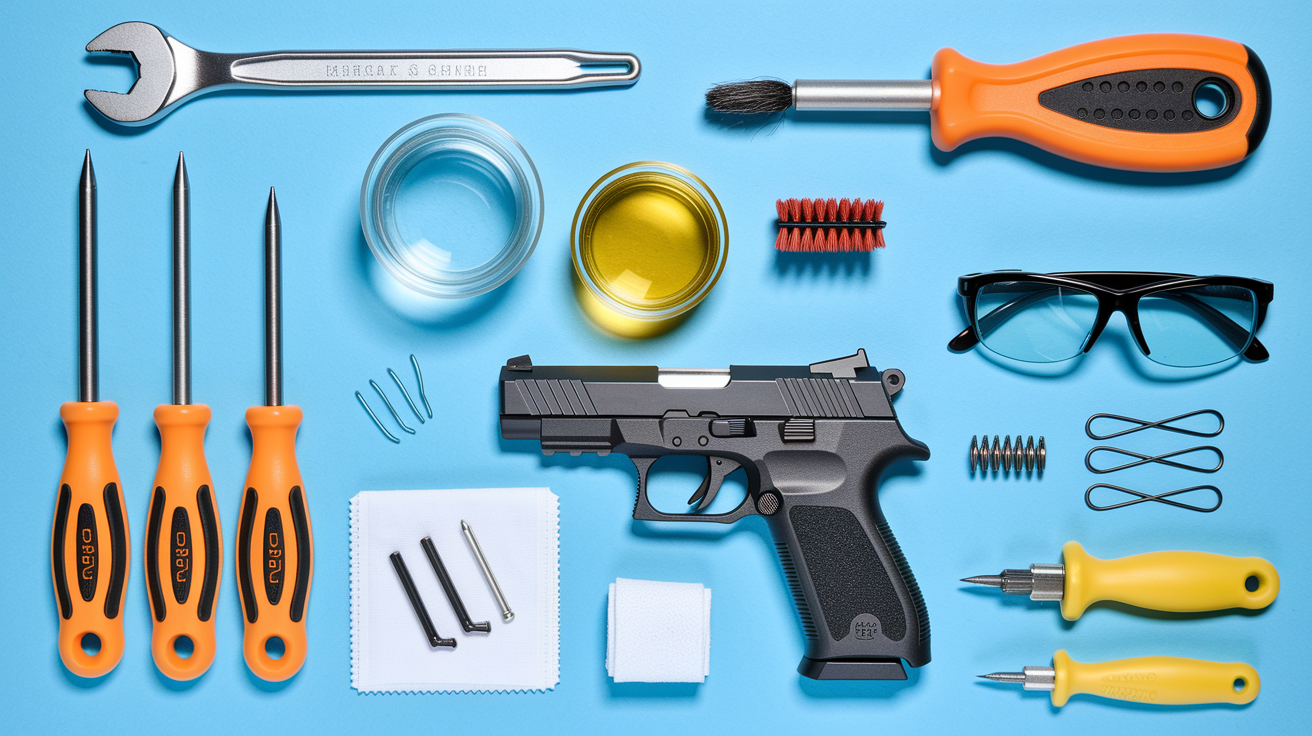
Most trigger repairs require only basic household tools you probably already own. Gather everything before starting so you don’t waste time hunting for items mid-repair with springs and small parts scattered on your workbench.
Adjustable wrench or spanner (10 inch size handles most plunger plate nuts), screwdriver set with both flathead and Phillips heads (for disassembly of trigger housings), clean rags or paper towels (for wiping down components and cleaning up spills), warm soapy water in a bucket or large bowl (for soaking trigger sections), light machine oil or silicone lubricant spray (3 in 1 oil works well), wire brush or old toothbrush (for scrubbing dried caulk from pivot points), replacement springs if available for your specific model (check manufacturer website), safety glasses (small parts under spring tension can fly during disassembly), work gloves (optional but protect hands from sharp metal edges and cleaning chemicals), flathead putty knife or scraper (for removing hardened caulk from cradle channels).
Replacement parts like springs, pressure rods, and release tabs are available from some manufacturers’ websites or through hardware stores that special order caulk gun components. Springs typically cost $4 to $6, pressure rods run $6 to $12, and complete trigger assemblies range from $10 to $15 when available separately. Shipping often adds $5 to $8, so factor total cost against simply replacing the entire gun. Many budget brands don’t offer replacement parts at all, which tells you something about their expected lifespan.
When Trigger Lock or Safety Features Cause Issues
Modern caulk guns incorporate safety mechanisms that prevent accidental caulk dispensing during transport or storage. First time users or people switching between different gun models often mistake these intentional locks for mechanical failures, leading to unnecessary troubleshooting when nothing is actually broken.
-
Locate and fully depress the thumb release tab positioned above or behind the trigger on most models. This tab must be held down continuously while pulling the pressure rod backward. If you release pressure on the tab even slightly, the friction mechanism re-engages and locks the rod in place. Press it until you feel a distinct click or see the rod unlock.
-
Angle the gun downward at approximately 45 degrees while pulling back the pressure rod. Trying to retract the rod while holding the gun horizontally or pointed upward works against the mechanism’s design and creates unnecessary resistance. The downward angle aligns internal components for smooth operation.
-
Grip only the rear handle when attempting to pull back or reset the pressure rod. Avoid touching or gripping the front barrel section because your hand pressure can accidentally engage the friction plate that’s designed to lock the rod during use. This is especially common when people use both hands to try pulling harder on a “stuck” rod that’s actually just locked by their own grip.
-
Verify the trigger guard isn’t physically blocking trigger movement on protective models designed for job sites. Some guns include hinged or sliding guards that prevent the trigger from being pressed when the guard is in the protected position. Flip or slide the guard fully out of the way before troubleshooting further.
If you’ve confirmed that all safety features are properly disengaged and the trigger still won’t function, then you’re dealing with an actual mechanical problem rather than user error. Consult your product manual for model specific safety feature locations and operation procedures, because trigger lock designs vary significantly between manufacturers. What works on a Newborn model may differ completely from a Dripless or Albion gun.
Repair or Replace: Making the Right Decision for Your Trigger
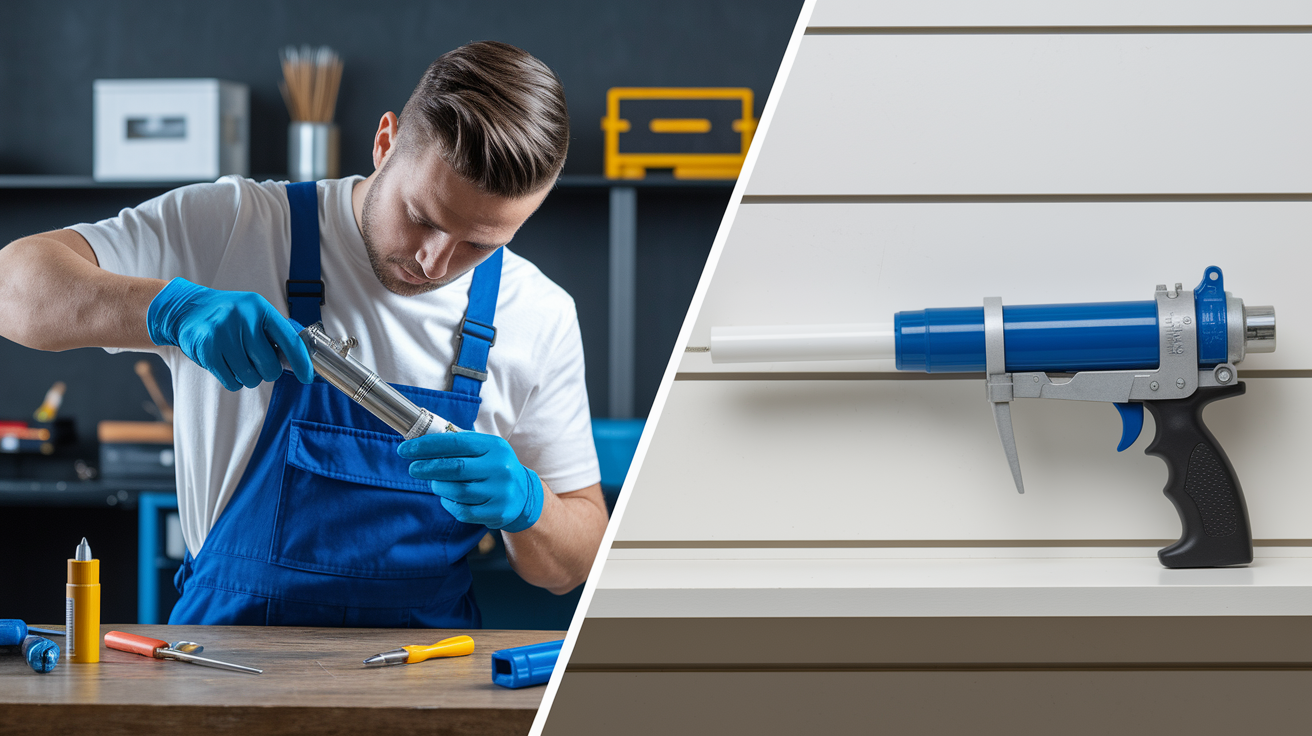
Investing time in trigger repairs makes sense for quality tools with isolated problems but wastes effort on cheap guns with systemic failures. Weigh the repair time, part costs, and realistic remaining lifespan of your gun before committing to repairs.
| Issue | Repair Cost | Repair Time | Replacement Recommended? |
|---|---|---|---|
| Bent release tab | $0-5 | 20 minutes | No |
| Dried caulk buildup | $0-2 | 15 minutes | No |
| Broken spring | $4-8 | 30 minutes | Maybe |
| Severely bent rod | $0-10 | 45 minutes | Yes |
| Stripped threads | N/A | N/A | Yes |
| Multiple simultaneous issues | Varies | 1+ hour | Yes |
Quality caulk guns in the $15 to $40 range include features that prevent common trigger failures: dripless mechanisms that reduce caulk backflow into internal parts, smooth rods with precision ratcheting that resist bending, well engineered triggers with proper spring tension, and often manufacturer warranties covering defects. These guns also tend to have replacement parts available, making targeted repairs worthwhile. Repeatedly repairing a $7 budget gun that keeps failing teaches you repair skills but costs more in time and frustration than buying a decent tool once.
Clear signs indicate replacement over repair regardless of your gun’s original cost. Visible cracks in the plastic frame mean structural failure that repair can’t fix. Multiple broken components at once suggest the gun reached end of life rather than experiencing isolated part failure. Tools over 5 years old with heavy professional use have simply worn out and deserve retirement even if you could technically repair the immediate problem. At that point, you’re maintaining an old tool past its reasonable lifespan.
Preventive Maintenance to Keep Triggers Working
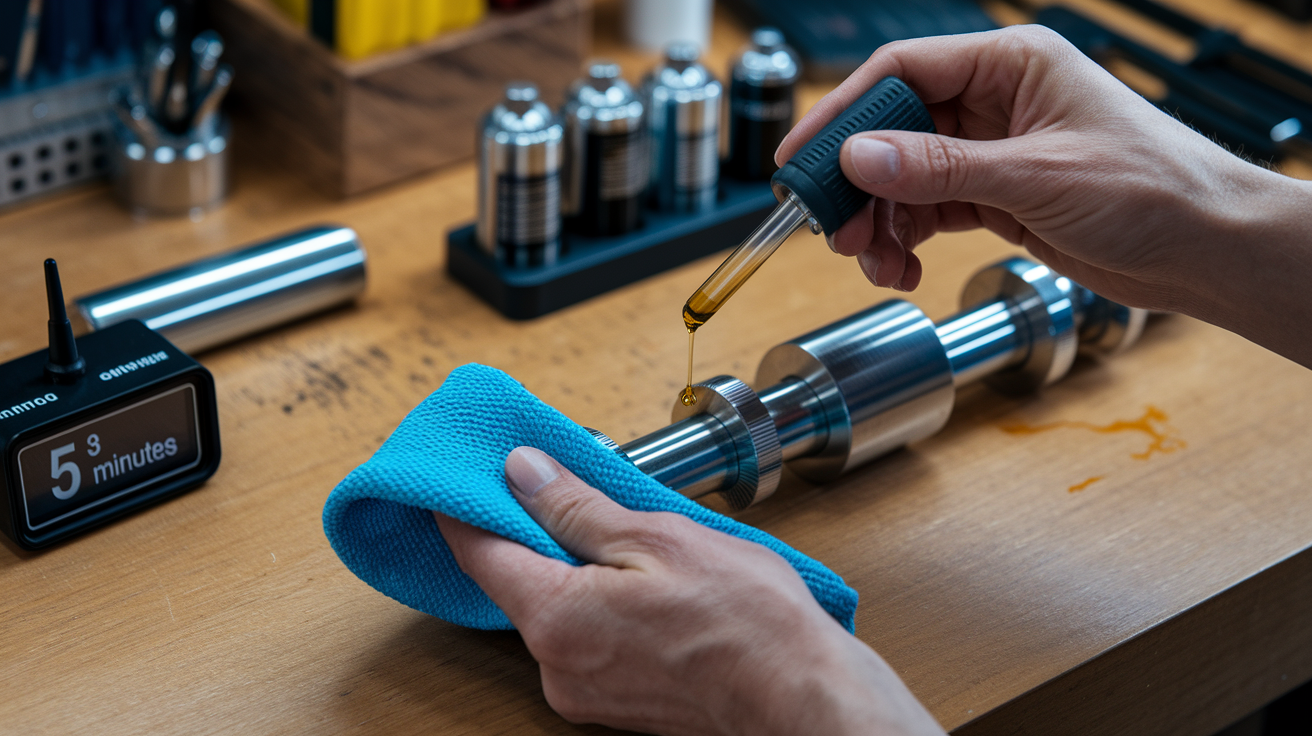
Five minutes of basic maintenance after each use extends trigger life significantly and prevents most common failures. These practices work whether you own a budget gun or professional grade tool, though quality guns tolerate occasional neglect better than cheap ones.
Wipe down the pressure rod and cradle immediately after each use before caulk hardens into concrete like deposits that jam mechanisms. Store the gun in an upright position to prevent sealant from draining backward into trigger mechanisms where it doesn’t belong. Apply 2 to 3 drops of light machine oil to the pressure rod and trigger pivot points monthly if you use the gun regularly, quarterly for occasional users. Inspect the thumb release tab for bending or visible wear every few uses by pressing it and feeling for smooth, consistent engagement. Keep the tool in a dry environment to prevent rust on metal trigger components and rod ratchet teeth that cause grinding and seizing. Use quality caulk and sealants that resist premature hardening and reduce the gummy residue that clogs internal parts. Perform a complete cleaning and inspection quarterly for frequently used guns, including full disassembly of the trigger mechanism for thorough debris removal.
For detailed step by step cleaning instructions, see How to Clean Caulk Gun which covers complete disassembly and maintenance procedures for various gun types.
Seasonal considerations matter if you store tools in unheated spaces. Cold weather thickens lubricants and makes triggers feel stiff or sluggish, requiring you to work the trigger several times before starting a project to redistribute oil. Extreme heat accelerates caulk drying inside mechanisms if you leave loaded tubes in guns between uses. Summer storage means removing tubes after each session becomes even more important than during cooler months.
Final Words
A caulk gun trigger not working usually comes down to a bent release tab, dried caulk in the mechanism, or simple technique issues you can fix in 20 minutes or less.
Start with the quick diagnostics. Test the thumb release, check for visible gunk, and make sure you’re holding it right.
Most triggers respond to a good cleaning and the flip-tab fix. If you’re replacing multiple parts or fighting a $7 gun, just upgrade to something better built.
Clean after every use, store it upright, and add a drop of oil now and then. Your trigger will work when you need it.
FAQ
Why can’t I get the caulk out of the gun?
You can’t get caulk out of the gun because the thumb release tab isn’t fully pressed, the pressure rod is stuck with dried caulk, or you’re gripping the front barrel which engages the friction plate. Press the thumb release fully, angle the gun 45 degrees downward, and grip only the rear handle.
How do I unblock a silicone gun nozzle?
You unblock a silicone gun nozzle by removing the caulk tube, pulling the pressure rod fully back, and scraping hardened caulk from the cradle channel and rod with a wire brush or scraping tool. For deep cleaning, soak the front section in warm soapy water for 15-20 minutes.
Why is my nail gun trigger not working?
Your trigger isn’t working likely due to a bent release tab, dried caulk buildup in the trigger assembly, or a weakened spring that’s lost tension. Test the thumb release mechanism first, then check if the trigger feels stiff or returns properly after pressing.
How do I get my caulking gun to work?
You get your caulking gun to work by pressing the thumb release tab fully, pulling the pressure rod all the way back, and angling the gun 45 degrees downward while gripping only the rear handle. If the trigger still won’t move, remove visible dried caulk and test rod movement.
What causes a caulk gun trigger to stick?
A caulk gun trigger sticks because dried sealant or rust has built up in the trigger assembly pivot points and spring mechanism. Soak the front trigger section in warm soapy water for 15-20 minutes without submerging the handle, then scrub thoroughly with a wire brush.
Can I fix a bent release tab on my caulk gun?
You can fix a bent release tab by flipping it over during reassembly: remove the plunger plate nut while holding the tab, flip the tab while holding the spring with holes aligned, reinsert the rod with the hook end up, and reattach the nut. Cracked tabs require replacement.
When should I replace my caulk gun instead of repairing it?
You should replace your caulk gun when plastic frame cracks appear, multiple components break simultaneously, the threads are stripped, or the tool is over 5 years old with heavy use. Quality guns with warranties ($15-$40) outlast budget models requiring repeated repairs.
How often should I clean my caulk gun trigger?
You should clean your caulk gun trigger immediately after each use before caulk hardens. Wipe the pressure rod and cradle, then perform a complete deep cleaning with warm soapy water quarterly for frequently used guns to prevent buildup in the trigger mechanism.