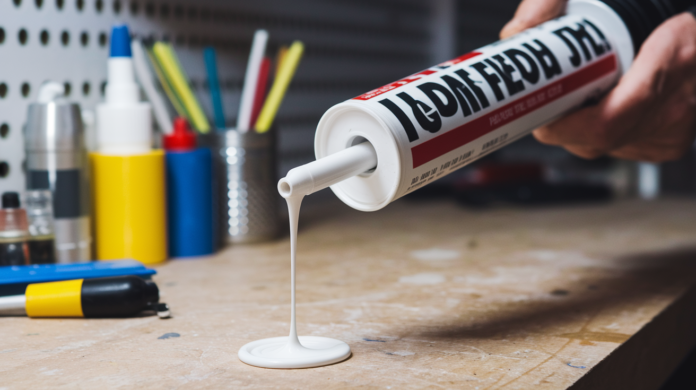

You’ve finished caulking a window joint and set down the gun. Two seconds later, there’s a blob of silicone on your hardwood floor. Sound familiar? Dripping after you release the trigger is normal on most caulk guns because built-up pressure inside the cartridge doesn’t disappear instantly. The trigger release doesn’t automatically suck pressure back. That leftover force keeps pushing material out the nozzle until it equalizes naturally. But you can stop it in seconds with a simple release-and-retract habit, and knowing why it happens helps you pick the right gun and technique for every repair.
Why Your Caulk Gun Keeps Dripping and How to Stop It
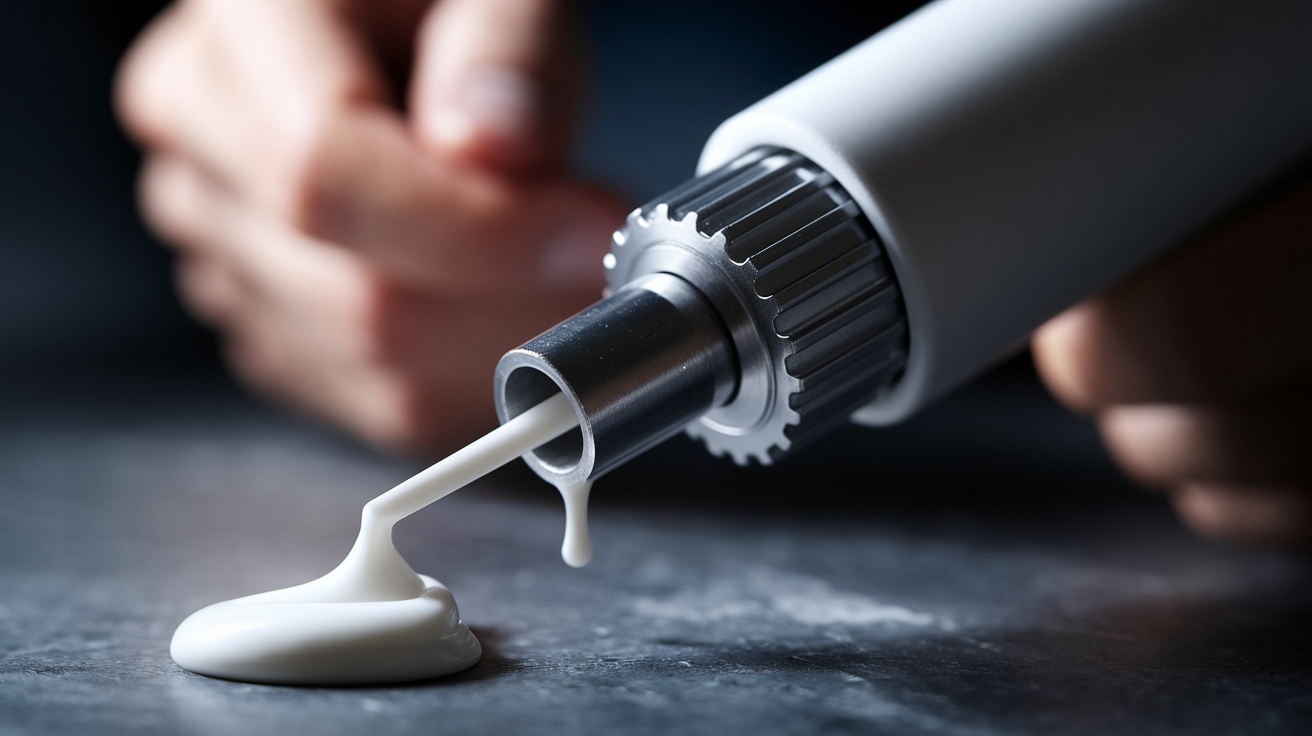
Dripping after you release the trigger is normal on most caulk guns. It’s a pressure thing, not a busted tool. When you squeeze the trigger, you’re building up force inside the cartridge that doesn’t just disappear the second you let go.
Every trigger pull pushes the plunger rod forward and compresses material inside the tube. That built up pressure takes time to equalize. Standard frame guns and smooth rod designs without anti-drip features will keep pushing caulk out the nozzle until pressure drops naturally. The trigger release doesn’t automatically suck that pressure back.
Here’s how to stop dripping the moment you finish:
- Press the release catch or trigger immediately. This disengages the ratchet or drive mechanism so it stops applying force.
- Pull back the plunger rod about half an inch. Manual retraction breaks the forward pressure instantly.
- Wipe excess caulk from the nozzle with a rag. Catches any final ooze before it lands somewhere you don’t want it.
- Replace the cap or seal the tip. Prevents drying and blocks the opening so nothing can leak during storage.
Five material factors keep causing flow even after you release pressure. Viscosity determines how easily the caulk slides out on its own. Thinner formulas drip more than thick ones. Compressibility means the material contracts slightly after pressure drops, which can push a little more out the tip. Cartridge swelling happens when you apply force. The tube expands under pressure, then shrinks back and squeezes out a bit more. Piston friction inside the cartridge creates drag that doesn’t release right away, so material keeps sliding forward. Air bubbles from the manufacturing filling process get compressed during use, then expand afterward and push material toward the nozzle.
If you pull a cartridge out of the gun and stand it upright on a table, you’ll still see caulk oozing from the tip. That proves the gun itself isn’t causing all the drip. Material viscosity, air pockets, compressibility, and internal friction keep working independently of the tool’s mechanics.
Understanding Anti-Drip Mechanisms in Modern Caulk Guns
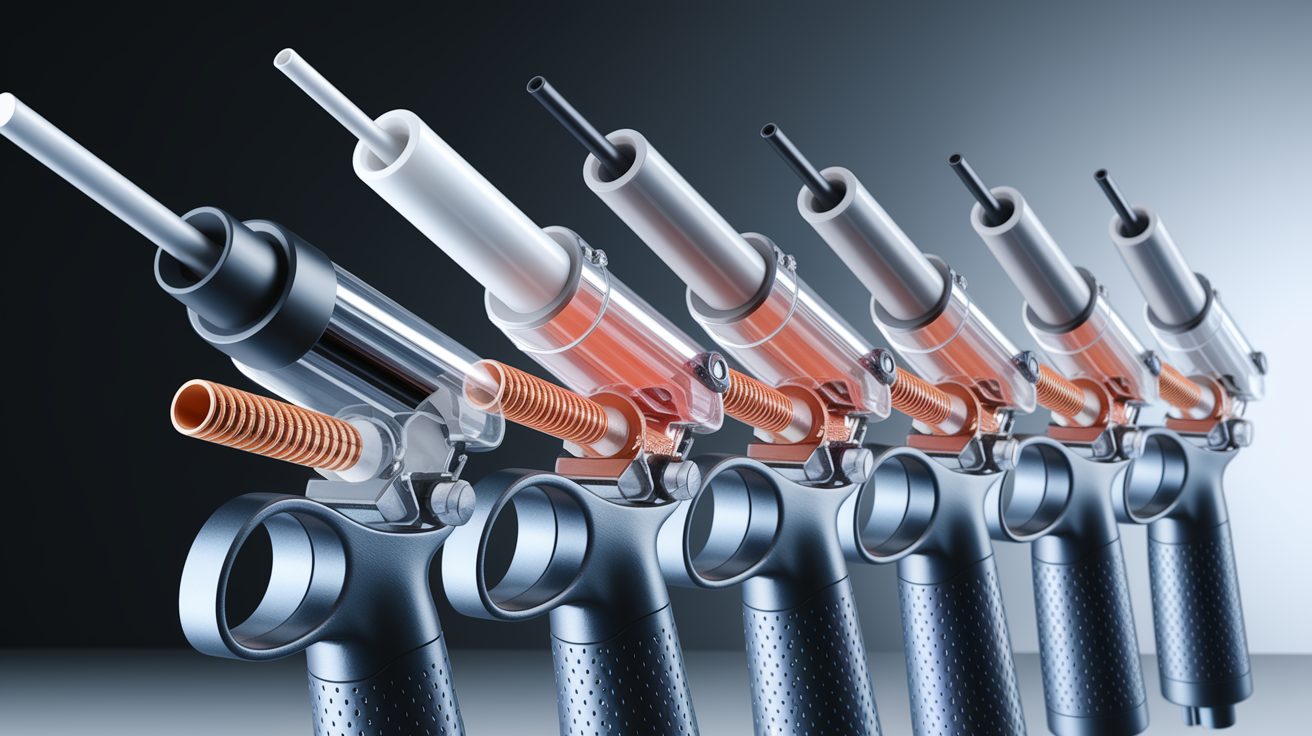
Automatic pressure release systems pull the plunger back slightly the instant you let go of the trigger. This breaks the forward force before excess caulk can escape. Some guns do this mechanically, others electronically, but the goal is the same. Stop the flow without you having to manually yank the rod back.
Dripless models have a built in clutch or retraction spring that kicks in when you release the trigger. The plunger moves backward maybe a quarter inch, just enough to relieve tube pressure and halt material flow. You’ll hear a small click or feel a slight give when the mechanism activates. This happens automatically every single time you stop squeezing, so you don’t need to remember a separate step.
Ratchet style guns were the original non-drip design. Every time you squeeze the handle, the ratchet advances one tooth and locks. When you release, it doesn’t slide backward, so pressure drops naturally between pumps. These were the first caulking guns on the market and they worked as non-drip tools by default because of that incremental, locking action.
The first smooth rod caulking gun was patented by Albion Engineering in 1933. It allowed continuous material flow without the stop-start nature of ratchets, which made long smooth beads much easier. But that constant pressure also meant constant dripping. It took until 1992 for Dripless Inc to introduce the first non-drip smooth rod design that combined continuous operation with automatic pressure relief.
Gun types with built in anti-drip features:
- Dripless manual guns with auto retraction. Spring loaded plunger pulls back when trigger releases.
- Ratchet style guns with incremental release. Tooth-by-tooth advancement prevents pressure buildup between strokes.
- Cordless/battery powered models with motor reversal. Motor spins backward briefly when you let go, retracting the plunger instantly.
- Pneumatic options with air cylinder exhaust. Compressed air releases through an exhaust port the moment you release the trigger.
- Special deluxe drive models with optional no-drip mode. Tools like the DL-45 and DL-59 let you hook the recoil manually for drip control when you need it.
Anti-drip guns make the most sense for small applications. If you’re filling nail holes, tiny cracks, or doing touch up work that only needs one or two pumps per spot, the automatic release keeps things clean between applications.
Step-by-Step Troubleshooting Guide for Persistent Dripping
Start by isolating whether the problem is the gun, the material, or your technique. Work through each possibility one at a time so you’re not guessing.
Follow this troubleshooting sequence to find the cause:
- Check if the release mechanism is functioning. Press the release trigger or thumb plate and watch whether the plunger moves backward even slightly.
- Test if the cartridge drips when removed from the gun. Pull the tube out and set it upright on a flat surface for two minutes to see if material keeps oozing.
- Inspect the plunger rod for dried buildup. Wipe the rod with your fingers and look for crusty spots or sticky residue that might prevent smooth retraction.
- Examine the nozzle for damage or improper cut. A crooked or torn tip can create uneven pressure that forces material out even after you stop.
- Verify the cartridge is seated properly. Make sure the tube base is flush against the plunger and the nozzle isn’t partially disconnected.
- Assess whether gun type matches application needs. If you’re doing long continuous beads with a dripless gun, the constant repressurizing is fighting you.
The foil hack gives you complete pressure release on any standard gun. Puncture the cartridge base with scissors or a utility knife. Just poke a small hole near the center. Cut a circle of aluminum foil about the size of a quarter and place it between the cartridge base and the plunger before you load the tube. When you press the release catch after finishing, trapped caulk escapes backward into that foil circle instead of forward out the nozzle. This completely releases pressure and prevents mess and wasted product. You’ll see a small blob of caulk on the foil, which means it’s working.
For continuous flow guns designed for long joints requiring many pumps, use the thumb release technique. After you finish your bead, press the recoil plate with your thumb. It’s usually a flat metal piece near the plunger rod. This instantly releases pressure without having to pull the entire rod back manually. It’s faster and keeps your rhythm going if you’re sealing a tub surround or a long window joint.
When the problem keeps happening even after you try basic fixes, you’re looking at either user error or equipment failure. Stuck plungers usually mean dried caulk buildup on the rod or a worn out drive plate that can’t grip properly anymore. That’s a maintenance issue, not a technique problem. If the release mechanism physically doesn’t move when you press it, the gun needs repair or replacement.
Preventing Drips Through Proper Caulk Gun Maintenance
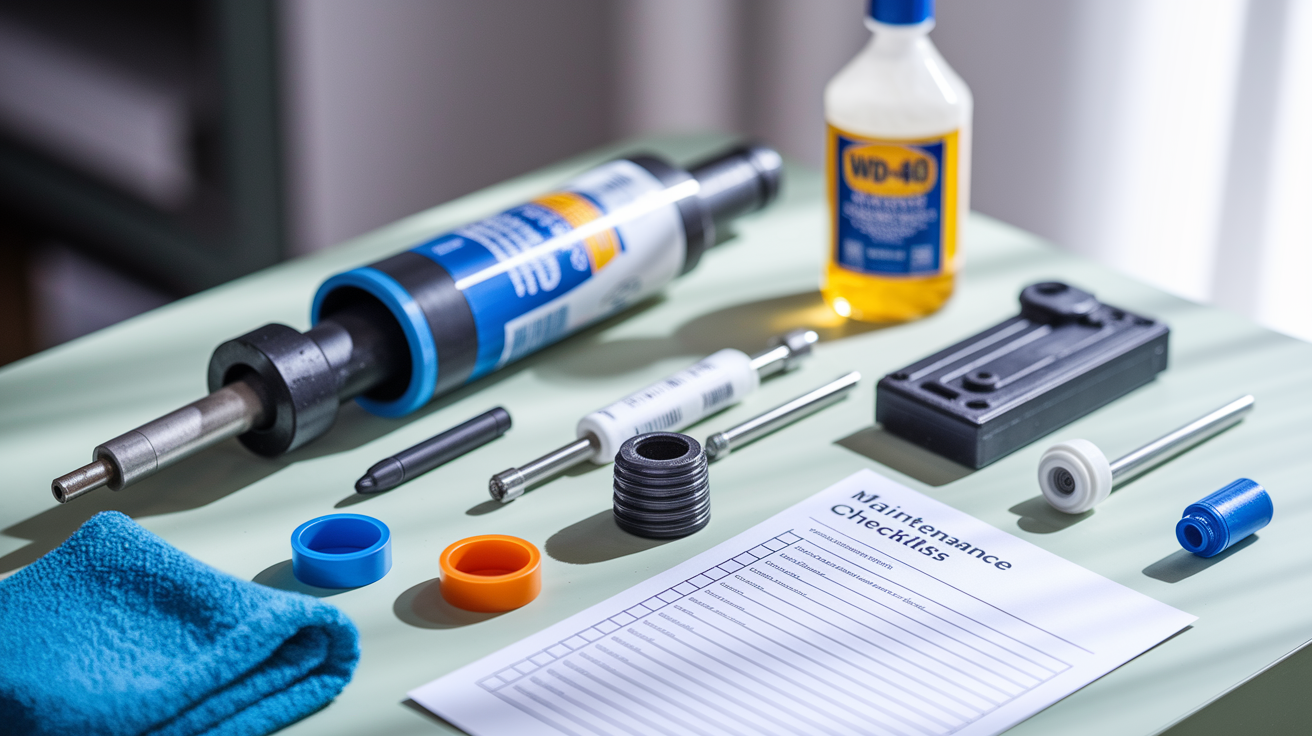
Regular cleaning and lubrication prevent most dripping problems before they start. A well maintained tool releases pressure smoothly and doesn’t fight you with stuck rods or seized mechanisms.
After every use, wipe the plunger rod with a damp cloth before you put the gun away. Dried caulk builds up in thin layers you might not notice at first, but after a few projects that buildup creates friction that prevents the rod from retracting cleanly when you hit the release. If the rod won’t slide back, pressure stays in the tube and dripping continues. For stubborn dried material, spray a little WD-40 on the cloth and wipe again. It breaks down cured caulk and silicone residue without damaging the metal rod.
Once a month, put a drop of light machine oil on the trigger mechanism and drive plate. These moving parts experience constant friction every time you squeeze and release. Without lubrication, springs get stiff and drive plates wear down until they can’t release smoothly. Just one drop on each pivot point keeps everything moving the way it should. Too much oil attracts dust and gunk, so don’t overdo it.
Proper cartridge storage between uses prevents internal pressure changes that cause oozing. Replace the nozzle cap immediately after you finish. Every single time, even if you’re just taking a break. Exposure to air starts the curing process at the tip, which creates a plug that increases back pressure during your next use. That extra resistance makes dripping worse.
Maintenance tasks that reduce dripping issues:
- Wipe rod with damp cloth after use. Prevents dried caulk from creating friction during retraction.
- Apply light oil to trigger mechanism monthly. Keeps springs and pivots moving smoothly for clean release action.
- Replace nozzle caps immediately. Stops air exposure that causes tip curing and pressure imbalance.
- Store cartridges upright with sealed tips. Gravity pulls material away from the nozzle when stored properly.
- Inspect the drive plate for wear. Look for smooth spots or cracks that indicate the plate can’t grip the rod anymore.
A well maintained gun gives you better pressure control because all the mechanisms work as designed. When everything moves freely and releases cleanly, you get fewer unexpected drips and more consistent material flow.
Comparing Standard Versus Dripless Caulk Gun Performance
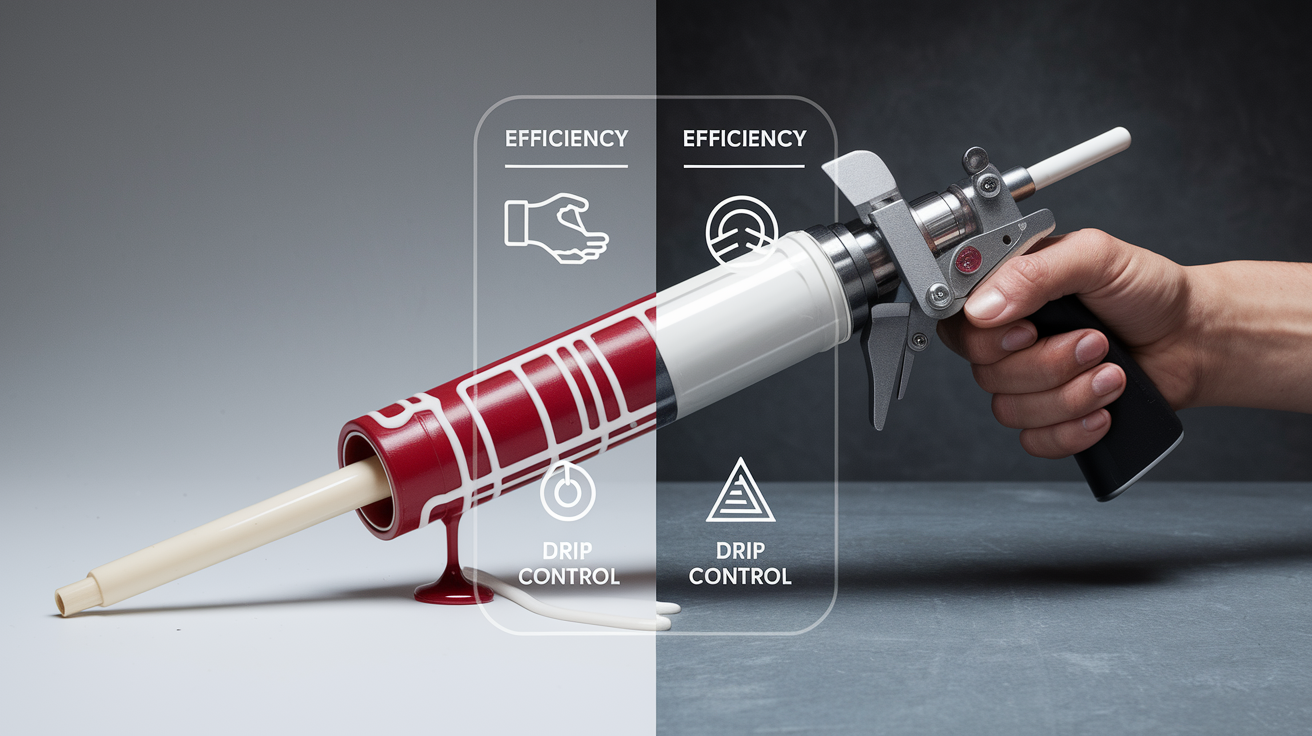
There’s a trade off between constant smooth flow and complete drip control. You gain one, you give up some of the other. Understanding the efficiency difference helps you choose the right tool for each project.
Dripless guns waste the first quarter to third of each trigger stroke. Every time you squeeze, the mechanism has to release from its retracted position, re-engage the plunger, and rebuild pressure in the tube before new material starts flowing out the nozzle. That wasted motion adds up fast if you’re doing continuous beadwork. You’ll squeeze more times to cover the same distance compared to a standard gun that maintains constant pressure.
Standard continuous flow guns keep pressure on the plunger between strokes. Force doesn’t drop to zero pounds when you release the trigger. It stays partially loaded. That means your next squeeze immediately pushes more material instead of spending part of the stroke just re-pressurizing. Standard drive systems exert force over a greater distance interval per pump, so you get more caulk per squeeze and smoother, more consistent beads on long runs.
| Gun Type | Best For | Drip Control | Efficiency |
|---|---|---|---|
| Dripless manual | Small gaps, nail holes, frequent stops | Excellent, auto retraction prevents flow | Lower, loses first quarter of each stroke repressurizing |
| Standard smooth rod | Long joints, continuous beads, tub surrounds | Poor, requires manual release and quick action | Higher, maintains pressure between strokes |
| Ratchet style | Precision work, vertical applications, overhead sealing | Good, incremental advancement limits pressure buildup | Moderate, controlled flow but slower overall |
Choose based on what kind of bead you’re laying. If you’re doing long smooth joints with many continuous pumps, baseboards, bathtub edges, window perimeters, a standard continuous flow gun works better despite the dripping. Just press the release plate with your thumb when you finish the run. If you’re filling small cracks that only need one or two pumps per spot, a dripless model keeps things clean without the constant manual pressure release.
Professional grade features make the biggest difference in precision control and durability. Better springs return faster and more reliably. Machined drive plates grip the rod more evenly. Adjustable thrust settings let you match the gun’s power to the material thickness. Cheap models skip these features, which means more hand fatigue, inconsistent pressure release, and faster wear on the mechanism. That directly affects how well the gun prevents dripping over time.
When Caulk Gun Dripping Signals Replacement Time
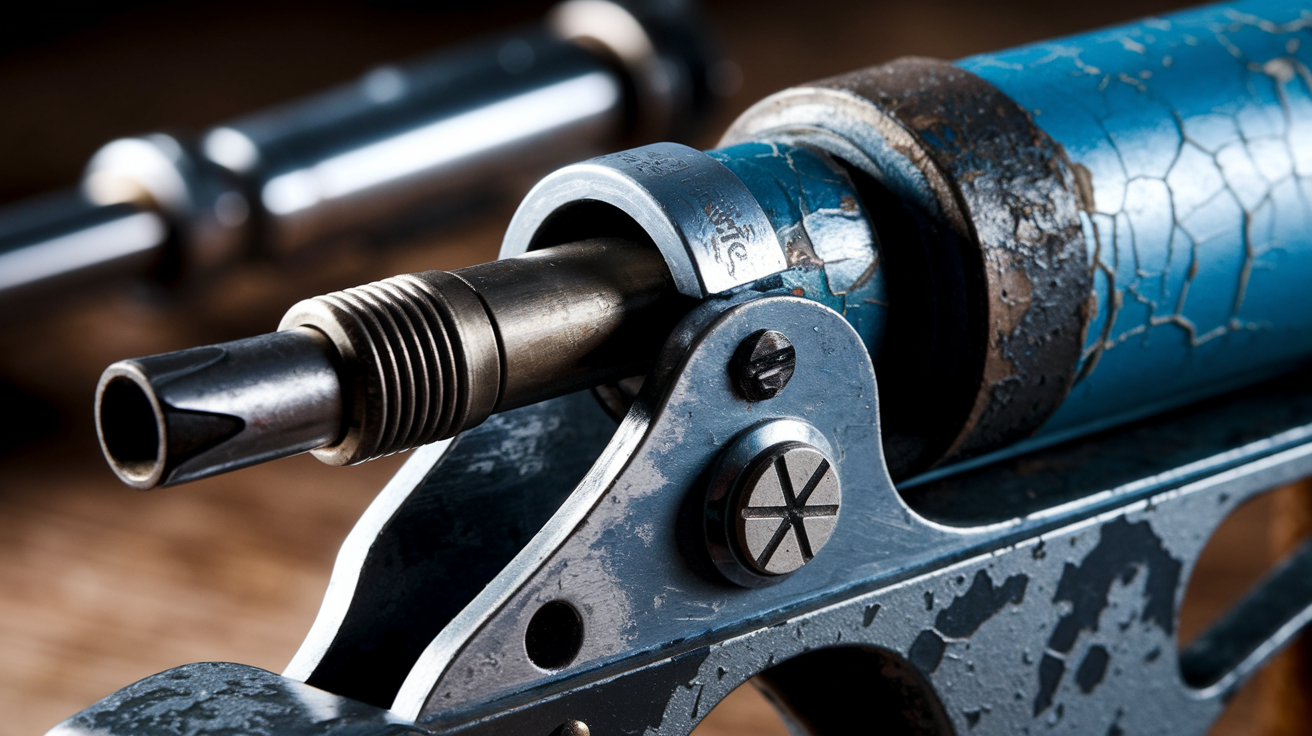
Some dripping problems can’t be fixed with cleaning or technique adjustments. When core mechanical parts fail, you’re better off replacing the tool than trying to repair it in your garage.
Replacement becomes necessary when you see these failures. A worn drive plate that no longer engages the rod properly will slip during use and won’t retract cleanly when you hit release. You’ll feel it spinning or skipping instead of gripping. A bent or damaged plunger rod won’t slide smoothly through the frame, which prevents clean pressure release even on guns with automatic retraction. A broken release mechanism that doesn’t spring back or physically move when pressed means you have no way to stop pressure buildup. A cracked frame allows pressure to bypass the intended path, so material flow becomes unpredictable no matter what you do. Stripped threads where the nozzle attaches create leaks that look like dripping but are actually cartridge failure, not gun failure.
Upgrade considerations that reduce future dripping issues:
- Moving from plastic to metal construction. Metal frames don’t flex under pressure, which maintains consistent force and cleaner release action.
- Adding adjustable thrust ratios. Lets you dial down force for thin materials so you’re not overbuilding pressure that causes drips.
- Selecting guns with better anti-drip systems. Modern clutch mechanisms and instant release valves outperform basic spring loaded designs.
- Choosing models with replaceable parts. When the drive plate wears out, you replace a five dollar part instead of a forty dollar gun.
A cheap plastic caulk gun typically lasts through five to ten cartridges before something breaks or wears out. Mid range metal frame guns handle fifty to a hundred tubes if you maintain them. Professional grade tools with replaceable components can last years of daily use. If you’re only caulking a bathroom once every few years, the cheap gun works fine. If you’re sealing windows in a whole house or doing regular maintenance, the cost per project drops fast with a better tool.
When repair costs approach half the price of a new gun, replacement makes more financial sense. A worn drive plate might be replaceable for eight dollars, but if you also need a new spring and the frame is cracking, you’re spending twenty five dollars to fix a thirty dollar gun. At that point, upgrading to a better model gives you improved features for a few dollars more.
Material Selection Impact on Caulk Gun Dripping
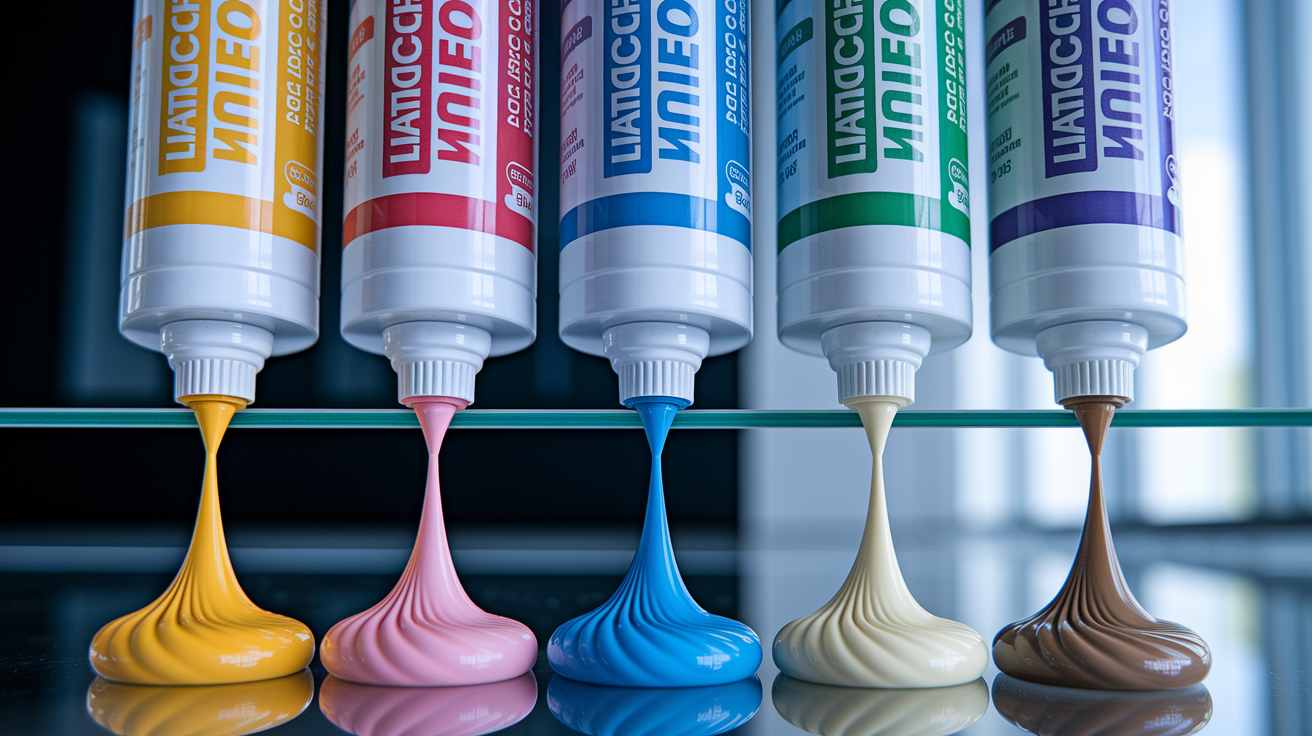
The caulk formula you load into the gun affects dripping behavior as much as the gun design itself. Different materials hold pressure differently and flow at different rates after you stop squeezing.
Viscosity is how easily the material flows. Thick construction adhesive doesn’t drip much because it barely moves on its own. It needs constant pressure to keep flowing. Thin latex caulk drips readily because it keeps sliding forward even after you release the trigger. Silicone sealant sits in the middle. It’s thick enough to hold its shape but still fluid enough to ooze slowly when pressure drops.
Temperature changes viscosity dramatically, especially in high viscosity sealants. Cold material becomes stiffer and harder to push, which means you build up more pressure during application just to get material flowing. When you finally release the trigger, all that stored pressure takes longer to dissipate, which extends the dripping period. A tube of silicone that sat in your garage overnight in winter will drip more than the same formula at room temperature. If your caulk feels hard to squeeze, let it warm up indoors for an hour before starting.
Materials ranked from most to least likely to drip:
- Thin latex. Flows easily, low viscosity, continues moving for several seconds after trigger release.
- Silicone sealants. Moderate viscosity but stays slippery, oozes slowly for 5 to 10 seconds.
- Acrylic caulks. Thicker body, moderate flow, usually stops within 3 to 5 seconds.
- Adhesive caulks. High viscosity, resists flow, minimal dripping after release.
- Thick construction adhesives. Very high viscosity, barely flows without pressure, almost no post use drip.
Match your gun’s features to the material’s flow characteristics. If you’re using thin latex on a standard continuous flow gun, you need immediate manual pressure release or you’ll get significant waste. That same gun works great with thick adhesive because the material stops flowing on its own. A dripless gun wastes less motion when you’re working with silicone that naturally wants to keep oozing.
Material viscosity also determines how much you waste and how messy cleanup becomes. Thick materials stay where they land. Easy to wipe up before they spread. Thin formulas run and drip onto surfaces below the work area, which means more masking and more cleanup time.
Application Techniques That Minimize Caulk Gun Dripping
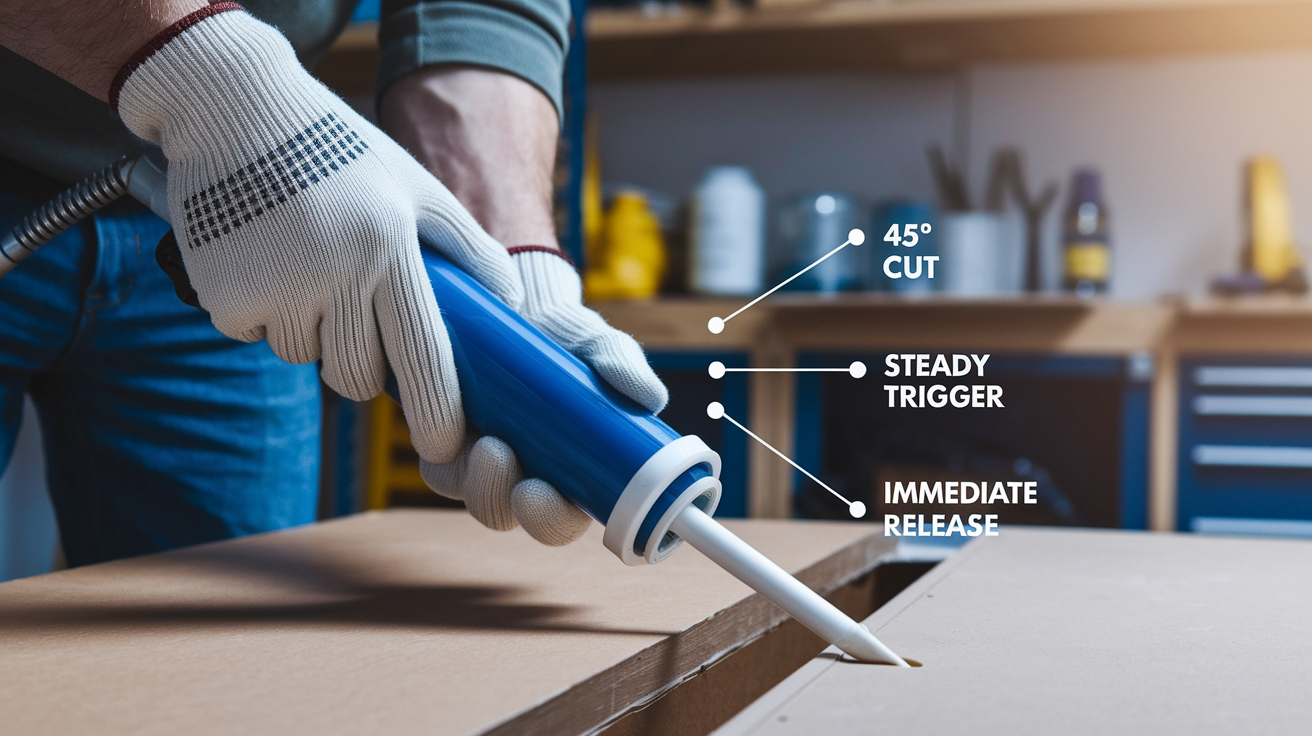
How you operate the gun changes how much pressure builds up and how long dripping continues after you stop. Good technique reduces waste and mess regardless of whether you’re using a dripless model or standard frame gun.
Proper cartridge installation starts everything off right. Make sure the seal is completely punctured. If you only poke a small hole, back pressure increases and the tube drips more after use because the material is trying to escape a restricted opening. The plunger rod must be fully retracted by holding down the release catch before you insert the cartridge, otherwise the plunger doesn’t seat flush against the tube base and you get air gaps that compress and expand during use.
Cut the nozzle at a 45 degree angle using the built in cutter on the gun or a sharp utility knife. The angled cut makes application easier because you can see exactly where the bead is landing. Larger holes dispense more product per squeeze, which means you build up pressure faster but also finish the job with fewer pumps. Smaller holes give you more control but require more sustained pressure that takes longer to dissipate. Match the hole size to the gap you’re filling. Don’t cut a half inch opening if you’re only sealing a quarter inch crack.
Trigger control affects pressure buildup directly. Smooth, steady squeezes build pressure gradually and keep material flowing at a consistent rate. Quick hard pumps spike the pressure suddenly, which forces more material into the nozzle than can escape immediately. That trapped material keeps flowing after you stop. If you can feel resistance when you first squeeze, that’s normal. The trigger must be squeezed multiple times until resistance is felt to engage the plunger before material starts moving.
Follow these steps for drip minimizing technique:
- Proper cartridge seating. Ensure tube base is flush against plunger with no air gaps or misalignment.
- Appropriate nozzle hole size for material. Match opening diameter to gap width and material viscosity.
- Steady trigger pressure. Avoid quick spikes that create sudden pressure surges.
- Controlled movement speed. Move the gun at the same rate material is flowing out.
- Immediate pressure release when stopping. Hit the release mechanism the instant you finish, not three seconds later.
Common beginner mistakes increase dripping. Cutting the nozzle too large for the gap wastes material and creates excess pressure. Squeezing too fast builds up force faster than the material can flow out smoothly. Moving the gun too slowly causes material to pile up at the tip and drip. Forgetting to hit the release immediately means pressure stays loaded while you admire your work, causing a blob to drop right where you just finished.
Professionals manage continuous application by keeping steady rhythm and using the thumb release technique without fully stopping between sections. Instead of pumping hard then completely releasing, they maintain partial pressure and use smaller strokes. When they reach the end of a run, they press the recoil plate and wipe the nozzle in one smooth motion. No pause, no drip, no wasted material.
Advanced Gun Features That Eliminate Dripping Issues
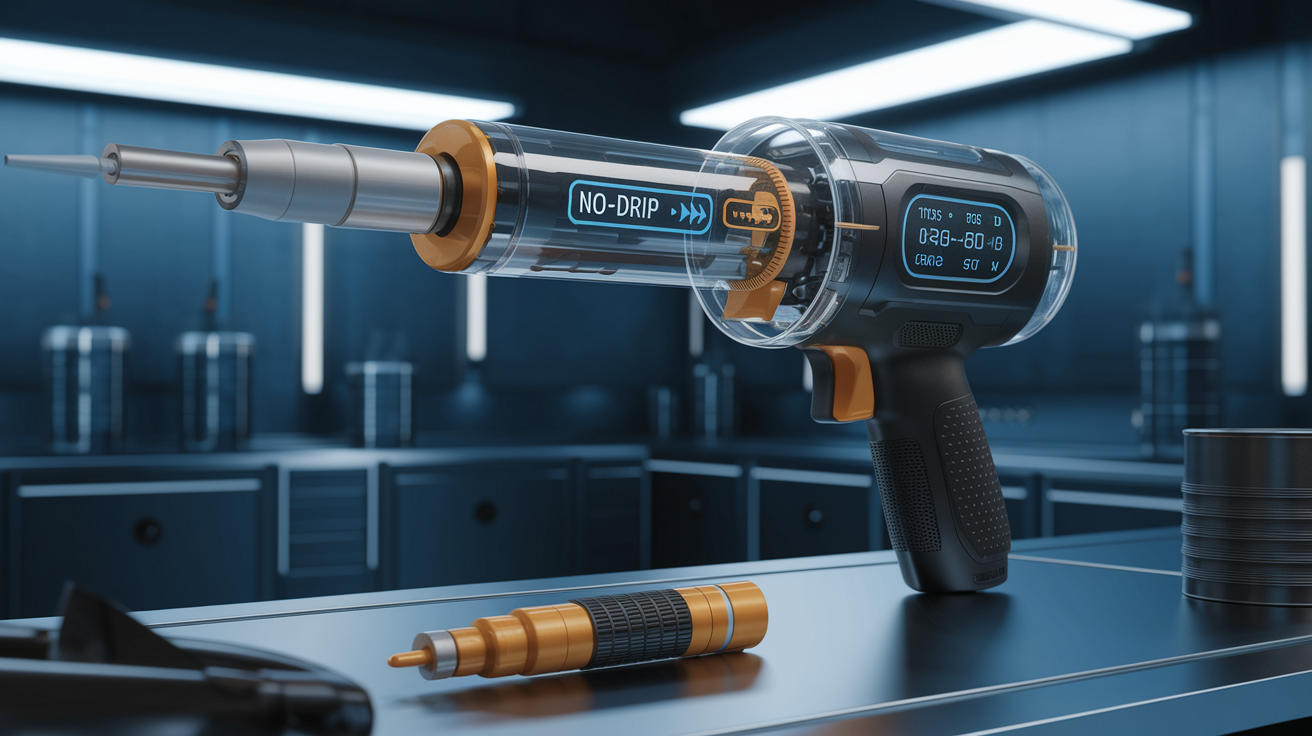
Premium caulk guns include design features that give you better control over pressure buildup and release. If you’re dealing with persistent dripping even after fixing technique and maintenance, these features might solve the problem mechanically.
Adjustable thrust ratios let you match the gun’s power to the material thickness. High thrust ratio caulking guns at 18:1 or 26:1 multiply the force from your hand squeeze, which reduces hand fatigue when working with cold or thick materials. But you can also dial them down for thin materials so you’re not generating excessive pressure that causes dripping. The ratio refers to how much force the gun applies for each pound of squeeze. At 18:1, a five pound hand squeeze creates ninety pounds of tube pressure.
Optional no-drip modes in deluxe drive models like the DL-45 and DL-59 let you switch between continuous flow and anti-drip operation. You activate the no-drip mode by hooking the recoil mechanism into a locked position. Now the gun behaves like a dripless model. Plunger retracts slightly after each stroke. When you need continuous flow for a long bead, unhook the recoil and the gun maintains pressure between pumps. This gives you both efficiency and control in one tool depending on what the application requires.
Advanced anti-drip features found in professional grade models:
- Variable thrust settings. Adjust pressure multiplication from 10:1 for thin latex up to 26:1 for thick adhesive.
- Instant pressure relief valves. Mechanical release activates faster than spring loaded plunger retraction.
- Ergonomic triggers with fine control. Gradual engagement prevents pressure spikes from quick squeezes.
- Auto stop mechanisms. Detect when material stops flowing and immediately cut pressure.
- Reversible motors in cordless models. Motor spins backward the instant you release, retracting plunger in under a second.
- Exhaust systems in pneumatic guns. Compressed air vents completely when trigger releases, dropping force to zero instantly.
The cost benefit calculation changes based on how often you use the tool. If you caulk every few months, a fifteen dollar basic gun works fine and you manually release pressure after each use. If you’re sealing multiple rooms or doing exterior work a few times per year, a forty dollar gun with a good anti-drip mechanism saves time and material. If you’re a contractor running through a dozen tubes per week, a hundred dollar pneumatic or cordless gun with instant pressure release pays for itself in labor savings and reduced waste within a month.
Contractors typically choose pneumatic guns for production work or cordless models with brushless motors. Pneumatic options deliver instant pressure release through exhaust ports the moment the trigger releases. No dripping, no manual action needed. The air cylinder exhausts completely, so force drops to zero. Cordless guns with reversible motors work nearly as fast because the motor can spin backward and pull the plunger in less than a second. Tool quality determines the availability of features like auto stop and adjustable thrust that prevent problems before they start. Professional grade caulking guns offer better precision, durability, and mess prevention compared to cheap models.
Safety and Workspace Management for Dripping Caulk Guns
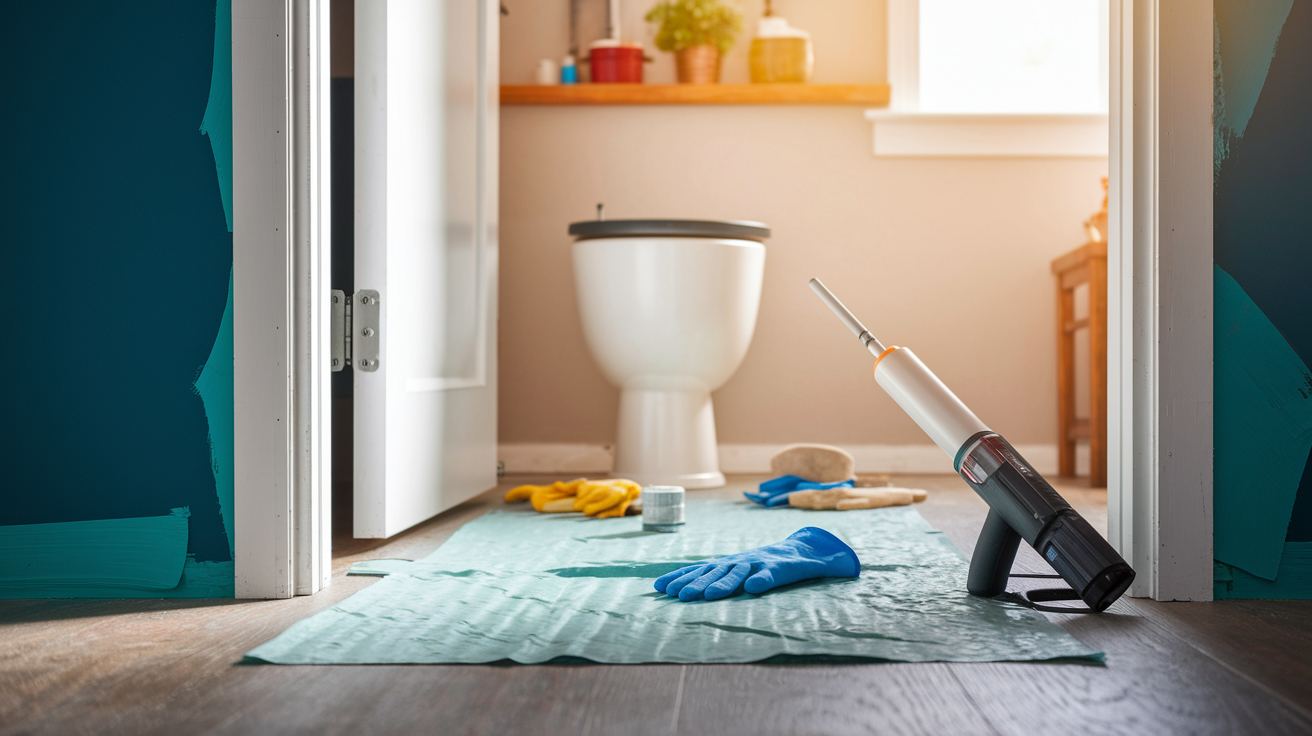
Uncontrolled dripping creates slip hazards and surface damage beyond just looking messy. Proper workspace preparation and safety practices prevent accidents and protect finished materials around the application area.
Drips on smooth flooring become slip hazards within seconds as people walk through without noticing the small bead. Silicone and latex caulk are slippery when fresh, and both cure into materials that bond strongly to most surfaces. If caulk drips onto tile, hardwood, or laminate and sits for even fifteen minutes, removal might pull up finish or leave a stain. Managing drips protects your work area and prevents extra repair work later.
Before you load a cartridge, protect surrounding surfaces with masking tape and drop cloths. Run painter’s tape along edges where you’re not applying caulk. Cabinet faces, countertop edges, wall paint adjacent to trim. This catches accidental drips and gives you a clean line when you peel the tape after the material skins over. Drop cloths or plastic sheeting on the floor below your work area catch any material that oozes out after you stop squeezing. Even with good technique, the occasional drip escapes. Better to land on a cloth you’ll throw away than permanent flooring.
When unexpected drips happen, immediate cleanup prevents permanent marks. Keep a damp rag within reach so you can wipe fresh caulk before it starts to cure. Silicone requires mineral spirits or denatured alcohol for cleanup once it begins setting. Latex cleans with plain water for about five minutes after application, then needs scraping. If a drip lands on a finished surface, blot it immediately with the damp rag. Don’t wipe it in a smearing motion that spreads the material into a thin film.
Safety considerations when working with dripping caulk:
- Wearing gloves to handle fresh caulk. Prevents skin irritation from chemicals in uncured sealants and makes cleanup easier.
- Ensuring adequate ventilation for fumes. Silicone and some acrylic formulas release vapors during curing that cause headaches in enclosed spaces.
- Keeping cleanup supplies accessible. Damp rags, mineral spirits, and paper towels should be within arm’s reach during application.
- Protecting finished surfaces from accidental drips. Masking tape, drop cloths, and plastic sheeting prevent damage from uncontrolled material flow.
- Proper cartridge puncturing technique. Use the gun’s built in puncture tool rather than knives or screwdrivers that can slip and cause injury.
Bathrooms present specific drip challenges because you’re often working overhead or in tight corners where it’s hard to position yourself. Caulking a tub surround means sealing vertical joints where gravity pulls any drips straight down onto the tub surface or your arms. Work from top to bottom when possible so drips land on areas you haven’t sealed yet. Wipe the tub edge with a damp cloth before material cures into a permanent blob. Kitchen projects around sinks and countertops have similar issues. Backsplash seams are often at eye level where drips fall onto counters or into sink basins. Place a paper towel or rag directly below the work area to catch material before it reaches finished surfaces.
Window sealing outdoors means dealing with wind that can blow fresh drips onto siding or glass before you notice. Check wind conditions before starting exterior caulk work. Even light breezes move uncured beads around. Apply material on the downwind side first so subsequent beads don’t drip onto completed sections. If a drip lands on glass, let it skin over for five minutes, then carefully peel it off rather than smearing it while still wet.
Cleanup depends on the surface and material type. Fresh latex wipes clean with water on most non-porous surfaces like tile, metal, and sealed wood. Porous materials like unfinished wood or drywall absorb latex quickly. You need to blot immediately before it soaks in. Silicone doesn’t absorb but bonds aggressively, so removal from porous surfaces often requires scraping with a plastic putty knife after it cures. For painted surfaces, test your cleanup method on an inconspicuous area first since some solvents can damage paint finishes.
Final Words
Caulk gun dripping after use is manageable once you understand the pressure mechanics and material properties at play.
Pull back that plunger rod immediately after each bead, wipe the nozzle clean, and replace the cap. If standard guns frustrate you, a dripless model trades a bit of efficiency for zero-drip control.
Regular cleaning and matching your gun type to the project keeps waste down and your workspace cleaner.
You’ve got this.
FAQ
How do you keep a caulk gun from dripping?
You keep a caulk gun from dripping by pressing the release trigger or pulling back the plunger rod immediately after finishing each bead, which releases the built-up pressure inside the tube and stops material flow.
How do you stop caulking from leaking after you’re done?
You stop caulking from leaking after you’re done by releasing the pressure in the cartridge through the gun’s release mechanism, then wiping the nozzle clean and replacing the cap to seal the tip completely.
What makes a caulking gun drip-free?
A caulking gun is drip-free when it has an automatic pressure release mechanism that retracts the plunger slightly when you release the trigger, preventing residual tube pressure from pushing out more material after you stop.
What are common caulk gun problems?
Common caulk gun problems include continued dripping after trigger release, stuck plunger rods from dried caulk buildup, worn drive plates that don’t engage properly, and inconsistent material flow from air pockets or improper cartridge seating.
Why does my caulk gun drip even after releasing the trigger?
Your caulk gun drips even after releasing the trigger because pressure remains trapped in the tube from squeezing, and the material’s natural viscosity and compressibility cause it to continue flowing until that pressure equalizes.
Do all cordless caulk guns have anti-drip features?
All cordless caulk guns have anti-drip features because their motors automatically reverse slightly when you release the trigger, pulling back the plunger and eliminating pressure that would otherwise cause dripping.
What is the foil hack for preventing caulk gun drips?
The foil hack for preventing caulk gun drips involves puncturing the cartridge base with scissors or a utility knife, then placing a small aluminum foil circle between the base and plunger to catch escaping material and completely release pressure.
When should I use a dripless caulk gun instead of a standard one?
You should use a dripless caulk gun instead of a standard one when filling small cracks or gaps requiring only one to two pumps per spot, where frequent stopping and starting would waste material with standard models.
How often should I clean my caulk gun to prevent dripping?
You should clean your caulk gun after each use by wiping the plunger rod with a damp cloth or WD-40 to prevent dried sealant buildup that interferes with smooth pressure release and causes the plunger to stick.
Does cold weather make caulk guns drip more?
Cold weather makes caulk guns drip differently by increasing material viscosity and resistance during application, which builds up more pressure in the cartridge that then releases slowly as post-application dripping once the material warms slightly.
What thrust ratio is best for preventing caulk gun dripping?
A thrust ratio of 18:1 or 26:1 is best for preventing caulk gun dripping because higher ratios give you finer pressure control with each trigger pull, reducing pressure spikes that lead to post-application flow.
Can I fix a caulk gun that keeps dripping or should I replace it?
You can fix a caulk gun that keeps dripping by cleaning the rod and lubricating moving parts, but you should replace it if the drive plate is worn, the release mechanism is broken, or the frame is cracked.