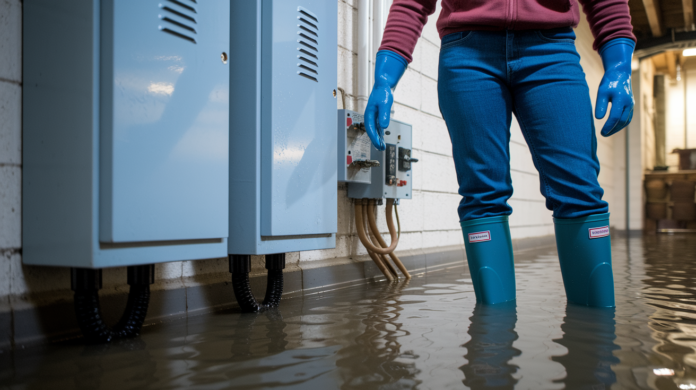

A flooded basement is one of those moments where doing nothing feels safe and doing something feels risky. Neither is actually safe, because standing water starts growing mold within 24 to 48 hours, and even shallow flooding can hide electrical hazards or structural damage you can’t see. The first hour after you discover the flood determines whether you’re looking at a cleanup project or a total loss. This checklist walks you through the safety checks, water removal techniques, and documentation steps that protect your home and your insurance claim while you dry out and recover fast.
Immediate Safety and Water Stopping Actions
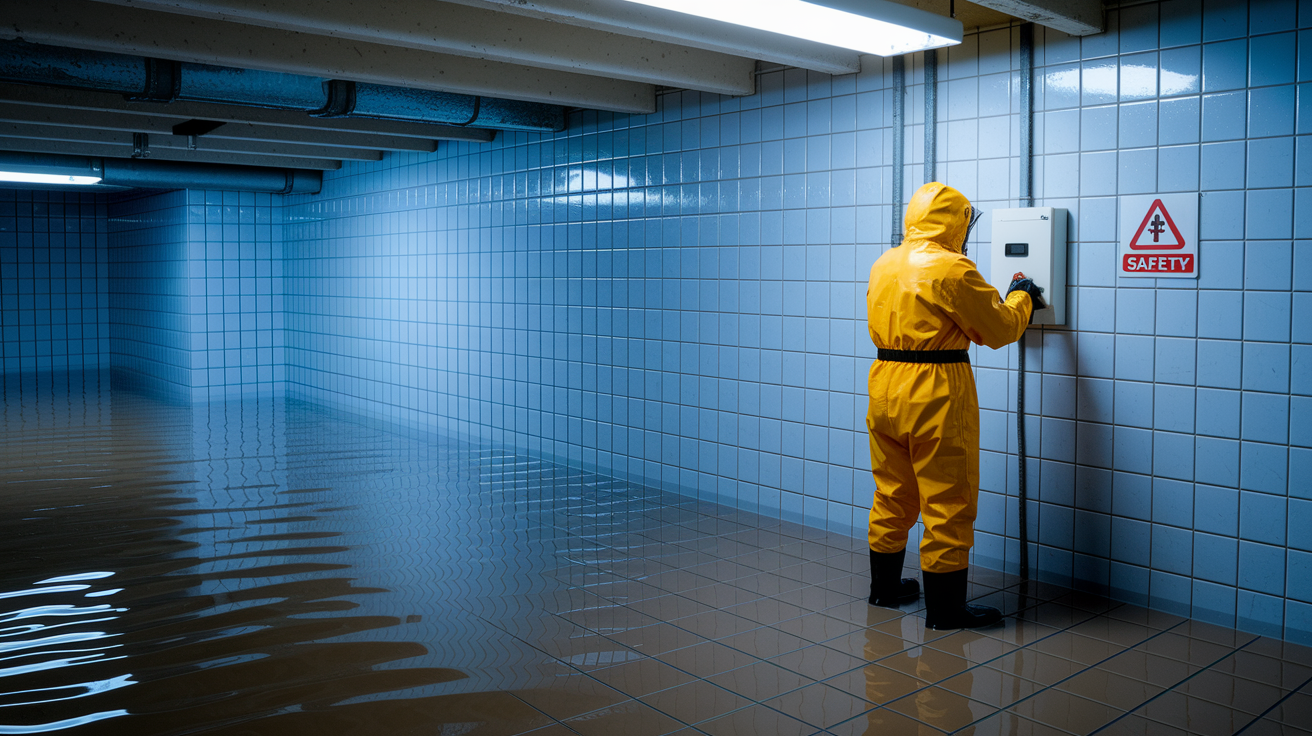
Basement flood response means handling two urgent problems at once: keeping yourself safe and stopping more water from coming in. You can’t skip one to focus on the other. Both matter right now.
Before you step into that basement, stand somewhere completely dry and flip the main breaker to cut all power to the flooded area. Water conducts electricity through everything it touches: floor drains, metal pipes, furnace casings, even concrete with enough moisture. If you’re standing in water when you touch a switch or doorknob, you risk electrocution from water energized metal surfaces. The breaker panel itself needs to stay dry, so if it’s in the flooded basement, call an electrician before entering. Don’t assume low water means low risk. Even a few inches can create deadly conditions if electrical current finds a path through standing water to your body.
Once power’s confirmed off, complete these safety actions before attempting any cleanup:
- Stand outside or upstairs and check for natural gas odor (smells like rotten eggs). If you smell it, leave immediately, call the gas company and fire department from a safe distance, and don’t re-enter, flip switches, or light matches.
- Gather personal protective equipment appropriate for the water contamination category. At minimum, waterproof rubber boots and waterproof gloves. For gray or black water, add respiratory protection.
- Call your insurance company before touching anything in the basement to report the flood and ask about documentation requirements.
- Prepare emergency contact numbers for electrician, plumber, and restoration company in case you discover conditions beyond DIY capability.
- Walk around the exterior foundation and look for visible cracks, bulging walls, or separation between foundation and framing that might indicate structural instability requiring professional shoring before entry.
- Confirm water levels have stopped rising and ideally have begun falling naturally before entering, since active flooding makes source identification harder and increases contamination risk.
Water contamination determines how much protection you need. The IICRC S500 standard classifies flood water into three categories. Category 1 (clean water from supply lines or rainwater) poses the least health risk initially but can degrade to Category 2 within 24 to 48 hours as bacteria multiply. Category 2 (gray water from washing machines, dishwashers, or toilet overflow without feces) contains bacteria and requires gloves and boots. Category 3 (black water from sewage backups or prolonged standing water with significant contamination) demands full protective equipment including respirators, because it carries pathogens that cause serious illness through skin contact or breathing airborne particles.
You can’t start real cleanup until you stop the source of water entry. Even if you pump out standing water, ongoing flow will refill the space and extend damage. Locate where water’s entering and take immediate action to stop it, but only if you can do so safely without restoring power or entering hazardous conditions. Some sources you can address yourself within minutes. Others need professional help before you proceed.
| Flooding Source | Identification Signs | Immediate Stopping Action | Safety Notes |
|---|---|---|---|
| Sump pump failure | Pit overflowing, pump silent or making clicking sounds, standing water near sump location | Check if pump unplugged or tripped breaker; if pump failed mechanically, rent backup pump or call plumber for replacement | Never reach into water filled sump pit without confirming power is off |
| Burst pipes | Water spraying from pipe, ceiling stains directly above plumbing, wet drywall along wall cavities containing supply lines | Shut main water valve immediately, usually located near water meter or where main line enters home | If main valve location unknown or inaccessible due to flooding, call emergency plumber |
| Water heater leak | Pooling directly under water heater tank, rust or corrosion visible on tank bottom, hissing sounds | Turn off water supply valve on cold water inlet pipe at top of tank, turn off power at breaker or gas supply | If leak is active spray rather than slow drip, shut main water supply first |
| Foundation cracks | Water seeping through floor wall joint or visible cracks, often worse during or after heavy rain, damp spots following crack lines | Cannot stop immediately; water will enter until groundwater recedes naturally, focus on extraction and future waterproofing | Monitor crack width; widening during flood suggests hydrostatic pressure issues requiring structural evaluation |
| Sewer backup | Dark water with sewage odor, water entering through floor drains, toilet overflow, backed up water when running any drain | Stop using all water in home immediately; call city to check municipal line blockage, or plumber for private line issues | Category 3 black water requires full protective equipment, professional cleanup often mandatory |
| Storm drain overflow | Water entering during heavy rain through window wells or exterior walls, subsides when rain stops | Improve exterior grading and drainage; during active flooding, sandbag exterior openings if possible | Check if municipal storm system overwhelmed; if so, water intrusion will continue until storm passes |
| Appliance malfunction | Water pooling near washing machine, dishwasher, or utility sink; visible leak from supply hose or drain connection | Close appliance specific shutoff valve on supply line; if unavailable, close main water supply | Appliance leaks often start as Category 1 but become Category 2 quickly as they contact drain water residue |
| Groundwater seepage | Damp walls, floor moisture without obvious source, worse after prolonged rain or snowmelt, water table risen above basement floor level | No immediate stop possible; water enters through porous concrete until water table drops naturally | Indicates inadequate exterior drainage or missing or failed waterproofing; extraction must proceed despite ongoing seepage |
Documentation Photos and Insurance Claim Preparation

Call your insurance company before you move a single item or start pumping water. Tell them you’ve got basement flooding and ask what their documentation requirements are. Some insurers send adjusters within hours. Others want you to document everything yourself before cleanup begins. Getting this wrong can cost you thousands in denied claims or reduced payouts because you disposed of evidence before the adjuster verified the damage.
Take these specific photos and records before touching anything:
- Water depth measured with a ruler or tape measure held against the wall, showing measurement clearly in frame
- Every wall surface that contacted water, photographed from multiple angles to show full extent
- Each damaged item with brand labels, serial numbers, or model information visible when possible
- Foundation cracks, with a coin or ruler in frame for scale reference
- Electrical outlets, panels, and appliances that were submerged or contacted water
- HVAC system components including furnace, water heater, and ductwork if water reached them
- Ceiling stains or damage above the flooded area indicating potential hidden moisture
- Close up shots of all flooring types showing water lines, warping, or delamination
- Video walkthrough of entire basement showing spatial relationships and overall scope of damage
Professional restoration companies document everything with moisture meters, thermal imaging cameras, and detailed written reports that insurance adjusters trust. Their readings show exactly how wet materials are, where hidden moisture hides, and what needs replacing versus what can dry in place. This documentation often speeds up claim processing because adjusters don’t have to make site visits or question your damage estimates. If you’re overwhelmed or the damage is extensive, calling a restoration company for documentation alone might be worth the service fee even if you do the cleanup yourself.
Safe Water Extraction Methods and Equipment
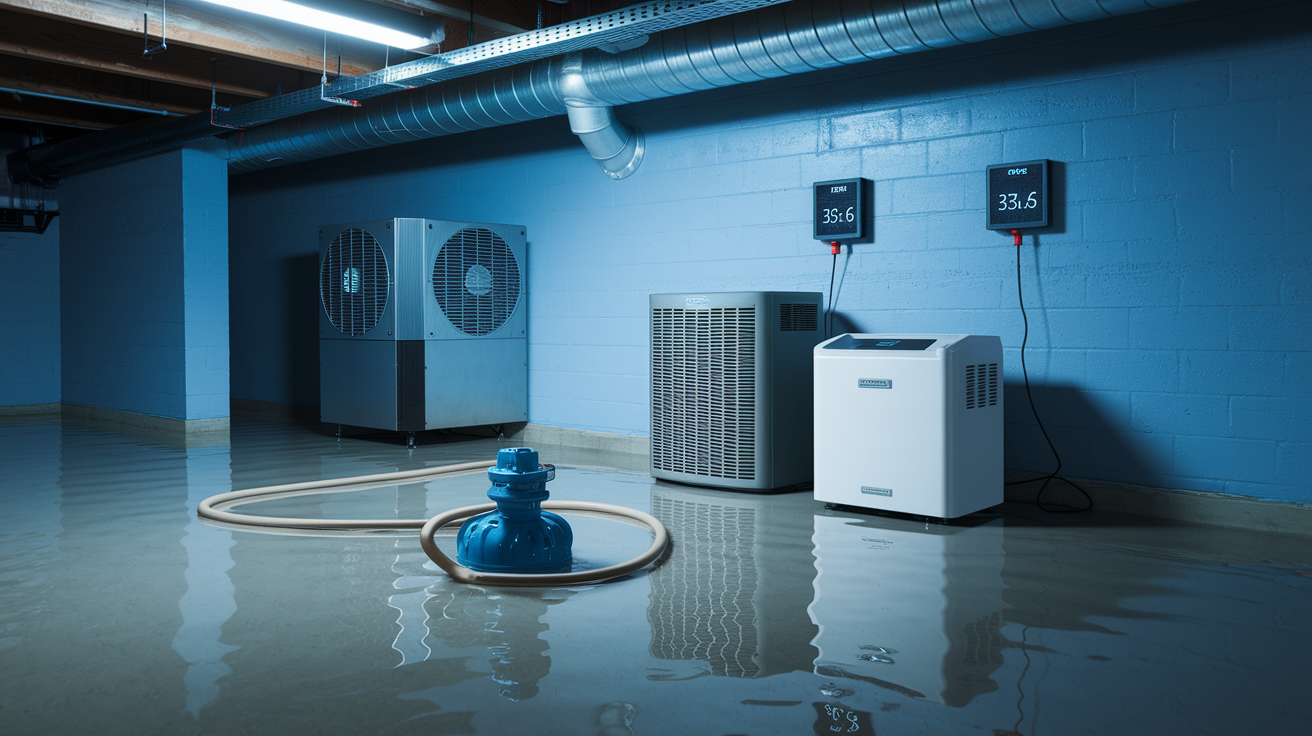
Mold starts growing within 24 to 48 hours of flooding. You need standing water out fast. But there’s a critical safety rule: remove only about one third of the water per day.
Sounds backward, but here’s why. If your basement filled with water, the soil outside your foundation walls is completely saturated and pushing inward with significant force (hydrostatic pressure). The water inside your basement is pushing back outward, creating a balance. Pump out all the water at once, and suddenly that exterior pressure has nothing resisting it. Foundation walls can bow inward, crack, or even collapse. Remove roughly one third each day, giving outside soil time to drain and reducing that exterior pressure gradually as interior water drops. If you’ve got only a few inches of water, this rule matters less. If you’ve got several feet, it might save your foundation.
For deep standing water (more than a few inches), rent a submersible pump. These sit underwater and pump continuously into a discharge hose you’ll run outside or into a floor drain if it’s draining properly. For shallow water (under 4 inches), a wet dry vacuum works better. You’ll fill it, dump it, and repeat. For minimal puddling after the bulk is out, mops and buckets finish the job. If your sump pump failed and you’re renting equipment anyway, consider renting a backup sump pump to place in the pit while you repair or replace your permanent pump. This handles ongoing groundwater seepage while you extract the flood water.
Before you dump contaminated water anywhere, check local rules. Many municipalities prohibit dumping gray or black water into storm drains because it flows directly into streams and lakes without treatment. Sewage contaminated water must go into a sanitary sewer connection (like a toilet or laundry drain that connects to the sewer line), or you’ll need a professional to haul it away. Clean rainwater from a burst pipe usually can discharge to storm drains or outside away from the foundation, but confirm first.
Material Assessment, Salvage, and Disposal Requirements

Get items out of the flood zone fast, but don’t waste effort trying to save things that can’t be saved. Porous materials act like sponges. They absorb contaminated water deep into their structure where you can’t clean it out. The bacteria, mold spores, and chemical contaminants stay trapped inside even after the surface dries. Your contamination category (clean, gray, or black water) changes what’s worth saving. Clean water from a supply line gives you more salvage options. Black water from sewage backup means almost everything porous gets tossed.
| Item Type | Salvageable | Disposal Required | Cleaning Method |
|---|---|---|---|
| Solid wood furniture | Usually yes if not delaminating or swollen beyond recognition | Particle board, MDF, or laminate furniture that swelled or delaminated | Wash with hot water and detergent, disinfect with bleach solution, dry completely in sun or with fans |
| Electronics and appliances | Maybe if never powered on after water contact and professionally dried and tested before use | Any that were running during flood or show visible internal water damage | Don’t attempt home cleaning. Qualified technician must disassemble, clean, dry, and test before safe to use |
| Paper documents and photos | Possibly if frozen immediately (within hours) and sent to document restoration specialist | Any left at room temperature more than a few hours, already showing mold or significant deterioration | Freeze in single layers separated by freezer paper, contact restoration service. DIY drying usually fails |
| Textiles (clothing, bedding, curtains) | Yes if machine washable and water was Category 1 or 2 | Anything contacted by Category 3 black water, dry clean only items, heavily soiled items | Machine wash in hot water with detergent, add 8 tablespoons bleach per gallon in rinse if fabric allows, dry in sun when possible |
| Food items | Commercially canned goods if thoroughly washed and disinfected with bleach solution | All non canned food, anything in cardboard or porous packaging, anything unrefrigerated over 6 hours, frozen food thawed over 4 hours | Remove labels from cans, wash in hot soapy water, sanitize in bleach solution, re label with permanent marker |
| Appliances (washers, dryers, freezers) | Sometimes if water didn’t enter mechanical or electrical components | If water entered motor, control panels, or insulation cavities | Qualified technician inspection required before operating. Many insurance policies cover replacement rather than repair |
| Mattresses and upholstered furniture | Rarely. Foam and padding trap water and contaminants too deep to clean | Nearly always, especially if water was Category 2 or 3 | If attempting salvage on lightly affected items from Category 1 water, wash covers in hot water with bleach, sun dry foam completely (takes days), discard if any odor remains |
Flooring decisions are trickier because you’re often looking at layers. Carpet padding must go every single time, even if the carpet on top looks okay. Here’s why: carpet padding is designed to be porous and cushioning. It absorbs water like a sponge, pulls it up through the carpet backing, and holds it against the subfloor underneath. The padding never fully dries in place because air can’t circulate through it adequately. Within 24 to 48 hours, mold starts growing in the damp padding and spreads upward into your carpet and downward into your subfloor. Even if your carpet looks clean after drying, you’ll smell mildew within weeks if that padding stayed in place. Carpet itself can sometimes be saved if it’s not glued down and you can pull it up, thoroughly clean the back and front with disinfectant, and dry it completely in the sun. But padding? Pull it out, roll it up, toss it.
| Flooring Type | Salvage Potential | Removal Required | Drying Considerations |
|---|---|---|---|
| Carpet with padding | Carpet maybe if cleaned quickly; padding never | All padding must go immediately; remove carpet if glued down or Category 3 water | Carpet must dry completely front and back within 48 hours or discard; check subfloor moisture after removal |
| Ceramic or porcelain tile | Usually yes if properly adhered | Remove if tiles are loose, cracked, or grout has widespread mold | Dry quickly to prevent mortar degradation underneath; check for hollow sounds indicating delamination after drying |
| Concrete slab | Yes, surface dries but takes time | Not removed but must fully dry before installing new flooring on top | Concrete is porous and holds moisture deep inside for weeks or months; use moisture meter to verify dryness before covering |
| Vinyl sheet or luxury vinyl plank | Usually yes if not glued down and water didn’t seep underneath | Remove if water penetrated seams, edges, or glued sections | Dry subfloor completely; vinyl itself dries fast but traps moisture underneath if not removed |
| Solid hardwood | Maybe if not cupped, crowned, or warped beyond sanding correction | Remove if water sat longer than 48 hours, wood shows significant swelling, or Category 3 water | Dry slowly with dehumidifiers to reduce cupping; fast drying causes cracking; may require professional sanding after drying |
| Laminate flooring | Rarely; swells and delaminates easily | Nearly always requires removal once water enters joints or soaks through | Laminate has particleboard core that swells permanently on water contact; if edges or seams show swelling, entire floor must go |
Anything you’re keeping needs thorough cleaning before it goes back into service. Wash salvageable items in hot water with laundry detergent. For disinfection, add bleach at a ratio of 8 tablespoons per gallon of water to rinse water, but only on fabrics or materials that can tolerate bleach without damage or color loss. Sun drying works better than mechanical dryers when possible because UV light helps kill remaining bacteria and the extended drying time ensures moisture fully evaporates from thick materials. For food safety, toss anything that was unrefrigerated for more than 6 hours or frozen food that thawed for more than 4 hours, even if it looks or smells okay. Bacteria multiply fast enough in that window to cause illness even when you can’t detect changes yet.
Structural Drying Techniques and Dehumidification
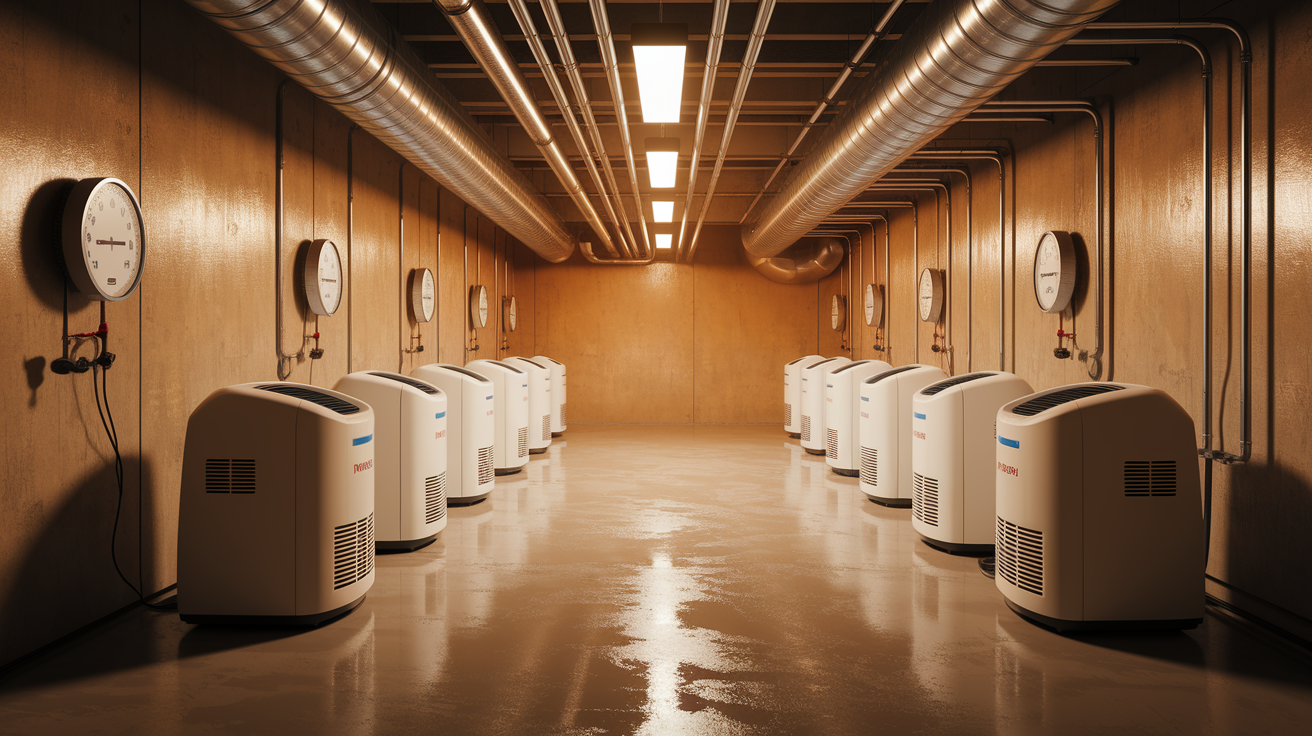
Opening windows and pointing a box fan at the wet area won’t get your basement dry enough. Basements stay naturally humid and cool, which means evaporation happens slowly. Air circulation from household fans just moves damp air around instead of removing moisture from materials. And open windows in humid weather can actually add moisture to the space rather than help dry it.
Essential Drying Equipment Setup
Proper structural drying uses three pieces of equipment working together: industrial dehumidifiers to extract moisture from the air, air movers (high velocity fans) positioned to create circulation across all wet surfaces, and supplemental heat to speed evaporation. The dehumidifier pulls water vapor out of the air and collects it in a tank or drain hose. As it removes humidity, wet materials release more moisture into the air, which the dehumidifier then pulls out, creating a cycle that continues until materials reach normal moisture content. Air movers don’t dry materials themselves, but they accelerate evaporation by constantly replacing the humid air directly against wet surfaces with drier air. Angle air movers so they blow across walls, under remaining furniture, and into corners. Don’t point them straight at a wall from six inches away. That just pushes air into one spot. Aim for circulation that reaches everywhere water touched.
Supplemental heat (from space heaters or turning up the furnace if it’s safe to use) raises air temperature, which increases how much water vapor the air can hold before it saturates, speeding up evaporation. You’re trying to maintain basement temperature around 75 to 80 degrees and relative humidity dropping steadily toward 30 to 50 percent. Too cold, and evaporation slows down. Too hot, and you risk warping wood or overworking the dehumidifier.
Track humidity levels with a hygrometer (humidity meter) and check moisture content in walls, subfloors, and remaining building materials with a moisture meter. Drywall, framing lumber, and subflooring should read below 15 percent moisture content before you consider them dry. Concrete takes longer. It’s porous and holds water deep inside even when the surface feels dry. Don’t cover concrete with new flooring until a moisture meter confirms it’s below 4 percent moisture content or you’ll trap dampness underneath and grow mold you can’t see. The 24 to 48 hour window isn’t just about preventing mold from starting. It’s about getting equipment running and stopping conditions that allow mold to colonize successfully. If you start drying within that window and keep conditions unfavorable for mold growth (dropping humidity, increasing temperature, improving air circulation), you dramatically reduce the chance of widespread contamination even if complete drying takes a week.
Sanitization Procedures and Disinfectant Application
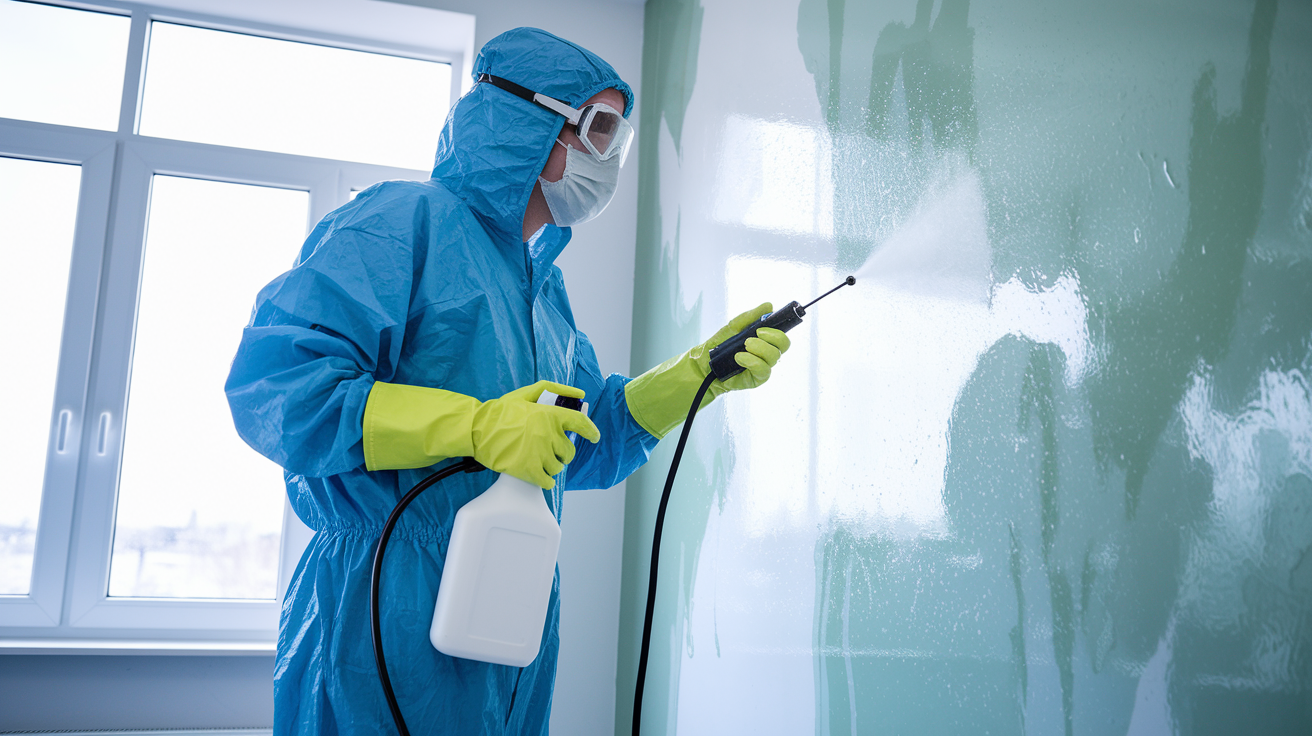
After water’s out and surfaces are drying, everything that touched flood water needs disinfection. Even Category 1 clean water from a supply line becomes Category 2 gray water within 24 to 48 hours as bacteria multiply, and flood water almost always picks up contaminants as it sits. Sanitizing isn’t optional. It prevents illness and stops odors before they start.
Disinfection happens in two stages, not one. First, remove debris and loose dirt by washing walls, floors, and surfaces with clean water, then warm water with dish soap or general cleaner. You’re not disinfecting yet, just getting rid of material that would block the disinfectant from reaching the surface. Scrub with a brush, rinse, and let the cleaning water run down a drain or soak it up with a mop. Once surfaces are physically clean, apply disinfectant. The standard ratio is 8 tablespoons of chlorine bleach per gallon of clean water. Mix it fresh each time because bleach loses strength when diluted. Apply the solution to all surfaces that contacted flood water: floors, walls up to the water line plus 6 inches higher, baseboards if they’re staying in place, and any remaining furniture or belongings. Use a mop, sponge, or pump sprayer. Let it sit wet for at least 10 minutes (contact time) so the bleach kills bacteria and mold spores. Then either rinse with clean water or let it air dry depending on the surface.
Follow these chemical safety rules during disinfection:
- Never mix bleach with ammonia, or bleach with any product containing ammonia (some glass cleaners, certain floor cleaners). The combination produces chloramine gas, which causes severe respiratory damage and can be fatal in enclosed spaces.
- Ventilate the area with fans or open windows even if it slows drying slightly. Bleach fumes irritate lungs and eyes, and working in a chlorine heavy environment for hours without airflow makes you lightheaded and sick.
- Wear waterproof gloves and eye protection when mixing and applying bleach solutions; splashes burn skin and can cause serious eye injury.
- Keep the bleach solution wet on surfaces for the full 10 minute contact time. If it dries faster than that, you didn’t apply enough, or you need to mist the area again midway through.
- Discard any bleach solution left after you finish; it loses effectiveness quickly once diluted and shouldn’t be saved for later.
- If anyone in your household has asthma, severe allergies, or chemical sensitivities, have them stay out of the basement during bleach application and for at least an hour afterward while fumes dissipate.
For surfaces that can’t tolerate bleach (certain types of finished wood, some countertops, fabrics, or areas where color damage is a concern), use EPA registered antimicrobial products designed for flood restoration. These are available at janitorial supply stores or equipment rental centers. They disinfect without the color stripping or finish damaging effects of bleach, and they don’t produce the same harsh fumes, though they still require gloves and ventilation. Read labels to confirm the product is rated for the specific contamination category you’re dealing with.
Mold Prevention and Hidden Moisture Detection

Water doesn’t just sit where you see it. It wicks upward into drywall, travels horizontally behind baseboards, seeps under subflooring, and soaks into insulation inside wall cavities. Those hidden damp spots create perfect mold conditions: darkness, moisture, and organic material to feed on. You won’t know there’s a problem until you smell it or see mold growing on surfaces months later.
Moisture travels through materials by capillary action, the same way water climbs up a paper towel when you dip the corner in a glass. Drywall and wood framing act like that paper towel. Even if water only sat on your basement floor for a few hours, moisture pulled up into the bottom section of your drywall and potentially up to a foot or higher depending on how porous the material is and how long the water sat. That’s why the standard practice is to remove the bottom 12 inches of drywall around the entire flooded area, even if water only touched the floor. Pull off all baseboards too. Those trap moisture between themselves and the wall, creating a damp channel that feeds mold behind the trim where you can’t see it.
Cut the drywall straight across with a utility knife at the 12 inch line, score it a few times, then snap it along the score line. Pull it off the studs and check the insulation behind it. If insulation’s wet or even damp to the touch, pull it out. Wet insulation doesn’t dry properly in place because air can’t circulate through it, and it holds moisture against the framing and bottom plate where wood rot and mold start. If the insulation feels dry and the studs behind it show less than 15 percent moisture content on a meter, you might be able to leave the upper sections intact and only replace the bottom 12 inches of drywall.
Use a moisture meter to check framing studs, floor joists, and subflooring. Press the meter pins into the wood at several points along each wall. Anything reading above 15 percent moisture needs more drying time before you close it back up. For walls where the moisture meter shows high readings but you can’t see obvious wetness, or in areas where you suspect water got into closed cavities, consider using an infrared camera. These cameras detect temperature differences caused by moisture evaporation. Wet areas show up cooler than dry areas on the image. Some equipment rental centers carry these, or a restoration company can scan your basement. If a section shows high moisture but you can’t access it, open the wall cavity. Cut a small inspection hole with a utility knife, then use a borescope (inspection camera on a flexible cable) to look inside for standing water, soaked insulation, or mold growth.
If you find mold growth already established when you open walls or remove trim (not surface mildew you can wipe off, but fuzzy patches, black staining in the drywall paper, or visible colonies), you’re now dealing with mold remediation under IICRC S520 standards, not just flood cleanup. Small areas (less than 10 square feet total) you can often handle yourself if you wear an N95 respirator, contain the area with plastic sheeting, and bag moldy materials before cutting them out. Larger mold contamination or anything involving HVAC systems that spread spores throughout the home means calling a professional mold remediation company. Your health matters more than saving the service call cost.
Professional Verification, Timeline, and Cost Planning

DIY cleanup gets you most of the way to recovery, but some systems need professional eyes before you flip breakers or turn on the heat again. Understanding what requires licensed verification, how long the process actually takes, and what it costs helps you decide where to invest effort versus dollars.
Electrical System Inspection
Water and electricity stayed separated during cleanup because you cut power at the main breaker. Before you restore power, a licensed electrician needs to inspect every component that contacted water: the breaker panel if it was submerged or splashed, all outlets and switches in the flood zone, and any appliances that got wet. Electrical components trap moisture inside their housings and connections, and that moisture creates short circuits or corrosion that might not show up immediately. An outlet might look fine, test fine with a multimeter when dry, and then arc or trip the breaker when it’s under load because moisture corroded a connection you can’t see. An electrician will pull outlets from boxes, inspect for water damage and corrosion, test ground continuity, confirm GFCIs function correctly, and check appliance connections before clearing them for use. Budget at least 2 to 4 hours for a thorough basement electrical inspection.
HVAC and Air Quality Assessment
If your furnace, air handler, or ductwork got wet, the system circulated damp air throughout your home during and after the flood. That damp air deposited mold spores and moisture inside ductwork, on filters, and across coils. Before you run heating or cooling again, have an HVAC technician inspect the system. They’ll check the blower motor for water damage, replace filters (definitely contaminated), inspect duct interiors for standing water or mold growth, and clean coils if necessary. If ducts show mold growth or were submerged, you’ll need professional duct cleaning or possibly replacement of affected sections. This inspection typically takes 1 to 3 hours depending on system complexity and what they find. Don’t skip this. Running a contaminated HVAC system spreads mold spores into your living space faster than almost anything else.
Structural and Foundation Evaluation
Check your foundation walls, support beams, and floor joists carefully after major flooding. Look for new cracks, horizontal cracks (more serious than vertical ones), efflorescence (white powdery deposits on concrete indicating water movement through the material), bowing or bulging foundation walls, and beams or joists that look sagged or damaged. Minor hairline cracks you had before flooding probably didn’t get worse. New cracks, widening of existing cracks, or any structural movement means hydrostatic pressure from saturated soil outside pushed on your foundation hard enough to cause damage. That’s a structural engineer or foundation specialist call, not a DIY assessment. They’ll determine if you need reinforcement, whether the damage is stable or actively worsening, and what repairs prevent future failure. Foundation repairs can range from a few hundred dollars for crack sealing to several thousand for wall stabilization or underpinning.
Timeline and cost vary dramatically based on how much water you had, what category it was, and how fast you acted. Respond within that 24 to 48 hour window, and you’ll likely avoid mold remediation costs and secondary damage expenses that can double or triple your total bill. Water extraction alone takes 1 to 3 days depending on volume, partially because of that one third per day rule for deep water, and partially because pumps and vacuums only work so fast. Structural drying with proper equipment takes 3 to 7 days in most basements if conditions are good (low humidity, good air circulation, moderate temperatures). Repairs and reconstruction (new drywall, flooring, trim, painting) take 1 to 4 weeks depending on how much material you removed and how much of the work you’re doing yourself versus hiring contractors.
| Service/Item | DIY Cost Range | Professional Cost Range | Typical Timeline | When Professional Required |
|---|---|---|---|---|
| Water extraction equipment (pump, wet vac) | $75 to $150 rental per day or $200 to $400 purchase | $500 to $1,500 (included in full service) | 1 to 3 days | If water exceeds DIY equipment capacity or Category 3 contamination requires specialized handling |
| Dehumidifiers and air movers | $50 to $100 per unit per day rental | $1,000 to $2,500 (included in full service with monitoring) | 3 to 7 days continuous operation | If humidity or moisture readings aren’t dropping with DIY equipment, or for large basement areas exceeding 1,000 square feet |
| Cleaning supplies and disinfectants | $50 to $150 (bleach, detergent, mops, brushes, protective equipment) | $300 to $800 (professional antimicrobials and application) | 1 to 2 days for application | Category 3 black water contamination requiring EPA registered antimicrobial treatment and disposal protocols |
| Material replacement (drywall, trim, flooring) | $500 to $3,000 depending on area (materials only) | $2,000 to $8,000 (materials plus labor) | 1 to 4 weeks | If structural repairs, mold remediation, or specialized finishes are needed, or if DIY skills don’t match the complexity |
| Electrical/HVAC inspection | Not DIY | $150 to $500 per system | 2 to 4 hours per inspection | Always required after water contact with electrical systems, appliances, or HVAC components before restoring power or operating equipment |
| Full professional restoration | Not applicable | $3,000 to $15,000+ depending on damage extent and contamination category | 1 to 3 weeks start to finish | Category 3 contamination, widespread
Final WordsYour basement flood cleanup checklist isn’t something you memorize and forget. It’s a roadmap out of a stressful situation. Cut the power, stop the water, document everything before you touch it. Extract gradually to protect your foundation. Separate what can be saved from what needs to go. Dry completely with the right equipment, disinfect properly, and check those hidden spaces where mold hides. Get professionals to verify electrical, HVAC, and structural systems before you flip things back on. Then invest in the upgrades that keep this from happening again. Test that sump pump, extend those downspouts, seal those cracks. You handled the damage. Now prevent the next one. FAQWhat should you clean a basement with after flooding?You should clean a basement after flooding with a two-stage process: first, wash all surfaces with clean water and mild soap to remove debris, then disinfect using 8 tablespoons of chlorine bleach per gallon of water to kill bacteria and prevent illness. How much does cleaning up a flooded basement cost?Cleaning up a flooded basement costs between $500 and $10,000 depending on water volume, contamination level, and damage extent. DIY equipment rental runs $50-200 per day, while professional restoration services range from $3,000 to $10,000 for complete cleanup, drying, and repairs. Should you wear a mask while cleaning a flooded basement?You should wear a mask while cleaning a flooded basement, especially when dealing with gray water (drain water) or black water (sewage). Use an N95 respirator for contaminated water and mold protection, along with waterproof gloves and rubber boots. What should you do after basement flood water is cleared?After basement flood water is cleared, run industrial dehumidifiers and air movers for 3-7 days to dry structural materials completely, then disinfect all surfaces with bleach solution, remove the bottom 12 inches of drywall to prevent hidden mold, and have electrical systems inspected before restoring power. How fast does mold grow after basement flooding?Mold grows within 24 to 48 hours after basement flooding, making immediate water extraction and drying critical. You must start dehumidification and ventilation within this window to maximize your chances of preventing mold growth in hidden wall cavities and behind baseboards. Can you remove basement flood water all at once?You cannot remove basement flood water all at once because rapid extraction creates pressure imbalance that can collapse foundation walls. Remove only one-third of standing water per day to maintain equal soil pressure against exterior walls while gradually draining the basement. What flooring must be thrown away after a basement flood?Carpet padding must always be thrown away after a basement flood because it absorbs contaminated water, traps bacteria, and cannot be adequately cleaned or dried. Laminate flooring and particle board subfloors also require disposal due to swelling and delamination from water absorption. Do you need a professional after a basement flood?You need a professional after a basement flood for electrical system inspection before restoring power, HVAC assessment if damp air circulated, structural evaluation for foundation cracks or sagging joists, and any time sewage or extensive mold is present. How do you find hidden moisture after basement flooding?You find hidden moisture after basement flooding using moisture meters to test wall cavities, infrared cameras to detect temperature differences indicating dampness, and borescope inspections to visually examine inside walls. Remove baseboards and check behind them even if floors appear dry. What prevents basement flooding from happening again?Preventing basement flooding requires installing a sump pump with battery backup, cleaning gutters twice yearly, extending downspouts 6 feet from the foundation, sealing foundation cracks annually, and testing your sump pump quarterly to ensure it activates properly. Latest articlesMore like this |