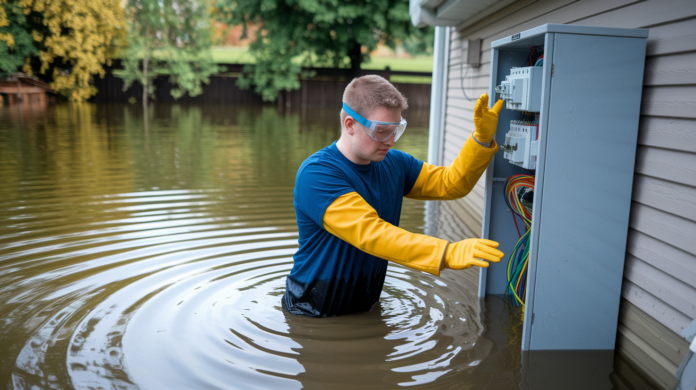

You walk downstairs expecting to grab that box of old tax files and instead find three inches of standing water creeping toward your furnace. A flooded basement feels like your house just turned against you. But if you handle the next five hours correctly—shutting off power, identifying water type, and pulling out moisture before it hides in your walls—you can save your space, your stuff, and a whole lot of money. This guide walks you through the exact equipment you need, the safety checks that aren’t optional, and the drying process that prevents mold from showing up two weeks later.
Immediate First Steps: Safety Checks and Water Assessment
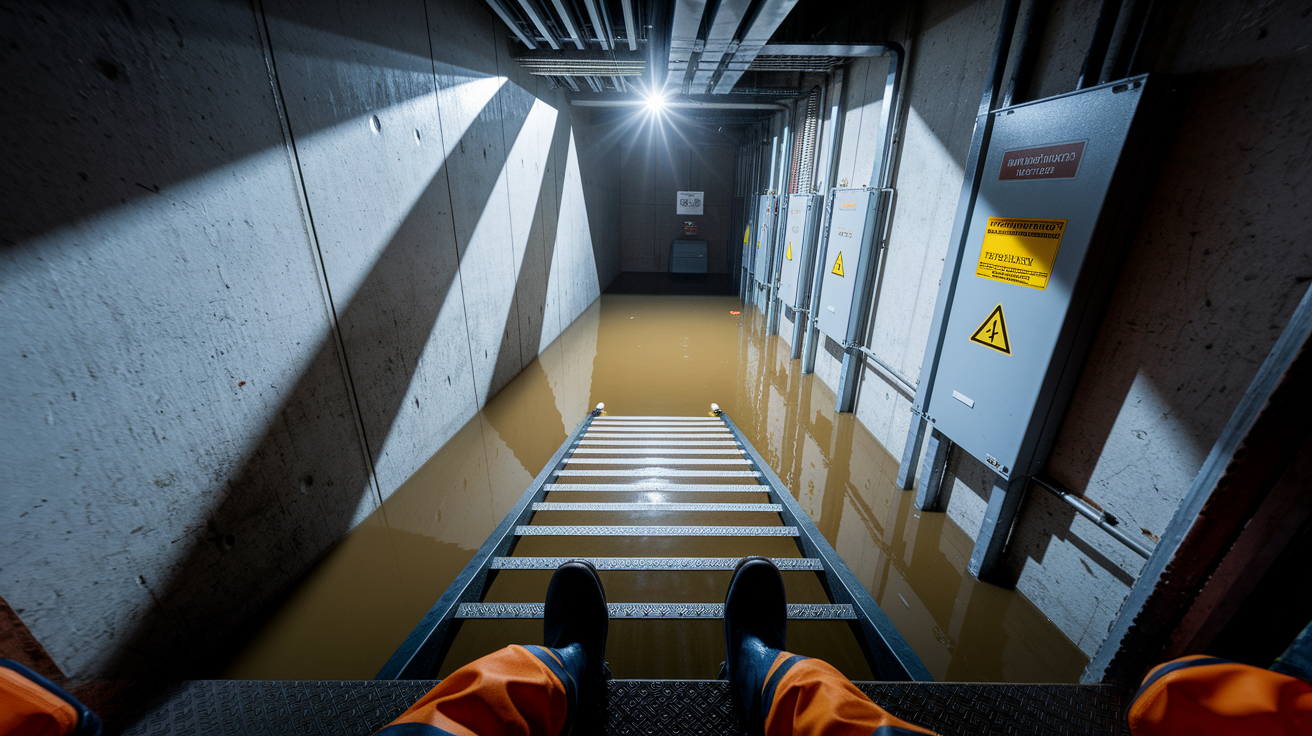
Walking into a flooded basement hits you like a punch. But what you do in the first five minutes decides whether you stay safe and what you’ll actually be able to save. Before you touch anything or start moving water around, you need to confirm it’s actually safe to be down there.
Safety Assessment Checklist:
-
Shut off electricity at the main breaker before you step into standing water. If your electrical panel’s in the flooded part of the basement, don’t mess with it. Call an electrician to cut power from outside.
-
Check for structural problems by looking up. Sagging ceiling tiles, cracks spreading across walls, or anything that looks like the foundation shifted means you stay out and call a structural engineer first.
-
Smell for gas leaks the second you crack open the basement door. Natural gas smells like rotten eggs. If you catch that odor, leave right away, don’t flip switches, and call your gas company from outside.
-
Open windows or get ventilation running from a safe distance before you go in. Floodwater releases fumes, and basements trap them.
-
Put on full protective gear every single time: waterproof boots with grip, thick rubber gloves covering your forearms, N95 respirator (not just a dust mask), and safety goggles. Floodwater carries bacteria, sewage, gasoline, pesticides, and chemicals you can’t see.
-
Never enter water that’s deeper than electrical outlets. Even with the breaker off, submerged outlets and appliances create electrocution risk.
| Water Appearance | Likely Source | Type | Immediate Action |
|---|---|---|---|
| Clear water | Supply line break, rainwater intrusion | Clean Water | DIY safe with proper equipment |
| Cloudy or dirty water | Appliance discharge, sump pump failure, groundwater | Gray Water | DIY safe with thorough disinfection protocols |
| Dark or foul-smelling water | Sewage backup, river flooding, toilet overflow | Black Water | Stop. Call professionals immediately. |
Once you’ve confirmed safety and identified clean or gray water, take photos of everything before moving stuff around. Photograph water lines on walls, damaged belongings, the source if you can see it. Then find and stop the water source: shut off the supply line at the valve, temporarily close foundation cracks with hydraulic cement, or patch pipe leaks with repair clamps. If water’s still coming in, extraction won’t help. Only after the source is controlled should you start removing standing water.
Step by Step Water Removal Process with Required Equipment
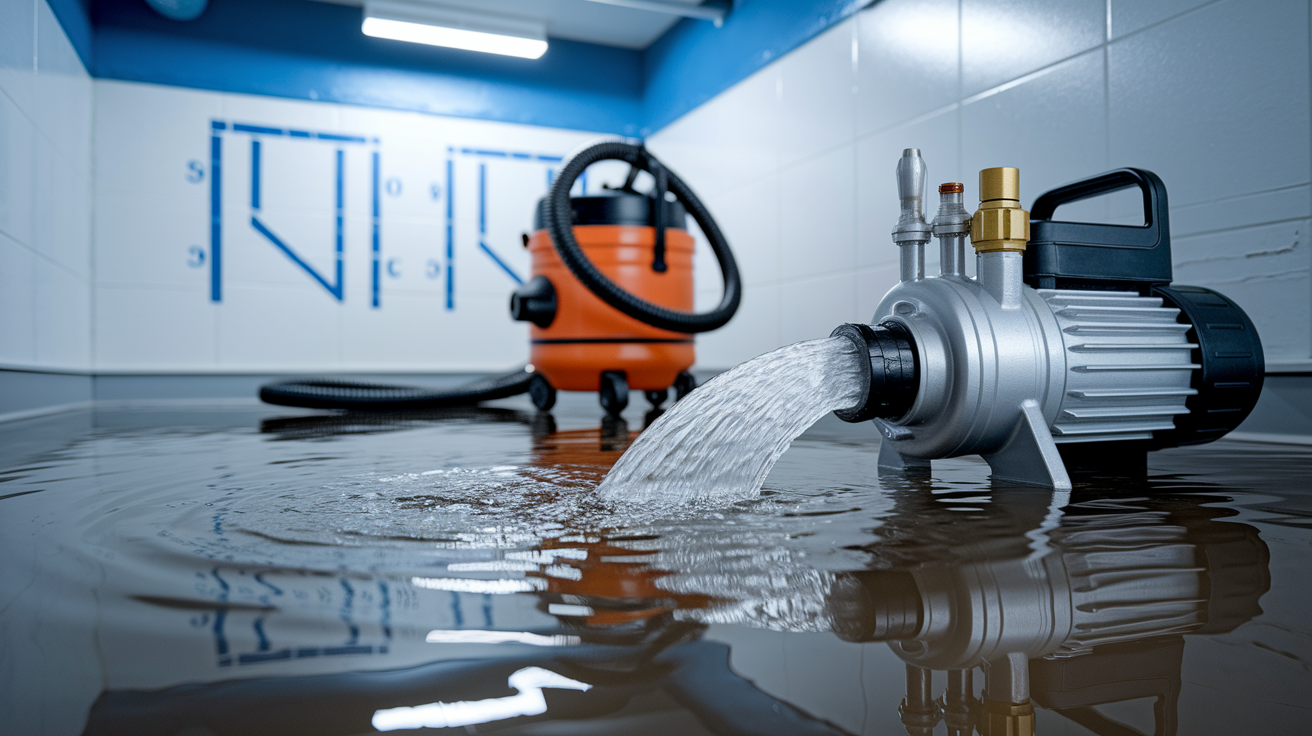
How fast you remove water directly determines what you save and what gets tossed. Match your tool to the job: pumps for deep water, vacuums for shallow puddles, manual tools for the final pass. You can rent commercial equipment if you don’t own it. Most tool rental centers stock flood cleanup gear and will walk you through how to run it.
Water Extraction Sequence:
-
Assess water depth at the deepest point. Anything over 2 inches needs a pump. Under 2 inches, go straight to vacuum.
-
Position a submersible pump in the lowest corner of your basement. Choose a pump rated for 1,500 GPH (gallons per hour) for small basements under 800 square feet, or 2,500 to 3,000 GPH for larger spaces. The pump should have an automatic float switch so it shuts off when water drops below the intake level.
-
Run the discharge hose at least 20 feet away from your foundation, sloping downhill if you can. Don’t just dump water next to your house. It’ll seep right back through the foundation. Avoid directing flow toward your neighbor’s property or into storm drains if local codes say no.
-
Switch to a wet/dry shop vacuum once water depth drops below 2 inches. Use a model with at least a 6 gallon tank, a hose diameter of 2 inches or wider, and a drainage port on the bottom. That port lets you empty the tank without removing the top every five minutes, which matters when you’re emptying it 40 times.
-
Use a floor squeegee to push remaining water toward floor drains or into the vacuum’s pickup path. An 18 inch squeegee works faster than a mop for directing water across concrete.
-
Mop hard surfaces with a microfiber or sponge mop. Wring it into a bucket, not back onto the floor. Concrete and tile dry faster when you remove that final moisture layer instead of waiting for it to evaporate.
-
Collect solid debris with a flat edged shovel and heavy duty 5 gallon buckets. Mud, silt, and sediment won’t go through a vacuum and will clog a pump. Scoop it first.
Essential Equipment Specifications:
-
Submersible pump: Automatic float switch prevents dry running and motor burnout. Discharge hose should be at least 1.5 inches in diameter. Match GPH rating to your basement square footage: 1,500 GPH handles up to 800 sq ft, 2,500+ GPH for anything larger.
-
Wet/dry vacuum: Minimum 6 gallon tank capacity, though 12 to 16 gallons reduces trips to empty. Continuous drainage feature through a bottom port saves massive time. Suction power matters less than hose diameter. Wide hoses move water faster.
-
Manual tools: 18 inch floor squeegee with rubber blade, flat edged shovel (not pointed), multiple 5 gallon buckets. Keep old towels nearby for spot drying around obstacles.
-
Power supply: Portable generator rated for 3,500+ watts if your power’s out. Outdoor rated extension cords only. Every plug must have GFCI protection. Never run a generator inside or in an attached garage.
-
Support equipment: Battery powered work lights or clip lights on extension cords, knee pads if you’re working on concrete for hours, heavy duty gloves for moving debris.
Dispose of extracted water carefully. Direct it at least 10 feet downhill from your foundation, ideally 20 to 30 feet. Check local regulations about storm drain disposal. Some municipalities prohibit pumping contaminated basement water into storm systems. During extraction, watch your foundation walls. If water keeps seeping back in through cracks, you’re fighting active groundwater intrusion, and you’ll need to address those foundation gaps before drying makes any difference.
Drying Your Basement: Dehumidifiers, Fans, and Moisture Detection

Removing visible water is maybe half the job. The moisture hiding behind baseboards, soaked into drywall, and trapped under flooring will rot your framing and grow mold if you don’t pull it out.
Dehumidifier capacity is rated in pints per day. For basements under 1,500 square feet, a 50 to 70 pint unit handles the job. Anything larger needs a 70+ pint model, sometimes two units running simultaneously. Check the coverage area specification on the label, not just the pint rating. Set the unit to maintain 30 to 50% relative humidity and let it run 24/7. Use the continuous drain hose connection if your model has one. It drains directly into a floor drain or sump pit so you’re not emptying a bucket six times a day. Plan on running the dehumidifier for a minimum of 3 to 7 days, often longer if you have thick concrete, finished walls, or cool temperatures below 60°F.
Fan Placement and Ventilation Strategies:
-
Angle air movers at 45 degrees toward wet walls instead of straight on. This creates airflow along the surface and behind it where moisture hides, rather than just blowing across the face of the drywall.
-
Create cross ventilation by placing fans at opposite ends of the basement. One pulls fresh air in, one pushes humid air out. This prevents stagnant pockets where moisture lingers.
-
Elevate fans on concrete blocks or milk crates to circulate air at different heights. Moisture settles low, but it also clings to upper walls. Move air through the whole vertical space.
-
Remove HVAC vent covers and point a fan into the ductwork if your vents were submerged or splashed. Ducts trap moisture and grow mold invisibly.
-
Open windows only when outdoor humidity is lower than indoor humidity. Check both with a hygrometer. If it’s 70% outside and 55% in your basement, opening windows brings in more moisture. You’re working against yourself.
Check humidity levels with a hygrometer every 12 hours. Write down the readings. You’re looking for a steady drop into the 30 to 50% range and then stability there. If humidity spikes back up overnight, you’ve got hidden moisture still evaporating, and you need more drying time. Typical drying takes 3 to 7 days minimum, but thick concrete slabs, insulated walls, and finished basements with drywall can push that to 10 to 14 days. Cool temperatures slow evaporation. If your basement stays below 60°F, add time.
Moisture meters detect what your eyes miss. Pin type models have two metal probes that penetrate drywall, wood, or insulation to measure internal moisture content. Pinless models scan surfaces without poking holes, using electromagnetic sensors to read moisture below the surface. Acceptable moisture percentages: drywall under 1%, wood framing under 15%, concrete under 4%. Take readings behind baseboards after pulling them off, inside wall cavities by removing an electrical outlet cover with the power off, under carpet padding, and along the bottom 2 feet of any drywall that contacted water. Check cold spots on walls, especially exterior walls. Coldness often indicates trapped moisture on the other side.
Physical signs confirm what the meter tells you. Discoloration spreading on drywall means moisture is wicking upward inside the wall cavity. Musty odors mean microbial growth has started, usually behind surfaces. Peeling paint, warped baseboards, and condensation on windows all point to incomplete drying. If you see any of these, keep drying.
Removing Damaged Materials: Carpet, Drywall, and Insulation
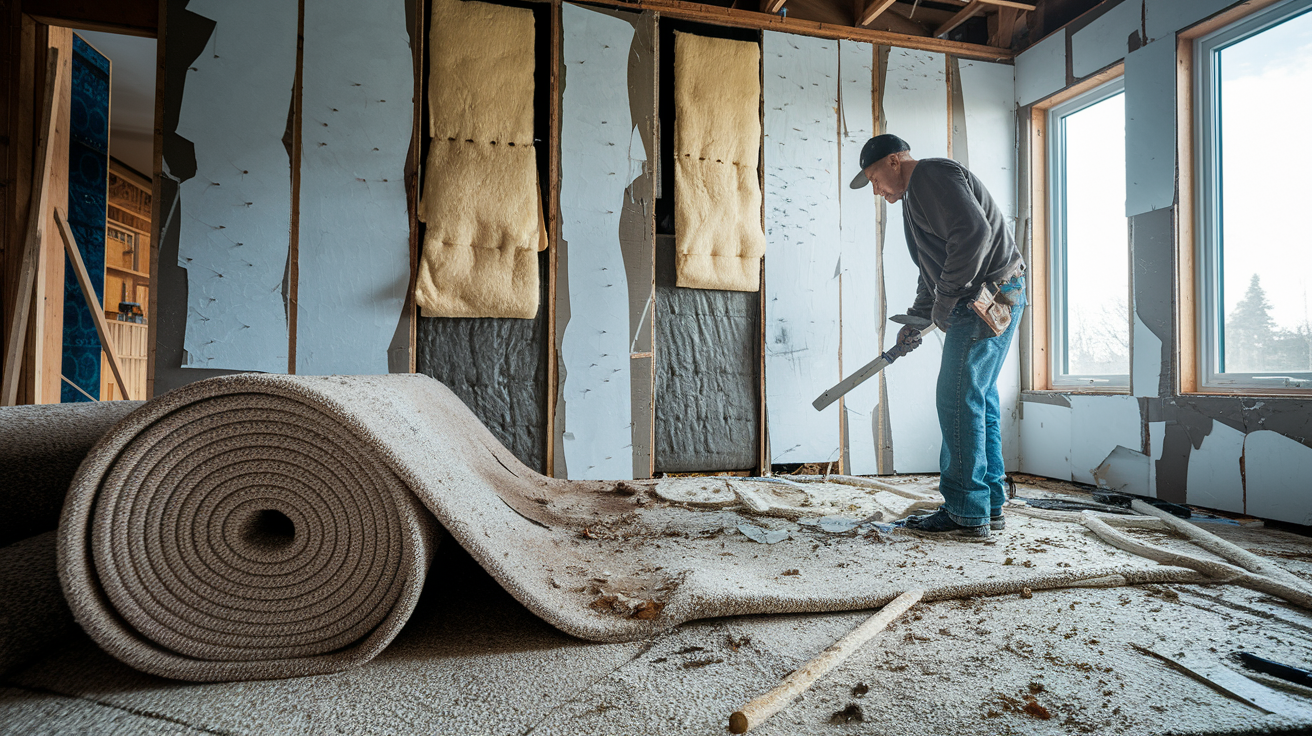
Some materials dry and recover. Others hold contamination, stay damp inside even when they feel dry, and grow mold no matter how long you run the dehumidifier. Porous materials like carpet padding, drywall, and insulation fall into the second category after significant water exposure.
Carpet and padding removal depends on timing and water type. If the water was clean, the carpet wasn’t glued down, and you started extraction within 24 to 48 hours, you can sometimes save the carpet by lifting it, drying the pad and subfloor separately, and reinstalling after everything confirms dry on a moisture meter. But padding almost always gets replaced. It’s a sponge. Even if it dries, it holds dirt and bacteria. Cut carpet into 4 foot wide strips using a utility knife, roll each section, and carry it out. Padding pulls up easily once the carpet is gone. Pull up tack strips along the edges with a pry bar if they’re rusty or bent. Tack strips are cheap and worth replacing rather than reusing compromised ones.
Drywall assessment starts with the flood cut. Measure 12 inches above the highest water line and mark a horizontal line across the wall. For water that sat longer than 48 hours or rose above 6 inches, cut at 24 inches above the water line instead. Moisture wicks upward inside drywall through capillary action, sometimes 12 to 18 inches higher than the visible water line. Remove baseboards first using a pry bar and a scrap piece of wood behind it to protect the wall. Score the drywall along your cut line with a utility knife, then saw through with a drywall saw or reciprocating saw. Peel the damaged section away from the studs. If the drywall feels soft when you press it, or if you see discoloration spreading above your cut line, go higher. Drywall that stayed wet longer than 72 hours rarely dries without delaminating or growing mold inside the paper layers. When in doubt, cut it out.
Fiberglass insulation between studs must be replaced if it got wet. It compresses, loses R value, and holds moisture against the wood framing. Pull it out in sections, stuff it into contractor grade trash bags, and tie them closed. Spray foam insulation is sometimes salvageable if it dried quickly and shows no mold growth, but check behind it with a moisture meter. Insulation lives behind drywall, so you’ll access it through the cuts you just made. If your basement has a finished ceiling with insulation above, and water dripped through, you may need to remove ceiling drywall to check and replace wet insulation there too.
Sanitizing and Disinfecting Flooded Basement Surfaces
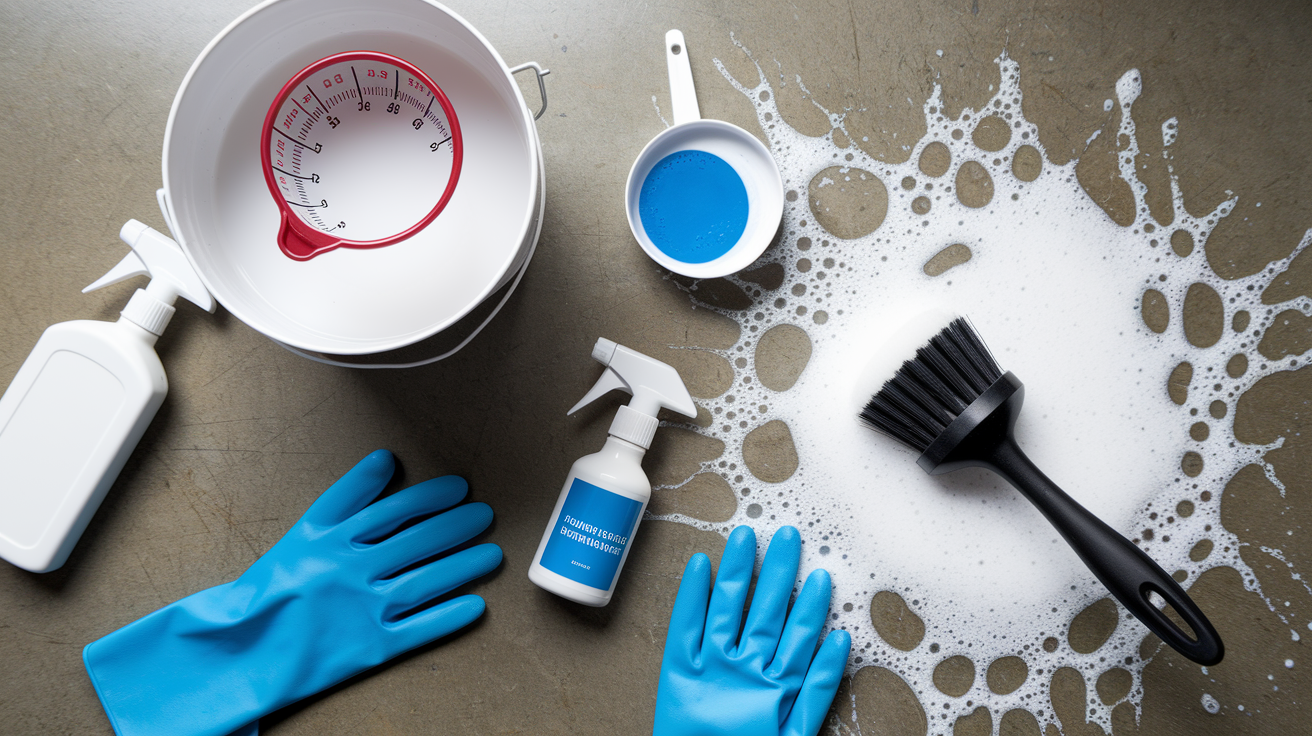
Even if the water looked clear, it carried bacteria from the ground, the pipes, or the air. Gray water from appliances contains detergents, food particles, and oils. Cleaning removes the dirt you can see. Disinfecting kills the pathogens you can’t.
Bleach solution works for most surfaces and costs almost nothing. Mix 1 cup of household bleach per gallon of clean water in a bucket. Open windows and run fans for ventilation. Bleach releases chlorine gas, especially in enclosed spaces. Never mix bleach with ammonia, vinegar, or any other cleaner. The chemical reaction creates toxic fumes that will send you to the emergency room.
| Surface Type | Cleaning Method | Disinfectant | Contact Time |
|---|---|---|---|
| Concrete floors | Scrub with stiff brush, rinse | Bleach solution (1 cup per gallon) | 10 minutes |
| Wood studs and framing | Wipe down, remove debris | Bleach solution or antimicrobial spray | 10 minutes, air dry |
| Metal surfaces (utilities, shelving) | Wipe clean, check for rust | Bleach solution, then dry immediately | 10 minutes |
| Non-porous items (plastic bins, tools) | Wash with detergent, rinse | Bleach solution or quaternary ammonium cleaner | 10 minutes |
Scrub from the top down so dirty runoff doesn’t recontaminate cleaned areas. Use a stiff bristle brush on concrete and a sponge or cloth on smoother surfaces. Apply disinfectant and let it sit for 10 minutes minimum. That contact time matters. If you wipe it off after 30 seconds, you’re just spreading bleach around, not killing bacteria. After 10 minutes, rinse with clean water if the surface will contact food, skin, or anything you’ll handle frequently. Concrete floors and framing can air dry without rinsing. For sewage contamination or black water exposure, use an EPA registered antimicrobial designed for flood restoration. These are stronger than household bleach and specifically formulated to handle pathogens from human waste. You’ll find them at janitorial supply stores or restoration equipment rental centers. Follow the label instructions exactly.
Preventing Mold Growth During Basement Flood Restoration
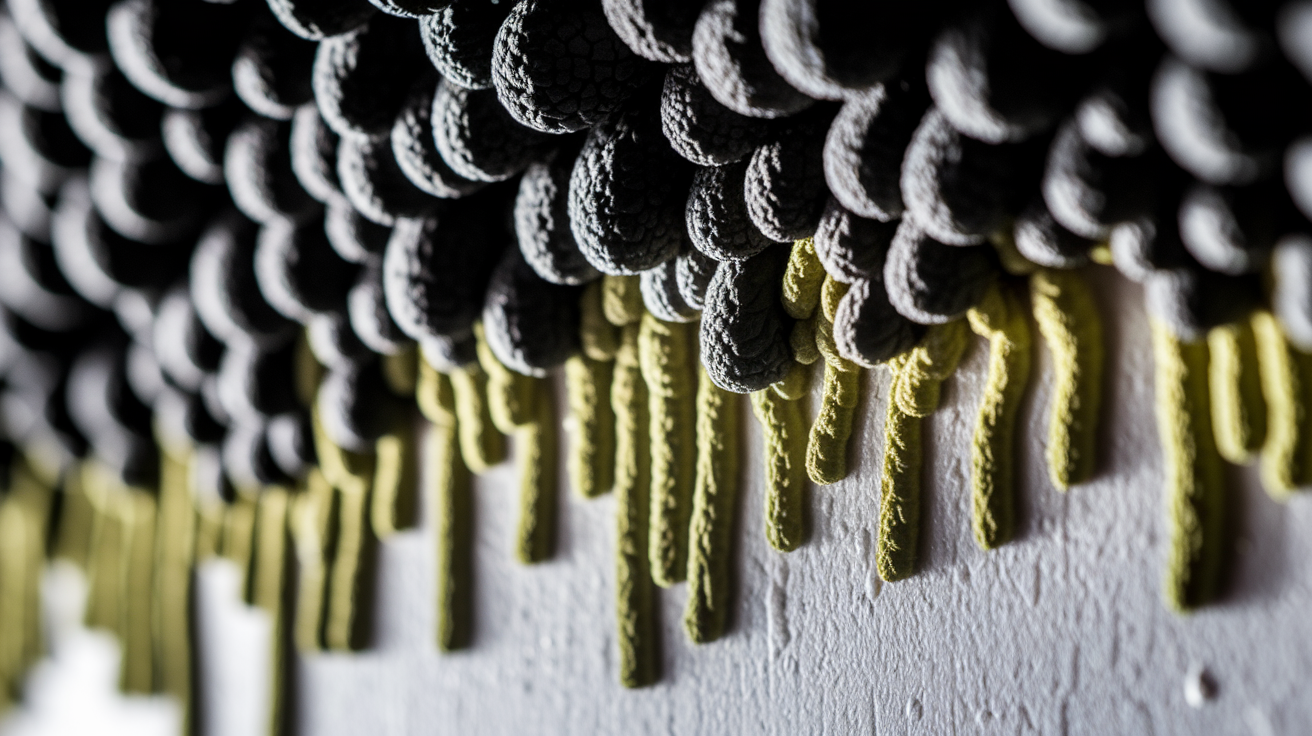
Mold spores exist everywhere. They’re floating in your basement right now. But they only grow when moisture, food, and time come together. Water damage gives them all three. Mold begins colonizing within 24 to 48 hours of water exposure, sometimes faster in warm conditions.
Mold needs moisture above 60% relative humidity, organic material to feed on (drywall paper, wood, fabric, dust), poor airflow, and temperatures between 77 to 86°F. You eliminate mold by removing any one of those conditions. Drop humidity below 50% with dehumidifiers and ventilation. Remove wet organic materials like soaked drywall and insulation. Keep air moving with fans. Lower temperature if possible, though that’s harder in summer.
High risk areas need extra attention because they’re harder to see and dry. Behind drywall, moisture gets trapped between the paper face and the gypsum core. Under flooring, especially vinyl or laminate installed as a floating floor, water pools and stays. Inside HVAC ducts, condensation and airflow spread mold spores throughout your house if growth starts there. Wall cavities between studs trap humid air with no circulation. Areas with previous water damage already have compromised materials that absorb moisture faster the second time. Pull baseboards, check under flooring edges, remove vent covers, and inspect inside walls through electrical boxes or small inspection holes cut with a hole saw. If you smell musty odors but don’t see mold, it’s growing somewhere hidden.
Antimicrobial spray creates a hostile environment for mold in areas you can’t fully dry or monitor constantly. After cleaning and disinfecting, spray exposed wood framing, the back side of drywall you’re leaving in place, and concrete walls in unfinished areas. Let it dry completely before closing walls back up or reinstalling materials. If you find visible mold growth covering more than 10 square feet, if sewage was involved, or if anyone in your household has respiratory issues or a weakened immune system, hire a certified mold remediation company. They have containment equipment, HEPA filtration, and protective gear that DIY methods can’t match.
Salvaging Belongings and Furniture from Water Damage
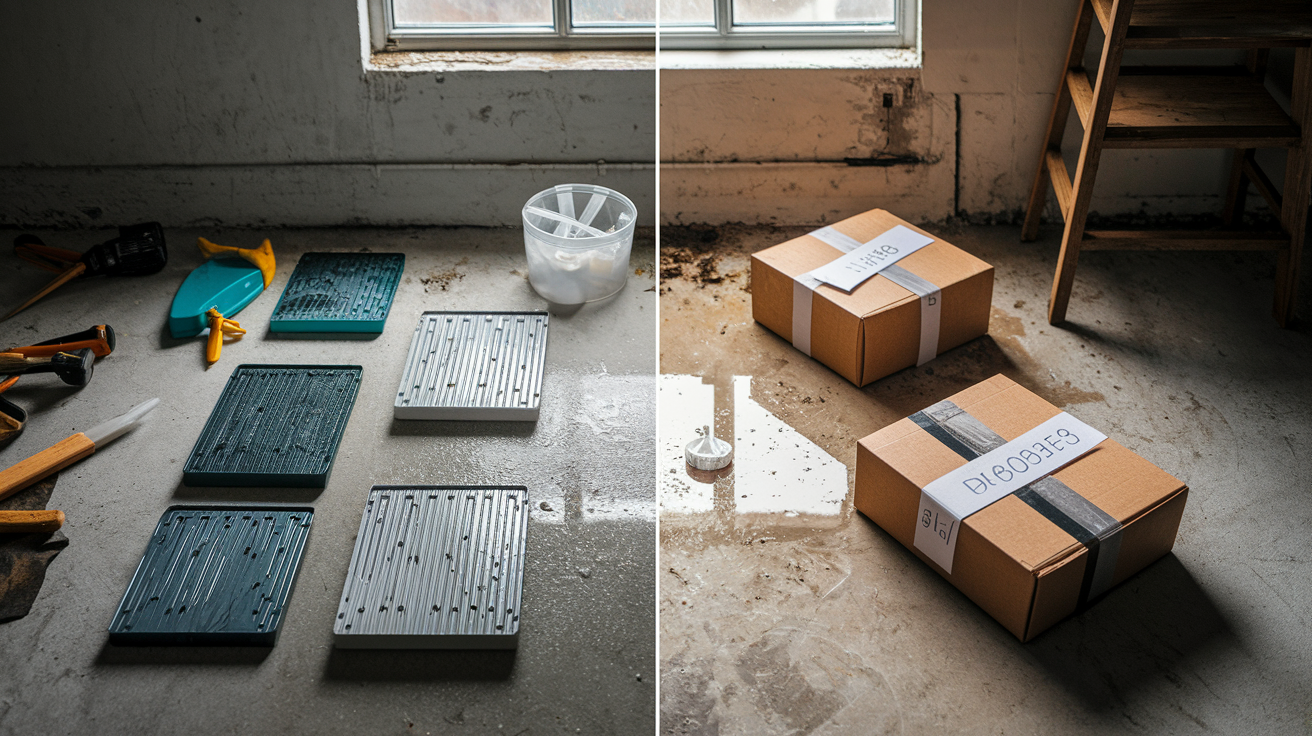
You have roughly 48 hours to decide what’s worth saving and what’s headed to the curb. After that window, bacteria growth and material breakdown make salvage unlikely. Water type, exposure time, and material porosity determine what survives.
Salvage Decision Guide:
-
Electronics: Assume total loss if submerged or splashed while powered on. If unplugged and dried within 24 hours, sometimes salvageable by professionals who disassemble and clean components. Don’t power them on to “test” them. You’ll fry the circuits.
-
Photographs and documents: Freeze immediately if you can’t dry them within 48 hours. Freezing stops deterioration. Restoration services can later freeze dry and recover them. Air drying works for small quantities: lay flat on clean towels, don’t overlap, replace towels every few hours.
-
Wood furniture: Solid wood can survive if dried slowly. Wipe down, disinfect, then dry in a climate controlled space. Don’t use heat or direct sun. It warps. Particle board, MDF, or laminate furniture swells and delaminates. Discard it.
-
Upholstered furniture: Toss it if water was gray or black. Fabric and padding trap contaminants you can’t fully remove. Clean water exposure might be salvageable if professionally cleaned and dried within 24 hours, but it’s borderline.
-
Metal items: Tools, shelving, and hardware salvage well. Clean, disinfect, dry thoroughly, then apply rust inhibitor or light oil to prevent corrosion.
-
Plastic storage containers: Fully salvageable. Wash with detergent, disinfect, dry.
-
Tools and equipment: Hand tools clean up fine. Power tools depend on whether moisture reached the motor. Disassemble, clean, dry completely, lubricate moving parts.
-
Cardboard boxes and paper goods: Discard. Cardboard wicks moisture and grows mold. It’s not worth saving.
For items you’re keeping, wash with detergent and water first to remove dirt and debris. Then disinfect with bleach solution or antimicrobial cleaner. Dry completely in a well ventilated area with fans and dehumidification. Don’t pack anything away until a moisture meter confirms it’s dry. Valuable items like antiques, artwork, or important documents justify professional restoration services. They use specialized freeze drying, ozone treatment, and controlled environments that home methods can’t replicate.
Inspecting for Structural Damage After Basement Flooding
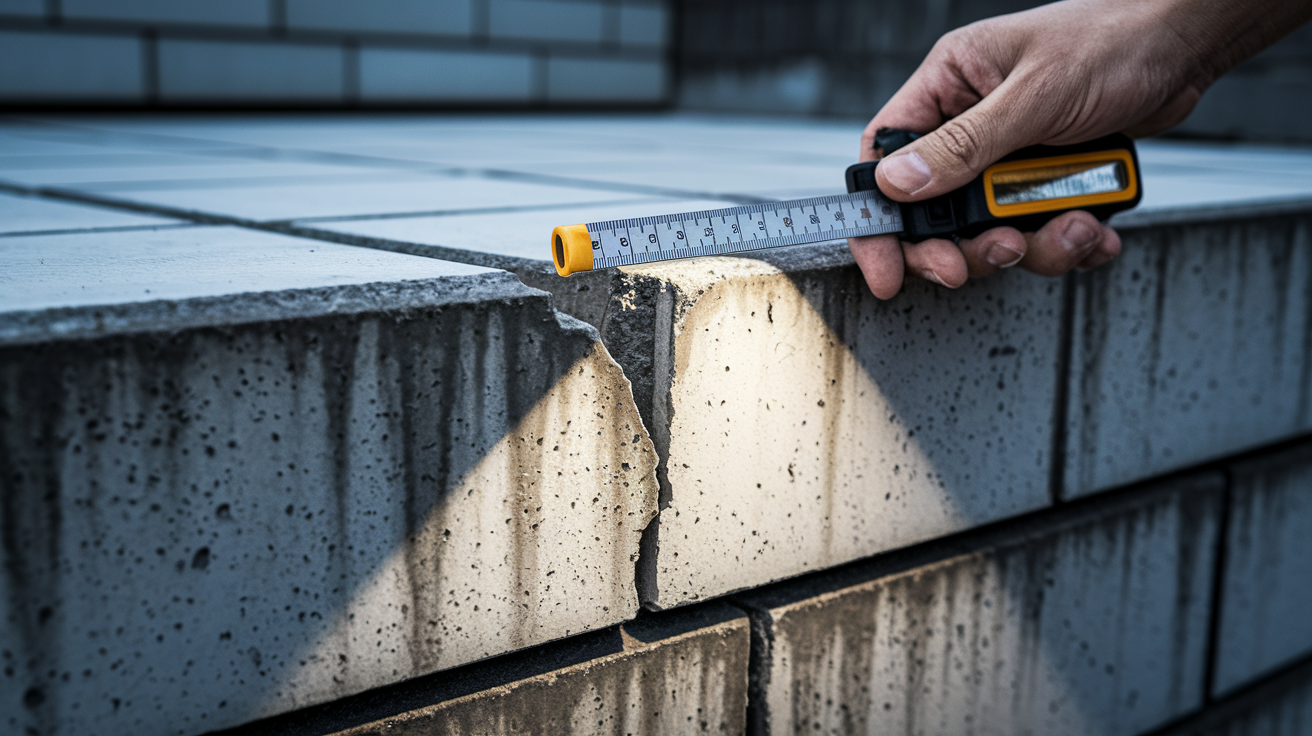
Water pressure against foundation walls, saturated soil expansion, and wood rot compromise your home’s structure in ways that aren’t obvious until something shifts or fails. You need to inspect before you rebuild.
Structural Inspection Checklist:
-
Foundation walls: Look for new cracks or existing cracks that widened. Horizontal cracks are more serious than vertical ones. Stair step cracks in block walls indicate settling or lateral pressure. Measure crack width with a ruler. Anything over 1/4 inch wide needs professional evaluation. Check for bowing or leaning, especially on exterior walls where soil pressure is highest.
-
Floor joists: Inspect from below if your basement ceiling is open. Look for sagging, soft spots when you press upward, or discoloration indicating rot. Joists that stayed wet for more than a week often develop structural rot even after drying.
-
Support beams and posts: Check where wood contacts concrete. This junction traps moisture and rots first. Press a screwdriver into the wood. If it sinks in easily, the wood is compromised.
-
Concrete slab: Walk the entire floor feeling for soft spots, new cracks, or sections that rock when you step on them. Settling or washout underneath creates voids that will eventually collapse.
-
Basement stairs: Test each tread for stability. Check stringers (the angled supports on each side) for rot or separation from the wall.
-
Windows and doors: Try opening and closing each one. Sticking, binding, or gaps that weren’t there before indicate foundation movement or framing shifts.
-
Utility penetrations: Inspect where pipes, wires, and ducts pass through the foundation. New gaps or cracks around these penetrations let water and pests in.
Document cracks by measuring length, width, and location. Take photos with a ruler in frame for scale. Monitor cracks over the next few weeks by marking the ends with a pencil and dating them. If they grow, the foundation is still moving. Horizontal cracks, cracks wider than 1/4 inch, and any evidence of bowing walls require a structural engineer’s assessment before you proceed with finishing or repairs. Engineers cost $300 to 700 for an inspection, but they’ll tell you if the foundation needs stabilization, if repairs are cosmetic, or if there’s active movement that needs monitoring.
Documentation and Insurance Claims for Basement Water Damage

Your insurance company needs proof of damage before they cut a check, but they also expect you to mitigate further damage immediately. That means documenting everything before you start cleanup, but not delaying water removal while you wait for an adjuster.
Take photos and video the moment you discover flooding, before you remove a single item. Use your phone’s date stamp feature or hold up today’s newspaper in the frame. Capture wide shots showing the extent of flooding, then close ups of the water line on walls, damaged furnace or water heater, soaked belongings, and the water source if you can identify it. Photograph serial numbers and model numbers on damaged appliances and electronics. Video works well for walking through the space and narrating what you’re seeing. Take enough documentation that someone who’s never seen your basement could understand what happened.
Create a detailed written inventory while everything is still in place. List every damaged item by room or category. Include description, approximate age, what you paid for it if you remember, and estimated replacement cost. Furniture, electronics, tools, stored belongings, building materials, everything. Save receipts if you have them. Most people don’t keep receipts for a shop vac they bought six years ago, and insurance companies know that. They’ll work with reasonable estimates. Organize your inventory in a spreadsheet or even a handwritten list. The key is being thorough and specific: “DeWalt 20V cordless drill set, purchased 2019, approximately $180” beats “drill.”
Call your insurance company within 24 hours of discovering the damage. Explain what happened, when it happened, and what you’ve done so far. Ask if they’re sending an adjuster and when, but make it clear you’re starting water extraction immediately to prevent mold. Most policies require you to mitigate damage. If you wait three days for an adjuster while mold grows, they can deny the claim for negligence. Get the claim number and the adjuster’s name and contact information. Keep written notes of every phone conversation: date, time, who you spoke with, and what was said.
Understand the difference between flood insurance and homeowners insurance. Standard homeowners policies cover sudden internal water damage like burst pipes, water heater failures, and sump pump malfunctions. They don’t cover flooding from external sources like rivers, heavy rain overwhelming drainage, or groundwater seepage. That requires separate flood insurance through NFEMA or private insurers. If your water came from outside, your standard policy probably won’t help. Save every receipt for supplies and equipment rental. Wet/dry vacs, dehumidifiers, fans, cleaning products, protective gear, contractor bags, replacement materials, everything. Insurance will reimburse reasonable expenses for emergency mitigation. Keep detailed records of your time too, though most policies won’t reimburse labor if you do it yourself.
Cost Breakdown and Time Estimates for DIY Basement Cleanup

The size of your basement, depth of water, type of contamination, and extent of material damage all determine how long this takes and what it costs. A small basement with 2 inches of clean water dries faster and cheaper than a large finished space with 12 inches of sewage contaminated flooding.
| Task | DIY Time Estimate | DIY Cost Range | Notes |
|---|---|---|---|
| Water extraction | 4 to 8 hours | $50 to 150 | Pump rental $40 to 60/day, shop vac $80 to 120 if purchasing, buckets and manual tools $20 to 30 |
| Drying and dehumidification | 3 to 10 days continuous | $100 to 250 | Dehumidifier rental $50 to 80/day or purchase $200 to 400, fans $30 to 60 each, electricity cost $2 to 5/day |
| Material removal | 6 to 12 hours | $30 to 100 | Contractor bags $20 to 40, dumpster rental or disposal fees $50 to 200 depending on volume, tools you likely own |
| Sanitization | 3 to 5 hours | $30 to 80 | Bleach, antimicrobial spray, brushes, buckets. Add $50 to 100 for professional grade disinfectants if needed |
| Minor repairs | 8 to 20 hours | $200 to 600 | Drywall, joint compound, paint, primer, baseboards. Varies widely based on damage extent |
| Total project | 1 to 3 weeks | $400 to 1,200 | Assumes moderate damage, DIY labor, equipment rental rather than purchase |
DIY typically costs 60 to 80% less than hiring professionals, but it requires three to four times more of your time. You’ll spend multiple days monitoring dehumidifiers, moving equipment, and checking moisture levels. Equipment rental for a week long cleanup runs $150 to 400 depending on what you need. If you buy instead of rent, upfront costs are higher but you’ll own the equipment for future use or resale. Professional services charge $3 to 10 per square foot for water extraction and drying, plus additional costs for material removal, sanitization, and repairs. A 1,000 square foot basement cleanup easily hits $5,000 to 15,000 professionally, sometimes more for severe contamination or structural damage.
Professional services justify their cost when water is contaminated with sewage, when damage is extensive and you’re overwhelmed, when your insurance requires certified documentation, or when you lack the physical ability to handle heavy equipment and demolition work for days straight. They also carry liability insurance. If you fall off a ladder or miss hidden mold that sickens your family, that’s on you. When they miss it, their insurance covers it.
When to Call Professionals for Basement Flood Cleanup
DIY works for plenty of flooding situations and saves thousands of dollars. But some scenarios are genuinely unsafe or beyond what a homeowner can handle with rental equipment and a weekend.
Stop and call professionals immediately if you’re dealing with:
-
Sewage or black water contamination from toilet backups, sewer line failures, or flooding that mixed with waste. The health risk from pathogens is serious, and proper sanitization requires industrial grade disinfectants and containment procedures.
-
Water depth exceeding 2 feet, especially if it’s still rising or the source isn’t controlled. The volume overwhelms residential equipment, and structural damage risk is significant.
-
Electrical system submerged in water with the main panel inaccessible or located in the flooded area. You need an electrician to safely shut off power before anyone enters.
-
Visible structural damage like foundation cracks wider than 1/4 inch, bowing walls, sagging floor joists, or sections of ceiling coming down. The building may not be safe to occupy, let alone work in.
-
Mold growth exceeding 10 square feet of visible surface area, especially if it’s black, green, or fuzzy. Large scale mold requires containment, HEPA filtration, and often removal of entire wall sections.
-
Contamination from chemicals, heating oil, gasoline, or pesticides that spilled or leaked during flooding. These create toxic exposure and require specialized cleanup and disposal.
-
Flood duration exceeding 48 hours before you could respond. Materials will have absorbed so much water that standard drying methods won’t work, and microbial growth is already established.
-
Household members who are immunocompromised, elderly, very young, or have respiratory conditions like asthma. Their health risk from exposure to mold spores, bacteria, and cleaning chemicals is much higher.
-
Insurance company requires professional certification and documentation to process your claim. Some policies specifically require licensed contractors for water damage over certain dollar amounts.
Waterproofing and Prevention Tips to Avoid Future Basement Flooding
Cleaning up once is enough. Prevention costs less than repeated restoration and protects the value of everything you store down there.
Exterior water management starts with making sure water flows away from your house, not toward it. Grade your yard so the soil slopes away from the foundation at a minimum of 6 inches drop per 10 feet of distance. Walk your foundation perimeter after a heavy rain and watch where water pools or flows. Fill low spots with soil and regrade. Extend downspouts 5 to 10 feet from your foundation using solid extensions or buried drainage pipes. Don’t just dump gutter water at the foundation line. Clean gutters quarterly, more often if you have trees overhead. Clogged gutters overflow and pour water right down your foundation wall. French drains along the foundation perimeter collect groundwater before it reaches your basement. They require trenching and gravel, but they work when grading and downspouts aren’t enough. Landscape drainage swales direct surface water around your property instead of letting it collect near the house.
Interior systems catch water that makes it past your exterior defenses. Sump pumps sit in a pit below your basement floor and pump groundwater out before it floods the space. If you don’t have one, installing a sump system costs $800 to 2,000 and is worth every dollar in flood prone areas. Test your existing pump quarterly by pouring water into the pit until the float activates. Battery backup systems keep the pump running during power outages, which often happen during the storms that cause flooding. They add $300 to 800 to the system cost. Check that floor drains aren’t clogged and actually drain somewhere. Some older homes have floor drains that go nowhere or connect to abandoned lines. A backwater valve in your main sewer line prevents sewage from flowing backward into your basement during municipal system overloads. It’s a $300 to 800 upgrade that’s essential in areas with combined sewer systems. Seal foundation cracks with hydraulic cement or polyurethane injection. Small cracks become big leaks under hydrostatic pressure.
Ongoing maintenance prevents most flooding. Clean gutters every three months. Test your sump pump annually before storm season by dumping several gallons of water into the pit and confirming it pumps out. Inspect your foundation after every heavy rain, looking for new cracks, wet spots, or efflorescence (white mineral deposits that indicate water intrusion). Monitor basement humidity year round with a hygrometer, keeping it below 50% to prevent condensation that mimics minor flooding. Test your backwater valve’s flap mechanism once a year to confirm it moves freely and seals.
Final Words
DIY basement flood cleanup protects your home and saves thousands compared to hiring out every step.
Start with safety, move water fast, dry thoroughly, and sanitize everything. Use moisture meters to confirm you’re really done, not just when surfaces look dry.
Most basements can be handled without pros if you’ve got clean or gray water, the right equipment, and realistic expectations about time.
Document everything before you start. Take your time with drying. Check for hidden damage.
You’ve got this, and your basement will be back.
FAQ
What should you use to clean up a flooded basement?
To clean up a flooded basement, you should use a submersible pump or wet/dry vacuum for water removal, fans and dehumidifiers for drying, and bleach-based or EPA-registered disinfectants for sanitizing all surfaces after extraction is complete.
How do you get water out of a basement without a sump pump?
You can get water out of a basement without a sump pump by using a wet/dry shop vacuum with a drainage port for continuous emptying, a submersible utility pump, or manual tools like squeegees and buckets to direct water toward floor drains.
How quickly does mold grow after a flood?
Mold begins growing within 24 to 48 hours after flood exposure when moisture levels exceed 60% humidity and organic materials like drywall, wood, or insulation remain wet without proper ventilation and drying equipment running continuously.
How long can water sit in a basement?
Water should not sit in a basement for more than 24 to 48 hours before mold growth begins and structural damage worsens. Immediate extraction and drying within this window maximizes salvage potential and minimizes contamination and long-term material deterioration.
What protective gear do you need for basement flood cleanup?
For basement flood cleanup, you need waterproof boots with non-slip soles, thick rubber gloves, safety goggles, and an N95 respirator mask to protect against bacteria, sewage, chemicals, and contaminants commonly present in floodwater before entering standing water.
How long should you run a dehumidifier after a basement flood?
You should run a dehumidifier continuously for a minimum of 3 to 7 days after a basement flood, maintaining humidity between 30 and 50 percent, with longer timeframes needed for thick concrete, finished walls, or cool temperatures below 60 degrees.
Can you save carpet after basement flooding?
You can save carpet after basement flooding only if it’s dried completely within 24 to 48 hours and the water was clean. Carpet padding must be replaced in all cases, and any sewage or contaminated water exposure requires complete carpet disposal.
What basement items cannot be salvaged after flooding?
Items that cannot be salvaged after flooding include wet insulation, carpet padding, upholstered furniture exposed over 48 hours, cardboard boxes, mattresses, particle board furniture, and any porous materials contaminated by sewage or black water requiring immediate disposal.
How do you know if basement flooding caused structural damage?
You know basement flooding caused structural damage when you see foundation cracks wider than one-quarter inch, horizontal or stair-step cracks in block walls, sagging floor joists, uneven concrete slabs, doors that stick, or gaps around window frames requiring professional assessment.
When should you call a professional for basement flood cleanup?
You should call a professional for basement flood cleanup when dealing with sewage or black water contamination, water depth exceeding 2 feet, submerged electrical systems, visible structural damage, mold growth over 10 square feet, or flooding lasting over 48 hours before response.