
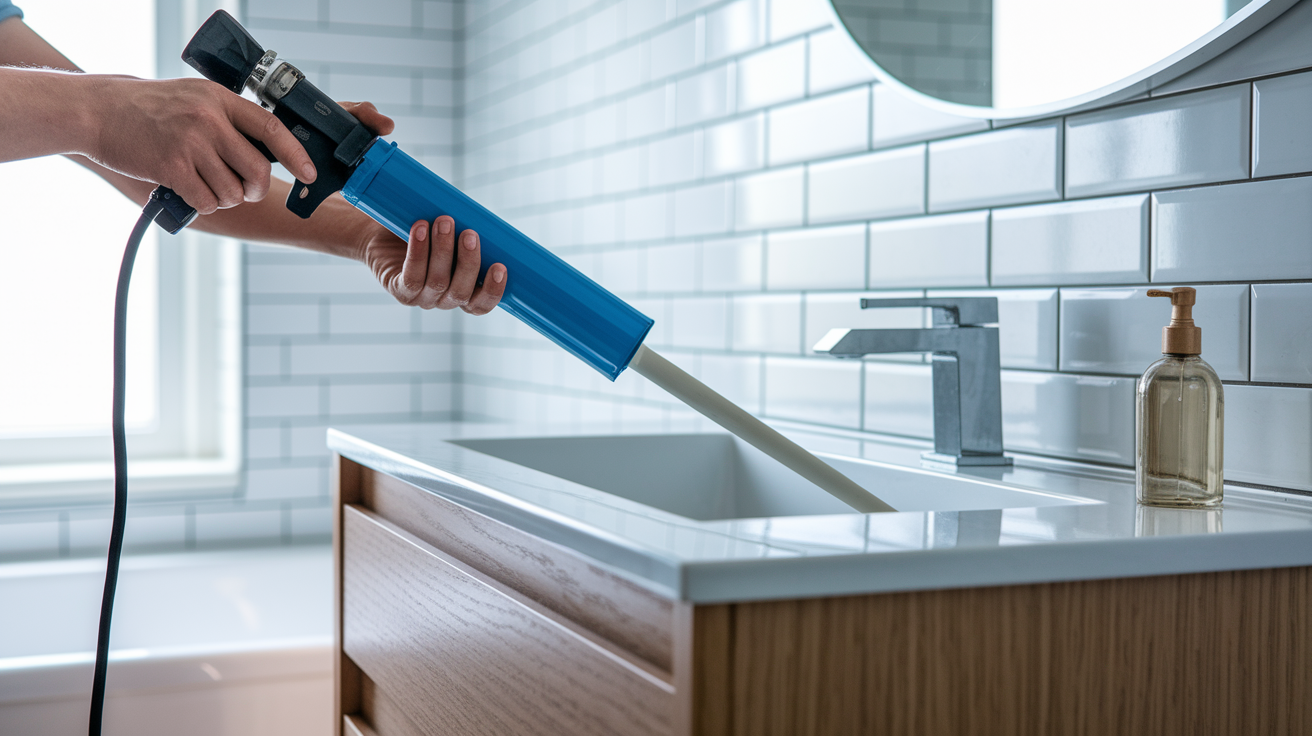
You’ve just spent twenty minutes trying to squeeze out one more bead for the last corner, and your caulk gun won’t budge. That half-full tube isn’t empty, it’s clogged, and now you’re debating whether to toss the whole setup or spend another twenty minutes fixing it. Most clogs clear in under ten minutes with the right approach, no new cartridge needed. This guide walks through pressure release, basic clearing methods, and an advanced drill technique for stubborn blockages, plus mechanical troubleshooting when the problem isn’t actually the nozzle at all.
Quick Caulk Gun Unclogging Guide: Complete Solution
1. Release Pressure Safely
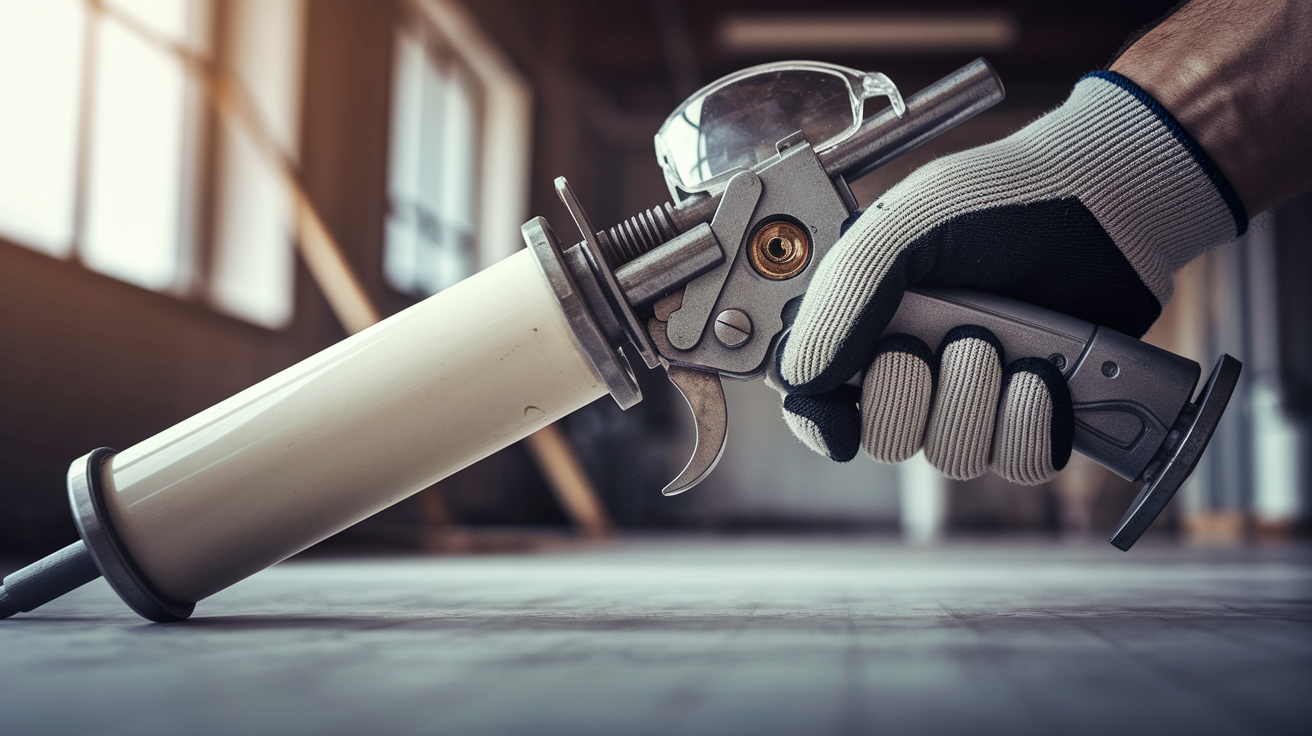
Pull the trigger firmly to advance the rod a bit, then keep that pressure going while you press down on the thumb release (it’s right above the handle). This takes the load off the recoil mechanism. Always release pressure before pulling out the cartridge. One unexpected burst of adhesive toward your face and you’ll understand why safety glasses matter every single time.
2. Remove the Cartridge
After you’ve released the pressure, slide the tube out of the barrel. No tools needed here.
3. Inspect for Blockage
Look at the nozzle tip and the seal puncture area. You’re checking for dried caulk or hardened material blocking the opening.
4. Basic Clearing Method
Grab the seal puncture tool (that metal prong that came with most guns) or use a long screwdriver, around 6 to 8 inches. Push it into the nozzle opening and rotate slowly while you work through the blockage. Point the tool away from your body while you’re applying pressure.
5. Alternative Quick Fix
If the blockage won’t budge, cut the nozzle at a fresh angle with a utility knife. Go about 1/4 inch up from where it’s currently cut to expose material that isn’t clogged. Cut away from your body and make sure the tube’s secure before you start.
6. Advanced Drill Method (For Severe Clogs)
When basic methods don’t work and you want to keep as much nozzle length as possible, try this. Cut the head off a 4 to 5 inch decking screw, chuck the headless shaft into your drill, and push it through a piece of cardboard to shield the chuck from silicone contamination. Reload the clogged tube into the gun, then drive that spinning screw into the nozzle end until it passes through the plug. Squeeze the trigger while you’re running the drill to apply pressure from both directions. Pull out the clogged material while the screw keeps rotating. Keep going until caulk flows freely.
You’ll need a drill, 4 to 5 inch decking screw, cardboard shield, and wire cutters. Wear safety glasses, work where there’s good ventilation, and make sure the gun’s secure before you start drilling.
7. Check Plunger Mechanism
If the gun still won’t dispense, you might have a stuck plunger rod. Pull back the release bar above the handle to reset it. Never hit the gun with a hammer or bang it against surfaces. Banging a jammed gun on the workbench feels productive until you realize you just bent the frame and created a permanent problem.
8. Clean Residue
Wipe the nozzle exterior and gun frame with a clean rag. For stubborn adhesive, use the right solvent: acetone for silicone sealant, mineral spirits for other types. Use solvents where there’s good air circulation and wear gloves.
9. Reload and Test
Put the cartridge back in, apply gentle trigger pressure, and test the flow on cardboard or scrap material before you return to your actual project.
10. Final Inspection
Make sure you’re getting smooth, consistent bead formation. If flow’s still inconsistent, look at the trigger mechanism and moving parts for more obstructions or wear.
Typical completion time runs 5 to 10 minutes for basic clogs, 15 minutes for severe blockages that need the drill method. You might have to replace the whole tube if the cartridge interior has fully cured.
Why Caulk Guns Become Clogged and Jammed

The most common cause is dried caulk forming a plug at the tip. Every time you finish a bead and set the gun down, air reaches the exposed sealant. Without a proper cap or seal, that material starts curing. A week later, you’re looking at a rock hard plug. Even when you try prevention tricks like tape over the tip, wire shoved in the opening, or rubber caps, air still finds a way in if the tube sits long enough between uses.
Hardened material inside the cartridge itself creates a different problem. If you’re working with an expired tube or one that’s been sitting in a hot garage through summer, the sealant loses its proper consistency. Temperature swings make the material separate or thicken unevenly. You’ll squeeze the trigger and nothing moves because there’s crusty buildup blocking the flow path before it even reaches the nozzle.
Mechanical jams happen when you push the system past its limits. Most common scenario: you’re trying to squeeze out those last few drops from a nearly empty tube. You pull harder on the trigger, applying more and more pressure to force material through a partially cured plug. The recoil mechanism becomes overloaded. Now you’ve got a stuck plunger rod and a thumb release that won’t budge with normal pressure.
Forcing the last drops causes pressure overload in the entire system, not just the trigger assembly. Crusty buildup around the seal puncture area (where you first poke into a fresh cartridge) creates another choke point. Low quality cartridges sometimes fit poorly in the barrel, allowing air pockets that lead to inconsistent flow and partial curing. Using incompatible cartridge sizes with your gun type makes all these problems worse.
Troubleshooting Common Caulk Gun Mechanical Problems
Not every dispensing issue comes from a clogged nozzle. Sometimes the gun’s internal mechanisms fail or get stuck, preventing operation even when the tube itself is fine. Proper diagnosis matters because you’ll waste time clearing a perfectly good nozzle when the real problem is a jammed plunger or weak spring. Checking mechanical function first saves you from unnecessary disassembly.
Releasing a Stuck Plunger Rod
The thumb release (also called the release bar) sits right above the handle, exactly where you load the caulk tube into position. When the plunger rod gets stuck, pull this bar back firmly but steadily. Don’t yank it. The mechanism should disengage and allow the rod to retract freely.
If it won’t budge, there’s usually adhesive residue binding the moving parts or the recoil spring is overloaded from excessive trigger pressure. Try the two step method: squeeze the trigger to advance the rod slightly while simultaneously pressing the thumb release. This takes enough load off the mechanism to free it without forcing anything.
Identifying Weak Spring Issues
The spring inside your caulking gun controls how the plunger rod advances and retracts. You’ll know it’s failing when the trigger feels mushy or the rod doesn’t retract properly after releasing pressure. A healthy spring stays taut and provides consistent resistance. When it loosens or stretches out, the gun is basically done.
Springs don’t get repaired. Once they lose tension, replacement isn’t practical because finding the exact spring for your gun model costs nearly as much as buying a new tool. This typically happens after years of regular use or if you’ve stored the gun with constant pressure on the mechanism.
Avoiding Damage During Troubleshooting
Keep the hammer in your toolbox. Hitting a jammed caulking gun or banging it against your workbench feels like it might jar something loose, but it actually bends the recoil mechanism or scores the metal rod. Once you’ve damaged these parts, the gun never works smoothly again.
Test moving parts gently. Push and pull with steady pressure rather than jerking motions. If something won’t move with reasonable hand pressure, there’s a reason. Figure out what’s binding (dried adhesive, misaligned cartridge, overloaded spring) instead of forcing it.
Proper Caulk Gun Maintenance and Storage Techniques
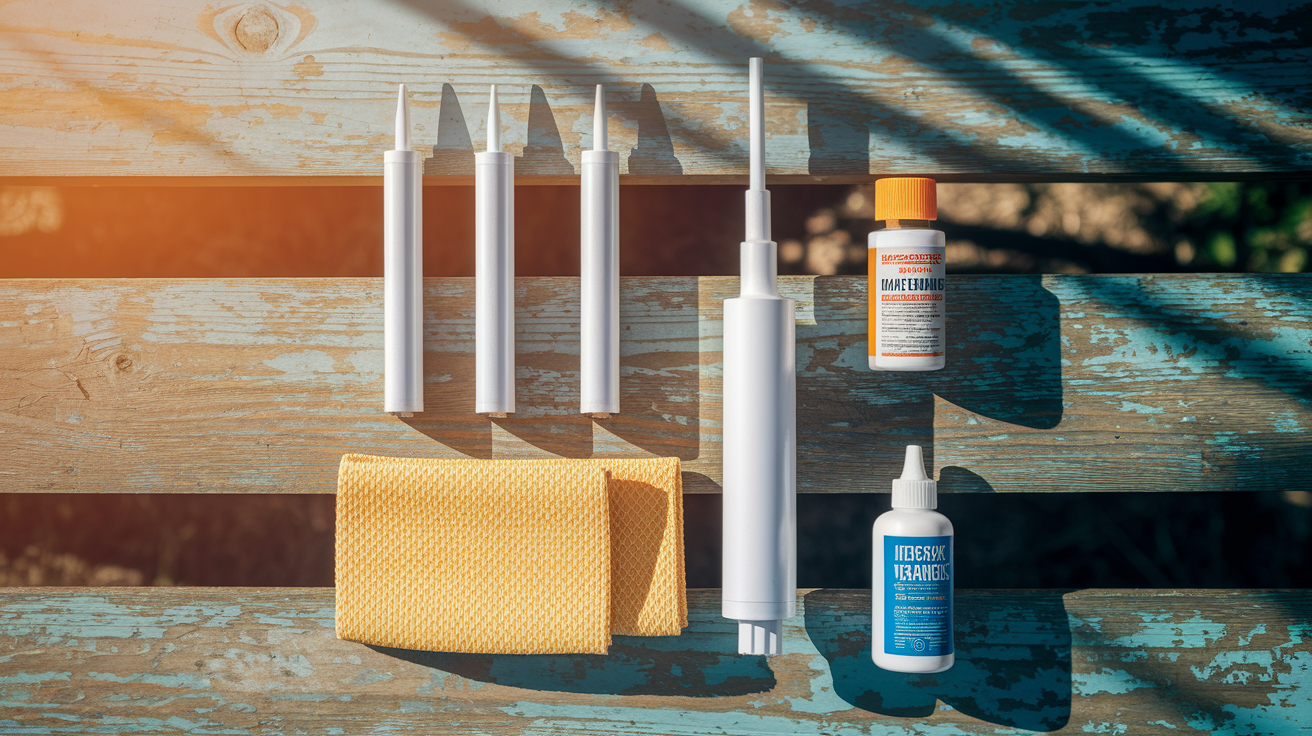
Regular maintenance takes less time than dealing with a jammed gun mid project. Spending two minutes cleaning and storing your tool properly after each use prevents the dried adhesive buildup that causes most clogging problems. Prevention saves money too because you’ll use every bit of sealant in each tube instead of throwing away half full cartridges with cured plugs.
Clean the nozzle immediately after each use, wiping away wet sealant before it cures. Store tubes with caps or plugs in place, creating an airtight seal at the tip. Keep your gun in a climate controlled environment to prevent temperature related viscosity changes. Apply light lubrication to moving parts quarterly, focusing on the plunger rod and release mechanism. Replace worn caps and seals promptly rather than waiting until they fail completely.
Store cartridges upright to prevent leaking and material separation. Inspect the trigger mechanism for smooth operation before starting each project. Remove tubes from the gun between projects to relieve constant spring pressure.
With consistent maintenance, a decent manual caulking gun should last several years of regular DIY use. Professional grade models hold up even longer. You’ll know it’s time to replace rather than repair when the spring loses tension permanently, the frame develops cracks, or the plunger rod gets scored badly enough that it no longer slides smoothly. Surface rust and worn paint don’t affect function.
Selecting the Right Cleaning Solvent for Different Sealant Types
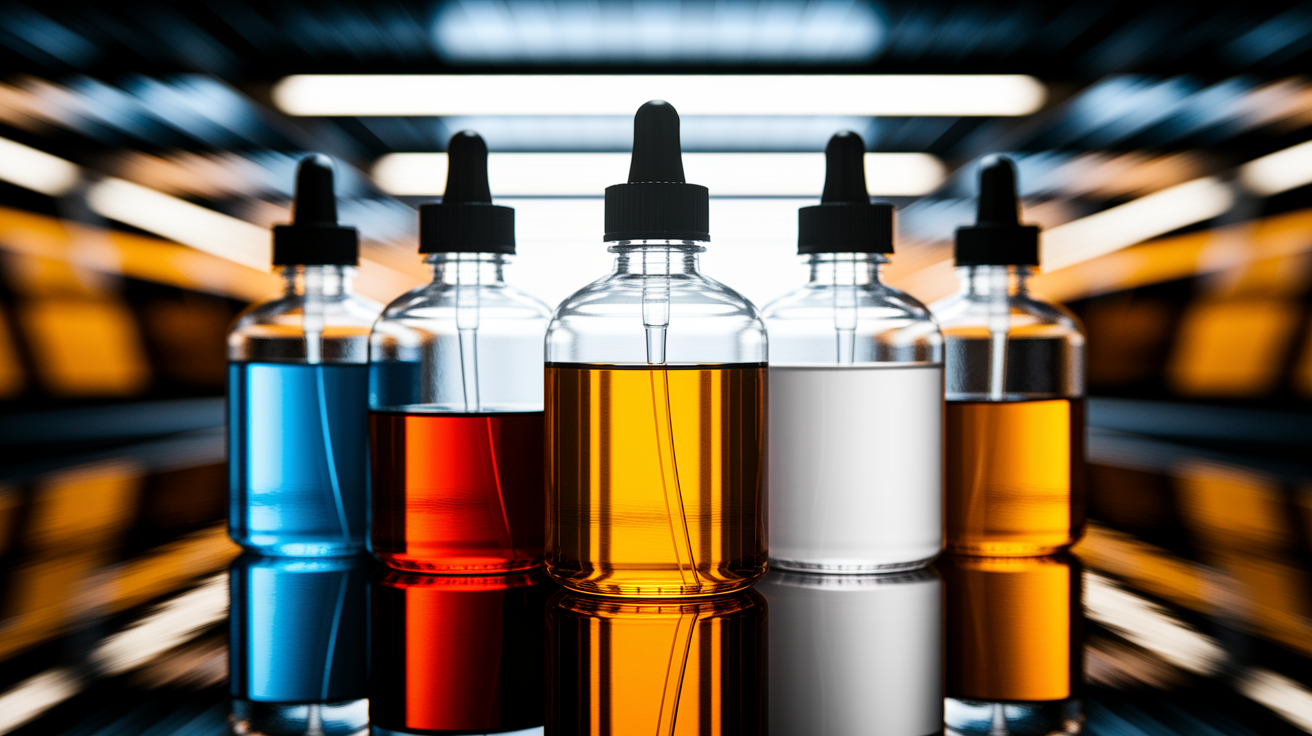
Sealant chemistry varies significantly between products, and each type bonds differently to surfaces. Using the wrong solvent wastes time because it won’t break down the adhesive residue. Worse, some solvents can damage certain gun materials or leave a film that interferes with the next cartridge’s flow.
| Sealant Type | Recommended Solvent | Application Method |
|---|---|---|
| Silicone | Acetone or denatured alcohol | Soak rag and wipe; allow 30 seconds contact time for dried material |
| Acrylic Latex | Warm water or mild soap solution | Scrub with damp cloth while material is wet; difficult to remove once cured |
| Polyurethane | Mineral spirits or paint thinner | Apply to rag and scrub; repeat applications for stubborn buildup |
| Butyl Rubber | Mineral spirits | Soak area and let penetrate 1 to 2 minutes before wiping |
| Hybrid (MS Polymer) | Isopropyl alcohol or mineral spirits | Test small area first; wipe promptly after application |
Work in a well ventilated area whenever you’re using chemical solvents. Open windows or work outside if possible. Acetone and mineral spirits release fumes that cause headaches and dizziness in enclosed spaces. Wear nitrile gloves because these solvents strip oils from your skin, leaving it dry and cracked.
Never pour leftover solvent down the drain. Let solvent soaked rags dry completely flat (not bunched up) before disposal to prevent spontaneous combustion. Check your local hazardous waste guidelines for proper disposal of partially full solvent containers.
When to Replace Versus Repair Your Caulking Gun

A basic manual caulking gun costs between eight and fifteen dollars at most home improvement stores. Professional grade ratcheting models run twenty five to forty dollars. When you’re staring at a jammed gun with a bent rod or cracked frame, compare the cost of your repair time against just buying new. For most DIYers, anything beyond simple unclogging and basic cleaning isn’t worth the effort on a budget tool.
Clear signs that replacement makes more sense: the spring has lost tension and won’t hold pressure anymore, the plunger rod is bent or deeply scored, the barrel has cracks that allow sealant to leak out the sides, or the frame is warped. None of these have practical repair solutions. A few manufacturers sell replacement rods and springs, but tracking down the right part often costs more than a complete new gun.
Simple clogs, stuck plungers that reset properly, and minor cleaning jobs are worth fixing because they take under fifteen minutes and require no special parts.
Quality differences matter if you caulk frequently. A twelve dollar skeleton frame gun from the hardware store handles occasional bathroom touch ups just fine. If you’re sealing windows in a whole house or running baseboards in multiple rooms, invest in a name brand ratcheting gun with a reinforced frame. Better materials mean the rod won’t bend under sustained pressure, the spring maintains tension longer, and the trigger mechanism operates smoothly through thousands of cycles.
For occasional DIY users, stick with cost effective manual guns and replace them when they fail. For contractors or frequent users, professional grade tools pay back their higher cost through durability and reliable performance.
Understanding Caulk Gun Types and Their Clog Vulnerabilities
Caulking guns fall into three main categories based on their dispensing mechanism. Each design handles cartridges differently, which affects where clogs form and how easily you can access blocked areas for cleaning. Understanding your gun type helps you troubleshoot faster and apply the right unclogging method.
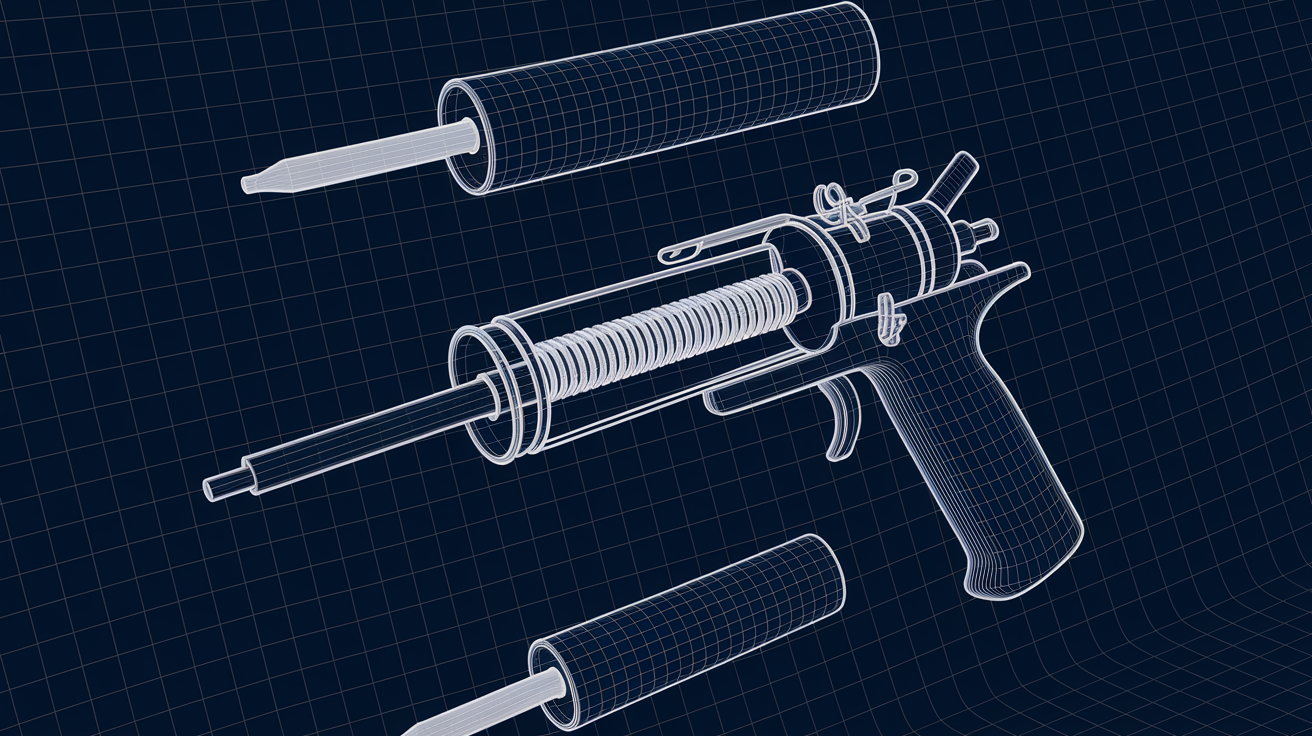
Manual Push Rod Guns
This is the simplest caulking gun design, using a basic push rod that advances through the cartridge as you squeeze the trigger. The thumb release sits above the handle and lets you retract the rod. With fewer moving parts than other types, there’s less that can break. Clogs typically form at two spots: the nozzle tip where air exposure dries the sealant, and the seal puncture area where you first poke into a fresh cartridge.
Manual guns are easiest to disassemble for cleaning because you just pull the thumb release and slide out the rod and cartridge. The straightforward mechanism means you can see exactly what’s happening as you squeeze the trigger. This visibility helps you spot problems like crusty buildup around the seal puncture before it becomes a complete blockage.
Ratcheting Frame Guns
The ratchet mechanism provides better pressure control by advancing the plunger in small, precise increments with each trigger pull. This design works well for thick sealants that need sustained pressure. However, the more complex trigger assembly creates additional points where dried adhesive can gum up the works.
Trigger mechanism jams happen more often with ratcheting guns because there are more moving parts exposed to sealant spray and drips. The barrel design on many ratcheting models fits cartridges more snugly, which is good for consistent flow but makes it harder to remove a tube that’s started leaking around the seal. When you’re troubleshooting, check both the nozzle for clogs and the ratchet assembly for stuck pawls before assuming you need a new gun.
Skeleton Frame Guns
Open frame construction means you can see the entire cartridge loaded in the gun. This visibility makes it obvious when material is moving through the tube or if there’s a blockage stopping flow. The exposed design also makes cartridge removal faster because there’s no enclosed barrel to bind against the tube.
The tradeoff is that the exposed mechanism collects more dust and debris, which can mix with sealant drips and create sticky buildup on the plunger rod. This affects smooth operation over time. Maintenance is more important with skeleton frames because dried adhesive on exposed parts causes friction that makes the trigger harder to pull. The upside: cleaning is simpler because every component sits out in the open where you can reach it with a rag and solvent.
Caulk Gun Performance for Specific Home Improvement Projects
Bathroom renovation projects demand reliable waterproofing and consistent bead application around tubs, showers, and sinks. A partially clogged gun disrupts even sealant distribution, leaving gaps where water can seep behind fixtures. You need smooth flow to fill the joint completely in one pass. Starting and stopping because your gun keeps jamming creates visible seam lines and weak spots in the seal where mildew develops later.
Window sealing requires precise control to run a clean bead along the trim without overflowing onto glass or wood. Inconsistent pressure from a partial clog makes this nearly impossible. You’ll get thin spots that don’t seal properly and thick blobs that are difficult to tool smooth. Proper gun function prevents the drips that waste sealant and create cleanup work. When the flow is steady, you maintain the right speed and pressure to lay down a professional looking bead.
General home improvement applications around the house benefit from equipment that works reliably. Gap filling along baseboards, sealing air leaks around door frames, and waterproofing exterior joints all depend on consistent material flow. Tackling your own repairs saves money compared to hiring professionals, but only if your tools cooperate. Time efficiency matters because most caulking projects have tight windows (weather dependent exterior work, or bathroom fixtures that need to be functional by evening).
Before starting any sealing project, run through a quick maintenance check on your caulking gun. Test the trigger action, inspect the nozzle for dried material, and verify the plunger rod moves smoothly. Preventing mid project delays from clogged equipment takes two minutes of prep time. Building confidence through reliable tool performance means you’ll tackle more DIY projects instead of putting them off or calling someone else. A properly functioning caulk gun turns a frustrating task into a straightforward repair.
Final Words
A clogged caulk gun doesn’t have to end your project.
The drill method saves material when simple clearing fails. The thumb release stops pressure before you remove anything. And cutting a fresh angle on the nozzle gets you back to work fast.
Most clogs happen because of dried sealant at the tip or a stuck plunger from pushing too hard on an almost-empty tube.
Clean the nozzle after use, store cartridges with caps on, and pull that release bar before you pull the trigger harder.
Learning how to unclog a caulk gun means you finish the repair instead of running to the store mid-project.
FAQ
Why is my caulk gun not pushing out?
Your caulk gun is not pushing out because dried caulk in the nozzle or a stuck plunger rod is blocking material flow. Release pressure by pulling the trigger and pressing the thumb release, then check for blockages in the nozzle tip or cartridge.
Why is my caulking gun so hard to squeeze?
Your caulking gun is hard to squeeze because excessive pressure has built up from forcing material through a partial blockage or the recoil mechanism has become overloaded. Release the thumb release above the handle to reset pressure before addressing the clog.
Why can’t I get the caulk out of the gun?
You can’t get caulk out of the gun because hardened material is blocking the nozzle opening or the seal puncture area has crusty buildup preventing flow. Insert a seal puncture tool or screwdriver into the nozzle while rotating slowly to clear the obstruction.
How to unblock a silicone nozzle?
To unblock a silicone nozzle, insert a metal prong or long screwdriver into the opening and rotate slowly while pushing through the blockage. For severe clogs, cut the nozzle at a fresh angle with a utility knife or use the drill method with a headless screw.
What causes a caulk gun to jam?
A caulk gun jams when the recoil mechanism becomes overloaded from applying excessive pressure while forcing the last drops from a tube containing a cured plug. Pulling hard on the trigger against resistance creates mechanical failure in the plunger system.
Can you fix a caulk gun with a weak spring?
You cannot fix a caulk gun with a weak spring because springs are not replaceable parts and indicate the tool is near the end of its lifespan. Weak or loosened springs that fail to keep the plunger taut require purchasing a replacement gun.
What solvent removes dried silicone from a caulk gun?
Acetone removes dried silicone from a caulk gun by dissolving adhesive residue on the nozzle and gun frame. For other sealant types like acrylic latex, use mineral spirits instead. Always work in well-ventilated areas when using solvents.
How do you store caulk tubes to prevent clogging?
You store caulk tubes to prevent clogging by replacing caps or plugs immediately after use and keeping cartridges upright in climate-controlled environments. Remove tubes from the gun between projects and store them away from temperature extremes.
When should you replace a caulk gun instead of repairing it?
You should replace a caulk gun instead of repairing it when the spring weakens, the plunger rod bends, or the barrel cracks. Since caulk guns lack sophisticated repair options and replacement parts, buying a new gun is often more cost-effective.
What’s the difference between manual and ratcheting caulk guns?
The difference between manual and ratcheting caulk guns is that ratcheting models use a trigger mechanism providing better pressure control while manual guns use simple thumb-release push-rods. Ratcheting guns offer more consistent bead application but have additional jam points.
How long does a caulk gun typically last?
A caulk gun typically lasts several years with proper maintenance including cleaning after each use, quarterly lubrication of moving parts, and proper storage. Professional-grade guns outlast budget models, but all guns eventually fail when springs weaken or mechanisms wear.
Can you use the same caulk gun for different sealant types?
You can use the same caulk gun for different sealant types as long as you thoroughly clean the nozzle and gun frame between applications using the appropriate solvent. Match your cleaning solvent to the previous sealant type for effective residue removal.