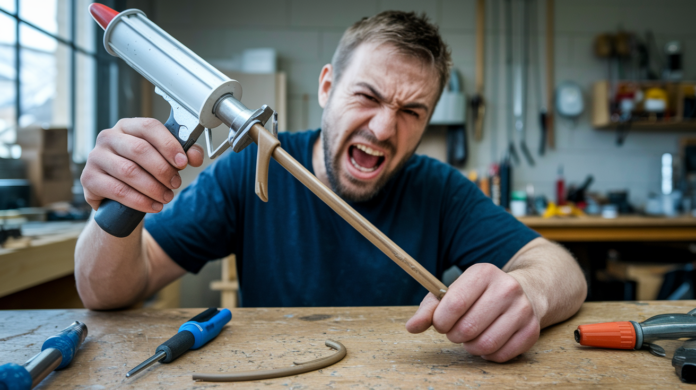

You’ve pulled the trigger, the gun won’t push, and you yank that rod back but it’s locked solid like it welded itself overnight. A stuck caulk gun plunger kills your project momentum fast, but before you throw the gun or buy a new one, most stuck plungers can be freed in about five minutes with the right approach. The problem’s usually a release technique most people get wrong, dried caulk jamming the rod, or a bent part you can straighten or swap. This guide walks through the quick fixes that actually unstick plungers, what to clean, when to take things apart, and when it’s time to replace the whole gun.
Why Your Plunger Gets Stuck and Initial Troubleshooting
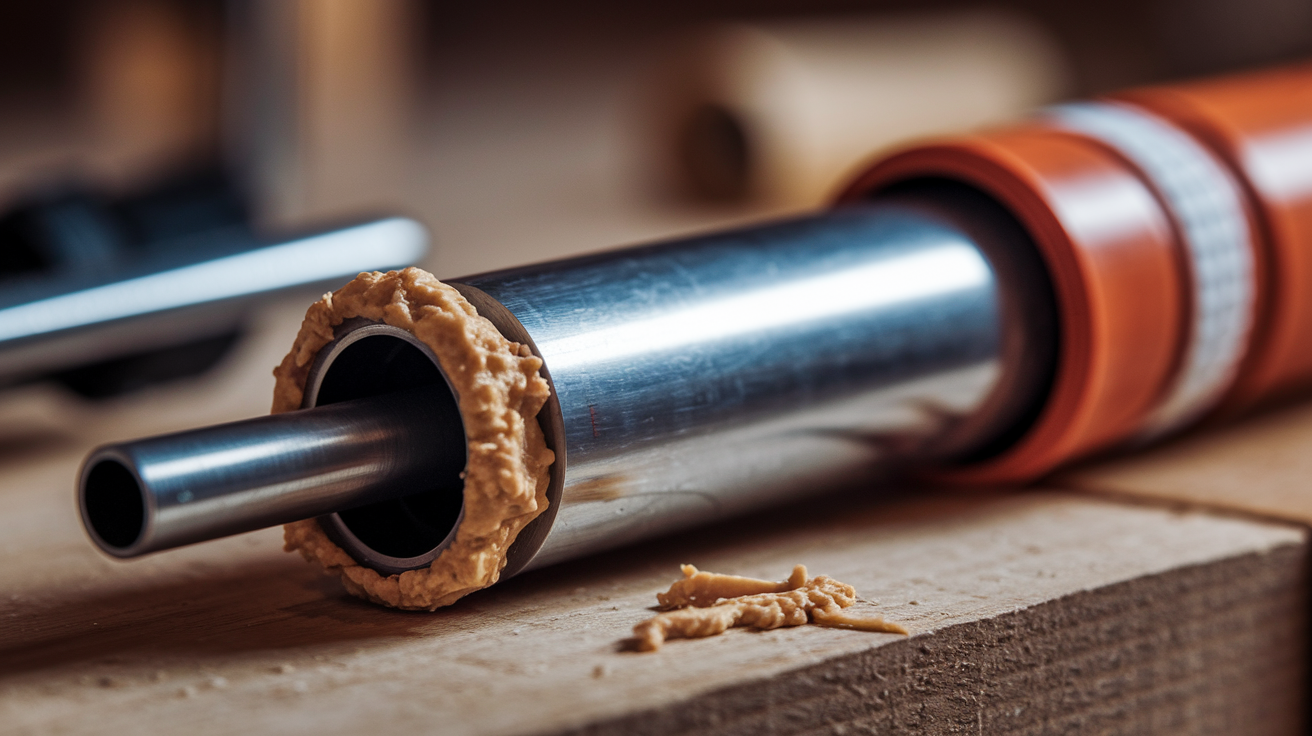
A stuck plunger usually happens for one of three reasons: something bent or misaligned, dried caulk and gunk jamming things up, or you’re not using the release right. Sometimes it’s all three at once. Good news? Most stuck plungers can be freed without taking the whole thing apart.
Start with the release technique. This fixes about half of all “stuck” plungers that aren’t actually stuck. Find the thumb lever or quick release button, usually sitting right above the handle where the cartridge goes. Press it down firmly and tilt the gun at about a 45 degree angle. Here’s what most people get wrong: only grip the back handle when you pull the rod. If you’re holding the barrel or gripping anywhere near the middle, you’re pushing against the friction plate. That plate’s designed to lock the rod during normal use, so it won’t let the rod budge forward or back when it’s engaged. Tilt down, hold the release, pull from the back only.
If that doesn’t work and the push rod’s truly jammed, dried caulk’s usually the problem. Press the thumb release and yank the rod back as far as it’ll move, even if it only goes an inch or two. Pull the cartridge out if there’s one loaded. Look for crusty buildup on the rod or inside the barrel opening. Scrape it off with the metal prong that came with the gun, or grab a flat head screwdriver. Once it’s clear, wipe the rod down and put a thin line of light oil along it. Work it back and forth a few times. That usually fixes it.
Bent rods need gentler handling. If the pressure rod looks warped or won’t slide smoothly even after cleaning, you can try straightening it by hand. Lay it flat on a workbench or concrete floor. Apply slow, even pressure with your palms along the bend. Don’t crank on it or use a hammer. Metal fatigue will make it worse or snap it completely. Once it looks straight, slide it back in and test. If it binds or wobbles, the rod’s done.
Here’s what to check right now:
- Press the thumb release and try pulling the rod back while holding only the rear handle, angled down
- Look at the push rod for visible bends or kinks when it’s fully extended
- Check for dried caulk chunks on the rod, around the thrust plate, or inside the barrel opening
- See if the rod moves at all when you press the release, even a quarter inch
- Wiggle the rod side to side to see if it’s jammed against the frame or moving freely
Most stuck plungers get solved with one of these steps. If the rod pulls back smoothly after cleaning or fixing your grip, you’re done. If it still won’t budge or feels rough, that’s when you move to deeper cleaning or taking things apart.
Essential Tools for Freeing a Stuck Caulk Gun Plunger
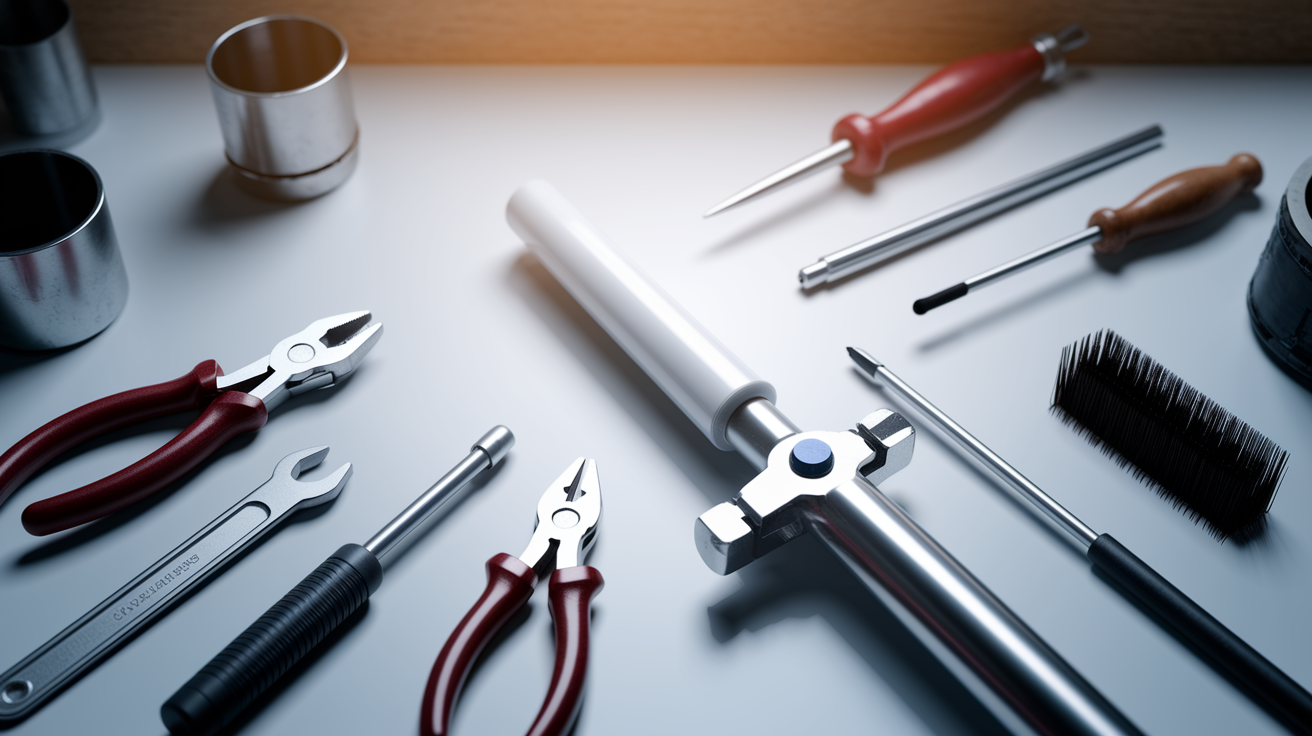
Before you start messing with a jammed plunger, grab what you’ll need so you’re not running back and forth.
Here’s the list:
- Adjustable pliers or slip joint pliers for gripping the securing nut
- Wrench or spanner (usually 7/16″ or 1/2″, check your gun)
- Flat head screwdriver, preferably long for reaching into the barrel
- Metal prong or awl (the pointy thing that comes with most caulk guns)
- Small container of warm soapy water for soaking
- Wire brush or old toothbrush for scrubbing dried stuff
- WD-40, penetrating oil, or light machine oil
- Work gloves to keep your hands clean
- Drop cloth, old towel, or cardboard for your work surface
- Safety glasses if you’re prying or applying force
The pliers and wrench are for taking things apart if needed. The screwdriver and metal prong dig out dried caulk. Warm soapy water works for soaking the front barrel assembly. Don’t dunk the handle or trigger though, those parts don’t like being submerged. The wire brush gets into grooves a rag can’t reach. Any light oil works, even 3 in One oil or sewing machine oil if that’s what you’ve got.
Don’t have something? Vice grips work instead of pliers. A butter knife can scrape dried caulk if you don’t have a metal prong. A spray bottle with dish soap and water does the same job as a soaking container. You’re just trying to clean and free stuck parts.
Advanced Disassembly Techniques for Stubborn Plunger Issues
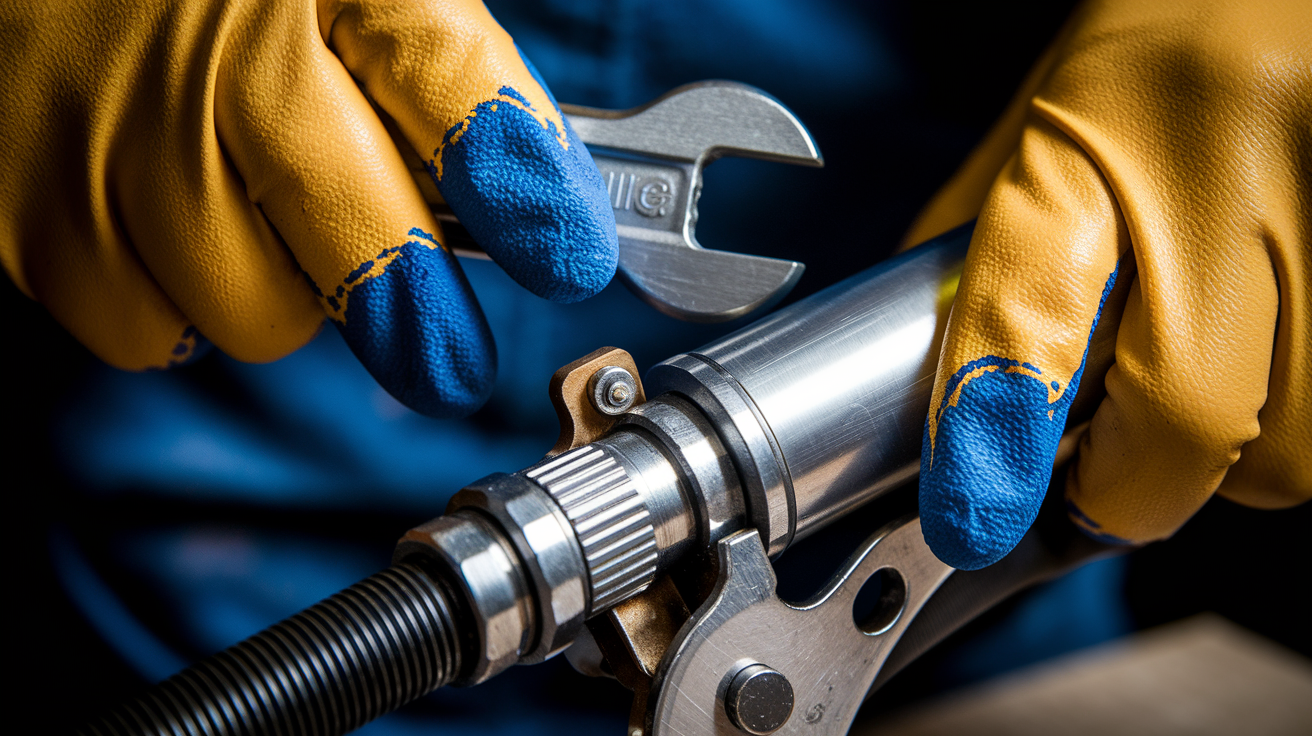
If you’ve cleaned the rod, checked for bends, and used proper release technique but the plunger still won’t move, it’s time to take the gun apart. This isn’t complicated, but you need to keep track of a couple small parts. Before starting, make sure there’s no cartridge loaded and no pressure on the rod.
Start by identifying the main pieces. The plunger rod’s the long metal shaft. The thrust plate (or plunger plate) is the flat piece at the front that pushes the cartridge. There’s a securing nut holding the plate to the rod. The release tab’s the spring loaded lever you press to retract the rod, held in place by a small spring inside the trigger assembly. On most manual caulk guns, the hook end of the rod should face upward toward the top of the frame.
Here’s how to take it apart and put it back together:
- Hold the release tab down with one hand to control spring tension, then use your wrench or pliers to loosen and remove the securing nut at the front of the thrust plate where it connects to the rod
- Slide the thrust plate off the rod, keeping your thumb on the release tab so the spring doesn’t pop loose and fly across the room
- Pull the plunger rod completely out and inspect it for bends, rust, dried caulk, or rough spots that would cause binding
- Clean every part. Wipe down the rod, scrub the thrust plate, check inside the barrel for buildup, and inspect the release tab mechanism for debris
- If the release tab was bent or misaligned, flip it over or adjust it so the hole lines up with the rod, making sure the hook end will face upward when you put it back
- Thread the rod back through with the hook facing up, slide the thrust plate back on, and reattach the securing nut while holding the spring controlled release tab in position
After reassembly, test the trigger and thumb release a few times with no cartridge. The rod should glide smoothly forward when you squeeze the trigger and retract easily when you press the release. If it’s still sticky or won’t move, there’s either buildup you missed or a bent part that needs replacing.
Different frame designs (skeletal style, cradle type, half barrel, full barrel) have slightly different access points, but the core mechanism’s pretty much the same across most manual guns.
Lubrication and Cleaning Methods for Smooth Plunger Operation
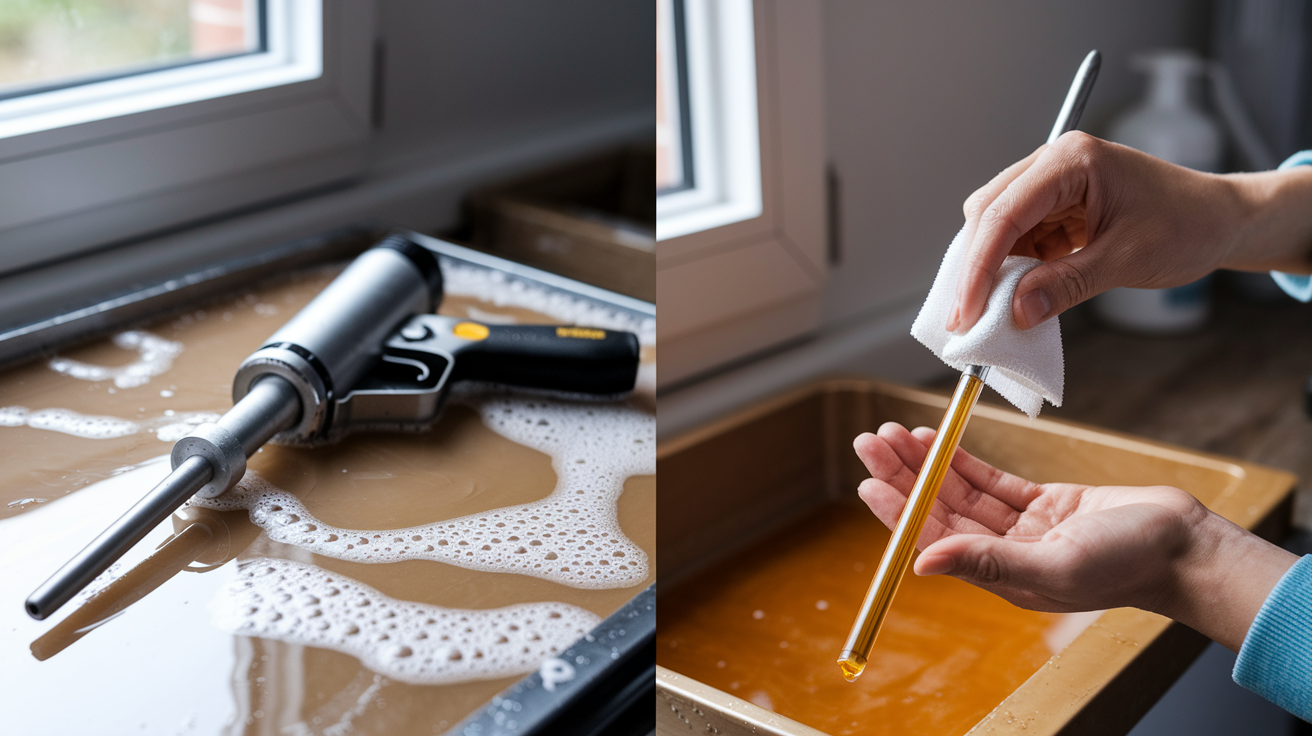
A clean, lightly oiled plunger glides with almost no resistance. Metal rubbing on metal without lubrication causes drag, wears down the rod, and eventually jams. If your gun feels stiff or the rod doesn’t retract smoothly even when it’s not stuck, it needs cleaning and oil.
Fill a container with warm soapy water. Regular dish soap works. Take apart the front end (barrel tube and plunger assembly) following the steps from before, but leave the handle and trigger alone. Don’t submerge those. Drop the metal rod and thrust plate into the soapy water and let it sit 15 to 30 minutes. This softens dried caulk and loosens buildup clinging to the metal. After soaking, scrub the rod with a wire brush or old toothbrush along the entire length. Get into the grooves on the thrust plate where residue hides. Rinse with clean water and dry completely with a rag.
Once it’s clean and dry, apply lubrication. Put a thin coating of light machine oil or penetrating oil along the push rod, wiping it on with your fingers or a rag. Focus on the section that slides through the barrel and where the thrust plate connects. Don’t go heavy. You just want a light film, not dripping oil. Add a tiny drop where the rod passes through the frame and at any metal on metal contact points. Work the rod back and forth to spread the oil evenly. Wipe off any excess so it doesn’t attract dust.
If the inside of the barrel has crusty buildup you couldn’t reach by hand, grab the metal prong or a long screwdriver. Insert it into the opening and rotate slowly while pushing gently. Pull it out and check what came with it. Keep working until nothing else breaks loose.
Identifying When Your Caulk Gun Needs Replacement Parts
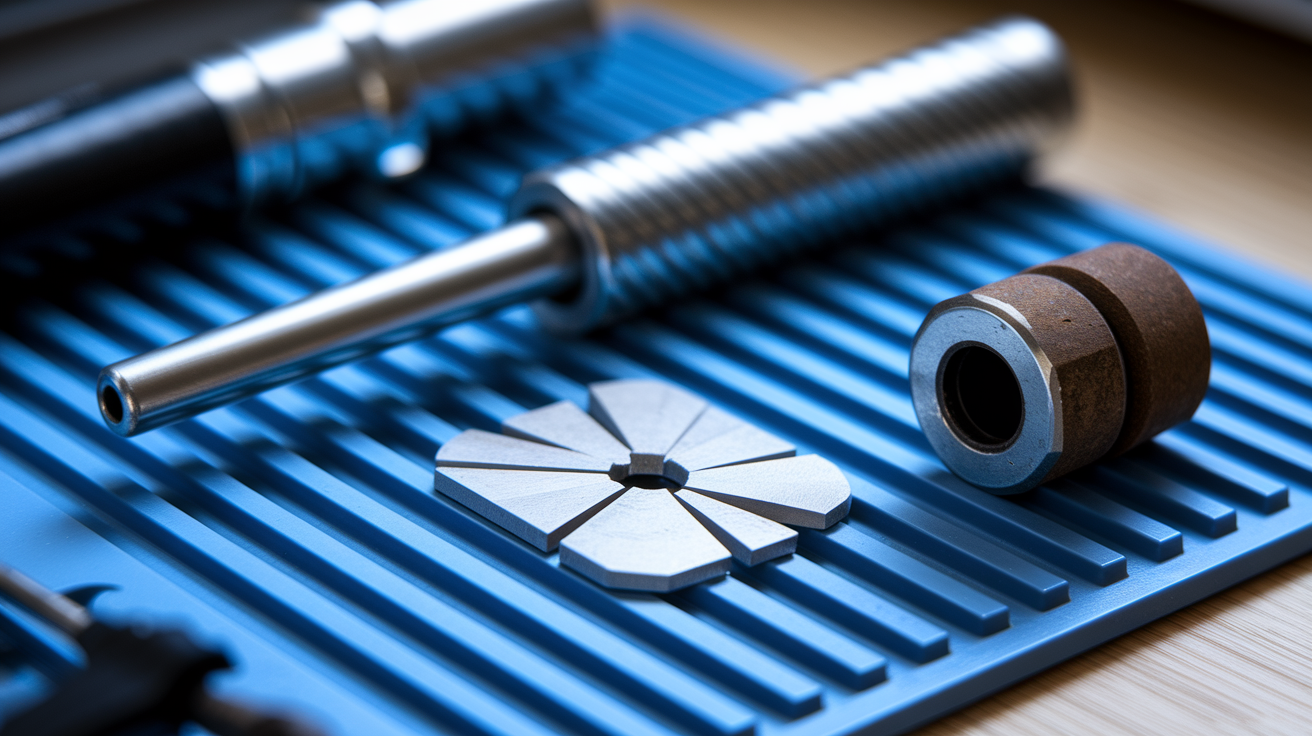
Sometimes a stuck plunger means the gun’s done. If the push rod’s severely bent and won’t straighten, if the tension spring lost its grip and won’t hold pressure, or if the thrust plate’s cracked, you’re looking at replacement parts or a new gun. Trying to force damaged components just makes things worse.
Check for these signs:
- Push rod has a sharp kink or multiple bends that won’t straighten with gentle pressure
- Tension spring feels weak and won’t retract the rod even after cleaning and lubrication
- Thrust plate has visible cracks, a stripped hole where the securing nut threads in, or a warped surface
- Securing nut threads are stripped and won’t tighten, letting the plate wobble or fall off
- Metal components have heavy rust or corrosion that won’t scrub off, leaving pitted rough surfaces
- The ratchet mechanism inside the trigger’s broken or missing teeth, causing the rod to slip
Bent rods, stripped nuts, and broken springs can be replaced individually. Check the manufacturer specs for your model to find compatible components. Most hardware stores carry generic plunger assemblies, replacement rods, and tension springs in the caulking tool section. Common brands are easy to find. Specialty or older models might need an online order.
Here’s the money question: is it worth buying parts? A replacement plunger rod runs $3 to $8. A new tension spring’s $2 to $5. A full plunger assembly with plate, rod, and hardware is $5 to $12. Compare that to a new manual caulk gun at $8 to $25 depending on quality. If you’re replacing multiple parts or the frame itself is damaged, just buy a new gun. If it’s one bent rod or a single broken spring and the rest is solid, replacement parts make sense.
Metal fatigue’s real. If you tried to straighten a bent rod with excessive force, pliers, or a hammer, the metal’s weakened even if it looks straight. It’ll bend again or snap under pressure.
Preventing Future Caulk Gun Plunger Problems
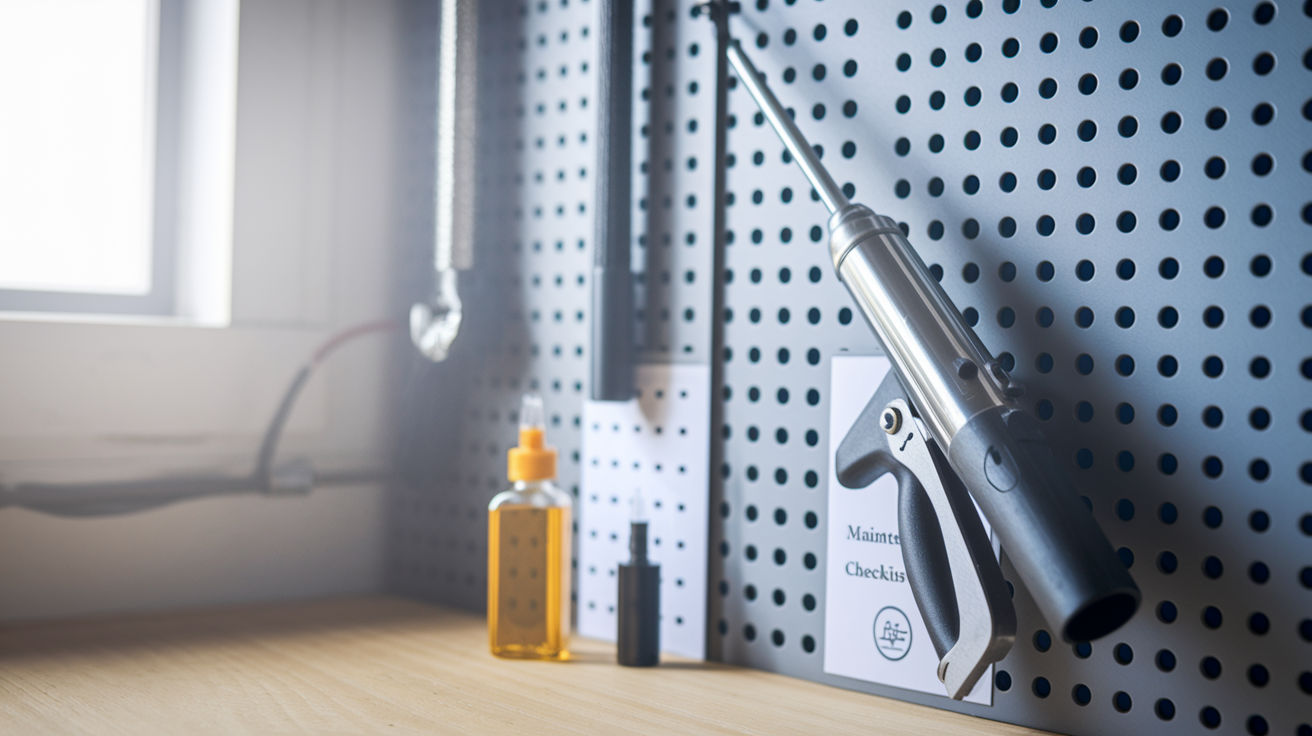
Fixing a stuck plunger once is annoying. Fixing it repeatedly means something in your routine needs to change. Prevention’s just cleaning, proper handling, and not letting dried caulk turn into concrete inside your gun.
The biggest mistake is yanking the rod without fully pressing the thumb lever or pulling at a weird angle while gripping the barrel. Every time you retract the rod, press the release firmly, tilt the gun down about 45 degrees, and pull only from the back handle. Don’t wrap your hand around the frame or hold the barrel, that engages the friction plate and locks everything. When loading a new cartridge, make sure you fully puncture the inner foil seal with the metal prong. If you don’t break through completely, pressure builds up inside and the plunger has to fight it, which can bend the rod or jam the mechanism.
Here’s what keeps a caulk gun working smoothly:
- Wipe down the push rod with a rag after every use, especially if caulk got on it
- Pull the cartridge out as soon as you’re done, don’t leave it sitting in the gun for days
- Store the gun upright or hang it so leftover sealant doesn’t drip back into the barrel
- Apply a light coat of oil to the rod every 5 to 10 uses, just a quick wipe
- Inspect the rod monthly for small bends, rough spots, or early rust before it becomes a problem
- Clean the barrel opening and thrust plate every few projects, don’t wait until it’s caked
- Use quality standard cartridges instead of bottom shelf tubes that dry out fast or leak
Most caulking problems come from cheap tools, not user mistakes. If you’re using a flimsy gun with a rough rod and loose components, it’s going to jam no matter how careful you are. Spending a little more on a gun with a smooth rod, a precision engineered drive system, and a drip free feature means you’re not fighting the tool every time. The difference between a $7 bargain bin gun and a $20 contractor grade model is whether you’re cleaning dried caulk out of the mechanism once a month or once a year.
Troubleshooting Related Caulk Gun Dispensing Issues
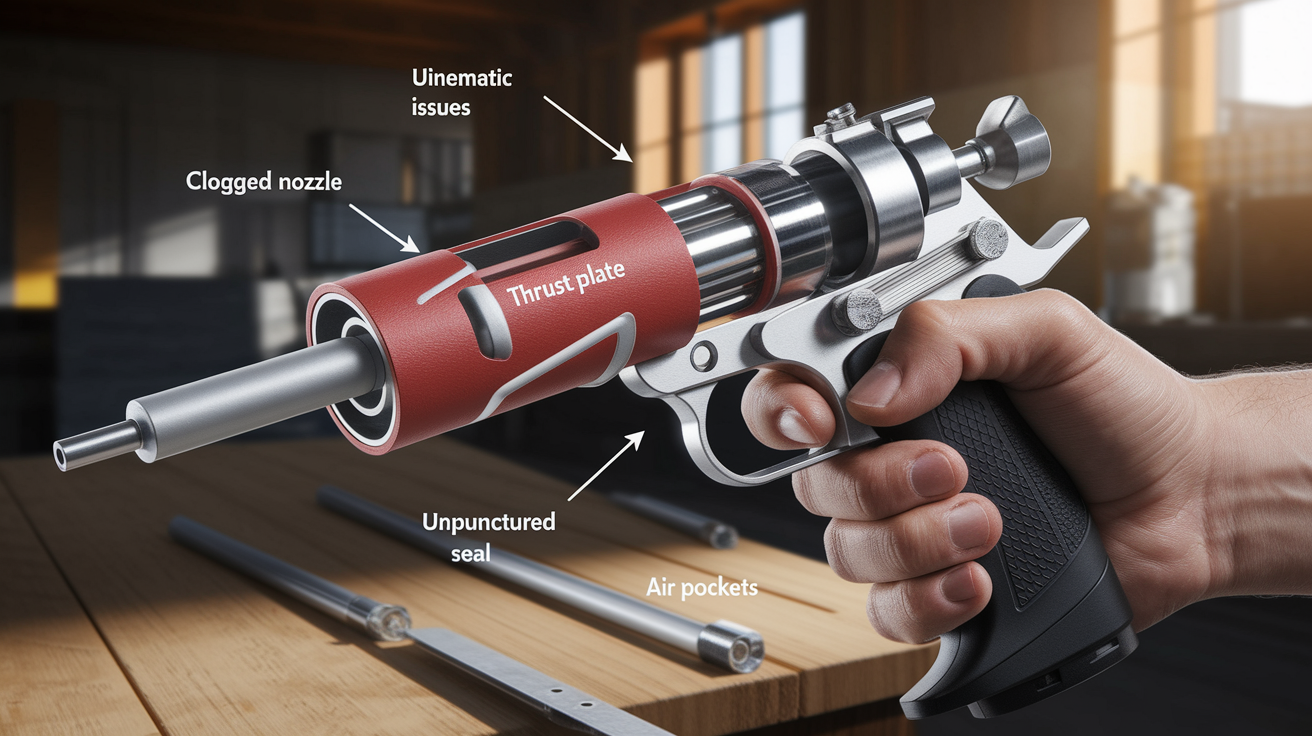
A stuck plunger often shows up with other dispensing problems. Or what looks like a stuck plunger might actually be a clogged nozzle or an unpunctured seal. If you’ve freed the rod but caulk still won’t come out, work through these.
| Problem | Cause | Quick Fix |
|---|---|---|
| No caulk flow at all | Inner foil seal not punctured | Remove cartridge, use metal prong to fully pierce seal, reload and test |
| Nozzle clogged or blocked | Dried caulk in tip opening | Cut nozzle fresh at 45 degree angle about 1/4 inch higher to expose clean opening |
| Dripping after releasing trigger | No automatic pressure release | Manually press thumb release and pull rod back slightly after each bead, or upgrade to drip free model |
| Inconsistent or sputtering flow | Air pockets inside cartridge | Tap cartridge firmly on workbench to settle material, reload and test again |
| Trigger won’t engage or click | Trigger lock or release stuck in wrong position | Check quick release button isn’t partially pressed, reset trigger lock if your model has one |
Plunger function and dispensing performance are connected. If the rod’s sticky or dragging, it can’t maintain consistent pressure on the cartridge, which causes sputtering or weak flow. If there’s an air gap between the thrust plate and the cartridge base because the plunger won’t push all the way forward, you’ll get no flow at all even though the trigger moves. Fixing the plunger often clears up what seemed like a separate nozzle or seal problem.
Some guns come with a built in spout cutter and seal puncture tool, which means you don’t have to hunt for a utility knife or that metal prong you lost three projects ago. If nothing comes out when you try to clear a clog, either you need a longer tool to reach deeper or the caulk inside dried solid and the whole cartridge needs replacing.
Choosing Quality Caulk Guns to Avoid Plunger Malfunctions
Cheap caulk guns jam, bend, and frustrate. Professional grade tools just work. Most plunger problems come from rough rods, loose components, and frames that flex under pressure. If you’re replacing a gun or buying your first one, focus on build quality, not the lowest price.
Look for smooth metal rods, not the ones with visible machining marks or rough finishes that drag inside the barrel. Precision engineered drive systems have tighter tolerances, less slop, and consistent pressure with every trigger pull. The ratchet mechanism should feel solid and click firmly, not loose or squishy. Metal components in high stress areas (the rod, thrust plate, and frame joints) last longer than plastic parts, which crack under repeated use. Skeletal style frames give you better access to the rod and barrel for cleaning compared to full barrel designs where everything’s enclosed. Automatic drip free features retract the rod slightly after you release the trigger, which reduces pressure buildup and keeps caulk from oozing out. Also means less strain on the plunger mechanism. Ergonomic grips that fit your hand encourage correct handling, which prevents the user errors that cause stuck plungers.
Here’s how different caulk gun types compare:
- Standard manual: most affordable ($8 to $15), widest cartridge compatibility, relies entirely on your technique, plunger issues are common with cheap models
- Heavy duty manual: contractor grade durability ($18 to $35), smooth rods and precision drives, fewer jams, worth it if you caulk often
- Pneumatic: consistent pressure with no manual effort, eliminates plunger issues entirely, requires air compressor, overkill for home use
- Battery powered: cordless convenience and even flow, higher cost ($40 to $80), heavier, but no plunger rod to jam
- Sausage pack compatible: uses bulk sealant tubes instead of rigid cartridges, requires adapter, plunger setup’s similar to standard guns
A quality manual caulk gun in the $15 to $35 range will outlast three or four economy models that cost $5 to $12 each. Brands that specialize in sealant dispensers know how to engineer a plunger system that won’t bind or bend. You’re paying for smooth operation, durable materials, and fewer trips to troubleshoot a stuck rod in the middle of a project.
Final Words
A caulk gun plunger stuck in place doesn’t have to end your project or force you to buy a new tool.
Most jams come down to dried residue, a bent rod, or just not holding the thumb release correctly while pulling back.
Clean it, lube it lightly, and test the release mechanism before you assume it’s toast.
If the rod won’t straighten or the spring feels completely shot, replacement parts run cheap, or you can upgrade to a smoother model.
Either way, you’re back to clean bead lines without wasting time or money.
FAQ
Why is my caulk gun not pushing out?
Your caulk gun is not pushing out because of three main causes: the inner foil seal wasn’t punctured when you loaded the tube, dried caulk is clogging the nozzle tip, or the plunger rod is stuck and can’t move forward to apply pressure.
How do you release a caulk gun plunger?
You release a caulk gun plunger by holding down the thumb release lever or quick release button located near the handle, then pulling the plunger rod straight back while angling the gun downward at 45 degrees and gripping only the back handle.
How do you release pressure on a caulking gun?
You release pressure on a caulking gun by pressing and holding the thumb lever or release button, then pulling the plunger rod back until tension stops, which retracts the push rod away from the cartridge and stops flow.
Why is my caulk gun so hard to squeeze?
Your caulk gun is so hard to squeeze because dried caulk residue or adhesive buildup is creating friction along the plunger rod, the ratchet mechanism needs lubrication, or you’re using thick sealant that requires a heavy duty gun with better leverage.
What causes a caulk gun plunger to get stuck?
A caulk gun plunger gets stuck when the push rod is bent or misaligned, dried caulk residue has built up along the barrel tube, or you’re gripping the wrong part of the handle which engages the friction plate.
Can you straighten a bent caulk gun plunger rod?
You can straighten a bent caulk gun plunger rod by applying gentle, even pressure with your hands or against a flat surface, avoiding excessive force that could cause metal fatigue, then testing smooth movement before reloading a cartridge.
How do you clean dried caulk from a plunger rod?
You clean dried caulk from a plunger rod by pulling the rod back fully while holding the thumb release, removing the cartridge, scraping hardened residue with the metal prong or screwdriver, then applying light machine oil to the cleaned rod.
When should you replace a caulk gun instead of repairing it?
You should replace a caulk gun instead of repairing it when the tension spring won’t hold pressure, the push rod won’t straighten after bending, the thrust plate is cracked, or metal components show heavy corrosion beyond cleaning.
How do you prevent caulk gun plunger problems?
You prevent caulk gun plunger problems by cleaning the barrel tube and push rod after each use, storing the gun upright without loaded cartridges, applying light lubrication every 5-10 uses, and removing cartridges promptly after finishing projects.
What type of lubricant should you use on a caulk gun?
You should use light machine oil or penetrating oil on a caulk gun, applying a thin coating along the push rod length and thrust plate contact points, then wiping off excess to prevent dripping onto surfaces during use.