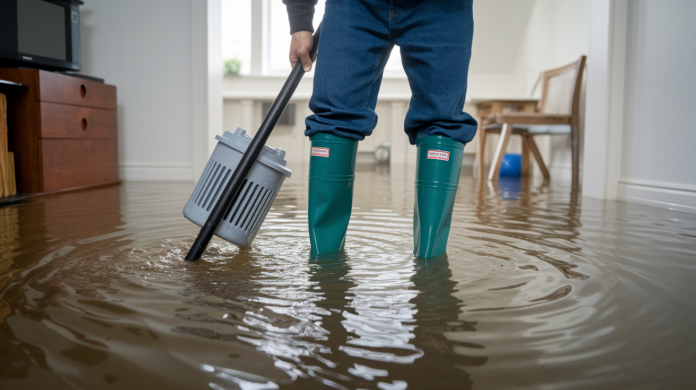

Standing water in your basement isn’t just a cleanup job. It’s a contamination event, and every hour you wait makes it worse. The water itself might be from a clean source, but the second it spreads across your floor, it picks up bacteria, chemicals, and debris you can’t see. If you’re staring at a flooded basement right now, you need a clear plan that starts with safety, moves through water removal fast, and ends with complete drying and disinfection. This guide walks you through exactly that, step by step, so you can handle this safely without making the mistakes that turn a bad situation into a long-term problem.
Immediate Safety Steps and Water Removal for Basement Flooding
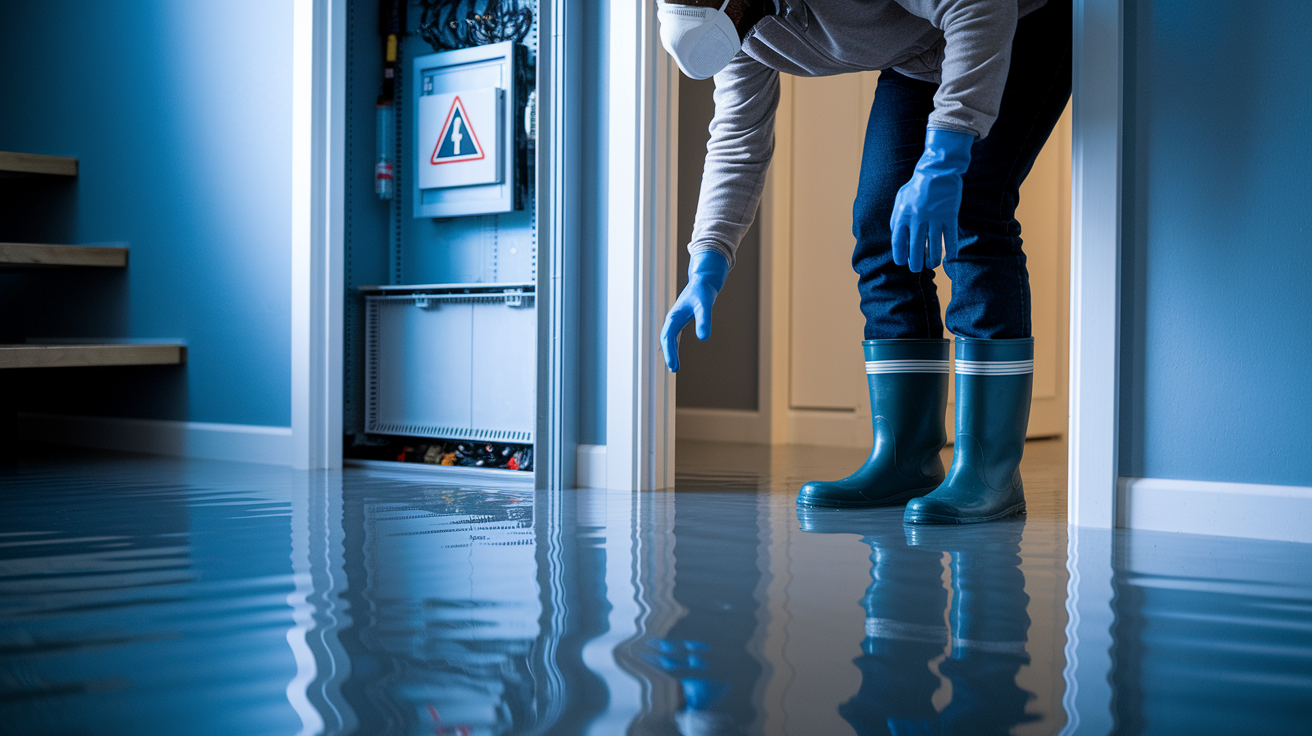
Basement flooding is an emergency, but you can’t just rush in. Safety comes first, even when you’re watching water spread across your floor.
Priority Safety and Water Removal Steps:
-
Shut off electrical power at the main breaker before you go down there. If your panel’s in the flooded area or you’re already standing in water, don’t touch it. Call your utility company or an electrician to kill the power safely.
-
Look at the water itself. Clear water from a burst pipe is one thing. Murky, smelly water is something else entirely. What you’re seeing determines your next moves.
-
Gear up before entering. You need rubber boots that go above the waterline, waterproof gloves, eye protection, and a mask. Floodwater carries bacteria, chemicals, and sharp stuff you can’t see.
-
Keep kids and pets completely away from this area. Contaminants and bacteria make it dangerous, especially if there’s any chance sewage is involved.
-
Stop the source if it’s still flowing. Shut your main water valve for pipe bursts. If it’s heavy rain, you’ll have to wait it out before you start extraction.
-
Start removing water immediately. The faster you get standing water out, the less damage you’ll deal with later. And your mold risk drops significantly.
For water removal, match your tools to what you’re facing. Submersible pumps work best when you’ve got several inches of standing water. They sit underwater and pump continuously until you’re down to about half an inch. After that, or if you’re dealing with smaller puddles, switch to a wet vacuum (shop vac). Never grab your household vacuum for this. It’s not built for wet conditions and you’re risking serious electrical shock.
You’ll need supporting equipment too. Dehumidifiers pull moisture from the air and should run nonstop once standing water’s gone. They’re essential for preventing mold in the days ahead. Industrial fans (or several box fans) create air circulation to speed drying, especially when you aim them at wet walls and floors. A moisture meter helps you find hidden moisture in corners, under carpet edges, in wooden beams, behind walls. Keep buckets and mops handy for spot cleanup. If your power’s out, you might need a generator to run pumps and fans, but never run generators indoors or anywhere enclosed.
Deciding whether to rent or buy depends on your situation. One-time flood? Renting a submersible pump and dehumidifier makes sense and costs less. But if this has happened before or you live somewhere flood prone, buying your own equipment might be worthwhile. Follow all manufacturer instructions for placement and operation. Submersible pumps need to discharge water at least 10 feet from your foundation so it doesn’t flow right back.
If water’s still rising, you see sparking electrical equipment, flooding’s deeper than a few inches and spreading fast, or you’re dealing with sewage backup, call professional restoration services immediately. Some situations are too dangerous for DIY.
Understanding Water Categories in Your Flooded Basement

The type of water in your basement determines everything. How you clean up, what precautions you take, whether you can handle this yourself or need to call pros.
| Water Category | Source Examples | Contamination Level | Safe for DIY |
|---|---|---|---|
| Category 1 (Clean Water) | Burst supply pipes, rainwater seepage through windows, melting ice and snow | No contaminants, sanitary at source | Yes, with proper equipment |
| Category 2 (Gray Water) | Washing machine overflow, dishwasher leaks, toilet overflow without feces, sump pump backup | Contains some contaminants, may cause discomfort or illness | Maybe, if acting within hours and using protective gear |
| Category 3 (Black Water) | Sewage backup from overloaded sewer lines, septic tank overflow, storm damage with soil contact, standing water over 48 hours | Highly contaminated with bacteria and dangerous contaminants | No, requires professional handling |
Black water presents the most serious health risks and you need professionals for this. Sewage backup happens when overloaded sewer lines reverse flow during heavy storms, pushing waste back through your basement drains. This water contains bacteria, viruses, and chemical contaminants that can make you seriously ill through skin contact or just breathing it in. Even Category 1 clean water becomes Category 3 if it sits for more than 48 hours, because it absorbs contaminants from building materials and starts growing bacteria.
If you’re dealing with contaminated water, especially sewage, increase your safety measures significantly. Wear disposable coveralls over your regular clothes, upgrade to N95 or N100 respirator masks, and double glove with nitrile gloves. Disinfect or throw away any clothing that contacts black water. Keep everyone without proper gear completely out until professional cleanup is done.
Step-by-Step Basement Drying and Dehumidification Process
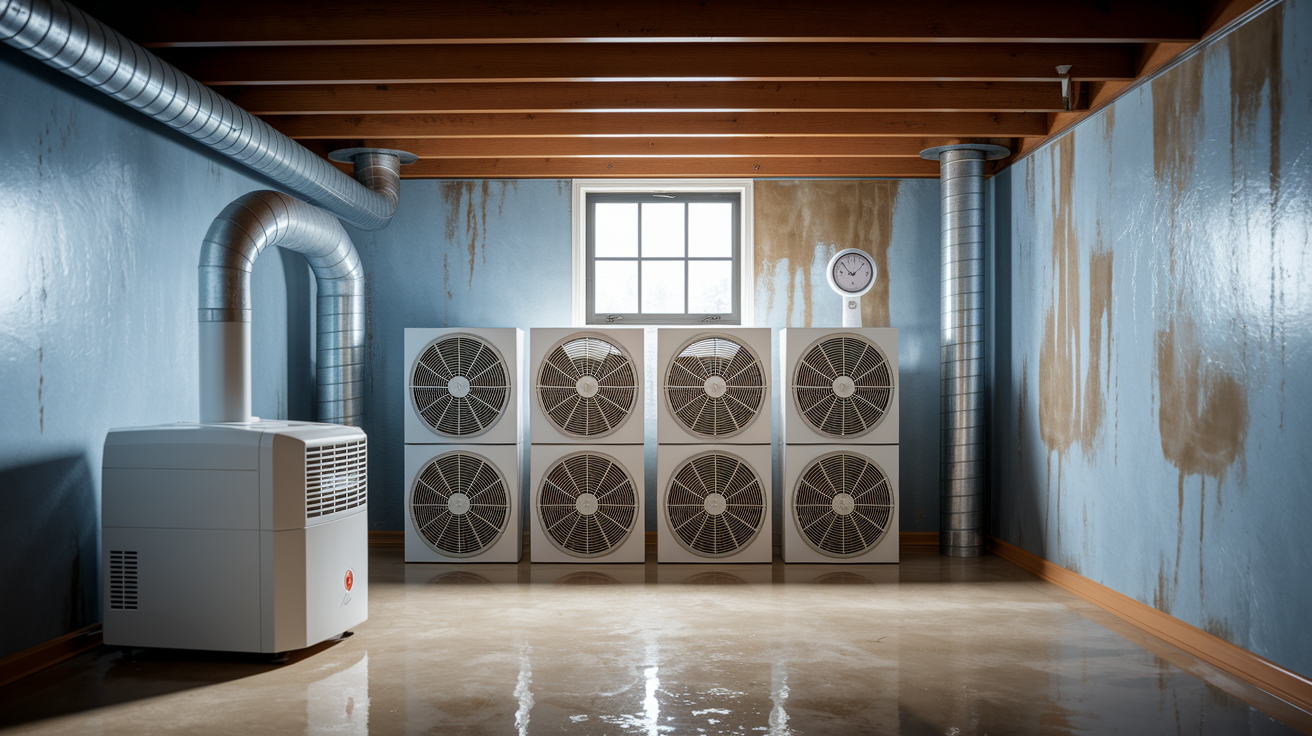
Complete drying is just as critical as getting the water out. Any moisture left behind in walls, floors, or hidden spaces will fuel mold growth within 48 hours. You can’t rush this.
Basement Drying Sequence:
-
Finish removing all standing water with pumps and wet vacuums until you don’t see any puddles on the floor.
-
Set up airflow throughout the space. Position fans to create cross ventilation. Aim them at wet walls, especially the lower two feet where water wicked up into drywall. Open windows if outdoor humidity is lower than what you’ve got inside.
-
Run dehumidifiers continuously. Empty collection buckets regularly or hook up a continuous drain hose if your model allows it. Don’t turn them off at night. They need to run for several days straight.
-
Check humidity levels twice daily using a hygrometer or your dehumidifier’s built-in meter. Test moisture content in walls and floors with a moisture meter, hitting the same spots each time to track your progress.
-
Verify everything’s dry before you move to repairs. All areas should register dry on your moisture meter, and humidity should stay below 60% even with equipment turned off for an hour.
You’re shooting for humidity below 60% and keeping it there. Mold spores need moisture to grow. Maintaining low humidity creates an environment where they can’t thrive. Most dehumidifiers show current humidity on their display. If it’s reading above 60%, the unit needs to keep running. In summer or humid climates, this might take longer than in dry conditions.
Finding hidden moisture takes some detective work. Remove wet drywall and insulation within 24 hours to let wall cavities behind them dry properly. Use your moisture meter to check corners where walls meet floors, under carpet edges if you haven’t pulled flooring yet, inside wooden beams or studs (some meters can read through materials), and behind baseboards. Moisture trapped in these hidden spots will cause problems later even if surfaces feel dry.
Drying timelines depend on flood severity, your climate, and how quickly you started. A minor flood with fast response might dry in 3 to 5 days of running fans and dehumidifiers continuously. Deeper flooding or delayed response can require 7 to 10 days or more. Don’t guess. Use your moisture meter to confirm dryness rather than assuming enough time has passed.
Cleaning, Disinfecting, and Sanitizing Flooded Basement Surfaces
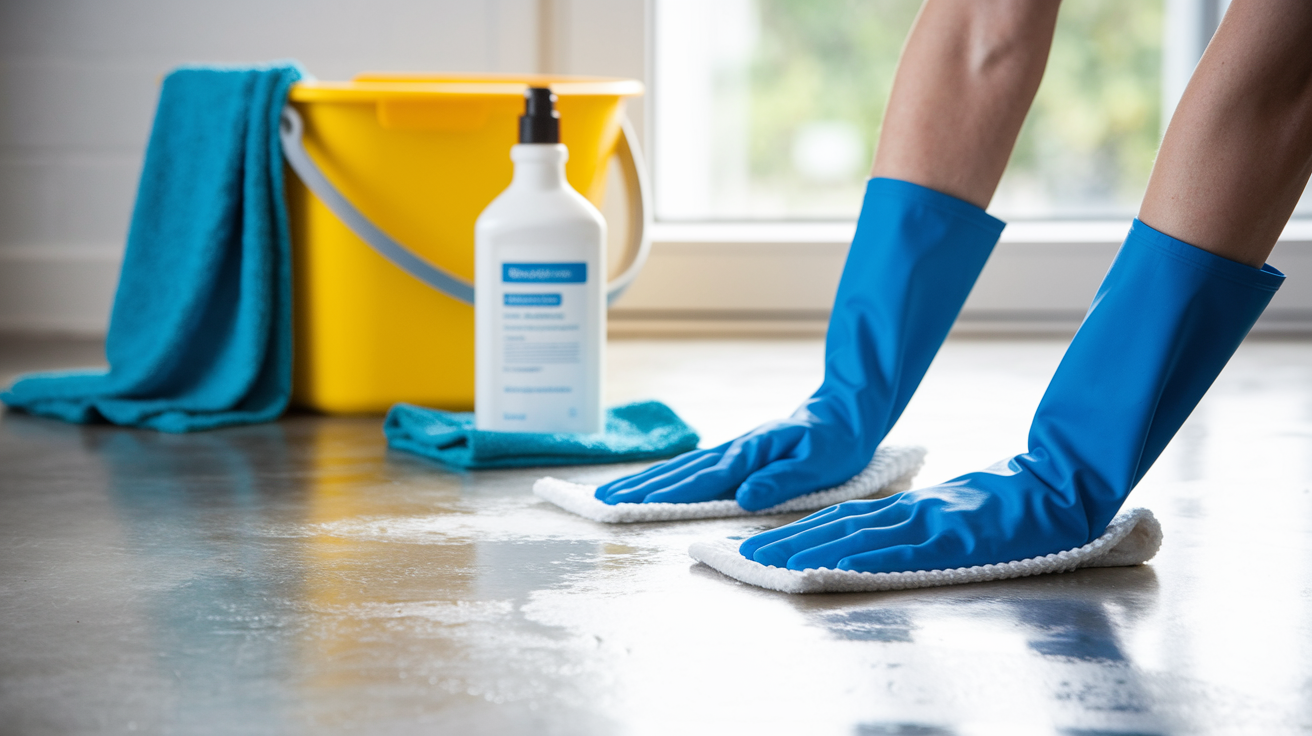
Once standing water’s gone and surfaces are drying, you need to kill bacteria and contaminants left behind by the floodwater. This prevents bacterial contamination from creating health hazards as your basement returns to use.
Thorough sanitization isn’t optional after basement flooding. Even clean water picks up contaminants as it flows across floors, walls, and belongings. Bacteria multiply quickly in damp conditions.
The most reliable disinfecting solution is basic and cheap: mix 8 tablespoons of liquid chlorine bleach per 1 gallon of water. That’s about half a cup of bleach per gallon. Mix this in a bucket and apply it to all surfaces the floodwater touched using a mop, sponge, or pump sprayer. Let the solution sit on surfaces for at least 10 minutes before wiping or rinsing. Don’t rinse immediately. The contact time is what kills bacteria.
Antimicrobial spray products offer an alternative when you’re dealing with materials that bleach might damage or discolor, like finished wood or certain metals. Look for EPA registered disinfectants labeled for flood cleanup. Follow product instructions carefully for dilution ratios and contact time. Some antimicrobial sprays work better than bleach on porous surfaces because they penetrate deeper, but they cost more.
Surface-Specific Cleaning Approaches:
Concrete floors: Scrub with bleach solution using a stiff brush to work disinfectant into the porous surface. Let it air dry after treatment.
Drywall: If you’re keeping drywall that got wet on the surface only, spray or wipe with antimicrobial solution. If water soaked through the drywall paper, it needs removal and replacement instead.
Wood framing (studs and joists): Spray exposed wood with antimicrobial spray, especially if it contacted Category 2 or 3 water. Let it dry completely before closing up walls.
Metal fixtures (pipes, ductwork, utility equipment): Wipe down with bleach solution. Rinse metal surfaces after disinfecting to prevent corrosion.
HVAC components: If your furnace or air handler was flooded, have an HVAC technician inspect it before running. Ducts may need professional cleaning to remove contaminated dust.
Contents and belongings: Disinfect hard, non-porous items like tools or plastic storage containers with bleach solution. Porous items like cardboard, fabric, or paper usually need disposal.
Ventilation during disinfection is critical. Bleach fumes are strong and can irritate your lungs, especially in an enclosed basement. Open windows, run fans to exhaust air outside, and take breaks in fresh air. Always wear gloves and masks when applying disinfectants, and never mix bleach with other cleaning products. Especially not ammonia or acids, which create toxic gases.
Avoid spreading sewage contaminants during cleanup. If you’re dealing with Category 3 black water, use disposable materials for cleaning (paper towels, disposable mop heads) and throw them away in sealed trash bags rather than rinsing and reusing cloths.
Identifying and Removing Damaged Materials from Flooded Basement
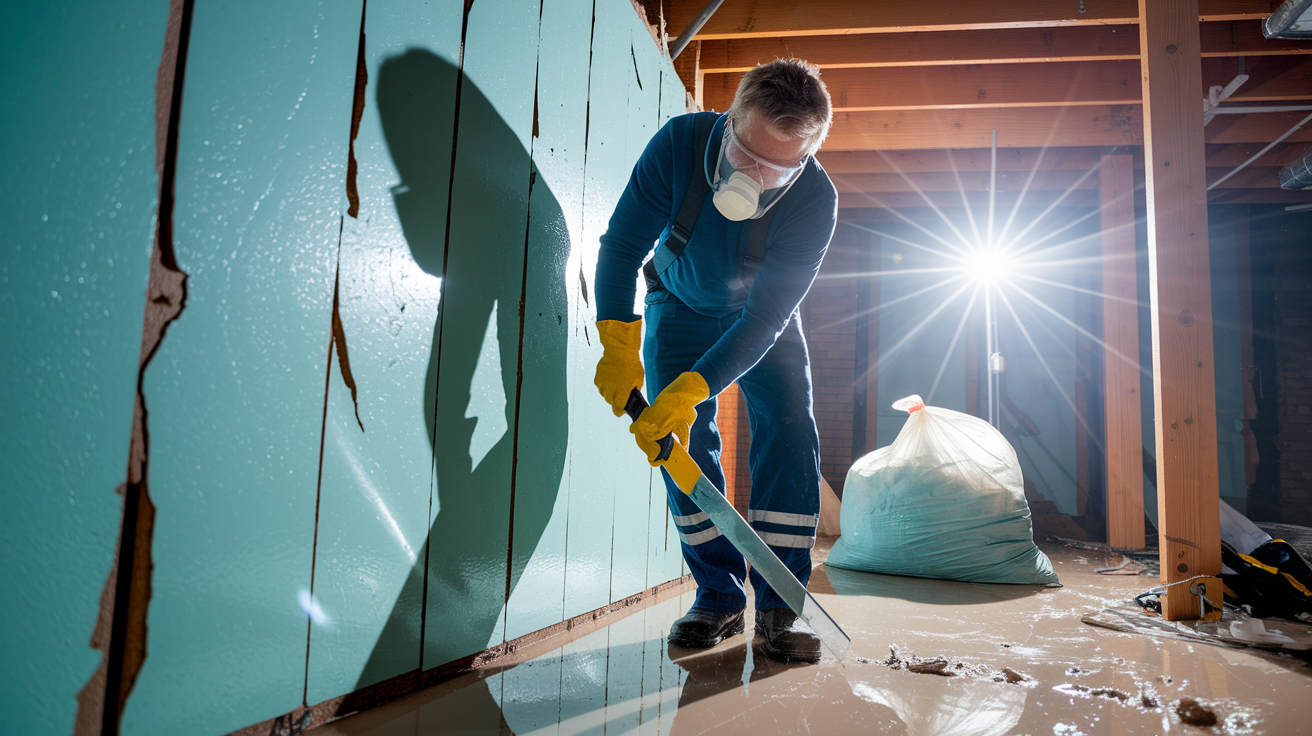
Knowing what to throw away versus what you can save prevents future mold problems and helps you move forward with repairs. Some materials simply can’t be cleaned adequately after water exposure.
Remove all flooded drywall within 24 hours to prevent mold growth. This is your most time sensitive task. Once drywall absorbs water, the paper facing becomes a perfect mold growth surface. Cutting out wet drywall also opens up wall cavities so they can dry properly.
Porous Materials That Absorb Contaminated Water
Porous materials soak up water like a sponge and trap contaminants deep inside where you can’t reach them with cleaning or disinfecting. Even if you dry them out, bacteria and mold spores remain embedded in the material. These items pose ongoing health risks and will likely develop musty odors or visible mold later.
Materials you must discard include wet carpets and carpet padding, especially if water came from Category 2 or 3 sources. Replace damaged carpet immediately if it can’t be dried quickly within 24 to 48 hours to avoid health risks from mold and bacteria. Carpet padding never dries properly and always needs replacement. Drywall that absorbed water needs removal. You can usually tell by the bottom foot or two becoming soft, crumbly, or discolored. Insulation in walls or ceilings that got soaked won’t dry properly and loses its R-value. Cardboard boxes and paper goods absorb water rapidly. Upholstered furniture and mattresses are nearly impossible to dry thoroughly and safely.
Document damaged items with photographs for insurance claims before you throw anything away. Take close-up photos showing water damage, wide shots showing the items in place, and pictures of labels or serial numbers for valuable items. Make a written inventory list with approximate ages and replacement costs.
Salvageable items include hard, non-porous materials that you can clean and disinfect. Metal shelving, plastic storage bins, glass items, and hard furniture can usually be saved if you wash and disinfect them properly. Solid wood furniture might be salvageable if it wasn’t submerged for long. Dry it slowly to prevent warping and refinish if needed. Electronics and appliances need professional evaluation before plugging them in. Photos and documents can sometimes be freeze dried by professional restoration services if they’re valuable.
For disposal, bag porous materials in heavy-duty trash bags and set them at the curb on your regular trash day if the volume is small. For larger amounts of debris, especially if you’re removing drywall from multiple walls, you’ll need to rent a dumpster or hire a debris removal service. Check local regulations, as some communities have special bulk pickup after flooding events.
Preventing Mold Growth After Basement Flooding
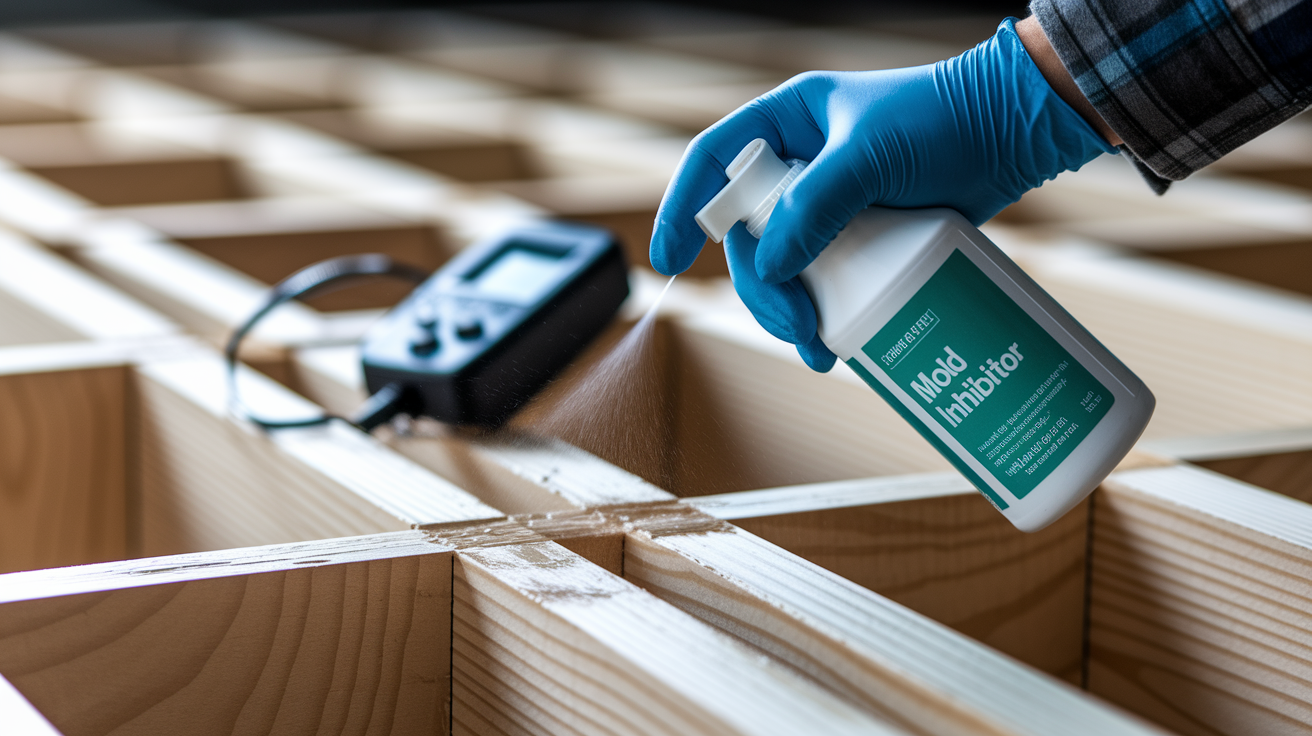
Mold can develop within 48 hours of basement flooding, which means your window for prevention is extremely short. Once mold takes hold, you’re facing a much bigger problem than just water damage.
The critical 48 hour mold development window starts the moment water contacts building materials. Mold spores are always present in the air. They’re waiting for the right conditions to grow. Moisture plus organic material (wood, drywall paper, carpet backing) creates those conditions. This is why immediate action is essential. Every hour of delay increases your mold risk.
Complete drying is your primary mold prevention strategy. Run fans and dehumidifiers for several days, typically 5 to 7 days minimum, until humidity drops below 60% and stays there. You’re not just drying surfaces you can see and touch. You’re pulling moisture out of wall cavities, floor joists, and concrete. Monitor humidity continuously with a hygrometer rather than guessing. If humidity creeps back up after you turn equipment off, start the dehumidifier again.
After complete drying but before closing up walls or refinishing, apply mold inhibitors to walls, floors, and wood to prevent long-term mold growth. These antimicrobial products create a barrier that resists mold even if minor moisture returns later. Spray or brush them onto bare wood framing, concrete foundations, and the backs of new drywall before installation. Follow product instructions for coverage rates and reapplication.
High-Risk Mold Development Locations:
Corners where walls meet floors, especially in below-grade basements where moisture tends to accumulate. Behind walls in closed cavities where air circulation is poor and moisture stays trapped. Under baseboards where water wicks up from concrete slabs and soaks into the bottom edge of drywall. In wall cavities between studs, particularly if wet insulation wasn’t removed. Around basement windows where rainwater may have seeped in and condensation collects. Near floor drains where small amounts of water sit in the drain trap or surrounding grout. In HVAC ducts if the system ran while water was present, spreading damp air and spores throughout the ductwork.
Mold often starts in places you can’t easily see. Use your nose. A musty odor is usually the first sign of hidden mold growth. If you smell it but don’t see it, check behind baseboards, inside closets, and around utility penetrations.
Health risks from mold exposure include respiratory issues like coughing, wheezing, and throat irritation, especially for people with asthma or allergies. Longer exposure can cause more serious reactions. If you see mold growth covering more than 10 square feet, smell persistent musty odors even after cleaning, or anyone in your household develops respiratory symptoms, call mold remediation specialists. They have containment equipment and air filtration systems to remove mold safely without spreading spores throughout your home.
Documentation and Insurance Claims for Flooded Basement Damage

Starting your insurance claim with complete documentation makes the difference between a smooth process and a frustrating battle. You need evidence before cleanup erases it.
Document everything immediately after flooding but before you start removing water or throwing damaged items away. Insurance adjusters need to see the extent of damage in its original state. Once you’ve pumped out water and hauled debris to the curb, you can’t recreate that evidence.
Essential Documentation Steps:
-
Photograph everything from multiple angles. Take wide shots showing the overall flooded area, medium shots of damaged sections, and close-ups of specific items. Capture water lines on walls, wet flooring, damaged furniture, and ruined belongings.
-
Record water levels by measuring and noting the depth at several locations. Take photos of a ruler or tape measure showing the water depth against the wall.
-
Walk through the space on video while narrating what you’re seeing. Describe the water source if you know it, point out damaged areas, and provide a running commentary. Video adds context that still photos miss.
-
Create an itemized list of damaged belongings with descriptions, approximate purchase dates, and estimated replacement costs. Include model numbers and serial numbers for appliances and electronics.
-
Save all receipts for emergency repairs, equipment rentals, cleaning supplies, and professional services. Insurance may reimburse emergency mitigation costs even if your claim is still being processed.
-
Note dates and timeline for when the flooding occurred, when you discovered it, when you contacted your insurance company, and when each cleanup phase happened.
For photographs, focus on showing both the scope and the details. Insurance companies want to see proof of damage but also need to understand how extensive it was. Photograph water damaged drywall before removal, wet carpet before pulling it up, and belongings in place before disposal. Include shots of the ceiling and upper walls to show whether water came from above or rose from the floor.
Understanding coverage differences helps set realistic expectations. Insurance typically covers sudden water events like pipe bursts, appliance malfunctions, or accidental overflows because these are unexpected incidents. Policies often exclude groundwater or flood damage from outside sources like heavy rain overwhelming drainage systems. Standard homeowners insurance doesn’t cover flooding from natural disasters. That requires separate flood insurance through the National Flood Insurance Program. Read your policy’s water damage section carefully or ask your agent to explain what’s covered versus what’s excluded.
Contact your insurance provider immediately after the flood, ideally within 24 hours. Report the claim, describe what happened, and ask specifically about coverage for water extraction, sanitizing, repairs, and contents replacement. Request guidance on what emergency repairs you’re authorized to make before an adjuster visits. Keep receipts for everything and work with your adjuster cooperatively to process the claim as quickly as possible.
When to Call Professional Restoration Companies for Basement Flooding
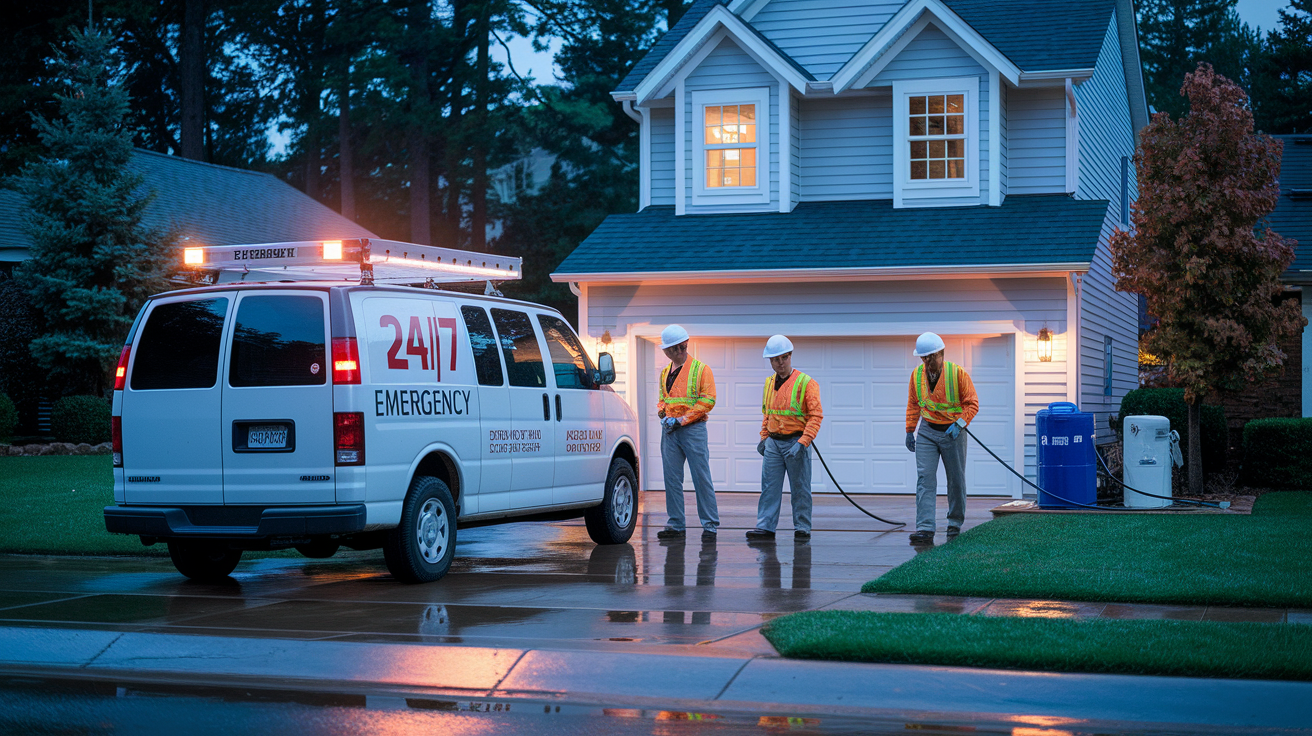
Knowing when to handle cleanup yourself versus calling professionals keeps you safe and ensures proper restoration. Some situations are beyond DIY capability.
The decision between DIY and professional cleanup depends primarily on water type, flood depth, and how long water has been standing. Clean water from a known source that you can remove quickly is often manageable yourself. Contaminated water, deep flooding, or situations where water sat for more than a few hours typically require professional equipment and expertise.
| Situation | DIY Appropriate | Professional Required |
|---|---|---|
| Clean water (Category 1) under 2 inches from burst supply pipe | Yes, if you act within hours and have proper wet vacuum or small pump | Optional for faster drying with commercial dehumidifiers |
| Clean water over 2 inches or affecting large area | Possible but challenging without professional equipment | Recommended for faster extraction and thorough drying |
| Gray water (Category 2) from appliance overflow or sump backup | Risky, only if acting immediately with full protective gear | Recommended due to contamination risks |
| Black water/sewage backup (Category 3) any amount | No, health hazards too serious | Absolutely required for safe cleanup |
| Standing water present over 24 hours regardless of source | No, becomes Category 3 and mold is likely developing | Yes, needs professional mold assessment |
| Visible structural concerns like sagging floors or bowing walls | No, safety risk during cleanup | Yes, requires structural engineer evaluation first |
Contaminated water with sewage backup or chemical contamination absolutely requires professional intervention due to serious health hazards. Black water contains bacteria including E. coli and other pathogens that cause illness through skin contact, ingestion, or breathing contaminated air particles. Professionals wear hazmat level protective equipment, use specialized disinfectants rated for sewage cleanup, and follow strict protocols for containing and removing contaminated materials. They also understand proper disposal regulations for hazardous waste.
Professional restoration companies bring equipment and expertise that exceed typical DIY capability. Their specialized submersible pumps move hundreds of gallons per hour, dramatically faster than consumer wet vacuums. They use truck mounted extraction systems for deep flooding and industrial dehumidifiers that pull moisture 3 to 4 times faster than residential units. Proper water discharge is critical. They pump water far from your foundation to prevent it from seeping back. They also have thermal imaging cameras to find hidden moisture, commercial air movers for faster drying, and hydroxyl generators or ozone machines for odor elimination.
When selecting qualified restoration companies, verify they carry proper licensing including licensed journeyman plumbers on staff if they’re handling plumbing related flooding. Ask for upfront pricing in writing before work begins. Reputable companies provide detailed estimates covering equipment, labor, materials, and timeline. Look for workmanship guarantees that protect you if mold develops or repairs fail due to improper drying. Check that they work with insurance companies and can bill directly or provide documentation your insurer needs. Ask about their typical response time. The best companies offer 24 hour emergency service since fast action is critical.
Professional service costs vary widely based on flood severity and scope. Small cleanup for a minor backup might cost a few hundred dollars. Major flood work requiring days of pumping, complete drywall removal, antimicrobial treatment, and reconstruction can reach several thousand dollars. Many insurance policies cover professional water mitigation costs, so factor that into your decision even if the upfront price seems high.
Structural Repairs and Material Replacement in Flooded Basements

Once your basement is completely dry and disinfected, you can begin rebuilding damaged areas. Rushing into repairs while moisture remains is the most common mistake. It locks dampness inside walls and guarantees mold problems later.
Wait for verified complete dryness before starting any reconstruction. Use your moisture meter to confirm all framing, concrete, and subflooring registers at normal dry levels. This might feel like a frustrating delay, but it prevents having to tear out new drywall in a few months when mold appears.
Drywall and insulation replacement should use mold-resistant products in basements prone to moisture. Install mold-resistant drywall (often called green board or purple board) which has moisture-resistant facing that doesn’t support mold growth as readily as standard paper-faced drywall. Use closed cell foam insulation in rim joists and lower walls instead of fiberglass batts. Foam doesn’t absorb water and maintains insulating value even if it gets damp. If you’re replacing fiberglass insulation, choose faced batts with a vapor barrier and install them with the barrier toward the warm side of the wall.
Flooring options for flood prone basements should prioritize water resistance over appearance. Luxury vinyl plank flooring (LVP) is 100% waterproof and looks like wood without the moisture problems. Tile and stone are naturally water resistant and work well in basements, though you’ll want to seal grout lines properly. Concrete can be painted, stained, or sealed as a durable, water-resistant finished floor. Avoid carpet in basements with any flood history. It’s a mold magnet. If you must have soft flooring, use removable carpet tiles that you can pull up and dry if water returns.
Foundation weakening and concrete floor and wall cracks result from long-term water exposure, especially from repeated flooding cycles. Look for hairline cracks widening into larger gaps, new cracks appearing where walls meet floors, horizontal cracks in foundation walls which indicate pressure issues, and areas where concrete is crumbling or flaking. Minor surface cracks can be sealed with polyurethane caulk or hydraulic cement. Wider structural cracks, especially horizontal ones or cracks wider than 1/4 inch, need professional evaluation.
Structural assessments by licensed engineers become necessary when you see significant cracking, bowing walls that bulge inward, floors that slope noticeably or feel soft when walking, or if the flooding was severe enough to saturate soil around your foundation and potentially shift it. Engineers can determine whether damage is cosmetic or threatens your home’s structural integrity. Their reports are also valuable for insurance claims and required if you’re doing major foundation repair work that needs permits.
Preventing Future Basement Flooding and Water Damage

After dealing with one basement flood, preventing future flooding becomes a priority. Multi-layer protection systems address water from multiple sources and provide backup if one system fails.
Exterior Water Management Systems
Exterior solutions keep water away from your foundation before it can enter your basement. Start with extending downspouts 1.8 to 3 meters (6 to 10 feet) from your house to prevent gutter overflow near the foundation. Downspouts that dump water right next to your foundation create constant pressure on basement walls. Use solid extensions or underground drainage pipes to carry water to a safe discharge point.
Clean gutters regularly, at least twice per year in spring and fall, and more often if you have overhanging trees. Clogged gutters overflow and pour water down your foundation walls. Install gutter guards if regular cleaning is difficult.
Proper yard grading prevents rainwater from pooling near foundation walls. Your yard should slope away from the house at a minimum grade of 1 inch of drop per foot of distance for at least 6 feet around the perimeter. Add soil near the foundation if needed to create this slope.
Seal all cracks and crevices in basement walls and floors with polyurethane caulk or hydraulic cement. Check for foundation cracks annually and seal them with waterproof sealants to prevent future water entry. Polyurethane caulk works well for small cracks and joints because it stays flexible. Hydraulic cement is better for larger cracks and active leaks. It expands as it cures to fill gaps and can even set underwater.
Interior Drainage and Backup Systems
Interior systems handle water that gets past your exterior defenses. Install an electric sump pump with battery operated backup sump pump for prevention and reliability. The primary pump handles normal water volume, while the battery backup activates during power outages, which often happen during the heavy storms that cause flooding. Test your sump pump before each rainy season by pouring water into the pit until it activates.
Install interior drainage system connecting to sump pump at the lowest basement point where floor meets foundation. This perimeter drain system (also called a French drain when installed inside) collects water seeping through the foundation before it can spread across your basement floor. The system connects to your sump pump which discharges water outside.
Weeping tile is a porous pipe option for underground water collection or discharge. Installed around your foundation’s exterior below the footing, weeping tile collects groundwater and directs it to a collection point or sump pump. Interior weeping tile installations work similarly but inside the basement perimeter.
Install a backwater valve to keep sewage away from basement and prevent sewage entry when municipal sewer lines become overloaded during heavy rain. This one-way valve allows water to flow out of your basement drains but prevents reverse flow back in. It’s especially important in areas with older combined sewer systems.
Essential Prevention Measures:
Install sump pump with battery backup system to handle power outages during heavy rain when flooding risk is highest. Add backwater valve in main sewer line to prevent sewage backup when municipal systems overload. Extend all downspouts 1.8 to 3 meters (6 to 10 feet) from foundation using solid extensions or underground pipes. Clean gutters at least twice yearly and install gutter guards to prevent overflow near foundation. Seal foundation cracks using polyurethane caulk for small cracks or hydraulic cement for larger gaps and active leaks. Install interior perimeter drainage system along foundation joint connecting to sump pump at lowest point. Consider weeping tile around exterior foundation for underground water collection before it reaches basement. Grade yard with minimum 1 inch drop per foot for at least 6 feet around house perimeter. Inspect weeping tiles and perimeter drains annually to confirm they’re not blocked by soil or roots.
Maintenance schedules keep prevention systems working. Test your sump pump monthly during wet seasons by pouring water into the pit. Clean gutter systems twice yearly. Check foundation cracks each spring after freeze thaw cycles. Inspect grading annually and add soil where settling has reduced slope. Verify backwater valve operation every 6 months by observing it during heavy water use.
The cost-benefit analysis of prevention investments shows these measures save money compared to repeated flood cleanup. A sump pump with backup costs $800 to $1500 installed but prevents thousands in water damage. Foundation crack sealing runs $300 to $800 for typical repairs but stops water entry that would cause ongoing damage. Proper grading and downspout extensions cost $500 to $2000 but protect your foundation from long-term weakening. Even one avoided flood pays for these prevention investments.
Final Words
A flooded basement demands fast, methodical action.
Shut off power, remove standing water with the right equipment, identify contamination level, dry everything completely, disinfect all surfaces, and remove damaged materials within 24 hours to prevent mold.
Don’t skip the documentation for insurance or the prevention upgrades that keep it from happening again.
If you’re dealing with sewage backup, black water, or deep flooding, call professionals. Otherwise, you can learn how to clean up flooded basement damage safely and thoroughly with the right gear and a clear plan.
You’ve got this.
FAQ
What do you need to clean up a flooded basement?
To clean up a flooded basement, you need protective gear (rubber boots, waterproof gloves, face mask), water removal equipment (submersible pump or wet/dry vacuum), fans, a dehumidifier, bleach for sanitizing, and a moisture meter to check for hidden dampness.
Should I wear a mask while cleaning up a flooded basement?
You should wear a face mask while cleaning up a flooded basement because floodwater often contains harmful bacteria, sewage contaminants, and mold spores that can cause respiratory issues if inhaled during cleanup.
Will homeowners insurance pay for a flooded basement?
Homeowners insurance will typically pay for a flooded basement if the water came from a sudden event like a burst pipe, but may exclude damage from groundwater seepage or external flooding depending on your specific policy coverage.
How do I get 2 inches of water out of my basement?
To get 2 inches of water out of your basement, use a wet/dry vacuum for smaller areas or a submersible pump for faster removal across larger spaces, then run fans and a dehumidifier to dry remaining moisture completely.
How long does it take to dry out a flooded basement?
Drying out a flooded basement typically takes several days of running fans and dehumidifiers continuously until humidity drops below 60 percent, with exact timing depending on flood severity and ventilation conditions.
Can I clean a flooded basement myself or do I need professionals?
You can clean a flooded basement yourself if it’s clean water under 2 inches and caught quickly, but you need professionals for sewage backup, gray or black water, standing water over 24 hours, or structural damage.
What materials must be thrown out after a basement flood?
Materials that must be thrown out after a basement flood include wet carpet, soaked drywall, contaminated insulation, cardboard, and upholstered furniture because these porous items absorb dirty water and cannot be adequately cleaned or dried.
How quickly does mold grow after basement flooding?
Mold grows within 48 hours after basement flooding, making immediate water removal and complete drying critical to prevent mold development in corners, behind walls, and other damp areas where spores thrive.
What is the difference between Category 1, 2, and 3 water damage?
Category 1 water damage comes from clean sources like supply pipes, Category 2 (gray water) contains contaminants from appliances, and Category 3 (black water) is highly contaminated sewage requiring professional cleanup.
How do I prevent my basement from flooding again?
To prevent your basement from flooding again, install a sump pump with battery backup, extend downspouts 6 to 10 feet from the foundation, seal foundation cracks, maintain gutters, and add a backwater valve to block sewage backflow.