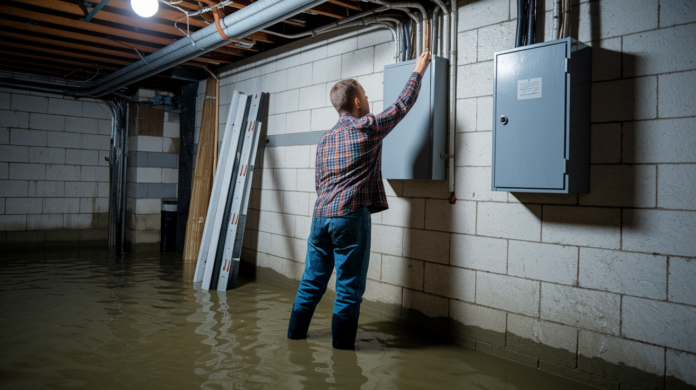

Standing water in your basement doesn’t just sit there. Every hour it spreads deeper into drywall, insulation, and wood framing, turning a cleanup job into a demolition project and starting a mold clock that expires in 24 to 48 hours. Speed and method both matter. This guide walks you through safe water extraction, the right drying equipment for your flood depth, and a day-by-day timeline to get your basement actually dry, not just damp, before permanent damage sets in.
Critical Safety Measures Before Entering Flooded Basement
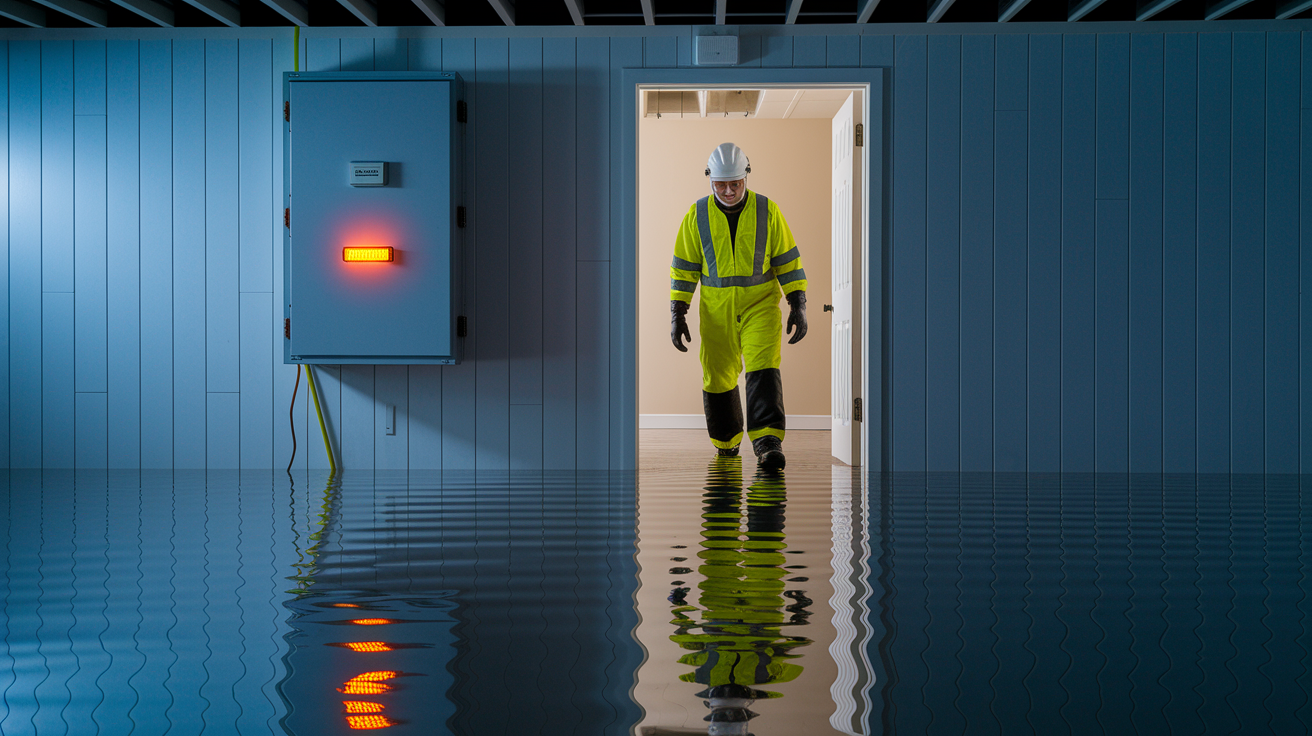
Check for hazards before you step into any flooded basement. Water and electricity together can kill you, and contaminated floodwater carries serious health risks that need specific protection before you start removing water.
6-Step Safety Protocol:
-
Shut off electricity at the main breaker. Find your home’s electrical panel (usually first floor or outside), flip the main breaker to OFF, and use a non-contact voltage tester to verify power’s completely dead before you enter the flooded area.
-
Check for gas leaks. If you smell gas or suspect a line break, get out immediately and call your utility company from outside.
-
Assess water contamination level. Look at water color, smell, and source to figure out if it’s clean, gray, or black water.
-
Put on full protective equipment before entry. This isn’t optional for any basement water exposure.
-
Inspect for structural damage. Look for bowing walls, sagging ceiling joists, or large foundation cracks from outside before you go in.
-
Ensure adequate ventilation. Open basement windows and run fans from a safe, dry area to circulate air before extended work periods.
Turn off electricity by finding your main electrical panel and switching the main breaker to OFF. If the panel itself is underwater or in the flooded area, call an electrician or your utility company to disconnect power from outside the house. Never assume a breaker’s off. Use a non-contact voltage tester on outlets and light switches in the basement to confirm power’s completely dead. If you’re not confident identifying your main breaker or can’t verify the shutoff, hire an electrician before entering. This step prevents electrocution, which is the leading cause of death in flooded basements.
Floodwater falls into three contamination categories. Category 1 is clean water from a broken supply line or water heater. Still requires caution but poses minimal health risk. Category 2 (gray water) comes from washing machines, sump pump failures, or toilet overflow without feces, and contains bacteria and detergents that cause illness. Category 3 (black water) includes sewage backups, river flooding, or ground water that sat more than 48 hours, carrying dangerous bacteria, viruses, and chemical contaminants. Categories 2 and 3 require professional remediation due to serious disease risk.
Wear waterproof rubber boots rated for electrical hazard protection, heavy-duty rubber gloves that extend past your wrists, an N95 respirator mask (not a dust mask), and safety glasses or goggles. Long sleeves and pants protect skin from contaminated water contact. Category 3 water exposure demands even stricter protection. Tyvek suits and professional-grade respirators.
Call professionals instead of attempting DIY drying if water’s deeper than 1 inch across a large area, if you have Category 2 or 3 contamination, if you see bowing foundation walls or structural cracks, if water’s still actively entering and you can’t locate the source, or if your main electrical panel is submerged.
Water Extraction Methods and Equipment Selection
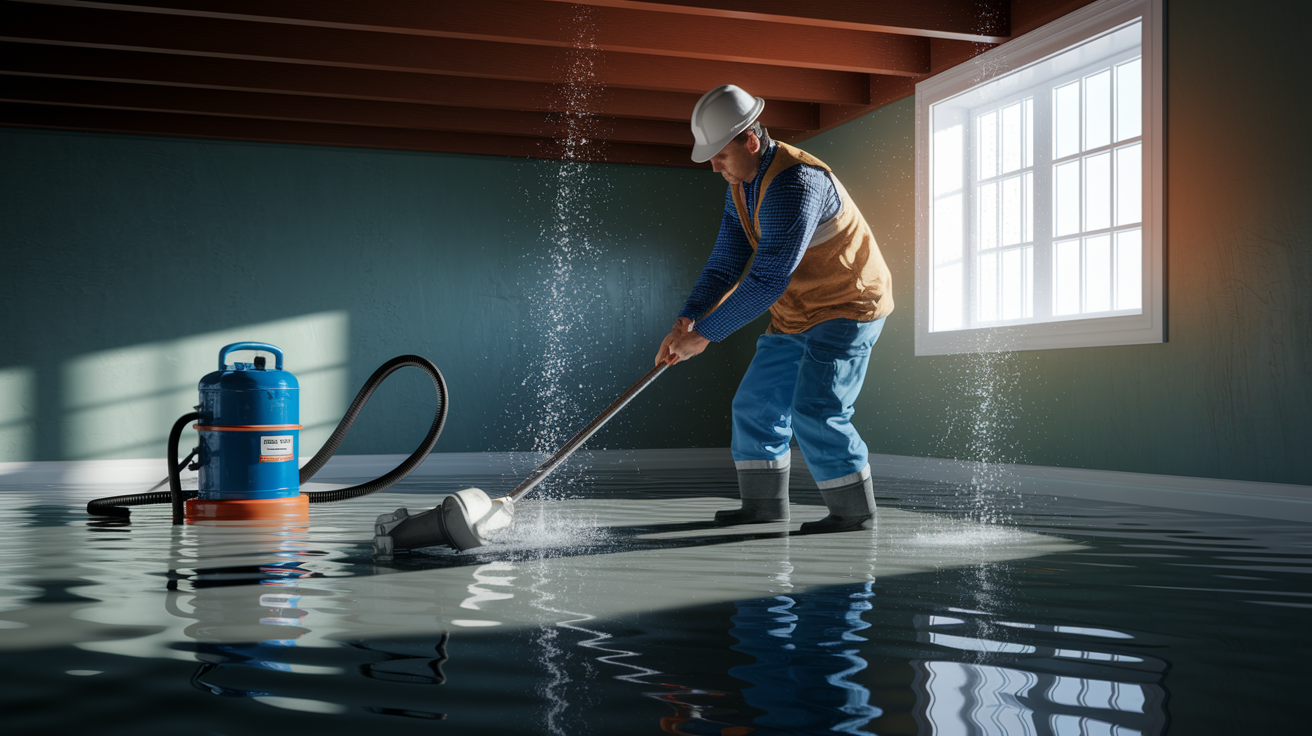
Water extraction method depends on how deep the flooding is and how many square feet are affected. A small leak that created a puddle needs different equipment than three inches of standing water across your entire basement floor.
Remove water as quickly as possible within the first 24 hours. Every hour water sits, it spreads deeper into porous materials like drywall, wood framing, insulation, and concrete. This makes the drying process longer and significantly increases your mold risk.
| Water Depth | Recommended Equipment | Extraction Method | Typical Timeline |
|---|---|---|---|
| Less than 1 inch (puddles/small area) | Wet/dry shop vacuum (6+ gallon capacity) | Vacuum water in overlapping passes, empty tank frequently, mop remaining moisture | 2-4 hours for average basement |
| 1-3 inches (moderate flooding) | Portable utility pump (1/4 to 1/2 HP) | Place pump at lowest point, run discharge hose outside, monitor continuously | 3-6 hours depending on square footage |
| 3+ inches (significant flooding) | Submersible sump pump (1/2 to 3/4 HP) | Submerge pump in deepest area, use heavy-duty discharge hose, run until water level drops below 1 inch | 4-12 hours for full extraction |
| Severe flooding (rapid water entry or structural concerns) | Professional truck-mounted extraction system | Industrial pumps, multiple operators, structural assessment, contamination protocols | Varies by severity, typically 1-2 days |
Start pumping or vacuuming at the lowest point of your basement where water naturally pools. For pump operations, run the discharge hose at least 10 feet away from your foundation so extracted water doesn’t seep right back in. Keep pumps and wet vacs running continuously until you’ve removed all standing water. Stopping and starting extends the timeline and allows more water absorption into walls and floors. Check the pump intake screen every 30 minutes to clear debris that slows flow rate.
Pull all wet furniture, area rugs, storage boxes, and belongings out of the flooded area immediately, even while water extraction is ongoing. Leaving items sitting in water or on wet floors traps moisture underneath, prevents airflow, and creates guaranteed mold growth zones within 24 to 48 hours. Move salvageable furniture to a dry area of your house or garage for separate drying. Discard cardboard boxes, particleboard furniture, and heavily saturated upholstered items.
Speed matters critically in the first 24 to 48 hours. This is the window before mold spores that exist naturally in your basement activate and begin colonizing wet surfaces. Every hour of delay means deeper water penetration into building materials, higher restoration costs, and increased likelihood you’ll need to remove drywall and insulation instead of just drying them in place.
Drying Process: Equipment, Timeline and Steps
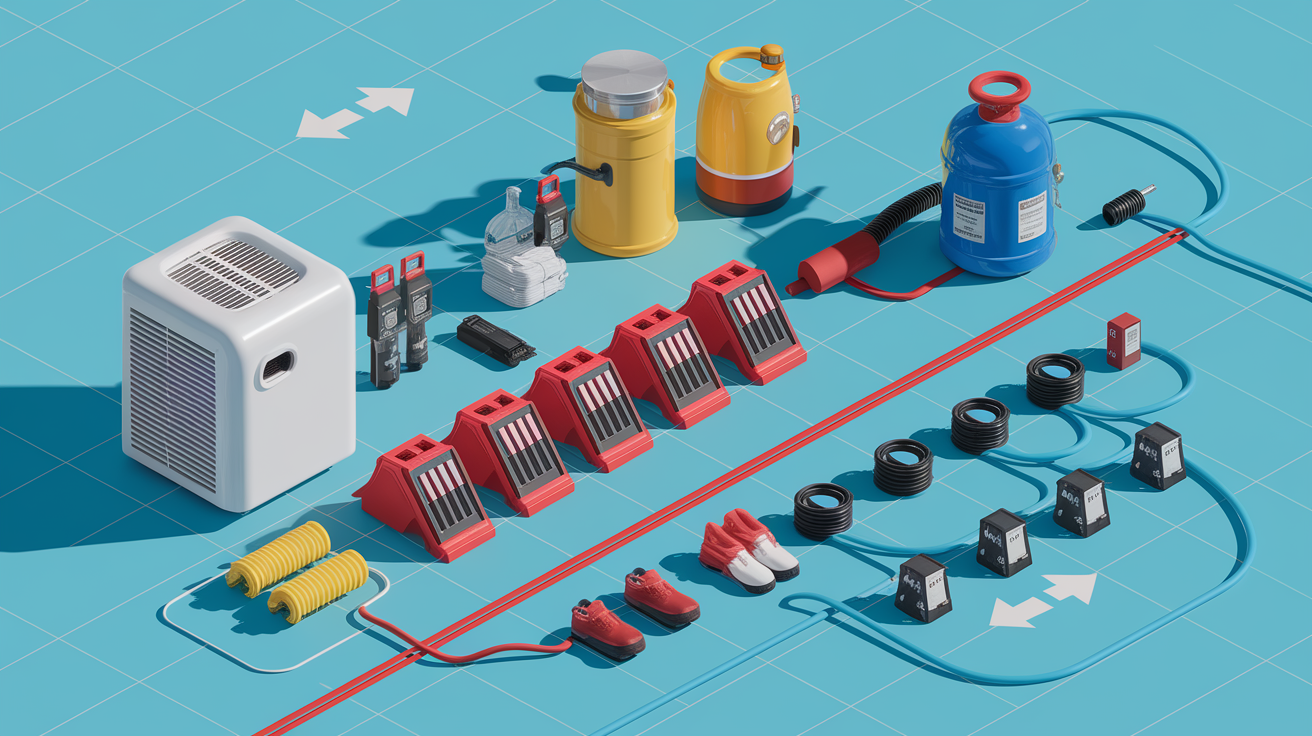
Drying equipment falls into three essential categories. Dehumidifiers that pull moisture from the air, air movers and fans that circulate air across wet surfaces to speed evaporation, and moisture meters that tell you when materials are actually dry instead of just feeling dry to the touch.
Household box fans and portable dehumidifiers work for minor water incidents, but significant basement flooding requires commercial-grade equipment. Industrial dehumidifiers remove 2 to 3 times more moisture per day than consumer models, and professional air movers push 10 times the cubic feet per minute (CFM) of standard fans. This cuts your drying timeline from weeks to days.
8 Essential Drying Tools:
- Dehumidifiers: Commercial units rated 70 to 90 pints per day for basements up to 1,000 square feet. LGR (low grain refrigerant) models for faster moisture removal in saturated spaces
- High-velocity air movers: Rated 2,000 to 3,000 CFM to create rapid airflow across floors and up walls
- Moisture meters: Pin-type for wood and drywall (readings should be below 15% for wood, below 1% for drywall). Pinless meters for concrete and tile
- Wet/dry vacuum: 6+ gallon capacity for ongoing water removal and cleaning
- Heavy-duty extension cords: 12-gauge or thicker, rated for continuous use to safely power multiple devices
- Protective gear: Rubber boots, gloves, N95 mask for ongoing work in damp environment
- Cleaning supplies: Buckets, scrub brushes, antimicrobial cleaner, rags for surface disinfection
- Hygrometers: Monitor indoor relative humidity with target below 50 percent
Days 1-2: Equipment Setup and Initial Moisture Extraction
Position one commercial dehumidifier for every 500 square feet of basement space. Place units in the center of rooms, not against walls, so air can circulate into the intake vents from all sides. Empty the collection tank every 6 to 8 hours (or run a discharge hose to a floor drain if available).
Set up air movers at 45-degree angles pointed at wet walls to push air up the surface, creating maximum evaporation. Space fans 10 to 12 feet apart and aim them so air flows across the entire floor. Think of creating a circular airflow pattern. Fans on one side push air toward the opposite wall, where it travels up, across the ceiling, and returns to complete the loop.
Run all equipment 24 hours a day without stopping. Turning dehumidifiers and fans off at night to save electricity extends your drying timeline by days and gives mold the dark, stagnant conditions it needs to establish. Continuous operation is non-negotiable for the first 48 to 72 hours.
Days 3-5: Intensive Drying and Monitoring
Check relative humidity with a hygrometer twice daily. Your target is below 50 percent, ideally 40 to 45 percent. If humidity isn’t dropping after 48 hours of equipment operation, you likely have hidden moisture behind walls or under flooring that needs professional inspection.
Use your moisture meter on walls starting from the floor and moving up every 12 inches to create a moisture map. Test drywall on both sides if possible by accessing the wall from an adjacent room. Check concrete floors in a grid pattern, testing every 4 feet. Document your readings in a notebook to track actual drying progress.
Move air movers to target new areas every 24 hours. Start with the wettest zones identified by your moisture meter, then gradually shift coverage as those areas dry. Concentrate airflow on exterior walls and corners where air circulation is naturally poor.
Open windows only if you verify with a hygrometer that outside air is less humid than your basement air. In summer months or after rainstorms, outdoor humidity often exceeds 60 to 70 percent, which would actually add moisture to your drying efforts. If outdoor conditions are drier, create cross-ventilation by opening windows on opposite walls.
Check spaces behind stored items, inside closets, and underneath stairs where air movement is limited. Pull back any remaining carpet edges to test the subfloor beneath. These hidden areas hold moisture longer than exposed surfaces.
Days 6-7: Final Drying Verification and Testing
Your moisture meter is the only reliable tool to confirm complete dryness. Surfaces feel dry to your hand long before they’re actually safe to seal or cover. Test wood materials (studs, floor joists, subfloor) until readings consistently show below 15 percent moisture content. Test drywall until readings drop below 1 percent. For concrete floors and foundation walls, target below 4 percent.
Test at least 10 different locations per room, including corners, along the floor/wall joint, in closets, and near any area that had standing water. All readings must be at acceptable levels. One high reading means you continue drying.
Run your hand along baseboards and the bottom 12 inches of drywall. Cool or cold spots indicate trapped moisture that’s still evaporating. These areas need continued air circulation until they match room temperature.
Identifying and Disinfecting Different Types of Basement Water Damage

Water contamination level determines your safety approach, cleaning methods, and whether you can handle the work yourself or need professional sanitization.
| Water Category | Source Examples | Contamination Level | DIY Safe |
|---|---|---|---|
| Category 1 (Clean Water) | Broken supply line, water heater leak, melted snow, rainwater through window | No sewage or chemical contamination, but not safe to drink | Yes, with basic protective gear |
| Category 2 (Gray Water) | Washing machine overflow, sump pump backup, toilet overflow without feces, dishwasher leak | Contains bacteria, detergents, and microorganisms that cause illness | Only if caught within 48 hours and area is small |
| Category 3 (Black Water) | Sewage backup, river or ground flooding, Category 1 or 2 water that sat more than 48 hours | Highly contaminated with bacteria, viruses, chemicals, pesticides, heavy metals | No, requires professional remediation |
For Category 1 clean water, disinfect all affected surfaces after drying with a solution of 1 cup household bleach per gallon of water. Scrub hard surfaces (concrete floors, tile, metal shelving) with a stiff brush, let the solution sit for 10 minutes, then rinse with clean water and dry with towels. Wear rubber gloves and open windows for ventilation while working with bleach. For wood surfaces, use a commercial antimicrobial wood cleaner instead of bleach, which can discolor or damage finish.
Category 2 and 3 water require professional sanitization because standard household cleaning doesn’t eliminate the full spectrum of pathogens present in contaminated water. Professional restoration companies use EPA-registered antimicrobial solutions applied with foggers or misters that reach inside wall cavities and porous materials where bacteria colonize. They also follow specific protocols for removing contaminated insulation, drywall, and carpeting that can’t be adequately disinfected. Attempting DIY cleanup of sewage-contaminated areas exposes you to hepatitis, gastroenteritis, and serious respiratory infections.
Preventing Mold Growth During Basement Flood Cleanup
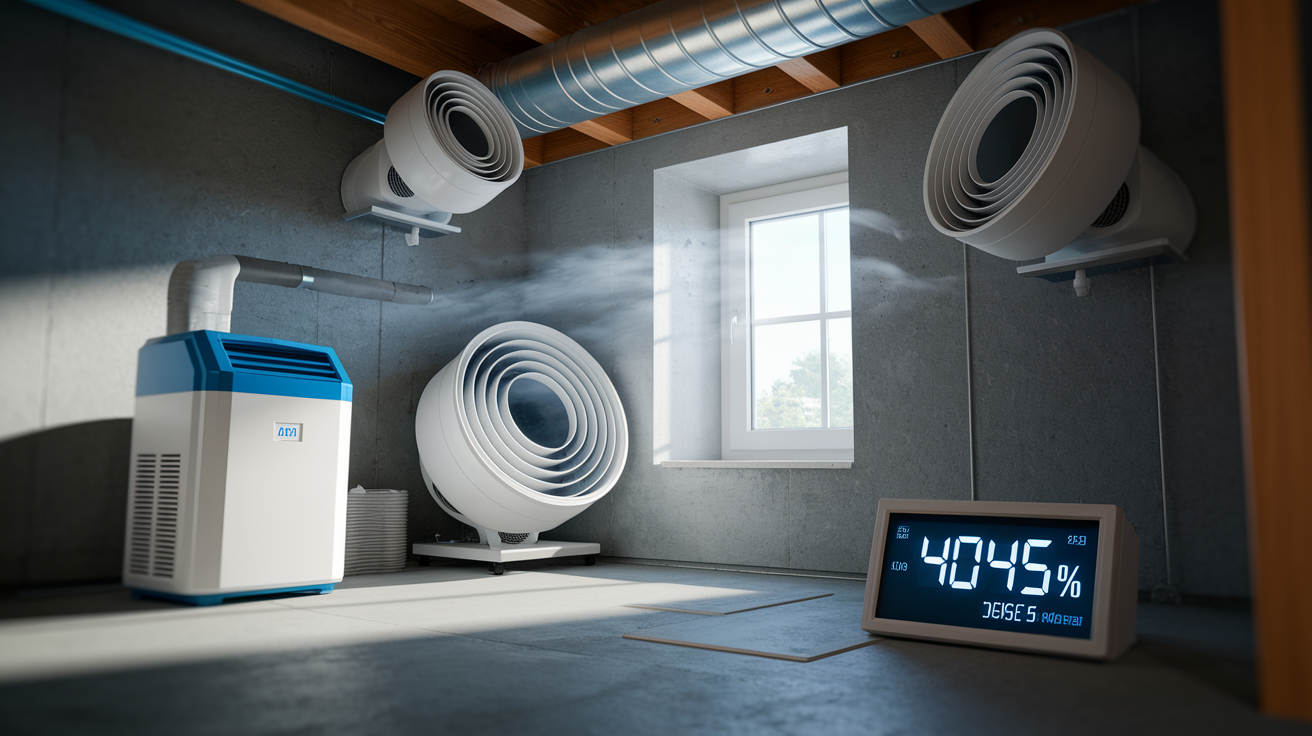
Mold spores land on wet basement surfaces within hours of flooding and begin actively growing within 24 to 48 hours if moisture remains. Your drying timeline is a race against mold establishment. The faster you remove moisture, the more likely you’ll prevent colonization entirely.
Maintain indoor humidity below 50 percent throughout the entire drying process using commercial dehumidifiers running continuously. Check humidity with a hygrometer twice daily. If relative humidity climbs above 55 percent even with dehumidifiers running, you need additional equipment capacity or professional help. Mold grows aggressively in humidity levels above 60 percent, which is common in basements even without flooding.
Temperature also matters for mold prevention. Mold grows fastest between 70 to 90 degrees Fahrenheit, so don’t try to “heat dry” your basement by running space heaters. Higher temperatures increase evaporation rate but create ideal mold conditions unless you’re simultaneously removing that moisture from the air with adequate dehumidification. Keep your basement between 60 to 75 degrees for effective drying without encouraging mold.
Early warning signs of developing mold include a musty, earthy smell resembling rotting wood or damp soil even after water is gone, small black or green spots appearing on drywall or along baseboards, and white crystalline deposits called efflorescence on concrete walls. Efflorescence looks like mold but is actually mineral salts pushed to the surface by moisture. It indicates water is still moving through your foundation, and mold will likely follow if you don’t accelerate drying.
6 Active Mold Prevention Measures:
- Continuous dehumidification: Never turn equipment off during the first 5 to 7 days. Empty collection tanks before they’re completely full
- Air movement across all surfaces: Reposition fans every 24 hours to target walls and floors that aren’t directly in airflow paths
- Surface cleaning: Scrub all flooded surfaces with water and detergent mixture once standing water is removed to eliminate organic matter that feeds mold
- Remove porous materials: Pull out wet cardboard, paper, fabric, and deteriorating drywall within 48 hours. These items can’t be adequately dried and will grow mold
- Antimicrobial spray: Apply commercial mold inhibitor to damp wood, concrete, and drywall after cleaning to slow spore germination while drying continues
- Monitor hidden areas: Check inside closets, behind furniture, and under stairs daily with a flashlight and moisture meter. Mold establishes in dark, forgotten spaces first
Salvaging Belongings and Removing Damaged Materials from Wet Basement

Pull furniture, rugs, storage boxes, and everything else out of flooded areas within the first 2 to 4 hours. Items left sitting in water or on wet floors trap moisture underneath, prevent air circulation, and create concentrated mold growth zones. Speed matters. Materials absorb water quickly and become unsalvageable if left too long.
Porous materials (fabric, paper, cardboard, particle board) absorb water deep into their structure and rarely dry completely without mold growth. Non-porous materials (solid wood, metal, hard plastic, sealed ceramics) can usually be salvaged if dried quickly and thoroughly.
Solid wood furniture usually survives flooding if you act fast. Wipe surfaces dry immediately, remove drawers and doors to allow air circulation inside, and position items in a well-ventilated area with fans blowing across them. Don’t put furniture directly in sunlight or near heaters. Rapid drying causes wood to warp and crack. Allow 5 to 7 days of air drying before moving pieces back to damp basements. Check for musty odors before returning items. If wood furniture sat in water more than 24 hours or shows swelling and delamination, it likely won’t dry properly.
Upholstered furniture and mattresses are difficult to salvage. Water penetrates deep into foam padding and fabric, creating ideal mold habitat. If flooding was Category 1 clean water and you remove items within 8 hours, professional furniture cleaning companies can extract water and sanitize pieces, but success isn’t guaranteed. Category 2 or 3 water contamination means automatic disposal due to health hazards embedded in porous materials.
5 Material Categories and Salvage Guidance:
- Hardwood furniture, solid wood shelving, solid wood stairs: Dry thoroughly in ventilated area with fans. Sand and refinish if finish is damaged. Discard if warped, delaminated, or musty after drying
- Upholstered sofas, chairs, mattresses, pillows: Discard if flooding was Category 2 or 3 water. Attempt professional cleaning only for Category 1 water exposure under 8 hours. Discard if any musty smell develops during drying
- Carpeting and padding: Remove within 24 hours. Padding must be discarded. Carpet can be saved only if Category 1 water, removed quickly, cleaned and dried professionally. Replace if water sat more than 24 hours
- Electronics, appliances, tools: Do not turn on or plug in. Let items dry completely for 7+ days. Consult professional electronic restoration for valuable items. Discard small appliances exposed to Category 2 or 3 water
- Documents, photos, books: Freeze immediately to prevent mold while deciding on restoration. Air dry valuable papers individually in low humidity. Professional document restoration for irreplaceable items. Discard bulk paper that sat in water more than 12 hours
Complete Waterproofing and Prevention Guide
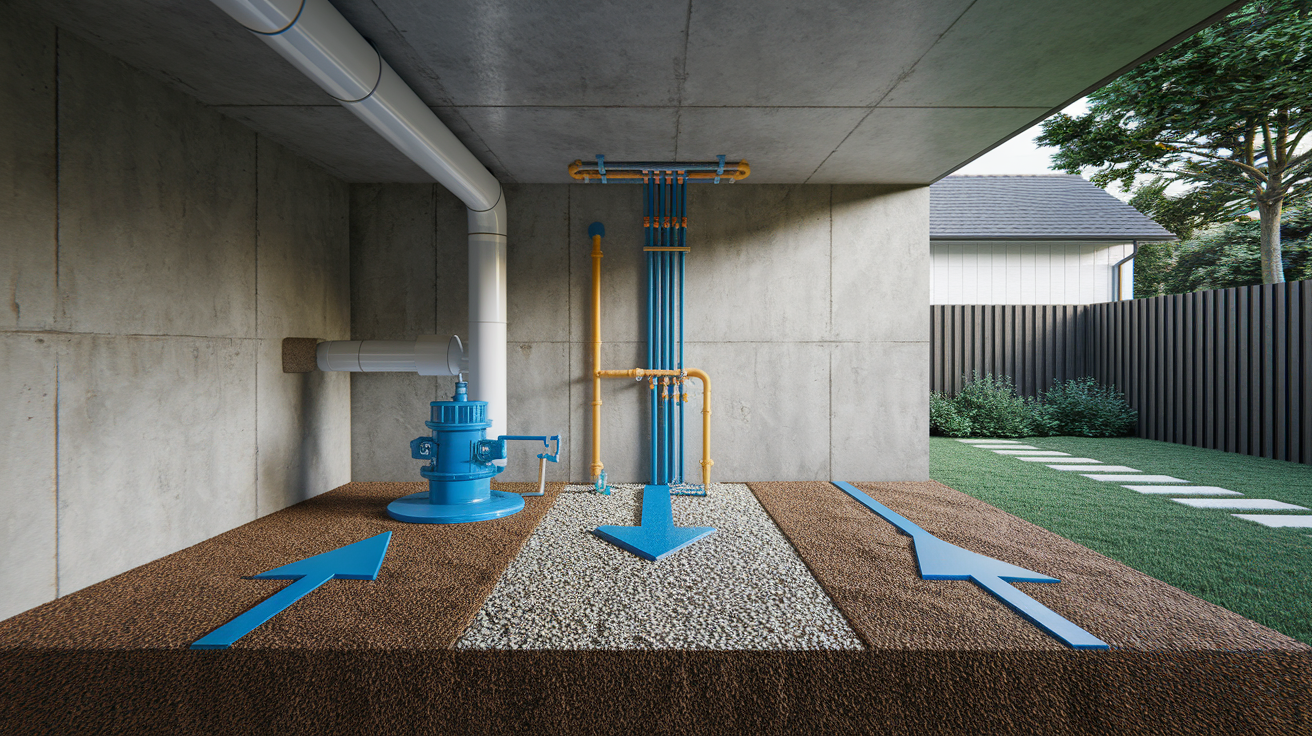
Treating the symptoms of basement flooding without addressing root causes guarantees you’ll be drying out your basement again next year. Most recurring floods result from combined failures in both interior moisture management and exterior water diversion, meaning you need solutions on both fronts.
Interior Waterproofing Methods
Apply penetrating concrete sealers to bare foundation walls and floors to create a moisture barrier. Clean surfaces thoroughly, etch concrete with muriatic acid solution (following product directions and wearing protective equipment), rinse completely, and let dry for 48 hours. Roll on two coats of penetrating sealer following manufacturer’s coverage rates (typically 100 to 150 square feet per gallon). This prevents moisture wicking but won’t stop active water pressure. It’s prevention for minor dampness, not flooding.
Interior drainage channels installed along the basement floor perimeter catch water before it spreads across your floor. A contractor cuts a 12-inch channel along the foundation wall, installs perforated drainage pipe in a gravel bed, and covers it with new concrete. Water flows to your sump pump basin for removal. This system costs $3,000 to $8,000 for typical basements but handles active groundwater intrusion that sealers can’t prevent.
Install a sump pump in the lowest corner of your basement with a sealed cover and backup battery system. Size the pump to your basement square footage. 1/3 HP handles 1,000 square feet in moderate water conditions, 1/2 HP for larger spaces or heavy groundwater. Add a battery backup system ($300 to $600) that runs the pump during power outages when flooding risk is highest. Test your sump pump monthly by pouring water into the basin until the float activates. The pump should cycle on quickly and discharge smoothly.
Install 6-mil plastic vapor barriers on basement walls before finishing spaces. Overlap seams by 6 inches and seal with waterproof tape. Extend the barrier from the floor to the ceiling, tucking the bottom edge behind your baseboard. This prevents moisture from entering through concrete walls into finished rooms but isn’t a substitute for fixing exterior drainage problems.
Seal foundation cracks from the inside using hydraulic cement for cracks up to 1/2 inch wide. Clean out loose material with a wire brush, dampen the crack, and pack hydraulic cement tightly into the gap using a putty knife or trowel. The cement expands as it dries to create a waterproof seal. This works for minor settling cracks but won’t fix structural problems.
Exterior Waterproofing and Drainage Solutions
Apply waterproof membrane coating to foundation walls by excavating around your home’s perimeter to the footing depth. Contractors clean the foundation surface, apply drainage board or rubberized membrane from footing to grade level, and backfill with gravel before replacing soil. This creates a permanent water barrier but requires heavy equipment and costs $8,000 to $15,000 for typical homes. It’s the most effective solution for recurring basement flooding but also the most invasive and expensive.
Install a French drain system around your foundation perimeter to intercept groundwater before it reaches basement walls. Dig a trench 18 to 24 inches deep along the foundation, 12 inches from the wall. Line with landscape fabric, add 3 inches of gravel, lay 4-inch perforated drain pipe sloped 1/4 inch per foot toward the outlet, cover with 6 inches more gravel, and wrap fabric over the top before backfilling with soil. The outlet must discharge at least 20 feet from your house at a lower elevation. This project costs $2,000 to $6,000 depending on basement perimeter length and yard drainage conditions.
Regrade your yard to create positive drainage away from your foundation. The ground surface should slope downward 6 inches over the first 10 feet from your house. If your yard slopes toward your foundation, build up soil within 10 feet of the house using clay-based fill dirt, compact in 2-inch layers, and finish with topsoil and grass seed. Maintain this slope by checking grade annually and adding fill if settling occurs.
Position downspouts to discharge roof water at least 4 feet from your foundation. Further is better. Add downspout extensions using flexible or rigid pipe that carries water to your yard’s drainage path. If your lot doesn’t naturally drain away from the house, install underground downspout drains that connect to a pop-up emitter 15 to 20 feet away or tie into a municipal storm drain if allowed by local codes. Roof water is the largest single water volume hitting your foundation during storms.
Clean gutters twice a year minimum (spring and fall) and after major storms. Clogged gutters overflow directly against your foundation wall, causing concentrated flooding. For chronic gutter overflow, upgrade to 6-inch gutters (instead of standard 5-inch) or install gutter guards to reduce debris accumulation. Size your gutters to your roof square footage. Larger roofs need more gutter capacity.
Install window well covers over basement window wells and verify wells have gravel at the bottom for drainage. Well covers cost $50 to $150 for DIY installation. Professional window well installation with excavation, gravel, proper sizing, and covers runs $500 to $1,500 per window. Wells must be deeper than your window sill and drain away from the foundation.
Modify landscape plantings to prevent foundation problems. Keep large shrubs and trees at least 10 feet from your foundation. Their roots seek water and can crack foundation walls. Slope planting beds away from your house and avoid piling mulch against foundation walls, which holds moisture.
Foundation Crack Repair
Use hydraulic cement for DIY repair of hairline cracks and gaps up to 1/2 inch wide that aren’t actively leaking. Clean the crack thoroughly, dampen the area, and pack cement firmly into the opening. This costs $10 to $30 for a small container and handles minor settling cracks. The repair lasts 5 to 10 years if the crack isn’t structural.
Professional structural crack repair uses epoxy or polyurethane injection for cracks that show active water seepage, exceed 1/2 inch width, run horizontally (indicating wall movement), or appear with bowing walls. Contractors drill injection ports along the crack and pump epoxy under pressure to fill the entire depth, creating a permanent waterproof seal.
Structural crack repairs cost between $2,165 and $7,793, with the average price around $4,975, depending on crack length, location, accessibility, and whether temporary wall stabilization is needed during repair. Horizontal cracks and cracks with wall movement cost more because they indicate serious foundation stress that may require additional structural work.
Repair cracks yourself if they’re vertical, less than 1/4 inch wide, stable (not growing), located in poured concrete (not block), and not showing active water intrusion. Call a structural engineer or foundation specialist for horizontal cracks, stair-step cracks in block walls, cracks wider than 1/4 inch, cracks that grow over a 6-month monitoring period, or cracks accompanied by bowing walls or floor-to-wall separation.
Preventive waterproofing costs $3,000 to $15,000 depending on methods used. The average cost to professionally dry and restore a flooded basement runs $3,000 to $10,000 for moderate damage. Repeated flooding destroys your HVAC system, water heater, finished walls, flooring, and stored belongings while creating persistent mold problems that affect your entire house. Spending $5,000 on exterior drainage improvements looks reasonable compared to $8,000 every few years in flood restoration, plus the health risks and stress.
Conduct pre-winter inspections every October covering your drainage system functionality, gutter condition and attachment security, roofline examination for ice dam formation areas (valleys, low-slope sections, areas with poor insulation), foundation crack monitoring compared to previous photos, and existing waterproofing measure effectiveness (checking for new damp spots).
Cost Breakdown and Timeline Expectations for Basement Flood Drying
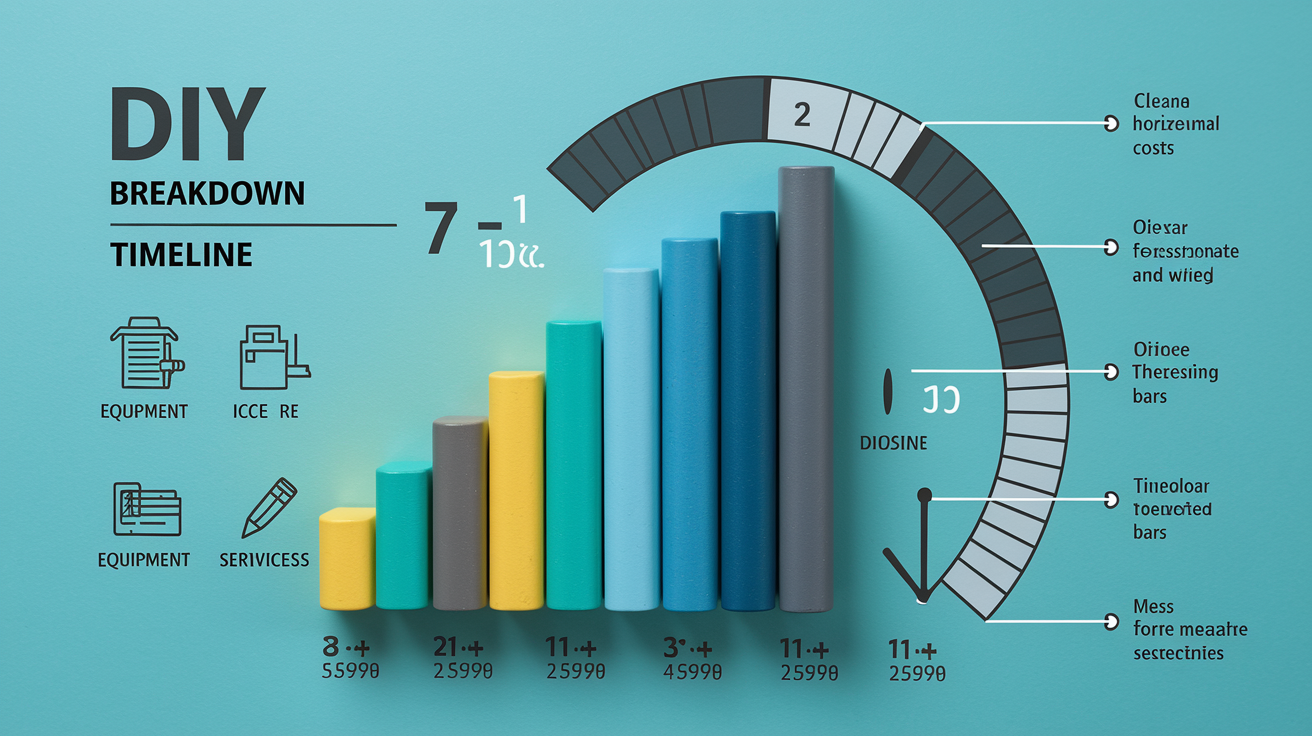
Budget expectations vary dramatically based on your basement square footage, water depth, contamination level, and whether you rent equipment yourself or hire full restoration services.
DIY drying works for clean water flooding under 3 inches deep in basements smaller than 1,000 square feet, assuming you can work on the project daily for 7 to 10 days straight. Professional restoration makes sense for larger floods, Category 2 to 3 contaminated water, when you lack time to manage the drying process, or when initial moisture readings don’t improve after 48 hours of equipment operation.
| Service/Item | DIY Cost Range | Professional Cost Range | Timeline |
|---|---|---|---|
| Equipment rental (dehumidifier, air movers, wet vac) | $200-$450 (week-long rental for moderate basement) | Included in service package | Continuous use 7-10 days |
| Water extraction (standing water removal) | $50-$150 (pump rental if needed) | $500-$2,000 (depends on volume and contamination) | 4-12 hours |
| Drying process | $200-$450 (equipment) + your labor | $1,500-$4,000 (includes monitoring and adjustment) | 7-14 days with equipment in place |
| Sanitization and antimicrobial treatment | $50-$100 (cleaning supplies and solutions) | $800-$2,500 (professional-grade treatments and application) | 1-2 days after drying complete |
| Minor repairs (drywall, baseboards, paint) | $300-$800 (materials only) | $1,200-$3,500 (full restoration) | 3-7 days after complete drying |
| Full restoration (finished basement with significant damage) | Not realistic for DIY | $5,000-$15,000+ (complete rebuild) | 3-6 weeks |
Insurance coverage depends on your flood cause and policy type. Standard homeowners insurance covers sudden internal water damage from burst pipes, water heater failures, or washing machine leaks (Category 1 water). It typically doesn’t cover groundwater flooding, sewer backups (unless you added that rider), or gradual leaks you should have discovered earlier. Separate flood insurance from FEMA’s National Flood Insurance Program covers natural flooding from storms, rivers, or heavy rain overwhelming drainage systems.
Professional restoration companies document damage with photos, moisture readings, equipment logs, and detailed work records specifically formatted for insurance claim submission. They communicate directly with adjusters to explain why certain services are necessary, which significantly increases claim approval rates and reimbursement amounts. DIY documentation requires you to photograph everything, save all receipts, log equipment usage hours, and present your case to the adjuster yourself, which often results in partial denials for items the insurance company questions.
Understanding Winter-Specific Basement Flooding Causes and Response

Winter basement flooding comes from five cold-weather sources that don’t affect basements in summer months. Snowmelt creates massive water volumes around foundations when temperatures swing above freezing after heavy snow accumulation. Ice dams form on roof edges when heat escaping through poor attic insulation melts snow, which refreezes at the cold roof edge and forces water backward under shingles into walls and eventually down to the basement.
Frozen pipes burst when water trapped in supply lines expands during freezing, then floods when pipes thaw and the split section releases water under full household pressure. Blocked drainage systems fail when leaves and debris clog gutters in fall, water freezes in those gutters and downspouts, and spring thaw releases large water volumes directly against your foundation because ice blocked normal drainage paths. Heavy winter rain on frozen ground can’t absorb normally, so all water becomes surface runoff that collects against foundations.
Insulate all water pipes in unheated basement areas, crawl spaces, and exterior wall cavities. Use foam pipe insulation sleeves sized to your pipe diameter. 1/2 inch pipe takes 1/2 inch insulation ID (inner diameter). Seal the slit edge with duct tape for full coverage. Pay special attention to pipes along exterior walls, near basement windows, and in utility rooms with poor heating. Insulation costs $1 to $3 per linear foot and prevents the majority of freeze-related pipe bursts.
5-Step Winter Preparation Checklist:
-
Insulate vulnerable pipes in basement, crawl space, and attic by November 1st using foam sleeves. Consider heat tape for pipes in extremely cold areas. Leave cabinet doors open during severe cold snaps to let warm air reach pipes
-
Clear gutters completely in late October after leaf drop. Flush downspouts with hose to verify drainage paths are open. Secure any loose gutter sections. Install gutter guards to prevent mid-winter clogging
-
Test sump pump operation and install backup battery system before first freeze. Battery backup runs pump during power outages that commonly occur during winter storms. Test backup system monthly by unplugging primary pump
-
Inspect drainage systems including window wells, foundation perimeter, and yard grading. Clear drainage paths of leaves and debris. Verify downspout extensions are secure and directed away from foundation. Check that ground slopes away from house
-
Prevent ice dams by improving attic insulation to R-38 minimum, sealing air leaks between living space and attic, ensuring adequate attic ventilation (soffit and ridge vents), and keeping gutters clear so meltwater can drain
Final Words
Speed matters when you’re figuring out how to dry out flooded basement spaces. Water sitting for more than 48 hours turns into mold, and mold turns into a much bigger headache.
Get the water out fast, run the equipment around the clock, and test your surfaces before you call it done.
The right dehumidifier and a solid moisture meter will save you from guessing. If you catch it early and stay consistent with airflow and humidity control, most basements dry out in about a week.
You’ve got this.
FAQ
How to get moisture out of a flooded basement?
To get moisture out of a flooded basement, start by removing standing water with a pump or wet vacuum, then run dehumidifiers and air movers continuously for several days while monitoring humidity levels below 50 percent using a moisture meter to verify complete dryness.
How to dry out a basement quickly?
To dry out a basement quickly, use industrial-grade dehumidifiers rated for your square footage, position high-velocity air movers to maximize airflow across wet surfaces, run equipment 24/7, and remove all wet materials immediately to expose floors and walls for faster evaporation.
How much does it cost to dry out a flooded basement?
Drying out a flooded basement costs $30-50 per day for dehumidifier rental and $20-40 per day for air mover rental when doing it yourself, while professional restoration services range from several hundred to several thousand dollars depending on flooding severity and basement size.
How to get water out of a flooded basement without a pump?
To get water out of a flooded basement without a pump, use a wet/dry vacuum for water depths under 1 inch, manually bucket and mop smaller amounts, or push water toward a floor drain using a squeegee if available, though this method is practical only for minimal flooding.
What safety precautions should I take before entering a flooded basement?
Before entering a flooded basement, shut off electricity at the main breaker, wear waterproof boots and heavy-duty gloves, assess water contamination level, check for gas leaks, and ensure proper ventilation, calling professionals for flooding deeper than 1 inch or contaminated water.
When does mold start growing after basement flooding?
Mold starts growing after basement flooding within 24-48 hours of water exposure on wet surfaces, making immediate water removal and thorough drying critical to prevention, with humidity levels kept below 50 percent to stop mold development.
What basement materials can be saved after flooding?
Basement materials that can be saved after flooding include non-porous items like metal furniture and sealed wood if dried within 48 hours, while porous materials like carpet padding, drywall that stayed wet beyond 24 hours, and upholstered furniture typically require replacement.
How long does it take to completely dry a flooded basement?
Completely drying a flooded basement takes 5-7 days of continuous dehumidifier and fan operation for typical flooding, though larger basements, heavy saturation, high outdoor humidity, or poor ventilation can extend drying time to 10-14 days or longer.
What type of water contamination requires professional cleanup?
Water contamination requiring professional cleanup includes Category 2 water containing detergents or bacteria and Category 3 water from sewage backups or floodwater, both carrying health risks that demand specialized sanitization equipment and protective protocols beyond DIY safety limits.
How do I prevent my basement from flooding again?
To prevent basement flooding again, install a sump pump with battery backup, seal foundation cracks, ensure landscape slopes 6 inches over 10 feet away from the house, extend downspouts at least 4 feet from foundation, and maintain gutters with pre-winter drainage system inspections.