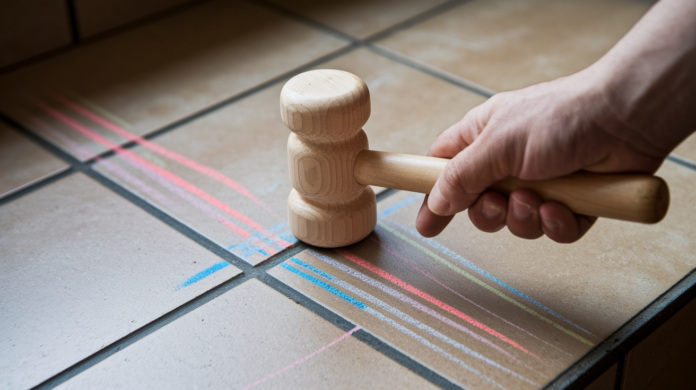

Tapping on tile and hearing that hollow drum sound isn’t just annoying. It means the bond underneath has failed, and you’re on borrowed time before that tile cracks, pops loose, or shifts underfoot. If you catch it early while the tile’s still intact, you can inject adhesive through grout line holes and lock it back down without demo. If it’s already cracked or moving, you’ll need to break it out and reset it properly. Either way, you’ve got options that don’t require a full retile.
Identifying and Repairing Hollow Tiles: Complete Overview
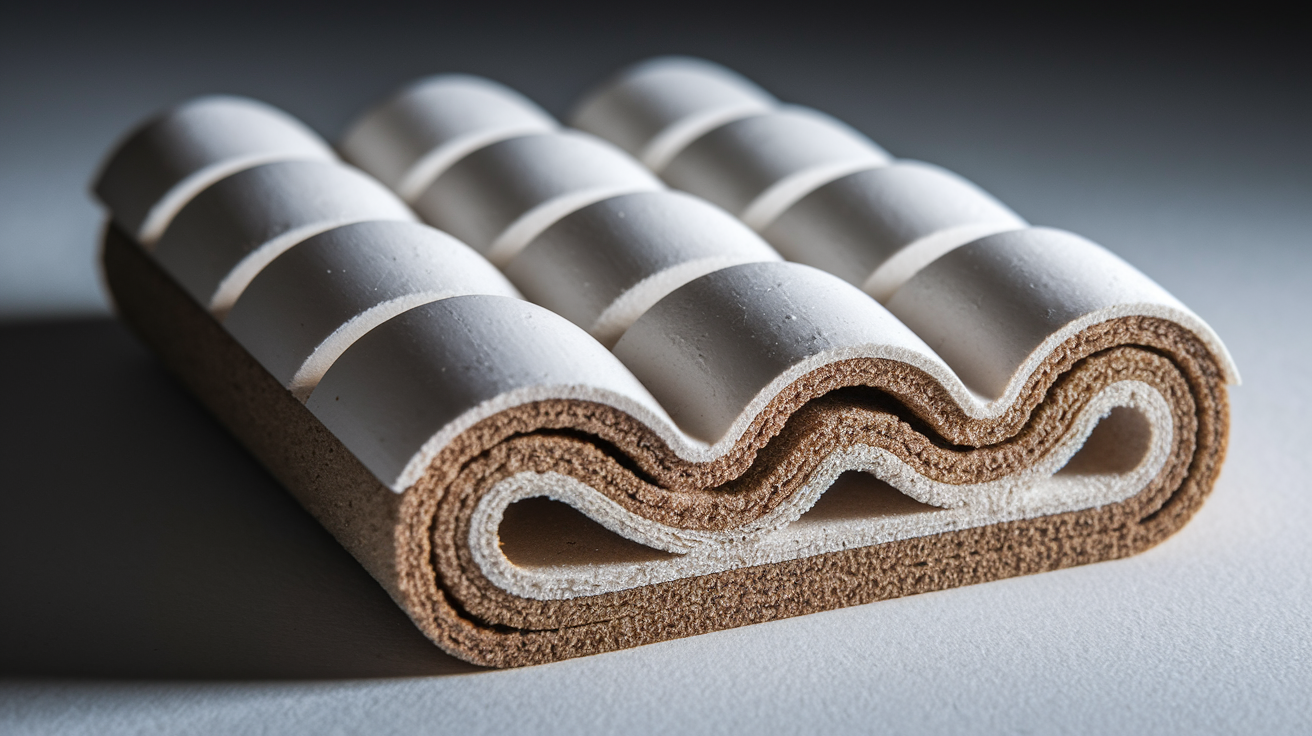
Hollow tiles mean there’s not enough contact between the tile and whatever’s underneath it. Air pockets form where adhesive didn’t reach, and you’ll hear it the second you walk across your floor or tap on your shower wall. That drum-like echo? That’s telling you the bond failed, and it’s probably going to crack, lift, or pop out eventually. You’ve got two ways to fix it: inject adhesive under intact tiles, or rip out damaged ones and start over. Injection saves you the mess and cost of demolition when tiles aren’t cracked yet. Replacement gives you a permanent fix when they’re already broken.
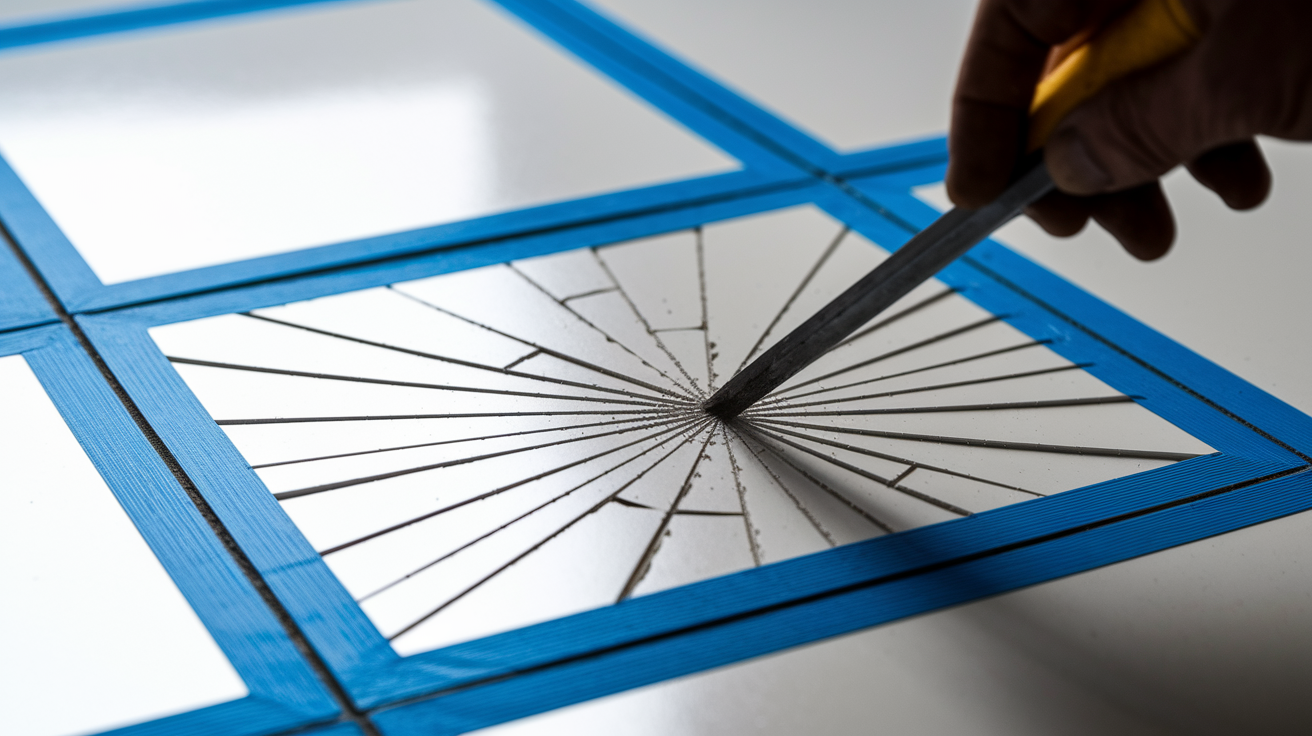
The tap test is how you find these problem spots. Grab a wooden dowel, rubber mallet, or just use your knuckles and tap firmly on suspected tiles. Good tiles sound solid and dull, like knocking on a table. Hollow ones make a higher pitched echoing sound that’s obvious once you know what you’re listening for. Work across the whole floor or wall systematically, tapping every tile and paying attention to tone changes. When you find a hollow one, mark it with chalk or painter’s tape so you can see the full problem area and plan your approach.
Signs you’ve got hollow tiles that need fixing now:
- That distinctive drum sound when you tap with a dowel, mallet, or your knuckles, totally different from the solid thunk of nearby tiles
- Movement when you walk on it or press hard, the tile bounces or flexes instead of staying put
- Cracks showing up in the tile itself or the grout around it, stress from lack of support underneath
- Location matters. Corners, edges, thresholds, shower curbs, high traffic paths where failure spreads fast
- More than 5% of your total tile area sounds hollow in large installations, though honestly zero hollow tiles is what you want
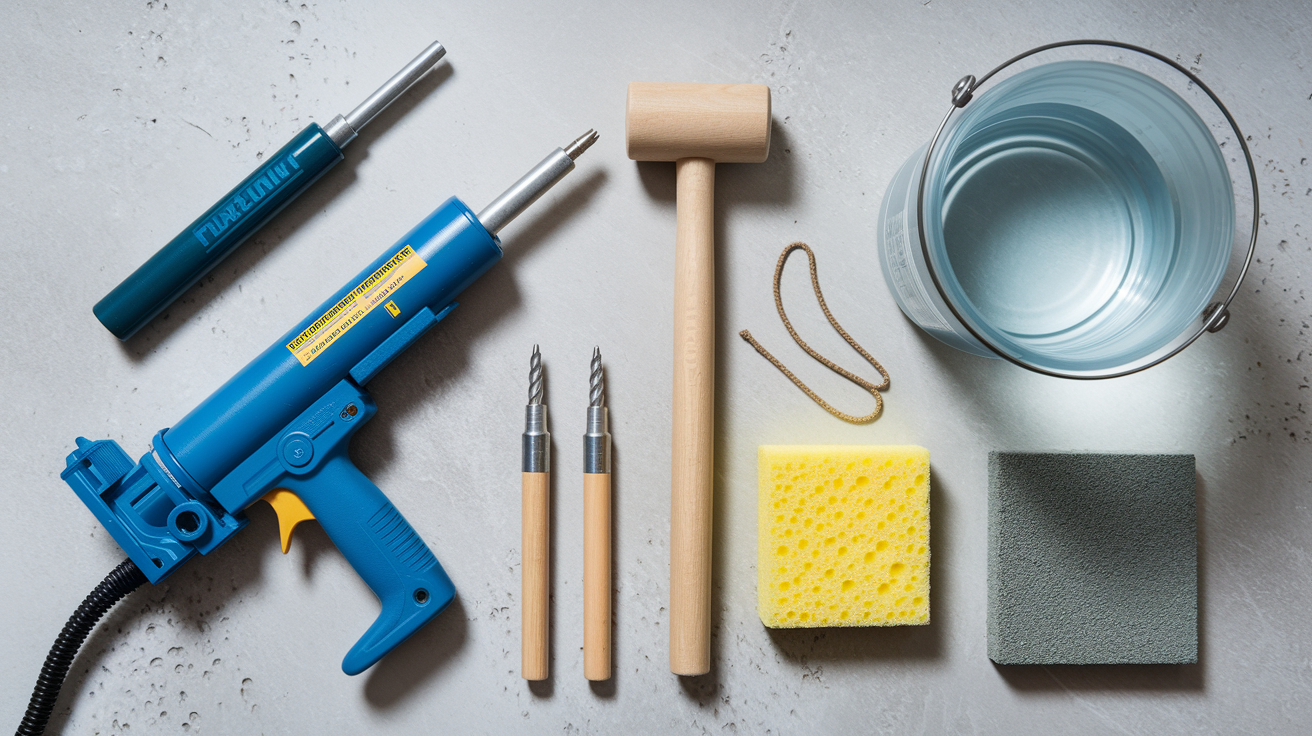
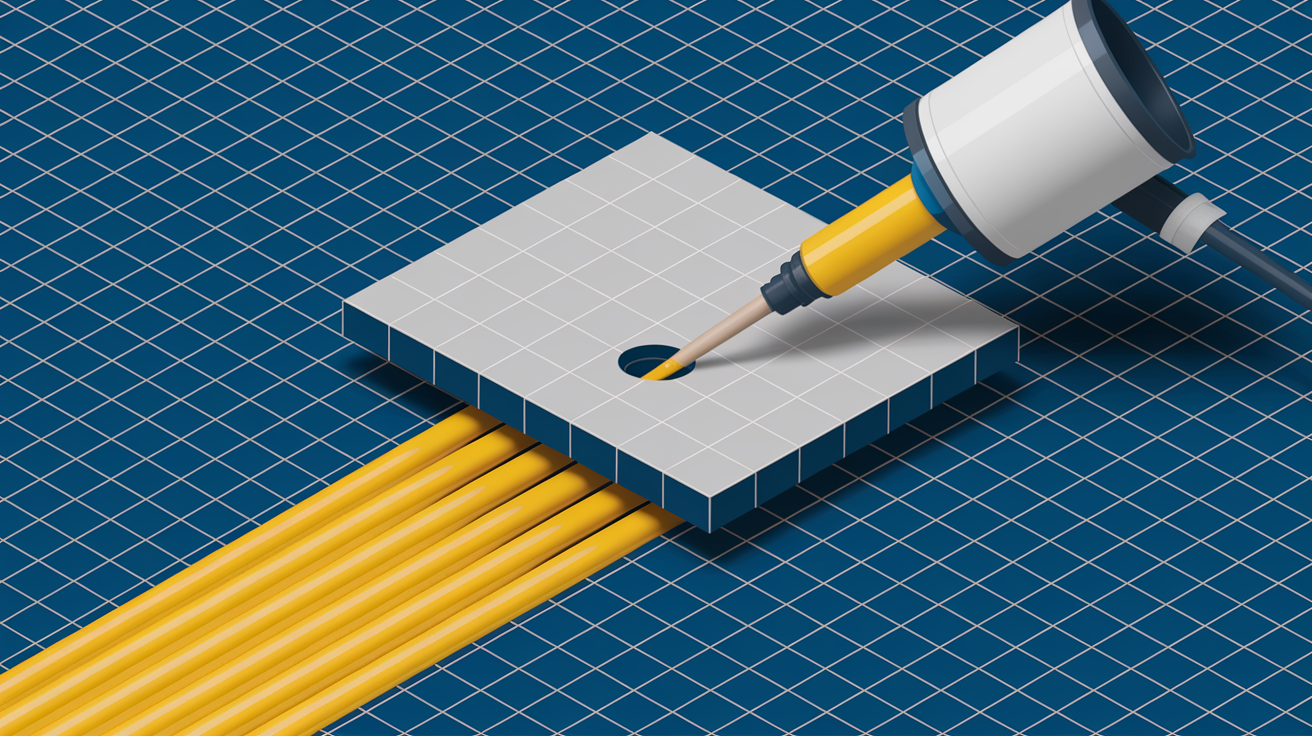
The injection method works when tiles sound hollow but look fine otherwise. No cracks, no chips, just that echo when you tap them. Drill 2 to 4 holes spaced evenly into the grout lines around the affected tile using a masonry bit. Never drill into the tile itself, you’ll wreck it permanently. Load specialized bonding adhesive into a 10:1 thrust ratio caulking gun and inject through the holes with slow, steady pressure. You’ll know the void is filled when adhesive starts coming out the next hole over, it’s self-leveled beneath the tile and pushed all the air out. Wipe any excess off the surface immediately with a damp sponge. Put 20 to 40 pounds of weight over the spot, a 2.5 gallon bucket full of water works great for standard ceramic or porcelain. Leave it there for at least 24 hours while everything cures, then pack the drilled holes with matching grout and smooth it with a damp sponge.
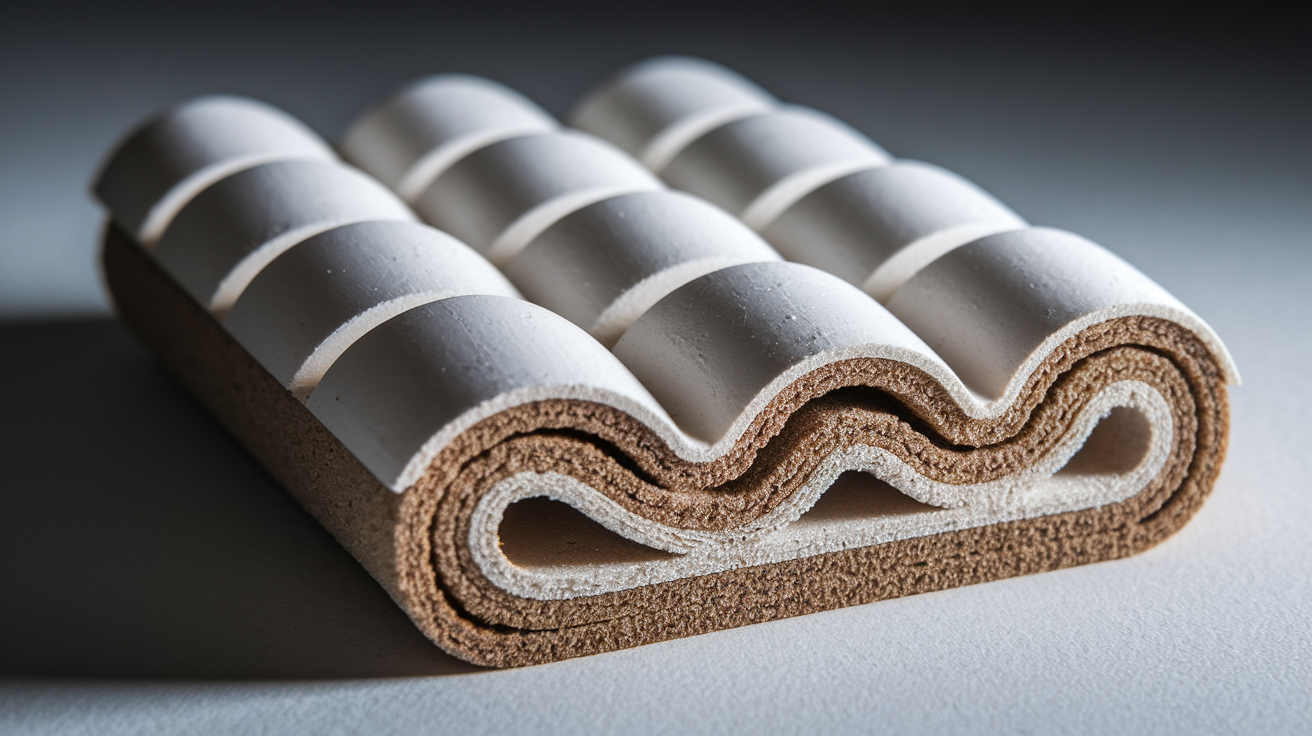
The replacement method is what you need when tiles are cracked, chipped, or moving noticeably when you step on them. Breaking out and replacing hollow tiles before grouting is straightforward and gives you the most permanent repair. Carefully chisel out the bad tile working from center outward to protect surrounding ones. Scrape away all the old mortar or adhesive until you hit clean, solid substrate. Apply fresh mortar to both the substrate and the back of your replacement tile, this back-buttering technique covers everything and eliminates air pockets. Press the tile in firmly, use spacers to keep grout lines consistent. Tap the surface with a rubber mallet and do the tap test right away to make sure you hear that solid sound before the mortar sets. After mortar cures per manufacturer instructions, usually 24 to 48 hours, grout the joints and seal if it’s a wet area.
Step-by-Step Injection Method for Hollow Tile Repair
Injection works when tiles are intact with no visible cracks, chips, or major damage but produce that hollow sound when tapped. If the tile shows cracks or moves significantly when you step on it, skip this and go straight to replacement.
Step 1: Mark and Verify Hollow Tiles
Do a complete tap test across the area using a wooden dowel or rubber mallet, marking each hollow sounding tile with chalk or painter’s tape around the edges. Test marked tiles again to confirm before you commit, sometimes one tap can mislead you but repeated tapping from different angles confirms what you’re dealing with.
Step 2: Drill Ventilation Holes in Grout Lines
Pick a masonry bit sized for your grout line width, typically 1/8 inch to 3/16 inch for standard residential grout joints. Drill 2 to 4 evenly spaced holes directly into the grout lines around the hollow tile, positioning holes at 12, 3, 6, and 9 o’clock for good coverage. Bigger tiles over 12 inches need two holes per side for proper distribution. Drill straight down and stop when you break through the grout into the void space underneath, you’ll feel resistance drop when the bit punches through.
Step 3: Vacuum and Clean Debris
Use a shop vac with a narrow crevice attachment to suck out all dust and debris from the drilled holes, otherwise particles contaminate the adhesive and weaken the bond. Wipe the tile surface clean with a damp sponge and let it dry completely before injecting.
Step 4: Prepare Caulking Gun and Adhesive
Cut the tip of the adhesive cartridge at a 45 degree angle, sizing the opening to match your drilled hole diameter. Load the cartridge into a 10:1 thrust ratio caulking gun, standard 1:1 guns don’t have enough pressure for thick injection adhesives. For narrow grout lines under 1/8 inch, attach a Micro Injection Nozzle with 14 gauge blunt needle for precision.
Step 5: Inject Adhesive Until Flow-Through Occurs
Insert the nozzle tip into one drilled hole and apply slow, steady pressure on the trigger. You’ll feel resistance as adhesive fills the void beneath the tile. Keep injecting until you see adhesive start flowing out of an adjacent hole, this confirms the void is completely filled and the adhesive has self-leveled across the entire space. Move to the next hole and repeat until adhesive flows from all surrounding holes, proving complete coverage.
Step 6: Clean Excess and Apply Weight
Immediately wipe any adhesive that squeezed onto the tile surface using a damp sponge before it starts setting, dried adhesive needs specialized remover and way more effort. Place a weighted object directly over the repaired tile, use a 2.5 gallon bucket filled with water for ceramic or porcelain or a 5 gallon bucket for heavier stuff like marble or granite. The weight keeps constant contact between tile and substrate while the adhesive cures. Don’t touch it for at least 24 hours.
Step 7: Re-Grout Holes After Curing
After the adhesive has cured for at least 24 hours, remove the weight and fill the drilled holes with grout matching your existing color. Pack the grout firmly into each hole using a grout float or your finger. Let the grout set for 15 to 20 minutes until it starts firming up, then smooth the surface with a damp sponge using circular motions. Wipe any grout haze from the surrounding tile.
Common mistakes during injection:
- Drilling into the tile surface instead of grout lines, creating permanent holes you can’t properly fill or color match
- Not enough pressure during injection or stopping before adhesive flows through adjacent holes, leaving parts of the void unfilled with air pockets still there
- Pulling the weight before 24 hours of cure time, letting the tile separate from wet adhesive before full bond strength develops
- Not cleaning excess adhesive from the tile surface within minutes while it’s still workable, dried adhesive bonds permanently and needs aggressive chemical removers or scraping
- Using general construction adhesive or silicone instead of specialized tile bonding adhesive designed for injection, resulting in poor adhesion or flexibility problems
After the full cure period and re-grouting, do the tap test again across the repaired tiles and surrounding area. You should hear a solid, consistent sound matching the properly stuck tiles around it. If the hollow sound’s still there, the void didn’t fill completely and you need a second injection or honestly tile replacement is probably the better move.
Essential Tools and Materials for Tile Repair
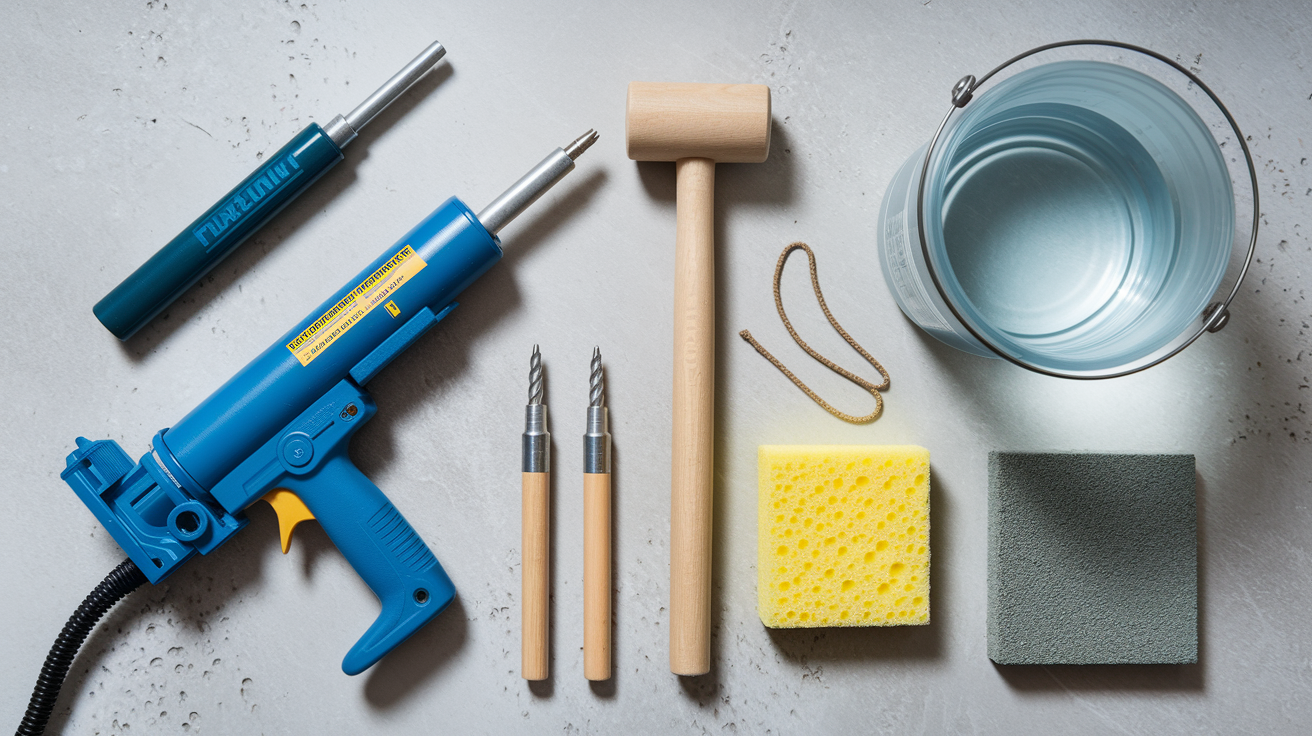
What you need depends on which method you’re using. Injection needs specialized adhesive and a high thrust caulking gun, while replacement needs mortar mixing supplies and tiling tools. Stock up on injection essentials if tiles are intact, or gather replacement supplies if you’re breaking out damaged ones.
| Item | Purpose | Notes |
|---|---|---|
| Masonry drill bits (1/8″ to 3/16″) | Drill ventilation holes in grout lines for adhesive injection | Size bit to match grout line width; carbide-tipped bits last longer |
| 10:1 thrust ratio caulking gun | Apply enough pressure to inject thick bonding adhesive | Standard 1:1 guns don’t have the force for injection adhesives |
| Fix-A-Floor Extra Strength Bonding Adhesive or equivalent injection epoxy | Fill voids beneath tiles and rebond to substrate | Specialty product designed for subsurface injection, not general construction adhesive |
| Shop vacuum with crevice tool | Remove drilling dust and debris from holes before injection | Clean holes make sure adhesive flows freely and bonds properly |
| Wooden dowel or rubber mallet | Do tap test to find hollow tiles and verify repair success | Rubber mallet gives consistent tapping force; wooden dowel works for small areas |
| Damp sponge | Clean excess adhesive immediately and smooth grout during finishing | Keep bucket of clean water nearby; rinse sponge frequently |
| Weighted objects (2.5 to 5 gallon buckets) | Apply 20-40 lbs pressure during adhesive curing period | Fill with water for adjustable weight; ceramic/porcelain needs 2.5 gal, marble/granite needs 5 gal |
| Matching grout | Fill drilled holes after adhesive cures | Bring grout sample to store for color matching if you don’t know the original |
| Painter’s tape or chalk | Mark hollow tiles during diagnostic phase | Visual marking keeps you from losing track of problem areas during multi-tile repairs |
| Utility knife | Cut adhesive cartridge tip and clean dried adhesive | Fresh blade gives clean cuts for proper cartridge flow |
| Micro Injection Nozzle with 14 gauge needle (optional) | Inject adhesive through narrow grout lines under 1/8 inch | Specialty accessory for tight grout joints common in small mosaic tiles |
| Adhesive remover | Clean dried adhesive from tile surfaces if not wiped quickly | Product specific remover recommended by adhesive manufacturer |
Expect to spend $40 to $80 for a complete injection repair kit covering multiple tiles, with the specialized bonding adhesive being the biggest expense at $25 to $45 per cartridge. Most hardware stores and home centers stock masonry bits, caulking guns, and basic supplies, but you might need to order specialty injection adhesive and micro nozzles online from flooring supply retailers or directly from manufacturers. If you already own a drill and shop vac, your out of pocket cost drops to adhesive, grout, and a proper caulking gun.
When to Remove and Replace Hollow Tiles
The injection method is convenient and creates less mess, but it’s not always permanent and only works under specific conditions. Injecting adhesive beneath a tile that’s already cracked, seriously loose, or structurally compromised is like slapping a bandage on a broken bone. It might hold temporarily but won’t fix the underlying failure. Once tiles are grouted, injection becomes more of a temporary fix than permanent repair because you can’t get the same complete mortar coverage and back-buttered bond that proper installation provides.
Conditions requiring complete tile removal and replacement:
- Visible cracks running across the tile surface, even hairline cracks mean structural failure that’ll get worse with continued use
- Tiles that move noticeably when walked on or pressed, showing bounce, flex, or rocking motion indicating severe adhesion loss
- Hollow tiles at corners, edges, thresholds, or transition points where structural integrity is critical and failure could spread to surrounding tiles
- Repairs attempted before grouting when you still have full access to the substrate and can get professional quality adhesion through proper installation
- Suspected water damage or moisture underneath tiles requiring substrate inspection, drying, or waterproofing before any repair happens
- Multiple adjacent hollow tiles forming a cluster or pattern, suggesting substrate prep failure or structural movement affecting the whole area
- High traffic zones including main hallways, kitchen work triangles, or shower floors where long term durability demands permanent repair rather than temporary bonding
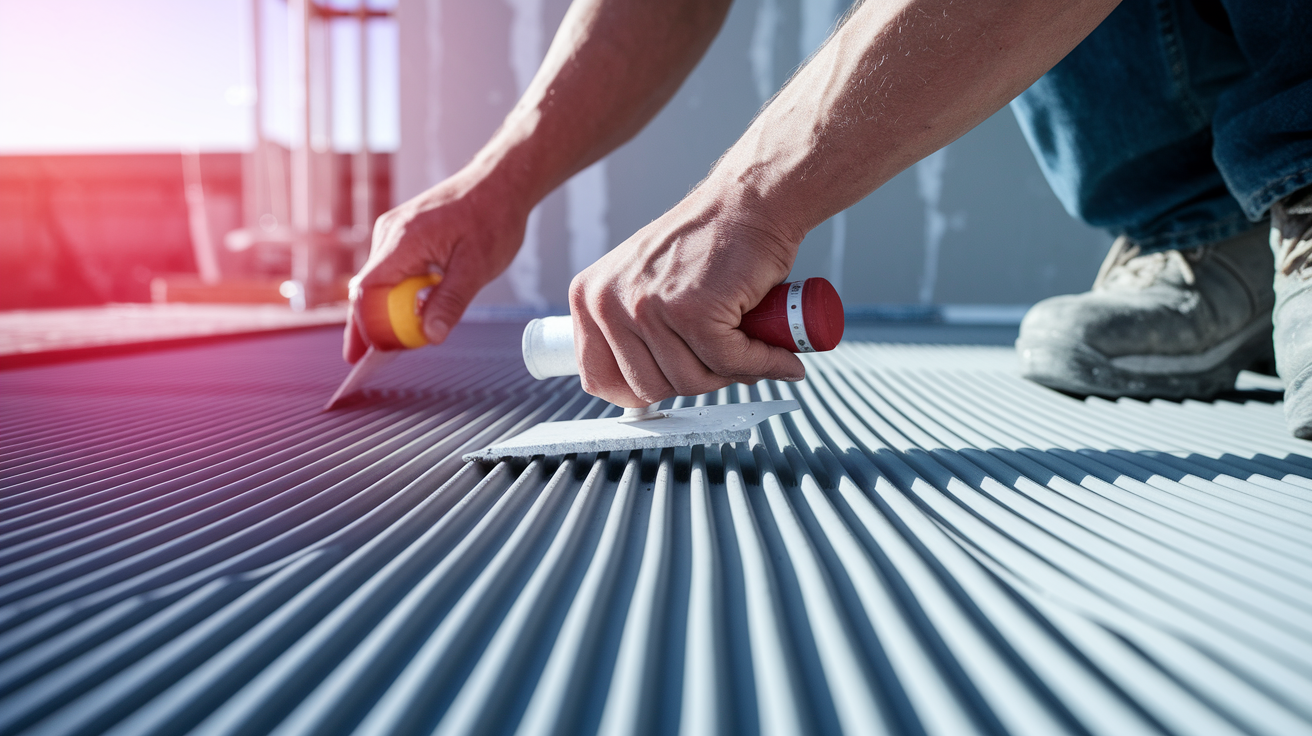
The removal and replacement process lets you inspect substrate condition, deal with root causes like moisture or movement, and install the tile correctly with full mortar coverage. Start by protecting surrounding tiles with painter’s tape, then carefully break out the hollow tile from center outward using a cold chisel and hammer. Scrape all old mortar or adhesive from both the substrate and the back of surrounding tiles where the new one will butt against them. Check the substrate for cracks, moisture, or deterioration. If the concrete or cement board shows damage, fix or replace that first. Mix fresh thinset mortar or use pre-mixed tile adhesive, then apply to both the substrate and the back of the replacement tile using a notched trowel. This back-buttering technique gets you 95% or better contact between tile and substrate, eliminating the air pockets that caused the original hollow tile.
Making sure you get proper adhesion during reinstallation is non-negotiable. Press the tile firmly into position, using spacers to keep grout joints consistent with the surrounding pattern. Twist or slide the tile slightly back and forth to spread the mortar and collapse any air pockets. Use a rubber mallet to tap the tile level with surrounding ones, checking with a straightedge. Do a tap test immediately before the mortar starts setting, you should hear a solid sound. If you still hear hollow spots, pull the tile up, add more mortar, and reset it. After mortar cures for 24 to 48 hours, grout the joints and seal if the area gets moisture exposure.
Preventing Hollow Tiles: Installation Best Practices and Root Causes
Preventing hollow tiles during initial installation saves you the time, expense, and frustration of repairs later. Understanding what causes them also helps you choose between injection repair and complete replacement. If the root cause is still active like ongoing substrate movement or unresolved moisture, even perfect repair technique won’t deliver lasting results.
Critical installation practices and common causes of hollow tiles:
- Clean, level, and solid substrate prep is foundational; concrete surfaces need thorough cleaning to remove dust, oil, and contaminants, followed by priming to improve adhesive bond
- Apply suitable primer to porous or dusty substrates before tiling; skipping primer is one of the most common causes of hollow tiles as adhesive can’t bond to loose surface particles
- Use the correct notched trowel size for your tile dimensions; undersized trowel notches leave insufficient adhesive, while oversized notches create excess that skins over before tile placement
- Back butter every tile by spreading a thin layer of adhesive across the entire tile back in addition to substrate application; this dual application technique eliminates air pockets and gets you 95% or better adhesive coverage
- Get full adhesive coverage by pressing tiles firmly and twisting slightly to collapse trowel ridges; insufficient coverage creates the voids that produce hollow sounds
- Soak traditional ceramic and red clay tiles in water for 20 to 30 minutes until air bubbles stop rising before installing with cement or mortar; dry porous tiles absorb moisture from mortar causing premature curing and weak bonds
- Never soak tiles when using modern adhesives like silicone, epoxy, or mastic; water on tile backs messes with chemical bonding of these products, causing guaranteed adhesion failure
- Prevent substrate movement through proper underlayment selection; wooden subfloors need cement board installation to isolate tile from wood flex, while cracked concrete needs repair or isolation membranes
- Deal with foundation settlement and structural movement before tiling; even perfect installation technique fails when the substrate beneath continues moving or shifting
- Control temperature and humidity during installation and curing; adhesives and mortars need temperatures between 50°F and 90°F with moderate humidity for proper chemical curing
- Use high grade mortar or adhesive meeting ANSI standards appropriate for your tile type and location; bargain products often don’t have enough bonding polymers
- Allow proper curing time before grouting or traffic; rushed installation where tiles are grouted before adhesive fully sets creates weak bonds prone to failure
- Include expansion joints around room perimeters and at transitions; rigid tile installations without expansion accommodation crack when buildings naturally shift with seasonal temperature changes
Hiring qualified tile installers and checking their methods protects you from hollow tile problems in new installations. Watch for red flags including skipping substrate primer, applying adhesive to substrate only without back buttering tiles, using a trowel that creates thin ridges, pressing tiles without the slight twisting motion that collapses air pockets, or rushing to grout before adhesive cures. A quality installer does tap tests during installation, pulling and resetting any hollow sounding tiles before grouting locks everything in place.
Understanding which cause created your hollow tiles determines whether injection repair will succeed or tile replacement is necessary. Hollow tiles caused by insufficient initial adhesive coverage respond well to injection because you’re filling voids in an otherwise stable installation. Hollow tiles caused by active substrate movement, ongoing foundation settlement, or unresolved moisture problems will fail again even after perfect repair because the root cause keeps damaging the bond. In these cases, deal with the underlying structural or moisture issue first through professional assessment, then proceed with tile replacement using proper installation technique rather than attempting injection repair that’s guaranteed to fail.
Tile Repair Costs and Time Estimates
Cost and time investment vary a lot between DIY injection repair and professional tile replacement, with your decision often coming down to tile availability, damage extent, and your comfort level with tile work.
| Repair Method | DIY Cost | Pro Cost | Time Required |
|---|---|---|---|
| Single tile injection repair | $40-$60 (adhesive kit, grout, supplies for 1-3 tiles) | $150-$250 per tile including service call | 2 hours active work + 24 hours curing time |
| Multiple tile injection (5-10 tiles) | $60-$100 (same kit handles multiple tiles, extra grout) | $400-$800 depending on tile count and location | 4-6 hours active work + 24 hours curing time |
| Single tile removal and replacement | $30-$80 (tile, mortar, grout, basic tools if owned) | $200-$400 per tile if replacement tile is available | 3-4 hours active work + 24-48 hours mortar/grout curing |
| Professional structural assessment | Not DIY-applicable | $200-$500 for inspection, moisture testing, report | 1-2 hours onsite inspection |
Professional help justifies its extra cost when you’re facing widespread hollow tile problems affecting more than 10 to 15% of your tiled area, when tiles are in difficult spots like high shower walls or intricate pattern work, or when you suspect underlying structural or moisture issues needing proper diagnosis before repair. Many professional tile installers offer warranties on their work, typically 1 to 2 years covering both materials and labor, giving you recourse if hollow tiles come back. This warranty protection is particularly valuable when root causes like foundation settlement or moisture intrusion remain uncertain. If you hear widespread hollow sounds across multiple rooms, see cracks in walls or floors alongside hollow tiles, or notice the problem getting worse over time, invest in professional assessment before attempting any repair. Spending $300 on expert evaluation that identifies active foundation movement saves you from wasting time and money on repairs that’ll fail within months.
Moisture Damage and When to Seek Professional Help
Moisture getting beneath tiles breaks down adhesive bonds over time, turning initially solid installations into hollow sounding failures. Water finds its way through cracked grout, failed caulk joints, or porous tile, then sits trapped between the tile and substrate where it slowly dissolves mortar, feeds mold growth, and creates conditions for widespread delamination. The relationship between water damage and structural concerns runs deep because moisture problems often signal larger issues. A bathroom floor with multiple hollow tiles might mean a leaking drain line, failed waterproofing membrane, or even foundation settlement allowing water intrusion.
Before attempting any hollow tile repair in areas exposed to moisture, you need to verify the moisture source is fixed and the substrate has dried completely. Injecting adhesive or installing new tiles over wet substrate guarantees failure because adhesives can’t bond to damp surfaces and trapped moisture will keep degrading the repair from beneath. Use a moisture meter to test the substrate through drilled holes or by temporarily removing a tile. Concrete and cement board should read below 4% moisture content. Wood subfloors must be under 12% moisture. If readings exceed these thresholds, identify and fix the moisture source first. It might be as simple as re-caulking a tub surround or as complex as repairing shower pan waterproofing. Allow complete drying time which can take days to weeks depending on saturation extent and ventilation. Run dehumidifiers and fans to speed drying before beginning repairs.
Moisture related and structural warning signs requiring professional evaluation:
- Verify moisture source is fixed before repair; continuing leaks or water intrusion will cause repaired tiles to fail within months
- Make sure subfloor is completely dry with moisture meter readings under 4% for concrete or 12% for wood; attempting repair over damp substrates guarantees adhesive failure
- Test moisture levels through drilled injection holes or by temporarily removing a tile to access substrate directly for accurate readings
- Avoid injection repairs in standing water locations including pool surrounds, outdoor patios that pond water, or fountain perimeters where constant saturation prevents adhesive curing
- Widespread hollow areas affecting more than 15 to 20% of tiled surface mean systemic installation failure or structural issues beyond simple spot repair
- Problem spreading or getting worse over time with new hollow tiles appearing in previously solid areas suggests active foundation movement or ongoing moisture infiltration
- Cracks appearing in adjacent walls, floors, or ceilings alongside hollow tiles signal potential structural settlement requiring engineering assessment
- Uneven floors with visible slopes, dips, or high spots developing along with hollow tiles point to foundation or subfloor structural failure
- Doors sticking, windows binding, or trim separating from walls in rooms with hollow tile problems indicate building movement affecting the entire structure
- Repairs failing repeatedly with hollow sounds returning within weeks or months despite proper injection or replacement technique means root cause remains unaddressed
Professional diagnostic tools provide comprehensive assessment beyond the tap test. Thermal imaging cameras detect subsurface voids by identifying temperature differences where air pockets insulate differently than solid adhesive bonds, giving you a complete picture of damage extent without drilling exploratory holes in every tile. Moisture meters with deep reading probes measure substrate wetness several inches below the surface, confirming whether visible drying has reached substrates or moisture remains trapped. Laser levels and digital inclinometers measure floor slopes and identify substrate deflection or settlement with precision, distinguishing between cosmetic issues and structural concerns requiring engineered solutions before tile repair proceeds.
Weighing DIY repair costs against professional consultation makes sense when you’re uncertain about damage extent, moisture activity, or structural stability. Spending $300 to $500 on professional inspection that uses thermal imaging to map every hollow tile, confirms substrate is dry, and rules out foundation issues gives you confidence that a $150 DIY injection repair will actually last. That same inspection might reveal widespread subfloor damage requiring $3,000 in structural work before any tile repair makes sense, saving you from wasting time and money on repairs guaranteed to fail. If your home is under 10 years old and experiencing widespread hollow tiles, foundation settlement often covered by builder warranties might be the problem. Professional documentation is essential for warranty claims.
Verifying Successful Repairs and Post-Repair Care

Post repair verification and ongoing maintenance determine whether your tile repair lasts years or fails within months. Even perfect repair technique can’t overcome neglect or environmental conditions that stress the tile to substrate bond over time.
Wait the full curing time before testing your repair success. Injection adhesives need a minimum 24 hours before the bond develops enough strength for testing, while tile replacement with mortar needs 24 to 48 hours depending on mortar type, tile porosity, and environmental conditions. Do the tap test again using the same wooden dowel or rubber mallet you used for initial diagnosis. Tap firmly across the repaired tile and surrounding area, listening for consistent solid sound. Properly repaired tiles produce the same dull, solid tone as the successfully stuck tiles around them. It sounds like knocking on solid wood. If you still hear a hollow drum-like echo, the void wasn’t completely filled during injection or the mortar didn’t get full coverage during replacement. Light foot traffic can resume after 24 hours for injection repairs or 48 hours for tile replacement. Wait 72 hours before placing heavy furniture over repaired areas or subjecting shower floors to full water exposure. Full load bearing use including moving appliances over repaired floor tiles should wait one week to make sure adhesive or mortar reaches maximum cure strength.
Success indicators and maintenance practices:
- Solid sound throughout tile when tapped from center and all edges, matching the tonal quality of surrounding properly stuck tiles without hollow echoes
- No movement, flex, or bounce detected when pressing firmly on tile with hand or standing on repaired floor tile and shifting weight
- Consistent sound characteristics comparing repaired tiles to control tiles at least 3 feet away from repair area that were never hollow
- Inspect grout lines quarterly for cracks, gaps, or degradation allowing moisture penetration that could undermine tile adhesion over time
- Reseal wet areas annually including shower walls, tub surrounds, and kitchen backsplashes with penetrating grout sealer to maintain moisture resistance
- Maintain indoor humidity between 30% and 50% year-round; extreme dryness or dampness cycles stress tile installations and speed up adhesive degradation
- Do annual tap tests across previously repaired areas and entire tiled surfaces to catch emerging hollow tiles before they crack or detach completely
Set up a seasonal inspection routine combining visual examination with tap testing. Every spring and fall, walk through tiled areas and tap any tiles that feel different underfoot or show grout deterioration. Check bathroom and kitchen tiles for new cracks in grout or caulk that could let moisture in. Realistic expectations recognize that tile repairs in high stress locations like shower floors or busy kitchen pathways may need maintenance every 3 to 5 years while low traffic areas can last decades with minimal intervention. Temperature and humidity fluctuations from seasonal changes create expansion and contraction cycles that gradually stress tile adhesion. Proper installation with expansion joints minimizes this but can’t eliminate it entirely.
Signs your repair wasn’t successful and needs additional work appear within days to weeks. If the tap test still reveals hollow sound after full curing time, injection didn’t fill the void completely and needs a second attempt with more adhesive or honestly the tile should be replaced instead. Tiles that develop new cracks radiating from corners or edges after injection suggest the tile was already structurally compromised and should’ve been replaced rather than injected. New hollow areas appearing in tiles immediately next to successful repairs point to progressive substrate failure or continuing moisture problems that’ll spread regardless of repair quality. When repairs fail repeatedly, stop attempting the same approach and either switch methods from injection to replacement or vice versa, or get professional assessment to identify root causes your DIY diagnosis missed.
Common Mistakes and Troubleshooting Hollow Tile Repairs
Common failure points in hollow tile repair come from rushing the process, using inadequate materials, or misjudging when injection will work versus when replacement is necessary. Recognizing these mistakes before you make them saves materials, time, and the frustration of failed repairs.
Top DIY Mistakes to Avoid
The difference between successful repair and wasted effort often comes down to details that seem minor but determine whether adhesive bonds properly and tiles stay solid long term. Drilling into the tile surface instead of grout lines is the most visually damaging mistake because those holes stay permanently visible regardless of repair success. Even if you fill drilled tile holes with epoxy or patch material, the repair never matches the tile finish and creates a permanent blemish worse than the original hollow sound. Always position your drill bit directly over grout lines and verify placement before drilling. If your grout lines are extremely narrow, under 1/8 inch, order a micro injection nozzle rather than risking tile surface damage.
Additional critical mistakes:
- Insufficient injection pressure from using a standard 1:1 caulking gun instead of required 10:1 thrust ratio gun results in incomplete void filling because thick bonding adhesive won’t flow through narrow injection holes without enough force
- Inadequate curing time from removing weight after only 12 to 16 hours or attempting to grout injection holes before 24 hours allows partially cured adhesive to separate from substrate under tile weight
- Wrong adhesive selection using general construction adhesive, wood glue, or standard caulk instead of specialized tile bonding adhesive designed for injection applications leads to flexible bonds that never fully harden or adhesives too thick to flow through drilled holes
- Incomplete void filling by stopping injection when you feel resistance rather than continuing until adhesive flows from adjacent holes leaves portions of the void unfilled with air pockets remaining
- Improper weight distribution placing weight on one edge of tile rather than centered over the repair area causes tiles to cure at an angle or creates uneven adhesive thickness with thin spots that remain hollow
- Attempting repair in wet conditions when substrate moisture exceeds safe thresholds prevents adhesive curing and ensures bond failure within weeks of completing repair
Troubleshooting Failed Repairs
When repairs don’t deliver expected results, systematic troubleshooting identifies whether you can fix the problem with a second attempt or need to change approaches entirely.
Addressing common repair failures:
- Tile still sounds hollow after 24 hour cure means adhesive didn’t reach all void areas; drill additional holes between original positions and inject more adhesive targeting unfilled zones, or accept that injection won’t work and plan tile replacement
- Adhesive didn’t flow between holes despite continuous injection suggests adhesive is too thick for ambient temperature, void is separated into compartments by substrate ridges, or injection holes aren’t drilled deep enough to penetrate through grout into void space
- Tile cracked during repair from over-tightening weights or impact during handling means the tile was already compromised and should’ve been replaced rather than injected; proceed with tile replacement using the damaged tile as template for ordering matching replacement
- Adhesive visible on tile surface around injection holes despite immediate cleaning means you injected too much too quickly causing adhesive to back-flow through grout; use adhesive remover specific to your bonding product and reduce injection speed on next repair
- New hollow areas appeared next to successful repair within weeks suggests substrate movement, moisture infiltration, or foundation settlement affecting surrounding tiles; professional assessment required to identify active root cause before additional repairs
- Grout won’t stick to filled injection holes means adhesive residue coats hole walls preventing grout bond; clean holes thoroughly with utility knife or drill with wire brush attachment to expose fresh substrate before re-grouting
When you’ve attempted re-repair of the same tile twice without success, tile replacement becomes your only viable option. Injection repair works best for tiles with simple voids from insufficient original adhesive coverage. Tiles affected by substrate movement, moisture damage, or structural deflection need addressing root causes and complete reinstallation to get lasting results. If your first injection attempt used correct technique with proper adhesive, adequate curing time, and sufficient weight but still produced hollow sound, don’t waste materials on a second attempt. The tile needs replacement instead.
Final Words
Hollow tiles sound like a disaster, but you’ve got options.
The injection method works great when the tile itself is intact. Just drill, fill, weight, and wait. If the tile’s cracked or moves when you step on it, replacement’s the better call.
Either way, check for moisture before you start and make sure everything’s bone-dry before injecting.
When you’re done, tap the tile again. A solid sound means you nailed it. A hollow thud means you need another round or a different fix.
Learning how to fix hollow sounding tile keeps small problems from turning into expensive ones. And honestly, it’s not as scary as it sounds once you get going.
FAQ
What to do if tile sounds hollow?
If a tile sounds hollow when tapped, first mark the affected area with painter’s tape and verify the void using a tap test with a wooden dowel or knuckles. Determine if injection repair or full tile replacement is needed based on whether cracks are visible.
How to fix hollow tiles without removing them?
You can fix hollow tiles without removing them by using the grout injection method. Drill small holes in the grout lines around the affected tile, inject adhesive until it flows out adjacent holes, and place 20-40 pounds of weight over the area for 24 hours.
Do hollow sounding tiles need to be replaced?
Hollow sounding tiles don’t always need replacement if they’re intact without cracks. The injection method works for tiles that only have voids beneath them. Replace tiles if they’re cracked, loose, moving when walked on, or located in corners, edges, or high-traffic areas.
Do tiles sound hollow when wet?
Tiles may sound different when wet, but actual hollow sounds indicate air pockets between the tile and substrate, not moisture on the surface. If hollow sounds appear after water exposure, it suggests moisture has degraded the adhesive bond, requiring the subfloor to dry completely before repair.
When is the injection method appropriate for hollow tile repair?
The injection method is appropriate for hollow tile repair when tiles are intact without visible cracks and the hollow area is limited. This method works best for individual tiles or small groups where the void is isolated and no structural movement is present.
How long does hollow tile repair take to cure?
Hollow tile repair takes a minimum of 24 hours to cure with weight applied continuously over the repaired area. After adhesive cures, you need an additional 15-20 minutes for grout to set in the drilled holes before smoothing and final drying per manufacturer instructions.
What weight should I use during hollow tile repair?
You should use 20-40 pounds of weight during hollow tile repair, distributed evenly over the affected area. A 2.5 gallon bucket of water works for ceramic or porcelain tiles, while marble tiles may require a 5 gallon bucket for proper pressure during curing.
Can I repair hollow bathroom tiles with the injection method?
You can repair hollow bathroom tiles with the injection method if the subfloor is completely dry and you properly seal the tile surface after application. Avoid this method in areas with standing water, and always verify the moisture source is resolved before beginning repair.
What causes tiles to sound hollow after installation?
Tiles sound hollow after installation due to insufficient adhesive coverage creating air pockets, failure to back butter tiles, inadequate substrate preparation, or substrate movement from foundation settlement. Moisture degradation of adhesive bonds and poor-quality mortar also cause hollow tiles over time.
How do I know if hollow tile repair was successful?
You know hollow tile repair was successful by performing a tap test after the full 24-hour curing period. A solid, consistent sound throughout the tile with no movement under pressure indicates proper adhesion, while a drum-like sound means the void remains unfilled.
Should I call a professional for hollow tile repair?
You should call a professional for hollow tile repair if you find widespread hollow areas, progressive worsening, wall or floor cracks, recurring problems after DIY repair, or suspected foundation settlement. Professional inspectors use thermal imaging cameras and moisture meters for comprehensive assessment.
What’s the difference between injection repair and tile replacement?
The difference between injection repair and tile replacement is that injection fills voids beneath intact tiles through drilled grout holes, while replacement involves completely removing damaged tiles, scraping old mortar, and reinstalling with fresh adhesive. Injection works for sound tiles, replacement handles cracked or severely compromised tiles.