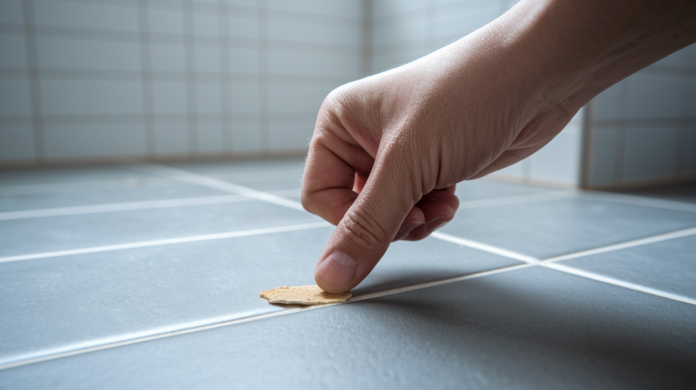

You know that hollow sound when you step on a floor tile and it clicks instead of sitting solid? That’s not just annoying. It’s a countdown to a crack, and once a tile breaks, matching the pattern gets expensive fast. The good news is that reattaching a loose tile is one of those repairs that looks scarier than it actually is. Most people can handle this with basic tools, a free afternoon, and the right adhesive, whether you’re drilling tiny injection holes or pulling the whole tile up to start fresh. This guide walks you through diagnosing what made the tile loose, choosing between injection and full removal, and doing the fix so it actually lasts.
Diagnosing Why Your Floor Tile Became Loose
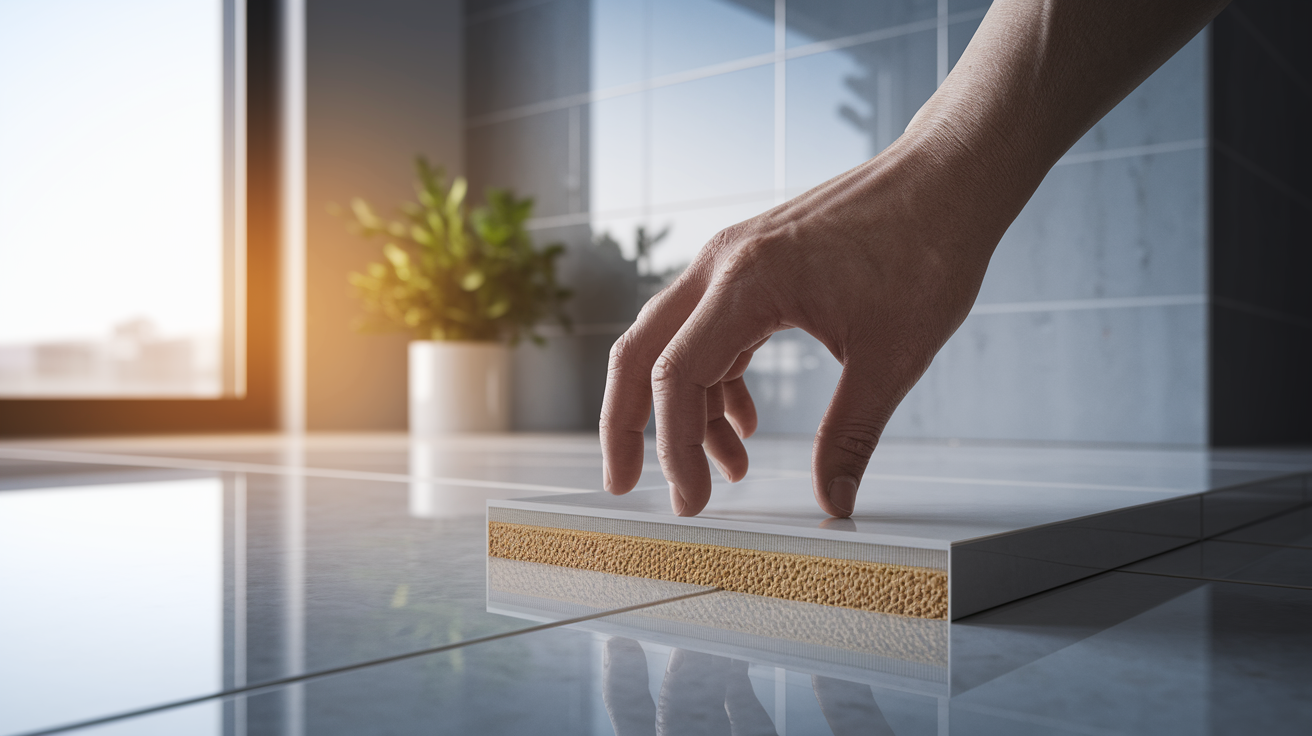
Before grabbing any tools, spend a few minutes doing the tapping test. Use your knuckles or tap lightly with a wooden spoon handle on the suspect tile and the ones around it. A solid, dense sound means good adhesion. A hollow, drum-like sound indicates the tile has separated from the substrate underneath. If you hear that hollow echo, the tile is loose and needs attention. Compare it to adjacent tiles so you know what “solid” should sound like in your specific installation.
Loose tiles happen for several reasons, and identifying the cause helps you choose the right fix and prevent it from happening again:
Failed or deteriorated adhesive: Over time, moisture, temperature swings, and age break down the bonding properties of thinset or mastic, especially if a low quality product was used originally.
Improper initial installation: Inadequate adhesive coverage, skipped surface prep, or installing tiles before the adhesive properly set creates weak spots that fail months or years later.
Water and moisture damage: Leaks from plumbing, standing water, or high humidity seep under tiles and dissolve the adhesive bond, particularly with water soluble mastics.
Subfloor movement and settling: Houses shift and settle naturally, and if the subfloor wasn’t rigid enough or the structure moves, tiles lose their grip.
Poor surface preparation during original installation: Dust, oil, old adhesive residue, or a glossy surface prevents new adhesive from bonding properly, creating immediate or eventual failure.
Wrong adhesive type for tile material: Using standard thinset on natural stone or mastic in wet areas causes bonding failure since each tile type and location requires specific adhesive chemistry.
Temperature fluctuations and thermal expansion: Floors near exterior doors, sunrooms, or over unheated spaces expand and contract with temperature changes, and without proper expansion joints, tiles pop loose.
Substrate incompatibility: Applying ceramic tile directly over vinyl, painting a concrete floor before tiling, or tiling over incompatible materials prevents proper adhesion from the start.
Look for moisture and water damage signs around the loose tile. Discoloration or darkening of the grout or tile edges usually means water has been present. Check for soft or spongy spots in the grout or caulk. If you see black or green spots, that’s likely mold growth, which indicates ongoing moisture problems. Wood subfloors may show warping, soft spots, or a musty smell. Don’t just treat the symptom by reattaching the tile if water damage is causing the problem, or you’ll be doing this repair again in a few months.
Sometimes the problem isn’t the tile or adhesive. It’s what’s underneath. If you notice multiple tiles loose in the same area, large cracks in grout lines that seem to be widening, or floor surfaces that feel bouncy or uneven when you walk on them, the subfloor or structural support may be compromised. A single loose tile in an otherwise solid floor is usually a surface level adhesive issue you can DIY. Multiple loose tiles, especially in a pattern or spreading area, or any signs of floor sagging or deflection point to structural concerns that need professional assessment before you attempt any tile repair. Foundation settling, rotted floor joists, or deteriorated subflooring won’t be solved by reattaching tiles.
Choosing Your Repair Method: Injection vs. Full Removal
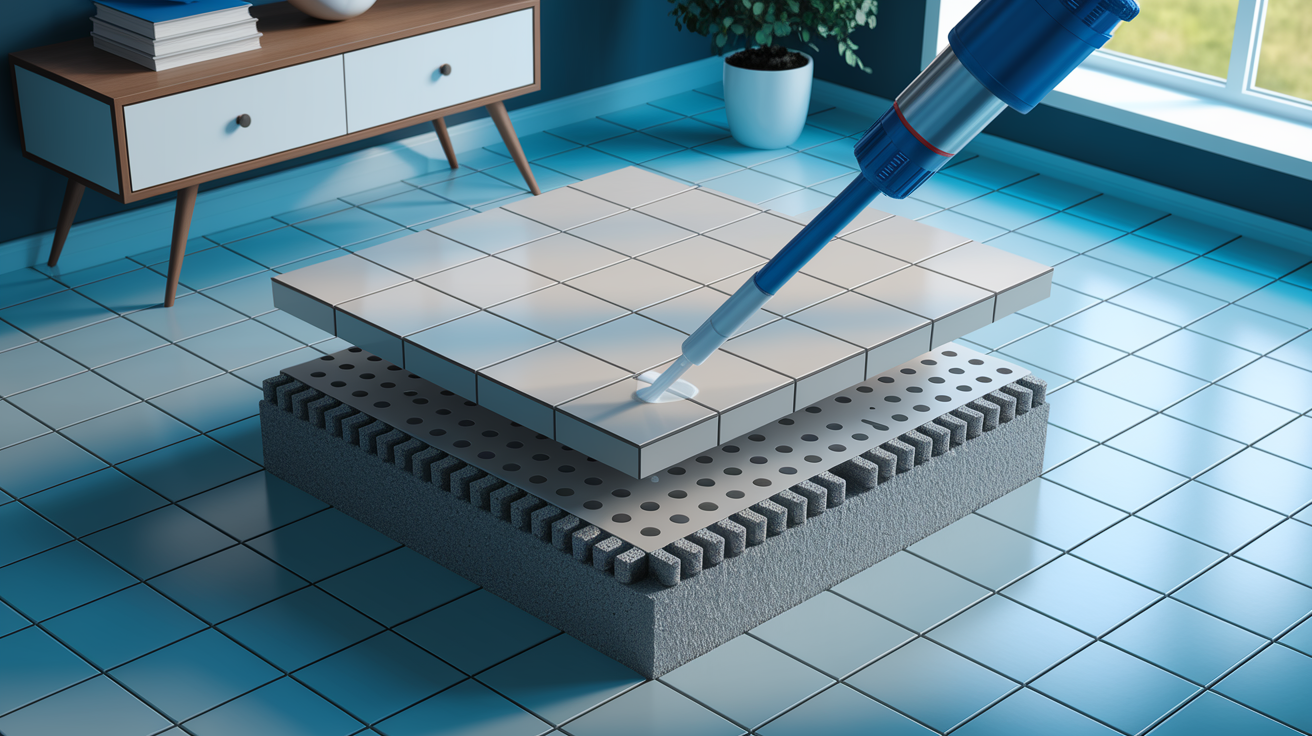
Your repair approach depends on the tile’s condition, how loose it is, and what caused the failure. A slightly wobbly tile with intact grout is a different situation than one that’s completely detached or part of a larger damaged area. Consider whether you can access the space, if you have matching replacement tiles in case of breakage, and how much time you want to invest.
Also think about your comfort level with the work. Injection is less physically demanding but requires precision and specialized materials. Full removal involves more grunt work, careful technique to avoid breaking tiles, and patience during the multi step process. If the tile is valuable or irreplaceable (discontinued pattern, vintage, hand painted), injection might be worth the higher material cost to avoid removal risk.
Injection Method (No Tile Removal)
This works best when you’ve got one to three tiles that rock slightly but haven’t completely detached, the grout around them is still mostly intact, or the tiles are fragile, large format, or difficult to remove without breaking. The basic process involves drilling two to four small holes (about 1/8 inch) through the grout lines at opposite corners or edges of the loose tile. You then inject adhesive using a caulking gun or specialized injector, starting at one hole and continuing until adhesive appears at the opposite hole, which tells you the void underneath is filled. Apply weight evenly across the entire tile surface using books, water buckets, or weights and leave it for at least 24 hours while the adhesive cures.
The advantages are speed (usually under an hour of active work), no risk of breaking the tile during removal, minimal mess, and you can often walk around the repair area carefully while staying off the actual tile. The disadvantages include higher material cost since injection adhesives like epoxy or Fix A Floor run $15 to 30 per tube versus $8 to 12 for a bag of thinset, inability to inspect or repair any substrate damage hidden underneath, and the need to purchase or improvise injection equipment. This method also won’t work if the tile is completely detached and loose enough to lift, or if underlying moisture or substrate damage is causing the failure.
Full Removal and Reinstallation Method
This approach becomes necessary when tiles are severely loose and lifting away from the floor, you can see or suspect damage to the subfloor underneath, grout has failed extensively around the tile, you have multiple adjacent loose tiles creating a larger problem area, or you need to actually look at what’s happening under the tile to address root causes. The process includes removing all grout around the affected tile, carefully prying the tile up without cracking it, scraping away all old adhesive from both the tile back and the substrate, cleaning and possibly repairing the surface underneath, applying fresh thinset or appropriate adhesive, resetting the tile level with surrounding tiles, and regrouting after the adhesive cures.
The advantages are thoroughness (you fix the actual problem, not just the symptom), ability to inspect for water damage, rot, or substrate issues before they get worse, and confidence that you’ve created a proper bond with full adhesive coverage. The disadvantages include real risk of breaking the tile during removal (have a spare on hand if possible), significantly more time investment (plan for 2 to 3 hours of active work plus 24 to 48 hours of cure time), and you’ll need replacement tiles available if something goes wrong. But if the tile is already loose enough to move by hand or the area around it shows signs of bigger problems, this is the right choice for a lasting repair.
Complete Step by Step Guide for Full Tile Removal and Reattachment
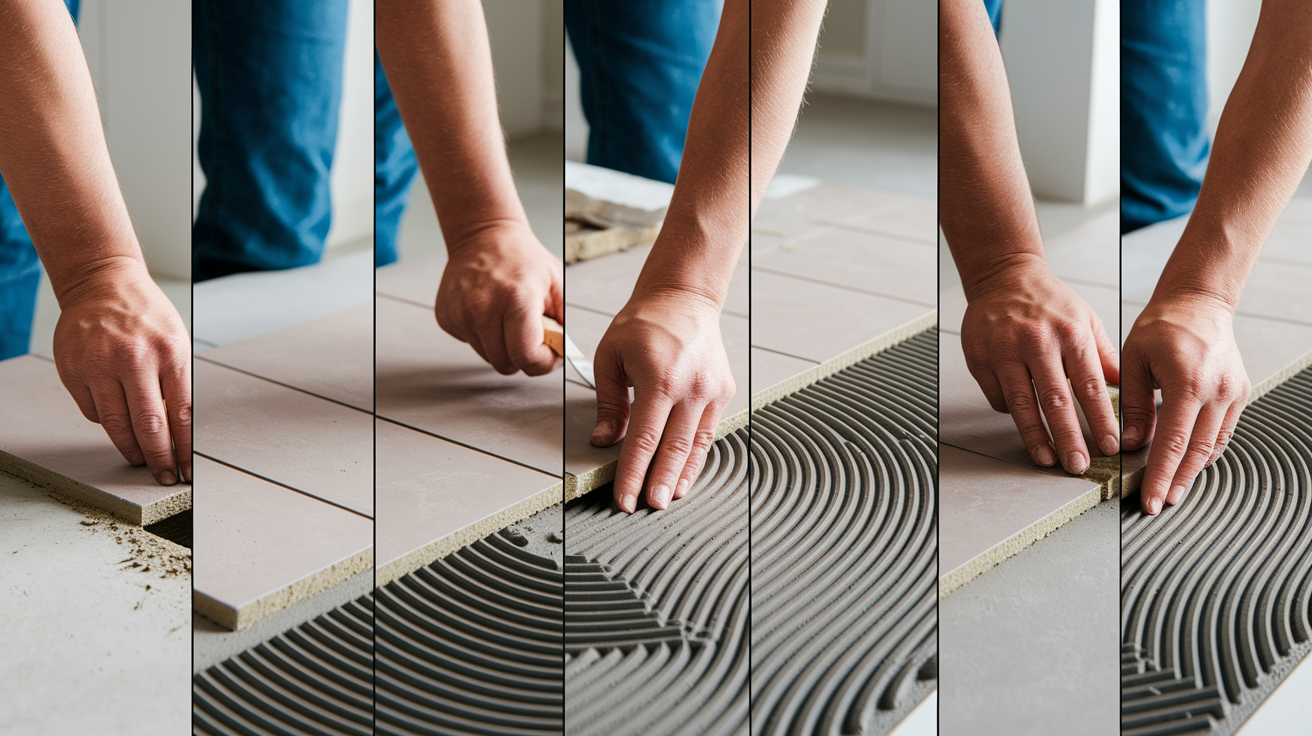
This repair falls in the beginner to intermediate DIY range. If you can follow a recipe and take your time, you can handle it. The key is patience. Rushing leads to broken tiles, incomplete adhesive removal, or disturbed tiles before they’ve set. Plan to dedicate a morning or afternoon, and remember the floor needs to stay untouched for at least a full day after you finish.
- Remove grout completely around the loose tile using a utility knife, grout saw, or oscillating multi tool with a grout removal blade, staying as close to the tile edges as possible without scratching the tile surface.
- Carefully insert a thin putty knife or flat pry bar under one edge of the tile, working slowly around the perimeter to break the remaining adhesive bond without cracking the tile.
- Lift the tile out gently, wiggling slightly if needed, and set it aside on a protected surface.
- Scrape all old adhesive off the back of the tile using a putty knife, paint scraper, or wire brush until the surface is completely clean and smooth.
- Remove old adhesive from the substrate using a floor scraper, putty knife, or if necessary a rotary tool or small angle grinder with care not to damage the underlying surface.
- Vacuum the area thoroughly to remove all dust, debris, and loose particles.
- Wipe both the tile back and substrate with a damp cloth and allow to dry completely (at least 30 minutes).
- Inspect the substrate for soft spots, cracks, moisture, or damage and address any issues before proceeding.
- Mix thinset mortar to a smooth, creamy consistency (like thick peanut butter) following manufacturer instructions, or prepare your chosen adhesive.
- Apply adhesive to the substrate using a notched trowel appropriate for your tile size (typically 1/4 x 1/4 inch notches for standard floor tiles), holding the trowel at a 45 degree angle to create even ridges.
- For larger tiles or if you had voids before, back butter the tile by spreading a thin layer of adhesive on the tile back as well.
- Press the tile firmly into place with a slight back and forth twisting motion to collapse the trowel ridges and ensure full contact.
- Use a rubber mallet or tap gently with a wooden block wrapped in cloth to set the tile level with surrounding tiles, checking from multiple angles.
- Apply weight evenly across the entire tile surface using partially filled water buckets, stacks of books, or weights distributed to prevent rocking or high corners.
- Allow initial set without disturbing for 30 to 60 minutes, then carefully remove weights, check level one final time, and reapply weight if needed.
- Wait 24 hours minimum before grouting (check your specific adhesive cure time).
- Mix grout to a toothpaste like consistency per manufacturer instructions.
- Apply grout into joints using a grout float held at a 45 degree angle, working diagonally across the tile to pack joints fully.
- Wipe excess grout with a damp (not wet) sponge using diagonal strokes, rinsing the sponge frequently.
- Allow full cure for 24 to 48 hours before allowing foot traffic or exposing to moisture.
Weight application makes the difference between good adhesion and failure. Don’t just set one heavy object in the center. Distribute weight evenly so every part of the tile presses uniformly into the adhesive. Partially filled water jugs work great because you can position several across the tile surface. A piece of plywood cut slightly smaller than the tile with weights on top also spreads force evenly. Check after 15 to 20 minutes to make sure the tile hasn’t shifted or developed a high corner. If it has, you can still adjust during this working window.
Proper trowel technique creates the right adhesive thickness and coverage. Hold your notched trowel at about a 45 degree angle and pull it through the adhesive in straight lines. You want consistent ridges with no bare spots. When you set the tile and press down, those ridges should collapse to create 80 to 95% coverage on the tile back. Too flat (trowel held at low angle) and you won’t have enough adhesive. Too steep (trowel held nearly vertical) and ridges will be too tall, creating a mess. Think smooth, even strokes like you’re frosting a cake with a textured effect.
Curing time is non negotiable. Most thinset mortars require 24 hours before grout application and 48 to 72 hours before full traffic and moisture exposure, though rapid set formulas cure faster (check the bag). Keep the area completely dry. Don’t mop nearby, don’t let pets walk on it, and if it’s in a bathroom, keep shower spray away from the repair. You’ll know it’s cured when the adhesive has changed from dark/wet appearance to uniform lighter color, feels rock solid if you (very carefully) try to shift the tile with your hand, and makes that solid, dense sound when tapped. If you’re not sure, wait another day. Patience here prevents having to do this twice.
Essential Tools, Materials, and Adhesive Selection
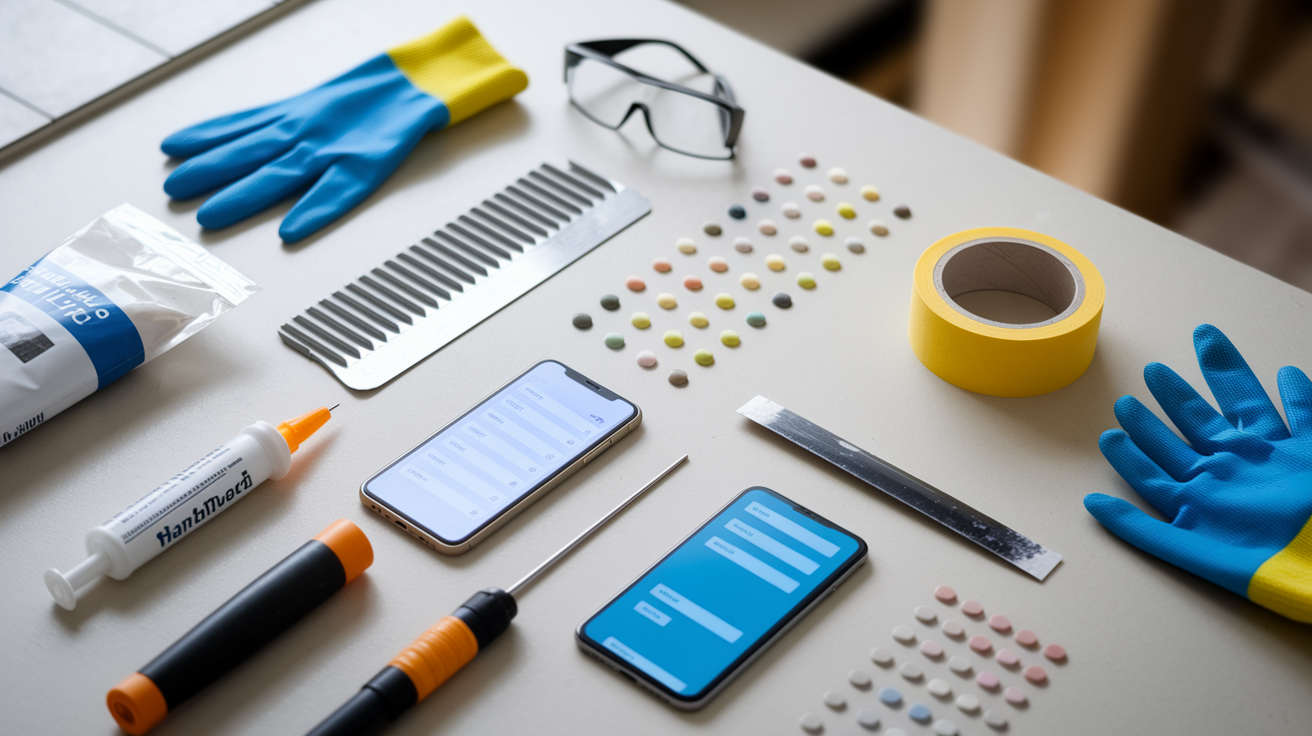
Choosing the right adhesive prevents callbacks. Thinset mortar (also called thin set) is the go to for most ceramic and porcelain tile repairs because it’s strong, economical ($8 to 15 for enough to fix multiple tiles), and works on most clean, stable substrates including concrete, cement board, and existing tile. It comes in powder form that you mix with water. Epoxy adhesive creates a waterproof, incredibly strong bond that’s necessary for natural stone tiles (marble, granite, travertine), essential in constantly wet areas like shower floors, and the best choice when you need maximum strength or are repairing over a substrate that’s slightly marginal. It costs more ($25 to 40 for enough to fix a few tiles) and requires mixing two parts together. Specialized flexible adhesives handle installations over subfloors with slight movement, wood substrates that expand and contract, or floors with radiant/underfloor heating systems where temperature changes create stress. Injection adhesives like Fix A Floor or epoxy in syringe form work for the no removal method and typically cost $15 to 30 per tube or kit, working on wood, porcelain, stone, marble, and heated floors.
| Tool/Material | Purpose | Approximate Cost |
|---|---|---|
| Utility knife or grout saw | Removing grout from around tile | $8-15 |
| Putty knife (stiff blade) | Lifting tile and scraping adhesive | $5-8 |
| Floor scraper or paint scraper | Removing old adhesive from substrate | $12-20 |
| Notched trowel (1/4″ x 1/4″ or 1/4″ x 3/8″) | Applying adhesive with proper coverage | $8-15 |
| Rubber mallet | Setting and leveling tile | $10-18 |
| Grout float | Applying grout into joints | $6-12 |
| Mixing bucket | Mixing thinset and grout | $3-6 |
| Large sponge | Cleaning excess grout | $3-5 |
| Thinset mortar or tile adhesive | Bonding tile to substrate | $8-15 per bag |
| Grout (matching color) | Filling joints around tile | $8-12 per box |
| Cleaning cloths/rags | Wiping surfaces and cleanup | $2-5 |
| Safety glasses | Protecting eyes from debris | $5-10 |
| Dust mask or respirator | Protection when grinding or scraping | $8-25 |
| Work gloves | Hand protection during scraping and chemical handling | $5-12 |
| Weights or water buckets | Applying pressure during cure | Use household items |
| Drill with small bits (for injection method) | Creating injection holes in grout lines | $40-80 if purchasing |
| Injection adhesive kit (Fix-A-Floor or epoxy) | No-removal repair method | $15-30 |
Match your grout color by bringing a small piece of the old grout or even the whole removed tile to a flooring or home improvement store. Staff can usually match it to current grout colors. If your grout has aged or you have remnants from the original installation saved in the garage, that’s your best reference. When in doubt, go slightly lighter. Grout typically darkens as it cures and ages.
Safety equipment prevents injuries that turn a simple repair into a bad day. Wear safety glasses or protective eyewear whenever you’re scraping, grinding, or working with materials that could chip or fly up. A dust mask or respirator is necessary when removing old adhesive with power tools or grinding, since the dust contains silica and other particles you don’t want in your lungs. Knee pads make floor work much more comfortable and prevent the next day ache. Nitrile or rubber gloves protect your hands from the alkaline nature of thinset and grout, which can dry out and irritate skin, and are essential when working with epoxy adhesives, which can cause skin sensitivity. If using epoxy or strong adhesives, work in a ventilated area by opening windows or using a fan. Those fumes can cause headaches and dizziness in enclosed spaces.
Bathroom Floor and Kitchen Floor Tile Considerations
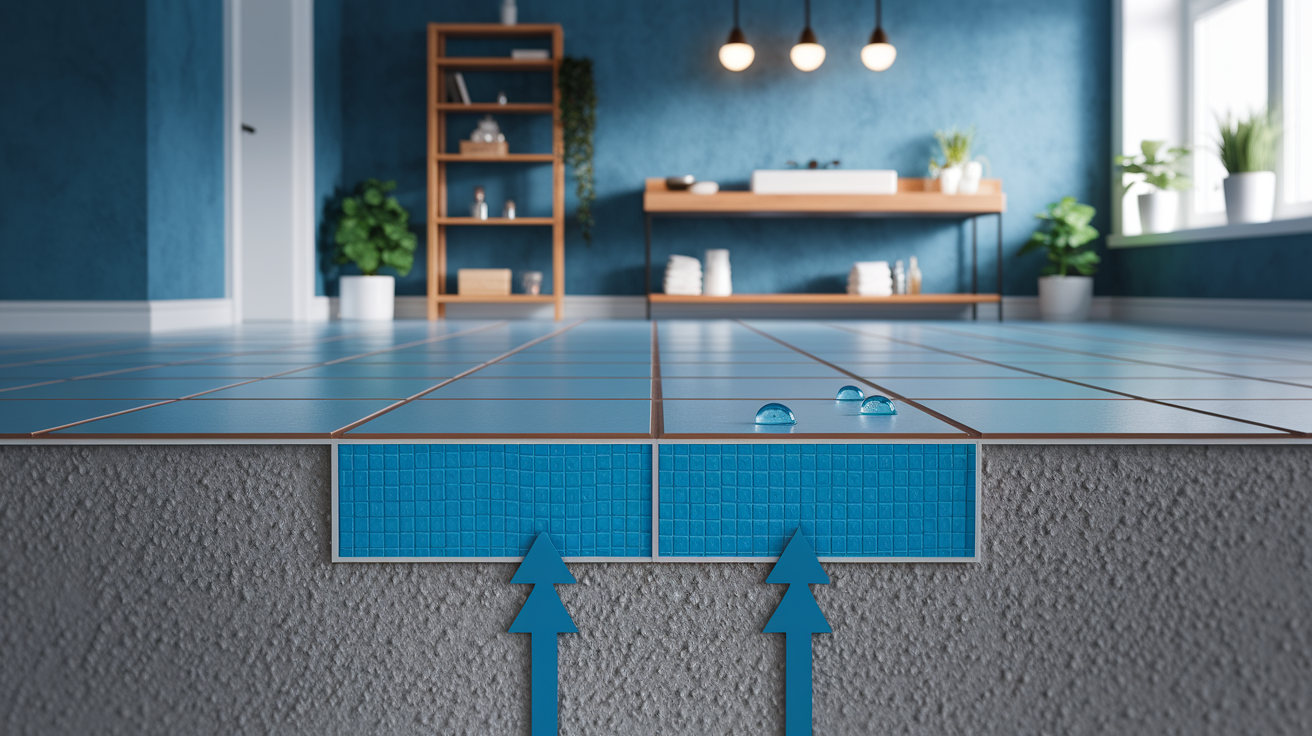
Bathroom and kitchen floors see more tile loosening than other areas because of constant moisture exposure, temperature swings from hot and cold water, high foot traffic in concentrated zones, and water standing on the surface when spills happen or during shower use. Steam, humidity, and direct water contact gradually work their way under tiles if grout joints are cracked or caulking around tubs and showers fails.
Always use moisture resistant or waterproof adhesive in these areas. That means modified thinset (which contains polymer additives for water resistance) or epoxy adhesive rather than standard mastic or organic adhesives that water breaks down. If you’re repairing tiles in a shower floor, tub surround area that gets direct spray, or right in front of a sink where standing water happens, epoxy is worth the extra cost. Check whether your substrate has a waterproof membrane underneath. If you’re down to bare concrete or cement board and it looks like there was never a waterproofing layer, consider applying a liquid membrane product before retiling, especially in shower areas. This adds time and cost but prevents future water damage and mold issues.
Expansion joints matter where tile meets different materials. The joint between your tile floor and wood baseboard, the gap between floor tile and wall tile, and transitions between tile and other flooring types should be filled with flexible caulk, not grout. Grout is rigid and cracks when materials expand at different rates. Similarly, temperature fluctuations near exterior doors, large windows, or unheated spaces mean the floor expands and contracts seasonally. If you’re in one of these zones, a flexible adhesive reduces stress on the bond.
If your floor has radiant or underfloor heating, you need compatible materials. Not all adhesives handle the thermal cycling. Look for thinset or adhesive specifically labeled for radiant heat or underfloor heating systems. These products remain flexible enough to handle expansion without bond failure. Fix A Floor adhesive works on tiles with underfloor heating, as do many modified thinset mortars. Check the product label. Don’t assume standard thinset will work. Also, never turn the heating system on during the cure period. Wait the full 48 to 72 hours (or whatever the adhesive specifies) before reactivating heat.
Ongoing maintenance prevents repeat problems. Wipe up water immediately instead of letting it sit, use exhaust fans during and after showers to reduce humidity, fix any leaking faucets or toilet base seals right away, and check grout lines every few months for cracks or gaps. Seal grout in bathroom and kitchen floors every one to two years using a penetrating grout sealer. It takes 20 minutes and prevents moisture from working through the grout and under your tiles.
Handling Cracked or Broken Tiles During Reattachment
When you remove a loose tile, look at it carefully. Hairline cracks, small chips, or corner damage don’t automatically mean replacement. However, cracks that go completely through the tile thickness, large broken sections, or pieces that are missing do compromise the tile’s structural integrity. A cracked tile under foot traffic will eventually break further and create sharp edges or a tripping hazard. In high visibility areas, even repaired cracks may be noticeable and bother you every time you see them.
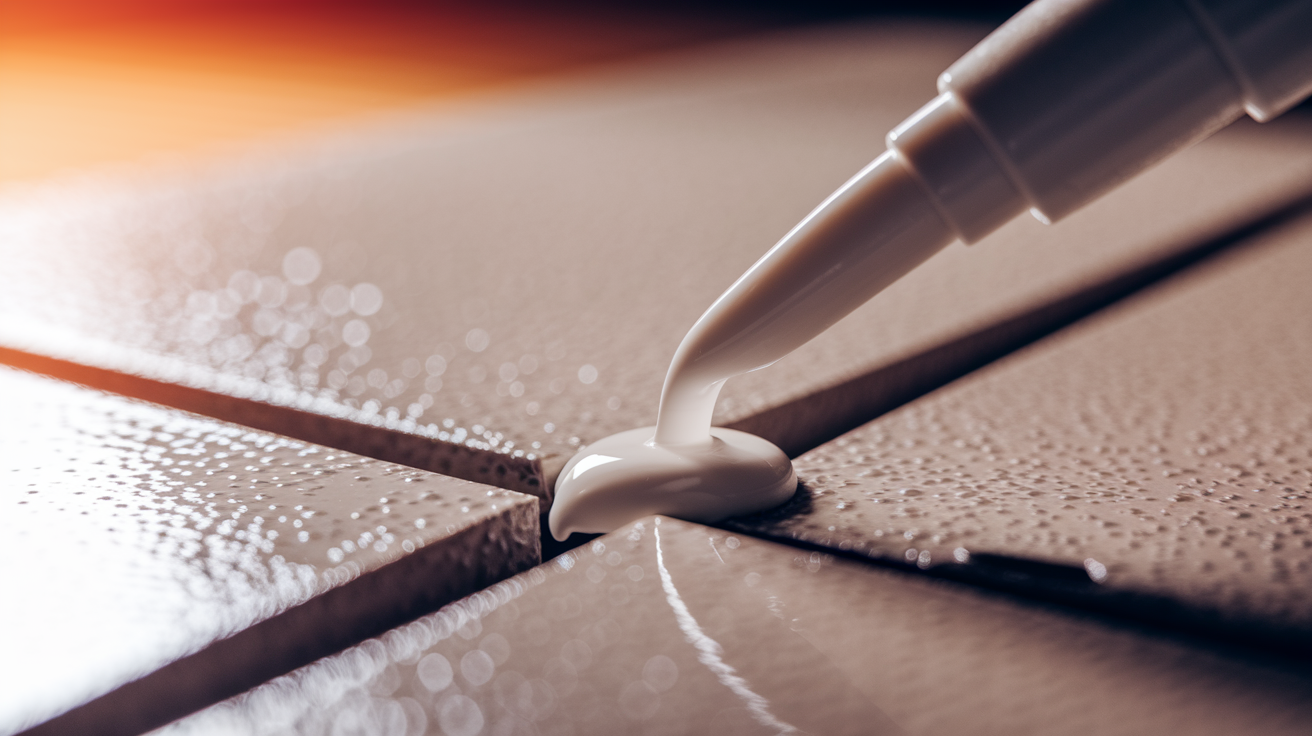
Epoxy repair works for minor hairline surface cracks and small chips. Clean the damaged area thoroughly with rubbing alcohol and let it dry. Mix a small amount of two part epoxy (the kind that comes in separate resin and hardener tubes) and apply it into the crack using a toothpick or fine applicator, overfilling slightly. Wipe excess immediately with a cloth dampened with acetone or denatured alcohol before it starts to cure. Let it cure fully (usually 24 hours), then sand it smooth and level with very fine sandpaper (220 grit or higher). For chips, if you still have the broken piece, apply epoxy to both surfaces and press together, holding until the epoxy sets enough to stay. If the piece is gone, fill the void with epoxy, making sure it’s level with the rest of the tile surface. You can sometimes find epoxy that’s tintable or comes in common colors, or paint over cured clear epoxy with a tiny bit of matching paint sealed with clear polyurethane.
Finding matching replacement tiles is easier if you saved spares from the original installation. Check your garage, basement, or storage area for leftover boxes. If you remember who installed the floor or what store you bought from, contact them with a photo. Manufacturers keep some patterns in production for years. For discontinued or vintage tiles, tile matching services exist (search online for “tile matching service”), architectural salvage stores sometimes carry old inventory, and online marketplaces sometimes have people selling leftover boxes from their own projects. If you can’t find an exact match and the area isn’t highly visible, sometimes a close approximation works, or you can create a deliberate accent pattern by replacing several tiles in a line or pattern with a coordinating color.
Remove broken tiles extra carefully if they’re cracked but still partially adhered. The cracks create weak points that make the tile fragment easily. Score the grout lines completely before attempting removal. Apply pressure gently and evenly when prying. If the tile starts to break into pieces, that’s fine as long as you remove all the pieces and old adhesive. Protect your eyes because small chips can fly unexpectedly.
Basic tile cutting requires either a manual score and snap cutter (around $25 to 50 for a decent one) or a wet saw ($80 to 200, or rent one for $35 to 50 per day). For straight cuts on ceramic or porcelain tiles, score and snap cutters work well. Mark your cut line, position the tile, score once firmly, and snap. For curved cuts, precise cuts, or very hard tiles, a wet saw gives you more control and cleaner edges. If you only need one or two cuts, many tile stores will cut tiles for free or a few dollars per cut if you bought the tile from them.
Common Mistakes That Cause Tile Reattachment Failures

Most DIY tile repairs fail because someone rushed the process or skipped what seemed like minor steps. It’s almost never about lacking skill. It’s about impatience, taking shortcuts, or not reading the instructions on the adhesive bag. A repair done carefully with cheap materials usually outlasts a rushed job with premium products. Understanding that curing takes real time and can’t be accelerated is half the battle. The other half is doing the boring prep work completely instead of “good enough.”
Avoid these specific mistakes that cause repairs to fail within weeks or months:
Insufficient adhesive coverage leaving voids: Applying adhesive too thin, not using a notched trowel, or missing spots creates hollow areas under the tile where no bond forms, and those voids let the tile rock loose again.
Not removing all old adhesive: Leaving even a thin layer of old adhesive on the substrate or tile back prevents new adhesive from bonding properly because you’re gluing to a weak, degraded surface instead of the actual substrate.
Walking on or disturbing the tile too soon: Stepping on the tile or bumping it before the adhesive cures breaks the bond that’s forming and creates a weak attachment that fails as soon as normal use resumes.
Using wrong adhesive type for tile material or location: Standard mastic in a wet area dissolves, regular thinset on natural stone can cause staining, and non flexible adhesive over wood subfloors cracks under movement.
Inadequate surface cleaning leaving dust or debris: Even a thin layer of dust, oil, soap residue, or loose particles prevents adhesive from making direct contact with the substrate, creating immediate bond failure.
Not applying adequate weight during curing: Without weight, the tile can settle unevenly, create high spots, or not compress the adhesive fully, leaving gaps and weak bonding.
Failing to maintain level placement with adjacent tiles: A tile that’s even slightly higher or lower than surrounding tiles experiences uneven stress during foot traffic and works loose faster.
Insufficient curing time before grout application: Applying grout before adhesive has set fully can shift the tile, and moisture from wet grout can interfere with adhesive curing.
Exposing repair to moisture before full cure: Water or even high humidity during the cure period weakens the developing bond, especially with thinset mortars that cure through chemical reaction with water but still need time to develop full strength.
Before you consider the job done, do quality control checks. After the adhesive has initially set but before full cure (around 2 to 4 hours after installation), carefully remove weights and check that the tile is perfectly level with surrounding tiles by running your hand across the transition. Check all four edges. If you feel a lip, you might be able to still press it down if the adhesive hasn’t hardened yet. After full cure, tap the tile and listen for that solid sound. Any hollow echo means the bond didn’t form completely. Press on different parts of the tile to feel for any movement or flex. Check that grout lines are uniform width and the tile hasn’t shifted.
If a repair fails, wait for the adhesive to fully cure before assessing what went wrong. Sometimes what feels loose at 12 hours is solid at 48 hours. Once you’re certain it failed, figure out why before trying again. Did you see full adhesive coverage when you removed the tile? Was the old adhesive completely gone? Did something disturb it during curing? Most failed repairs can be redone successfully after you identify and correct the mistake. The tile is already loose again, so you’re just back to step one. If a second attempt fails, especially if you followed every step carefully, that’s a sign something else is going on (substrate damage, structural movement, moisture problem) and it’s time to get professional assessment.
Cost Breakdown and Time Estimates for Floor Tile Repair
DIY tile repair is extremely cost effective for small repairs. Materials for fixing one to three tiles typically run $20 to 60 total including adhesive, grout, and any small tools you don’t already own. Professional repair services charge $150 to 400 minimum service fees just to show up and fix a single tile because they have to account for travel time, the small material usage, and business overhead. For that price difference, DIY makes clear sense if you’re physically capable and have time. However, larger repairs with multiple tiles, extensive subfloor prep, or situations where you’d need to rent specialized equipment shift the cost benefit calculation, especially when you factor in your time and the learning curve.
| Repair Scenario | Materials Cost | Time Required | Difficulty Level |
|---|---|---|---|
| Single tile with removal and reinstallation | $20-35 | 2-3 hours active work + 24-48 hour cure | Beginner to Intermediate |
| Single tile injection method (no removal) | $15-30 | 30-60 minutes active work + 24 hour cure | Beginner |
| 3-5 tiles with removal and reinstallation | $35-60 | 4-6 hours active work + 24-48 hour cure | Intermediate |
| Repair with subfloor prep needed | $50-120 | 6-10 hours across multiple days + cure time | Intermediate to Advanced |
| Bathroom/wet area repair with waterproofing | $40-80 | 3-5 hours active work + extended cure times | Intermediate |
| Tiles over radiant heating | $30-60 | 2-4 hours active work + 48-72 hour cure | Intermediate |
Hidden costs and time factors matter when deciding DIY vs. professional. First time repairs take longer as you figure out techniques and correct small mistakes. Budget extra time. Tool purchases add up if you need to buy a grout saw ($12), notched trowel ($12), grout float ($10), and other items, though these become reusable tools for future projects. There’s real risk of breaking tiles during removal, especially with older or brittle tiles, and replacements might cost $3 to 20 each depending on type. Factor in the value of your time honestly. If fixing one tile takes you a Saturday afternoon (3 hours) and you could hire a pro for $175, you’re effectively “paying yourself” about $50 per hour by DIYing after materials. That’s a good deal for many people. But if you hate this kind of work, the pro’s convenience and speed might justify the cost. Additionally, professionals carry liability insurance and often guarantee their work for a year or more, which has value if something goes wrong.
When to Call a Professional Instead of DIY Repair
Some tile repairs exceed DIY capability and trying them creates safety risks, expensive mistakes, or situations where fixing your failed attempt costs more than hiring a pro would have originally. Knowing these boundaries protects your home’s value and your personal safety. Foundation and structural issues aren’t homeowner territory. Neither are situations involving hazardous materials, specialized systems, or repairs where code compliance and permits might be needed.
Situations requiring professional assessment include:
Extensive subfloor damage or rot: If pressing on the floor feels spongy, you see significant water staining, or the subfloor is deteriorated beyond surface level, that’s structural work requiring possible joist replacement, subfloor sections, or moisture barrier installation.
Large areas of loose tiles: More than 10 to 15 loose tiles likely indicates widespread adhesive failure, substrate problems, or structural issues rather than isolated damage, and complete reinstallation might be more cost effective than spot repairs.
Clear signs of structural settling or foundation movement: Cracks in tiles that follow lines across the room, doors that suddenly don’t close right, new cracks in walls, or floor areas that have become noticeably uneven point to foundation issues that won’t be solved by reattaching tiles.
Severe water damage with potential mold: If you remove a tile and see black mold growth on the substrate, smell musty odors, or find the subfloor is wet or previously was wet for extended periods, you likely have a mold remediation situation requiring proper containment and removal procedures.
Asbestos tile concerns in older homes: Homes built before the mid 1980s might have asbestos containing flooring materials, and disturbing these creates serious health hazards requiring certified abatement professionals.
Radiant/underfloor heating systems requiring specialized knowledge: If repairing the tile means you might damage heating wires or tubing embedded in the floor, or you need to temporarily disable the system and aren’t confident doing so, professional help prevents expensive system damage.
Commercial grade or specialty tile installations: Large format tiles (over 15 inches), glass tile, specialty stone, or commercial installations use specific setting techniques and materials that require professional experience for successful results.
Situations requiring permits or code compliance: In some jurisdictions, bathroom floor work, anything affecting waterproofing systems, or repairs in commercial buildings require permits and inspections, which means licensed contractor involvement.
Subfloor structural issues go beyond the tile layer. If you’ve got concrete that’s cracked, spalled (surface flaking off), or significantly uneven beyond what floor leveling compound can fix, that needs concrete repair specialists. Wood subfloors showing rot need the affected sections cut out and replaced with new plywood or OSB properly fastened to the joists, and if joists themselves are damaged, that’s a job for a carpenter or structural contractor. Foundation settling might require foundation repair specialists who can assess whether the movement has stopped or is ongoing and whether stabilization is needed. These aren’t tile problems. They’re structural problems that show up in the tile.
The value of professional diagnosis is that contractors can assess for $50 to 150 (some offer free estimates) and provide guidance that prevents wasted time and money on DIY attempts that can’t succeed. A flooring pro can tell you in 30 minutes whether your substrate is solid enough for a simple retile, needs minor prep, or requires major work before any tile repair makes sense. That consultation fee can save you from buying materials, spending a weekend on work, and then still needing to call someone when it doesn’t hold. Many pros will even walk you through a DIY approach if the job is straightforward and they’re honest about homeowner capability. Warranted professional work provides peace of mind, especially in wet areas or high traffic zones where you want confidence the repair will last.
Final Words
Loose floor tiles aren’t the end of the world. They’re fixable.
You’ve got two solid approaches: inject adhesive if the tile’s in good shape, or do a full removal and reset if you need to check what’s underneath. Pick the method that matches your damage.
Take your time with surface prep. Use the right adhesive for your tile type. Let it cure fully before you walk on it.
Most repairs fail because someone rushed it, not because the technique was wrong.
If you’re dealing with one or two tiles, this is absolutely within reach. If you hit subfloor damage or structural settling, call someone who does this every day.
Now you know how to reattach loose floor tile the right way. Go slow, stay patient, and your fix will hold.
FAQ
How do you fix loose floor tiles without removing them?
You can fix loose floor tiles without removing them by using the injection method, which involves drilling 2-4 small holes in the grout lines around the loose tile, injecting adhesive until it rises from opposing holes, then applying weight for at least 24 hours while the adhesive cures.
What adhesive is used to repair loose tile?
The adhesive used to repair loose tile depends on the tile type and location. Thinset mortar works for most ceramic and porcelain tiles, epoxy adhesive handles wet areas and natural stone, and specialized injection adhesives like Fix-A-Floor are designed for no-removal repairs.
Can you glue a tile back down?
You can glue a tile back down using appropriate tile adhesive or thinset mortar. The process requires removing old adhesive from both the tile and subfloor, cleaning surfaces thoroughly, applying fresh adhesive with a notched trowel, pressing the tile firmly, and weighting it for 24-48 hours during curing.
How to stick down a loose floor tile?
To stick down a loose floor tile, first remove grout around the tile, lift it carefully, scrape away old adhesive from both surfaces, apply fresh thinset or tile adhesive to the clean subfloor, press the tile into place with a slight twisting motion, and apply weight until fully cured.
What causes floor tiles to become loose?
Floor tiles become loose from failed or deteriorated adhesive, improper initial installation, water damage and moisture infiltration, subfloor movement and settling, poor surface preparation, wrong adhesive type for the tile material, temperature fluctuations causing expansion, and substrate incompatibility with the adhesive used.
How long does tile adhesive take to cure?
Tile adhesive takes 24-48 hours to cure sufficiently for foot traffic, though full curing time varies by adhesive type and manufacturer specifications. The repaired area must remain dry and undisturbed during this period to ensure proper bonding and prevent failure.
What’s the difference between injection repair and full tile removal?
The difference between injection repair and full tile removal is that injection involves drilling small holes and forcing adhesive under intact tiles without removing them, while full removal requires lifting the tile, cleaning surfaces, and reinstalling with fresh adhesive, which allows substrate inspection but risks tile breakage.
How do you know if a floor tile is loose?
You know if a floor tile is loose by performing a tapping test using your knuckles or a small object. A hollow sound indicates the tile has separated from the substrate, while a solid sound means the tile is still properly bonded to the subfloor.
What tools are needed to reattach a floor tile?
The tools needed to reattach a floor tile include a utility knife or grout saw, putty knife, floor scraper, notched trowel, rubber mallet, grout float, mixing bucket, sponge, safety glasses, dust mask, gloves, and weights or buckets for applying pressure during curing.
When should you call a professional for loose tiles?
You should call a professional for loose tiles when there’s extensive subfloor damage or rot, more than 10-15 tiles are loose, structural settling is evident, severe water damage with potential mold exists, asbestos tiles are suspected, or radiant heating systems require specialized knowledge.
How do you prevent tiles from loosening again?
You prevent tiles from loosening again by sealing grout every 1-2 years, wiping water spills immediately, ensuring proper bathroom and kitchen ventilation, avoiding harsh chemical cleaners, using floor mats in high-traffic areas, and performing periodic tapping tests to check bonding integrity.
Can you repair a loose tile that’s also cracked?
You can repair a loose tile that’s also cracked only if the crack is minor and hairline on the surface. Cracks penetrating through the tile thickness compromise structural integrity and require full tile replacement rather than repair for long-lasting results.