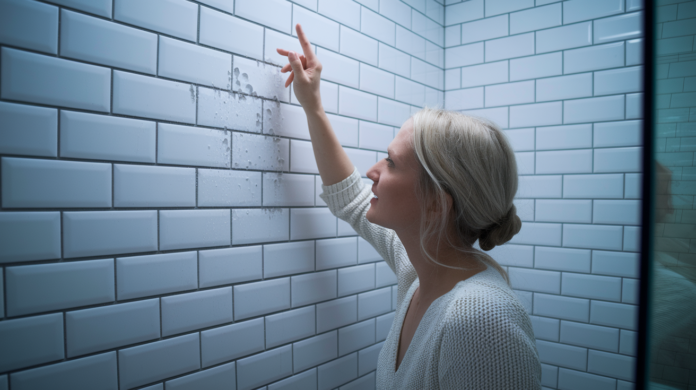

Ever pressed on a shower tile and felt it shift under your finger? That sinking feeling is real, and if you ignore it, what starts as one wobbly tile can turn into a full wall replacement when water gets behind it. The good news is you can fix loose shower tiles yourself if you catch them early and use the right method for your specific situation. This guide walks you through exactly when to use quick injection repair versus full tile replacement, what tools actually work, and how to make sure your fix holds up in a wet environment.
Reattachment vs. Replacement: Choosing Your Repair Method
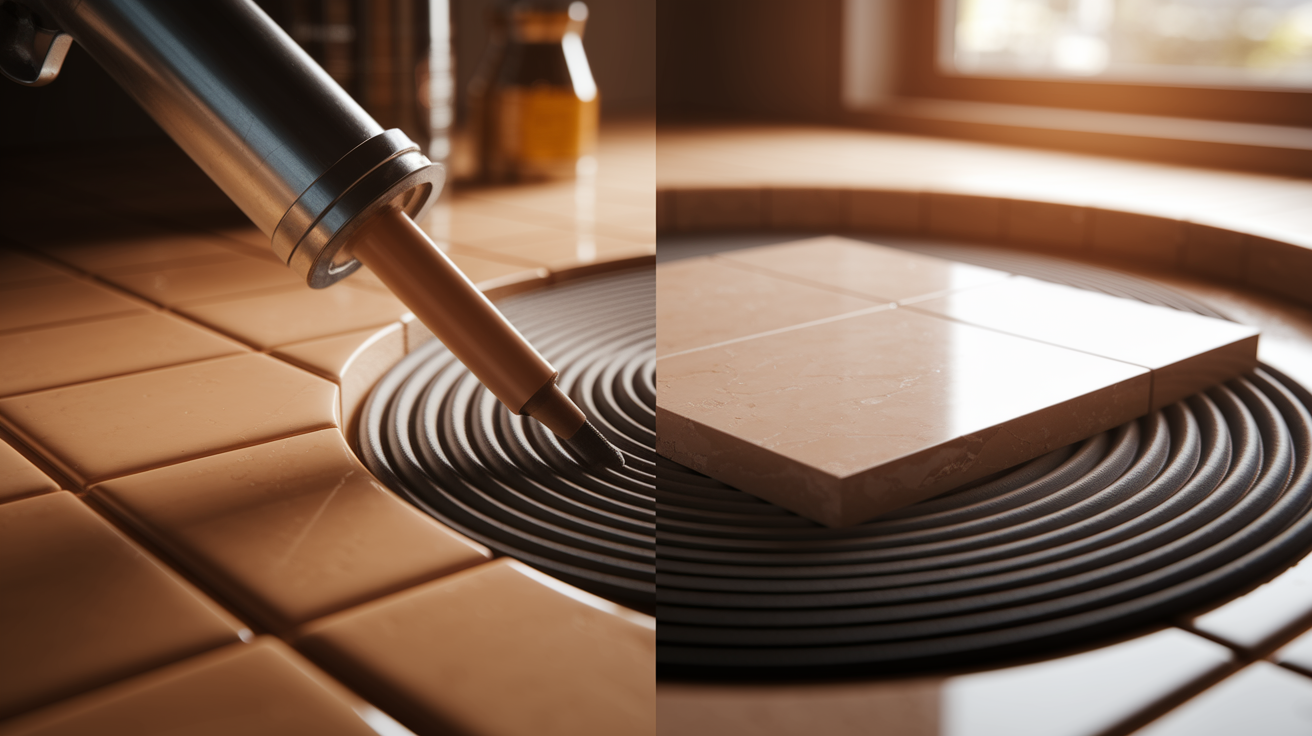
When you find a loose shower tile, you’ve got two real options: injection reattachment or complete tile replacement. Injection works for single tiles that have separated from the adhesive layer but still have intact grout and no visible water damage underneath. Replacement means pulling the tile, scraping off old adhesive, and starting fresh with new thinset and careful reinstallation.
| Repair Method | Best For | Success Indicators | Time Required |
|---|---|---|---|
| Injection Reattachment | Single tile, minor movement, no visible water damage, grout intact | Hollow sound when tapped, tile moves slightly when pressed, no soft spots or discoloration around edges | 2 days (24 hour cure time) |
| Complete Tile Replacement | Multiple loose tiles, cracked tile surface, deteriorated grout, visible water stains, soft spots behind tile | Large hollow areas when tapping, significant tile movement, brown staining, musty smell, crumbling grout | 3 to 6 days (includes substrate inspection and curing periods) |
The tapping test tells you how much adhesive has failed underneath. Use your knuckle to tap firmly across the entire tile surface and the surrounding tiles. A solid tile sounds dull and dense, like knocking on a countertop. A loose tile sounds hollow and higher pitched, like tapping on a plastic container. If the hollow sound covers more than half the tile or extends to neighboring tiles, injection probably won’t hold long term.
Look closely at the grout lines around the loose tile. Cracked or crumbling grout means water’s been getting through, which often indicates substrate damage below. Check for brown or yellow staining on the grout or tile edges, soft spots when you press firmly on the tile, and any visible gaps opening up at the corners. If you see water damage signs, you’ll need to remove the tile and inspect what’s underneath before deciding on the repair approach.
When you’ve got three or more loose tiles in the same area, or if tiles keep coming loose after previous repairs, something bigger is wrong. That usually means substrate movement, widespread adhesive failure, or an active moisture problem. At that point, stop the DIY planning and get a professional inspection to find the root cause.
Quick Injection Method for Single Loose Tiles
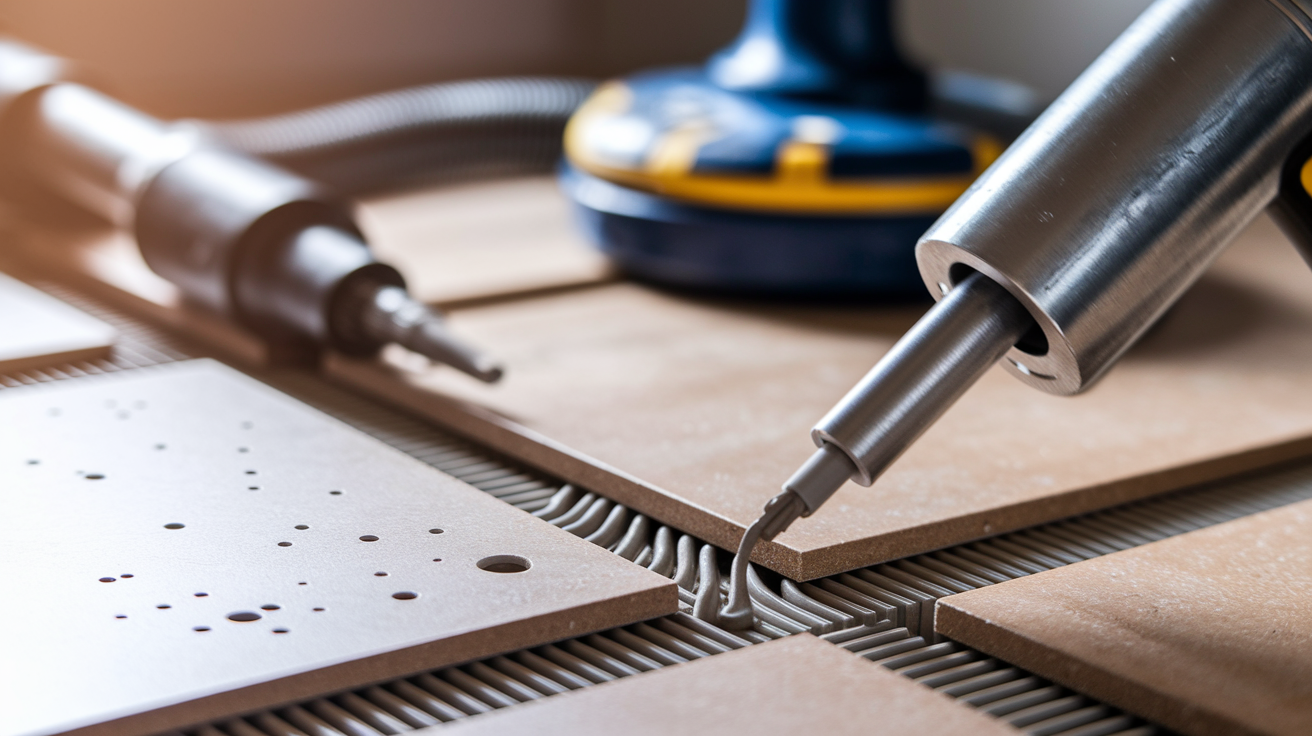
The injection method works when you’ve got one or two tiles that move when you step on them but still have good grout and no signs of water damage behind them. You’ll need injection grade adhesive designed for this repair (brands like Fix-A-Floor Extra Strength or equivalent), a 10 to 1 thrust ratio caulking gun (standard guns don’t have enough power), a drill with a 1/8 inch masonry bit, a shop vacuum or strong household vacuum, clean weights totaling 8 to 10 pounds, a damp sponge, and grout that matches your existing color.
-
Identify exactly which tiles are loose by pressing firmly on each one and listening for hollow sounds when tapping.
-
Drill 2 to 4 evenly spaced holes through the grout lines surrounding the loose tile, spacing them about 2 to 3 inches apart. Go through the grout only, don’t drill into the tile itself. Angle the drill slightly toward the center of the loose tile so the adhesive will flow underneath.
-
Vacuum out all the drill dust from the holes and from the grout lines. Use the vacuum hose directly on each hole for 10 to 15 seconds to pull out any debris that could block adhesive flow.
-
Load the injection adhesive into the caulking gun and insert the applicator tip into the first hole. Squeeze steadily while moving to each hole in sequence. Keep injecting until you see adhesive start to appear at the adjacent holes, which tells you the space underneath is filling.
-
Wipe away excess adhesive from the grout lines with a damp sponge immediately. Place your weights evenly across the tile surface, avoiding concentrated pressure at the edges. A couple of heavy books wrapped in plastic bags work fine.
-
Leave the weights in place for a minimum of 24 hours. In cooler conditions (below 65 degrees), give it 36 hours. Don’t use the shower during this curing period.
-
Remove the weights and fill the drilled holes with matching grout, working it in with your finger and smoothing with a damp sponge.
When injecting the adhesive, you want steady, firm pressure on the caulking gun. If the adhesive doesn’t flow out of the adjacent holes after injecting through 2 to 3 entry points, the space underneath might be blocked by old adhesive chunks or the tile isn’t lifted enough for flow. In that case, try gently pressing down on the opposite edge of the tile to create a slight gap, then inject again.
Weight placement matters more than you’d think. Eight to ten pounds distributed across the entire tile keeps even pressure while the adhesive spreads and cures. Concentrated weight at the center can actually push adhesive out from the edges and create weak spots. Room temperature affects cure time. Between 65 and 75 degrees, 24 hours is solid. Below 60 degrees, the chemical reaction slows down and you need that extra 12 hours.
After the full cure time, check that the tile no longer moves and the tapping test sounds solid. Mix a small batch of grout to match your existing color, push it into the drilled holes with your finger, and smooth it flush with the surrounding grout lines using a damp sponge.
Complete Tile Removal and Replacement Process
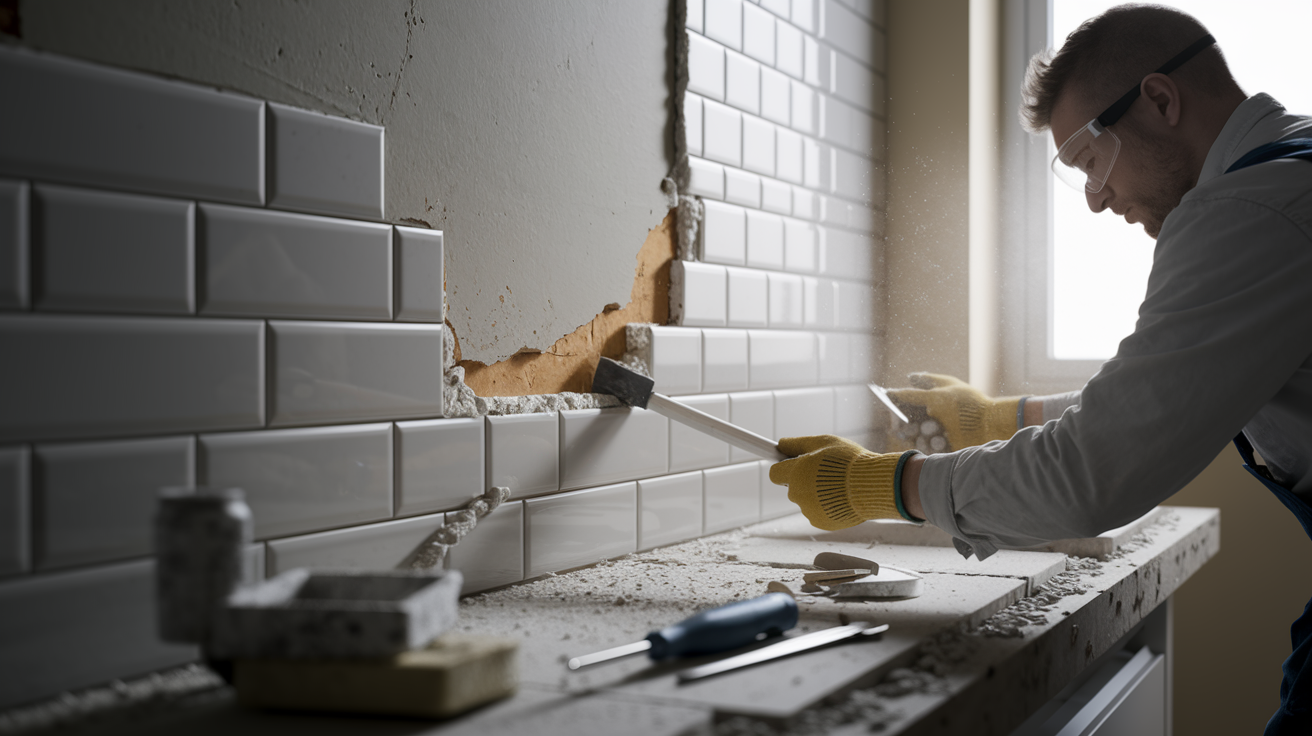
Before you start breaking tile, put on your safety glasses, a good dust mask (tile and thinset dust is nasty stuff), and work gloves. Have these tools ready: grout saw or oscillating multi-tool with grout removal blade, cold chisel (1/2 inch to 1 inch wide), hammer, putty knife or scraper, notched trowel (1/4 inch notches for wall tiles, 3/8 inch for floor tiles), tile spacers matching your grout line width, large sponge, small level, and a bucket for mixing thinset mortar.
Start by removing all the grout around the loose tile using your grout saw. Work the blade back and forth in the joint until you’ve cleared the grout down to the substrate. This prevents damage to surrounding tiles when you break out the loose one. If you skip this step, you’ll probably crack the adjacent tiles when the chisel pressure transfers through the grout connection.
Position your cold chisel in the center of the loose tile and tap firmly with the hammer to crack it. Once it breaks, work the chisel under the pieces from the center outward, prying up fragments. The goal is to remove all the tile material without damaging the substrate underneath or chipping the edges of surrounding tiles. Take your time and use controlled hammer taps, not full swings.
After the tile is out, scrape away every bit of old adhesive. Use your putty knife or chisel held nearly flat against the substrate and work in overlapping passes. The surface needs to be completely smooth and clean for the new thinset to bond properly. Any high spots or old adhesive ridges create gaps under the new tile. Vacuum the area thoroughly, then wipe with a damp sponge and let it dry. Check for soft spots, dark staining, or water damage that might mean deeper problems.
Mix your thinset mortar according to the bag directions, aiming for a peanut butter consistency. It should hold peaks when you pull the mixing paddle out but still spread smoothly. Apply the thinset to the substrate using your notched trowel held at a 45 degree angle, creating even ridges that all go in the same direction. Cover the entire space where the tile will sit, plus a little beyond the edges.
Backbuttering means spreading a thin layer of thinset on the back of the replacement tile too. Use the flat side of your trowel and apply about 1/8 inch thickness across the entire tile back. This double coverage gets rid of any air gaps and gives you maximum bond strength, which is especially important in wet environments.
Press the tile firmly into position with a slight twisting motion, like you’re screwing it down. The twisting collapses the thinset ridges and spreads the adhesive evenly. Insert spacers at all four sides to maintain consistent grout line width with the surrounding tiles. Set your level across the tile and the adjacent tiles to make sure you’re flush. If the new tile sits too high or too low, pull it up, adjust the thinset thickness, and reset it.
Leave the thinset to cure for the time specified on the bag, usually 24 to 48 hours depending on temperature and humidity. Don’t rush this. Grouting over partially cured thinset can cause the tile to shift and create future problems.
Emergency Temporary Fixes for Loose Shower Tiles
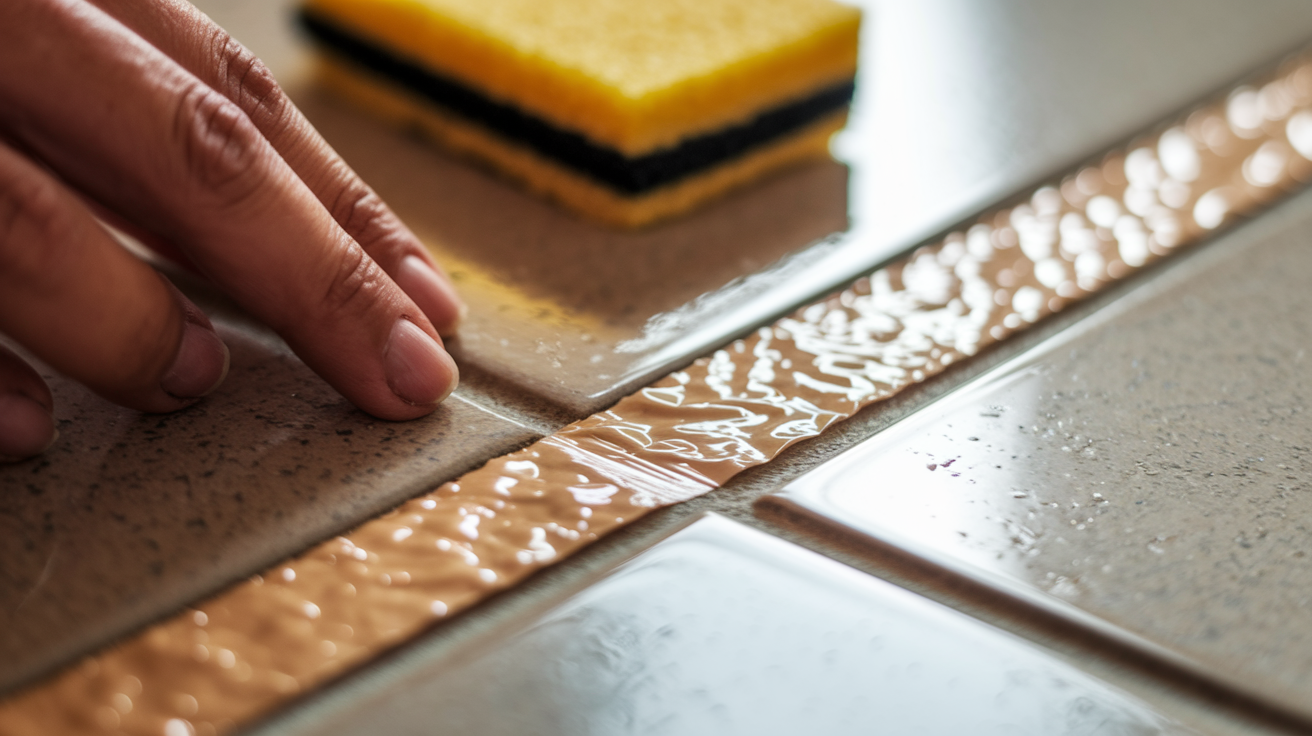
Temporary fixes make sense when your replacement tile is being shipped and won’t arrive for a few days, or when you’ve scheduled a contractor but need to use the shower once or twice before they start work. These are strictly short term measures, meaning less than one week. They will not stop progressive damage if you keep using the shower normally for weeks.
Waterproof repair tape (the kind sold for pool liners or shower pan repairs) can seal the edges and grout lines around a loose tile to create a temporary moisture barrier. Clean the area thoroughly with rubbing alcohol, let it dry completely, then apply the tape over the grout lines and tile edges where water could seep through. Press down firmly, working from the center outward to avoid air bubbles. The tape won’t reattach the tile, but it slows water infiltration.
If you have to shower before the repair is done, minimize water exposure to that area. Face the showerhead away from the loose tile, keep showers short, and use a squeegee or towel to remove standing water from the loose tile immediately after showering. Don’t let water pool on or around the damaged area.
Every day that water gets under a loose tile, more damage accumulates in the substrate below. Moisture soaks into the backer board or subfloor, creating conditions for mold growth and wood rot. Adhesive deteriorates further once water reaches it, making your repair harder and potentially requiring substrate replacement in addition to tile work. Temporary measures just slow this down. They don’t stop it.
Addressing Water Damage and Substrate Issues
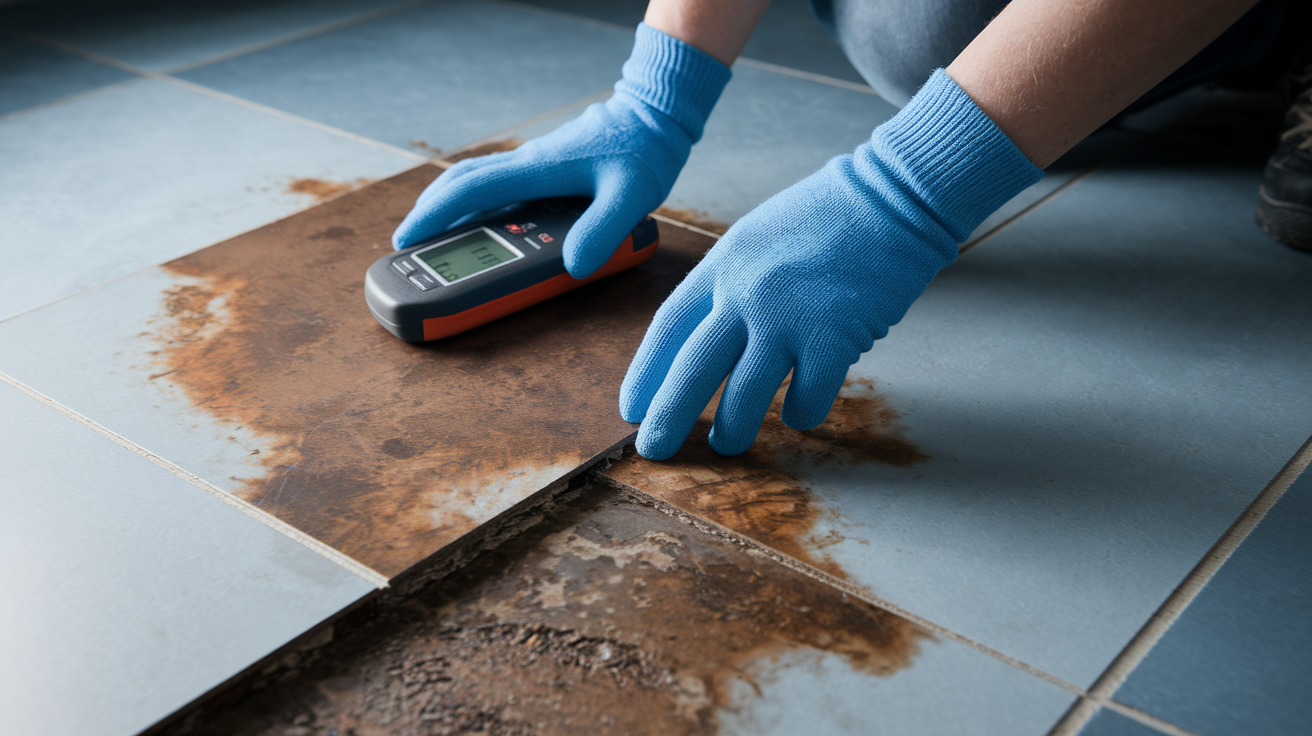
When you pull up a loose tile and see dark brown or black staining on the substrate, feel soft spots when you press on the backer board, or smell that musty mildew odor, water’s been getting behind the tile for a while. Other warning signs include visible mold growth on exposed surfaces, backer board that crumbles or flakes when you scrape it, and discolored or swollen areas extending beyond the tile you removed.
After removing damaged tiles, inspect the substrate carefully. Press firmly across the entire exposed area to locate soft spots. If you have a moisture meter, readings above 15 to 17 percent indicate active moisture problems. Visually, healthy cement backer board is uniform gray with no dark staining. Damaged sections need to come out completely. Score the backer board with a utility knife around the damaged area, then use a pry bar to remove those sections. Cut replacement backer board to fit, secure it with corrosion resistant screws driven into the studs or subfloor (screws every 8 inches along edges, every 12 inches in the field), and cover the seams with waterproof fiberglass mesh tape embedded in thinset.
Shower areas require waterproofing membrane between the substrate and the tile. If you’ve removed tiles and exposed bare substrate, you need to reapply waterproofing before retiling. Liquid membranes like RedGard or AquaDefense brush or roll on, requiring two coats with the second applied perpendicular to the first. Sheet membranes like Kerdi or Noble involve cutting to size, applying thinset to the substrate, pressing the membrane into the thinset, and troweling over the membrane before it dries. Both methods need continuous coverage with no gaps or breaks, extending at least 6 inches beyond the shower spray area. Let the membrane cure according to manufacturer directions (typically 24 to 48 hours for liquid, 24 hours for sheet) before tiling.
When substrate damage goes beyond simple backer board replacement, or when you find wood framing that’s soft and water damaged, or when you see mold growth extending behind the shower wall into the wall cavity, that’s outside DIY territory. Same goes for situations where you’ve found an active plumbing leak that needs pipe repair or replacement. Those repairs require opening walls, structural assessment, mold remediation that follows proper containment protocols, and potentially permits and inspections.
Regrouting and Sealing After Tile Repair
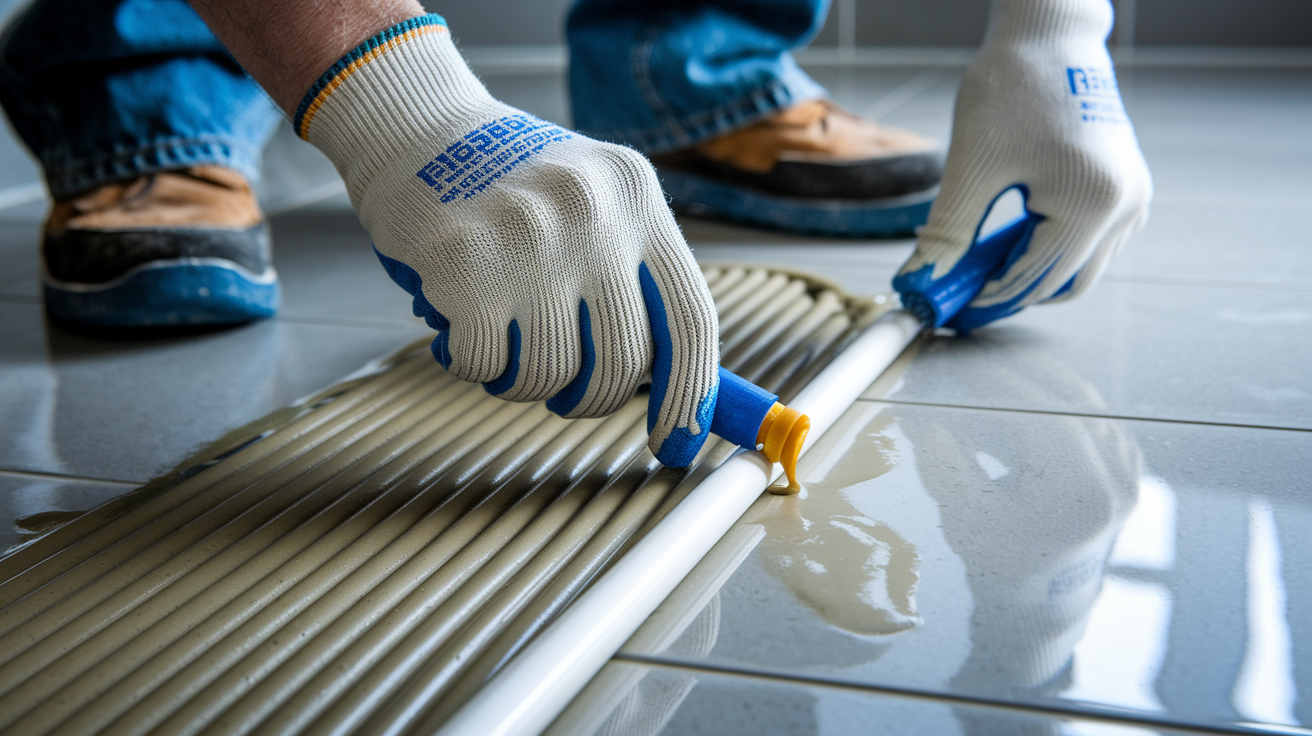
Choose sanded grout for joints wider than 1/8 inch. The sand particles give the grout structure and prevent cracking in wider spaces. Unsanded grout works for joints 1/8 inch and narrower, and you’ll want it for polished tile or stone that sanded grout could scratch.
Mix your grout to the consistency specified on the package, typically like thick brownie batter. Load grout onto your rubber float and hold the float at a 45 degree angle to the tile surface. Push the grout into the joints using diagonal strokes that work across the joint lines. Make two or three passes over each area, applying pressure to pack the grout solidly into the joints with no voids or air pockets.
Wait 15 to 20 minutes after grouting for the grout to firm up. It should be solid enough that it doesn’t pull out of the joints when you touch it, but not fully hardened. Wipe the tile surface with a damp sponge using circular motions to remove excess grout while avoiding the joints themselves. Rinse the sponge frequently and wring it nearly dry. Too much water weakens the grout. After another 30 minutes, a hazy film will appear on the tiles. Buff that off with a dry cloth.
Wait 72 hours after grouting before applying sealer. The grout needs to cure completely, and sealer applied too early traps moisture inside and weakens the grout. Use a penetrating grout sealer (not a surface coating type) and apply it carefully with a small brush or applicator bottle, getting it into the grout lines without leaving excess on the tile surface. One coat is usually sufficient for standard cement based grout.
Place silicone caulk, not grout, at any joint where tile meets a different material or where movement occurs. That means the seam where your shower floor meets the wall tile, where wall tile meets the tub edge, and at inside corners where two walls meet. These movement joints need the flexibility that caulk provides. Grout cracks in these locations because it’s rigid and can’t handle the minor shifting that happens in these spots.
Preventing Future Tile Loosening and Failure

Bathroom humidity breaks down tile adhesive gradually and allows moisture into substrate materials where it causes swelling and movement. Run your exhaust fan during every shower and for at least 20 minutes after you finish. If you have a window, crack it open during showers when weather permits. Keep your indoor humidity below 50 percent, which you can monitor with an inexpensive hygrometer from any hardware store.
Run the exhaust fan during showers and for 20 minutes afterward to remove moisture from the air. Use pH neutral tile cleaners, avoiding products with vinegar, lemon, or other acids that deteriorate grout over time. Inspect grout lines every three months for hairline cracks or small damaged spots that need immediate attention. Repair minor grout damage as soon as you spot it by removing the damaged section and filling with fresh grout. Avoid abrasive scrubbing pads or stiff brushes that scratch tile surfaces and damage grout. Reapply penetrating grout sealer annually to maintain water resistance in grout lines.
When you notice a small grout crack or a single tile that just started moving slightly, fix it right then. A small grout crack takes 15 minutes and costs about $8 in materials to repair. Ignoring it until water’s damaged the substrate behind three tiles means a repair that takes several days and costs $200 to $400 in materials, plus the risk of needing to replace water damaged backer board or framing. Early intervention is always cheaper and easier.
Cost Breakdown and Time Estimates for Tile Fixes

Your total cost depends primarily on how extensive the damage is and whether you’re doing the work yourself or hiring someone. Material costs range from under $30 for a simple injection repair to several hundred dollars when substrate repairs enter the picture.
| Repair Type | Material Cost | Time Required | Skill Level |
|---|---|---|---|
| Injection Repair | $20 to $50 | 2 days | Beginner |
| Single Tile Replacement | $50 to $150 | 3 to 4 days | Intermediate |
| Multiple Tiles (3 to 8 tiles) | $150 to $400 | 4 to 6 days | Advanced |
| Full Shower Restoration | $800 to $2,000 | 7 to 10 days | Professional Recommended |
Hidden costs show up when you discover problems after removing tiles. Backer board replacement runs $30 to $60 for materials depending on the damaged area size. Waterproofing membrane adds $50 to $150 for liquid membrane products or sheet membrane systems that cover a standard shower. Substrate leveling compound costs $20 to $40 per bag when you find uneven areas that need correction before retiling.
Professional tile replacement typically costs $8 to $15 per square foot including labor and basic materials, though specialty tiles or extensive substrate repairs push that higher. If water damage extends to framing or requires mold remediation, those repairs add $500 to $2,000 depending on severity. When damage is widespread (more than one wall section or half the shower floor), multiple loose tiles, or substrate problems are evident, budget for professional help rather than DIY to make sure the repair meets building codes and solves the underlying problem.
The time requirements include mandatory curing periods you can’t rush. Injection adhesive needs 24 hours minimum. Thinset mortar requires 24 to 48 hours before you can grout. Grout needs 72 hours before sealing. When you’re planning the project, add these waiting periods to your total timeline so you’re not caught surprised when the shower stays out of service longer than expected.
When to Call a Professional for Shower Tile Repair
Building codes require specific waterproofing standards in shower areas, including continuous membrane installation with no breaks or gaps, proper overlaps at seams (typically 2 inches minimum), and correct slope for drainage, which is 1/4 inch per foot minimum from the back wall to the drain. Many jurisdictions require permits and inspections for shower waterproofing work. Non-compliant waterproofing affects your insurance coverage if you file a water damage claim later, and it creates disclosure issues when selling your home. Insurance companies and home inspectors look for proper waterproofing documentation and code compliance.
More than three loose tiles in the same shower indicate widespread adhesive failure or substrate movement requiring full removal and reinstallation. Water damage behind walls showing up as soft drywall, staining on the ceiling below, or visible mold growth means substrate failure that needs professional assessment and remediation. Active plumbing leaks require pipe access and repair before tile work can begin, which often means opening walls and coordinating plumbing and tile work. Building permit requirements in your jurisdiction for shower repairs or waterproofing work, which typically require licensed contractor installation and inspection sign-off. Soft or deteriorated substrate framing discovered after removing tiles means structural repairs beyond tile replacement scope. Complete shower pan replacement involving mortar bed installation, waterproof liner installation, weep holes, and proper drainage slope. Natural stone tile installation requiring specialty setting materials, sealing procedures, and layout techniques to handle the material’s unique properties.
Vet tile contractors by verifying their state contractor license (most states require specific tile or general contractor licensing), checking references from at least three recent projects similar to yours in scope and materials, and confirming they carry current liability insurance and workers compensation coverage. Request detailed written estimates that break down labor and materials separately, specify all products by brand and type, and include timeline with start and completion dates.
Properly licensed contractor work typically includes warranties covering labor for 1 to 3 years and passes through manufacturer warranties on materials (usually 15 to 25 years for tile, 10 year product guarantees for some waterproofing systems). Work done with proper permits protects your property value because future buyers can verify code compliant installation. Insurance companies look more favorably on water damage claims when they can confirm original installation met code requirements and was performed by licensed professionals.
Final Words
A loose shower tile fix doesn’t have to spiral into a total bathroom redo if you catch it early.
Whether you go with the quick injection method for a single wobbly tile or pull out the chisel for a full replacement, the key is stopping water from sneaking behind your walls.
Get the adhesive right, don’t skip the backbuttering, and give everything time to cure. Your shower will be solid again, and you’ll have saved a few hundred bucks in the process.
FAQ
How to fix a loose tile in the shower?
To fix a loose tile in the shower, you have two main options depending on the damage extent. For a single tile with minor movement and no water damage, injection adhesive works. Drill small holes in the grout lines around the tile, inject adhesive through the holes until it flows out adjacent openings, then weight the tile down for 24 hours. For tiles with extensive damage or multiple loose tiles, complete removal and replacement with fresh thinset mortar is the better approach. Always inspect the substrate after removal for water damage or soft spots before reinstalling.
How do you fix loose tile without removing it?
You fix loose tile without removing it by using an injection adhesive system designed for this repair. Drill 2-4 evenly spaced holes in the grout lines surrounding the loose tile, making sure not to drill into the tile itself. Vacuum out all debris, then inject adhesive through the holes using a caulking gun until adhesive flows from adjacent holes, which confirms full coverage underneath. Place 8-10 pounds of weight evenly on the tile and leave it undisturbed for at least 24 hours while the adhesive cures. After curing, fill the drilled holes with matching grout for a seamless finish.
Will grout hold a loose tile in place?
Grout will not hold a loose tile in place because grout’s job is filling joints between tiles, not bonding tiles to the substrate. Grout lacks the adhesive strength needed to secure a tile that has lost its bond with the underlying surface. The tile needs proper adhesive underneath, either thinset mortar applied during full replacement or injection adhesive pushed through drilled holes. Relying on grout alone allows continued movement, water infiltration behind the tile, and progressive substrate damage including rot and mold growth.
How to repair tiles that have lifted in a bathroom?
To repair tiles that have lifted in a bathroom, first determine if water damage exists by checking for soft spots, discoloration, or musty odors when pressing the affected area. For single lifted tiles with no substrate damage, use injection adhesive by drilling holes in surrounding grout lines, injecting adhesive until it flows through, and weighting for 24 hours. For multiple lifted tiles or water-damaged substrate, complete removal is necessary. Remove all loose tiles, scrape away old adhesive completely, inspect and replace any damaged backer board, apply fresh thinset with proper coverage including backbuttering each tile, and allow 24-48 hours cure time before grouting.