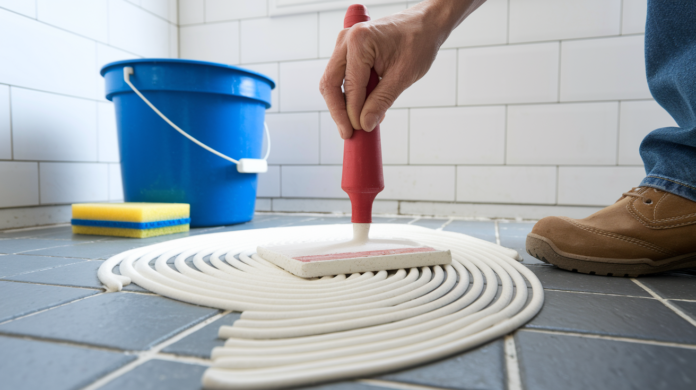

You know that gritty feeling when you run your finger along a grout line and powder comes off? That’s not just dirty grout. It’s failing. And ignoring loose grout doesn’t make it better. It lets water sneak behind your tiles, which leads to mold, loose tiles, and bigger repairs. The good news? Most grout repairs are totally doable if you remove enough of the old stuff, pack the new grout in properly, and give it time to cure. This guide walks you through the full process with the right tools, timing, and techniques so your repair actually lasts.
Complete Grout Repair Process: Tools, Steps, and Techniques
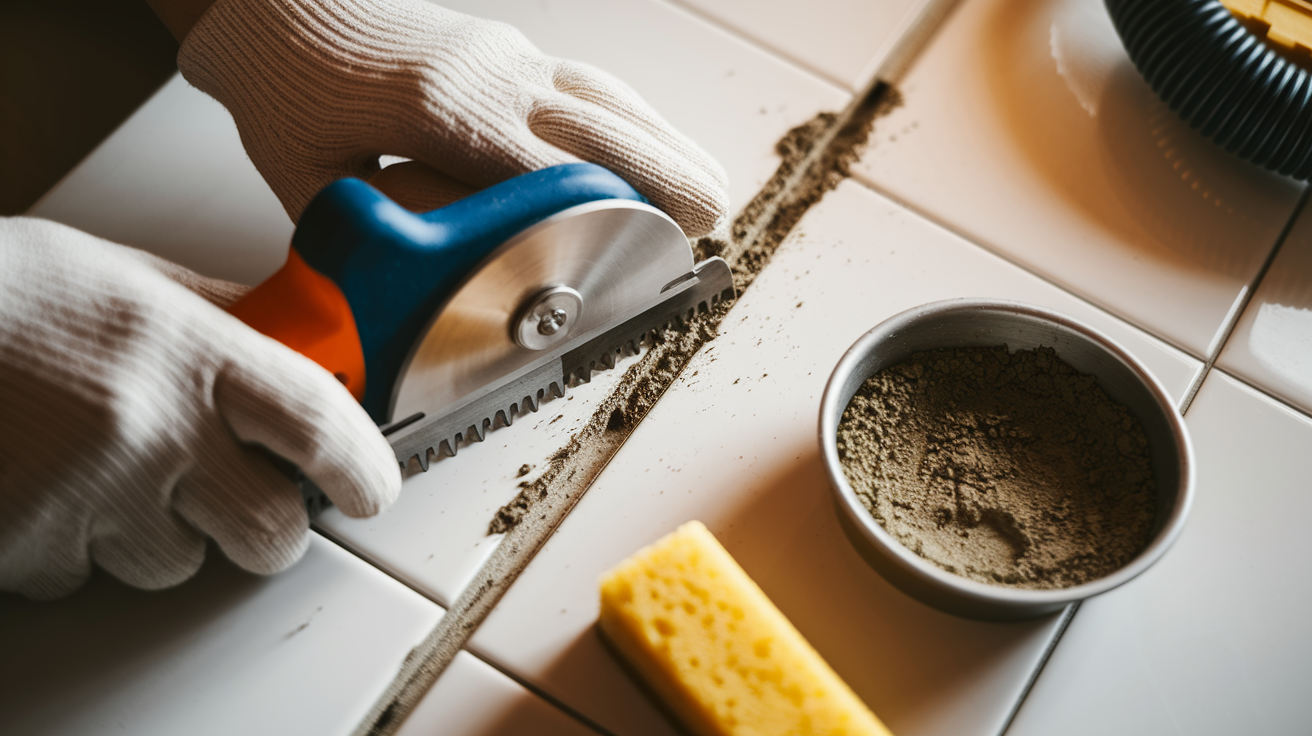
Loose or crumbling grout? You can fix it. Most repairs work because you’re using the right materials and protecting the tile while you restore strong, water-resistant joints.
The technique matters. Proper removal and application create a repair that holds up to daily use and moisture without damaging the tile in the process.
| Tool/Material | Purpose | Required or Optional |
|---|---|---|
| Grout saw | Manual removal of damaged grout | Required (manual option) |
| Oscillating tool with grout blade | Powered removal for faster work | Optional (faster option) |
| Vacuum with hose attachment | Remove all debris and dust | Required |
| Mold remover or bleach solution | Kill mold and mildew before repair | Required if mold present |
| Rubber grout float | Apply and pack grout into joints | Required |
| Large damp sponge | Clean excess grout from tile surface | Required |
| Bucket for mixing and rinsing | Mix grout and rinse sponge | Required |
| Mixing tool or paddle | Achieve proper grout consistency | Required |
| Safety gloves | Protect hands from grout and chemicals | Required |
| Dust mask or respirator | Protect from dust during removal | Required |
| New grout (sanded or unsanded) | Fill joints with fresh material | Required |
| Grout sealer (penetrating or topical) | Waterproof protection after curing | Required for long-term durability |
Step by step repair process:
-
Remove damaged grout. Use a grout saw or oscillating tool to remove old grout to a depth of 1/4 to 1/2 the tile thickness. A grout saw works with careful back and forth motion along the joint. An oscillating tool with a grout blade speeds things up but you’ll need steady hands. Work slowly and keep the blade centered in the joint to avoid chipping tile edges. Think of it like erasing a pencil line. Just enough pressure to remove the material without digging into the paper beneath.
-
Clean and prepare. Vacuum all grout debris from the joints and surrounding area. If you see black or green spots, treat them with mold remover or a 1:10 bleach to water solution, then let it sit for 10 minutes before wiping. The joints must be completely dry before you apply new grout, which may take 24 hours in humid conditions or poorly ventilated spaces.
-
Mix and apply new grout. Follow the manufacturer’s instructions for water to powder ratios. Usually you’ll start with less water than you think you need. Mix to a peanut butter consistency, thick enough to stay on the float but smooth enough to work into joints. Scoop grout onto your rubber float and hold it at a 45 degree angle to the tile surface. Press firmly and work diagonally across the joints, packing grout deeply to get rid of air pockets and make sure it fills completely.
-
Clean excess grout. Wait 15 to 30 minutes until the grout sets slightly and feels firm but not rock hard. Wipe the tile surface with a damp sponge held flat and moved diagonally across the tiles. This prevents pulling fresh grout from the joints. Rinse your sponge frequently in clean water and wring it nearly dry. After the grout firms up more (another 30 minutes), remove the hazy film with a clean, damp cloth or sponge and fresh water.
-
Cure and seal. Allow 24 to 72 hours for the grout to cure completely before sealing. The exact time depends on temperature, humidity, and grout type, so check the package instructions. Choose a penetrating sealer for cement based grout or a topical sealer if you want a slight sheen and extra stain protection. Apply sealer according to the product directions, usually with a small brush or applicator. Cover all grout lines without pooling on tile surfaces.
Critical errors compromise repairs before they even cure. Removing grout to insufficient depth leaves a weak foundation that cracks again within months. Mixing grout too wet makes it shrink and crack as it dries. Too dry creates air pockets and poor bonding. Working too fast before the grout sets means you’ll pull it back out during cleaning. Working too slow after it hardens makes cleanup nearly impossible and risks scratching tiles.
Timing and preparation mistakes show up later as recurring problems. Skipping mold treatment means the mold grows back through new grout within weeks. Inadequate debris removal prevents proper bonding. Poor ventilation extends drying times and can trap moisture in the joints. Applying sealer before the grout fully cures traps moisture inside, leading to discoloration, efflorescence (white powdery residue), or early failure.
Expect removal and cleaning to take 2 to 4 hours depending on the damaged area size. Application itself takes 1 to 2 hours. Initial curing requires at least 24 hours before you can use the area lightly. Full cure before sealing takes 48 to 72 hours. Temperature and humidity directly affect these timelines. Cool or damp conditions add time and warm, dry conditions sometimes speed them up.
Tile Grout Repair for Bathrooms, Showers, and Kitchens
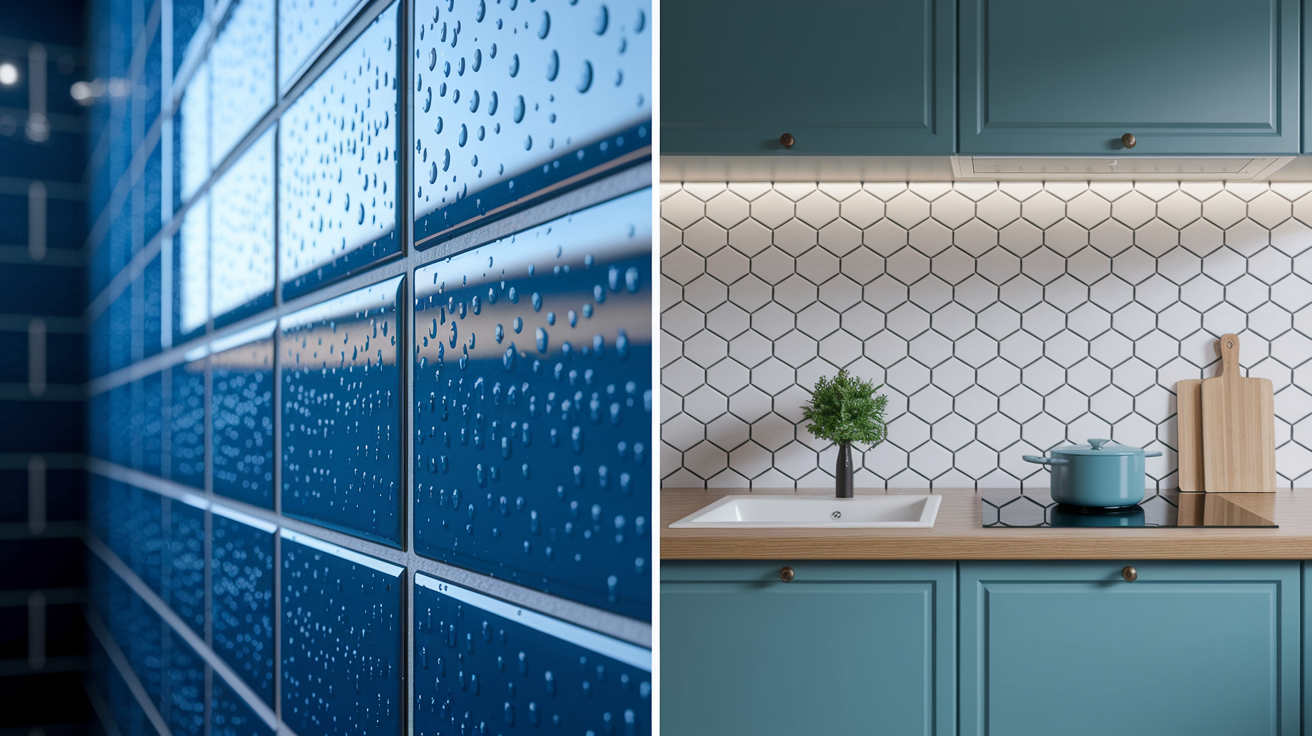
Wet areas require extra care. Constant moisture exposure accelerates grout failure and creates conditions for mold growth.
In showers, proper ventilation during mold treatment matters as much as the repair itself. Open windows, run exhaust fans, and consider a small portable fan to speed drying. Epoxy grout offers superior water resistance compared to cement based options and virtually eliminates future mold issues. It costs more and requires faster work during application because it sets quickly. Standard cement based grout works fine in showers if you seal it properly and maintain it, but epoxy grout is the better long term investment for shower walls and floors that see daily water exposure.
Kitchen backsplash and countertop grout repairs need food safe cleaning and sealing products. Avoid harsh chemicals near food prep areas. Use a pH neutral cleaner during prep and choose a sealer labeled food safe or NSF approved if the grout sits near your stove or countertops where splatter happens. Color matching matters more in kitchens because you’re looking at the backsplash constantly in good lighting. Test your grout color in an inconspicuous spot first.
Floor grout differs from wall applications because it handles foot traffic. It typically uses sanded grout for the wider joints common in floor tile installations (usually 1/8 inch or wider). Sanded grout resists cracking under pressure better than unsanded. Floor repairs also need longer cure time before traffic resumes. Wait the full 72 hours if you can, especially in high traffic areas, even though the grout looks dry after 24 hours.
Use caulk instead of grout where the shower wall meets the tub, where the backsplash meets the countertop, and in any inside corners. These spots experience movement and expansion, which cracks rigid grout. Silicone caulk stays flexible and waterproof. Match the caulk color to your grout for a seamless look.
Choosing the Right Grout Type for Your Repair
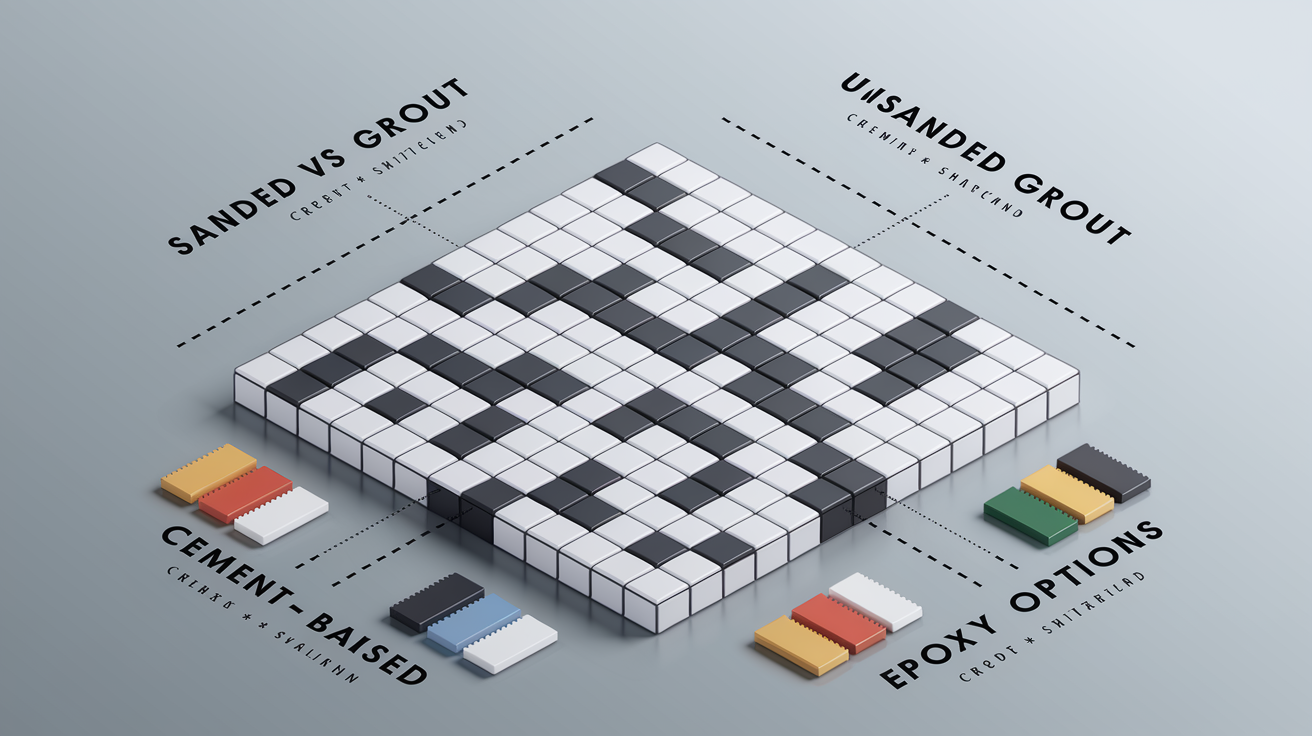
Joint width determines whether you need sanded or unsanded grout. Getting this wrong causes problems.
Sanded grout contains fine sand particles that prevent shrinking and cracking in joints 1/8 inch wide or larger. The sand acts like tiny structural supports. It’s the standard choice for floor tiles and many wall applications. Unsanded grout works for joints narrower than 1/8 inch, typically found in polished marble installations or rectified tiles with tight spacing. Using sanded grout in narrow joints leaves visible scratches on tile surfaces during application. Using unsanded grout in wide joints causes excessive shrinking and cracking as it cures.
Cement based grout (also called cementitious grout) is the most common type for DIY repairs. It mixes with water, comes in sanded and unsanded versions, and costs less than epoxy. Latex modified cement grout (sometimes called polymer modified) includes latex or acrylic additives that increase flexibility and water resistance without the complexity of epoxy. Brands like Polyblend, Mapei Keracolor, and Custom Building Products all make reliable latex modified options. Cement based grout requires sealing after it cures to prevent staining and moisture penetration.
Epoxy grout offers the highest durability and water resistance because it’s a two part resin system rather than a cement powder. It bonds stronger, resists stains without sealing, and never needs resealing. It’s the best choice for shower floors, commercial kitchens, or anywhere that sees heavy moisture and cleaning. The downsides are higher cost (often three times cement grout) and trickier application because you have a limited working time before it hardens.
Color matching takes attention because even slight differences show, especially in good lighting. Bring a small piece of your existing grout (if you can chip some out safely) or a clear photo to the store. Many manufacturers offer color charts with actual dried grout samples. Buy a small amount first and test it in a hidden spot or on a scrap tile, letting it cure fully. Wet grout looks darker than dried grout. If you’re repairing a small area and the match isn’t perfect, you might need to regrout the entire visible section for a uniform appearance.
Understanding Why Grout Fails and Assessing Damage
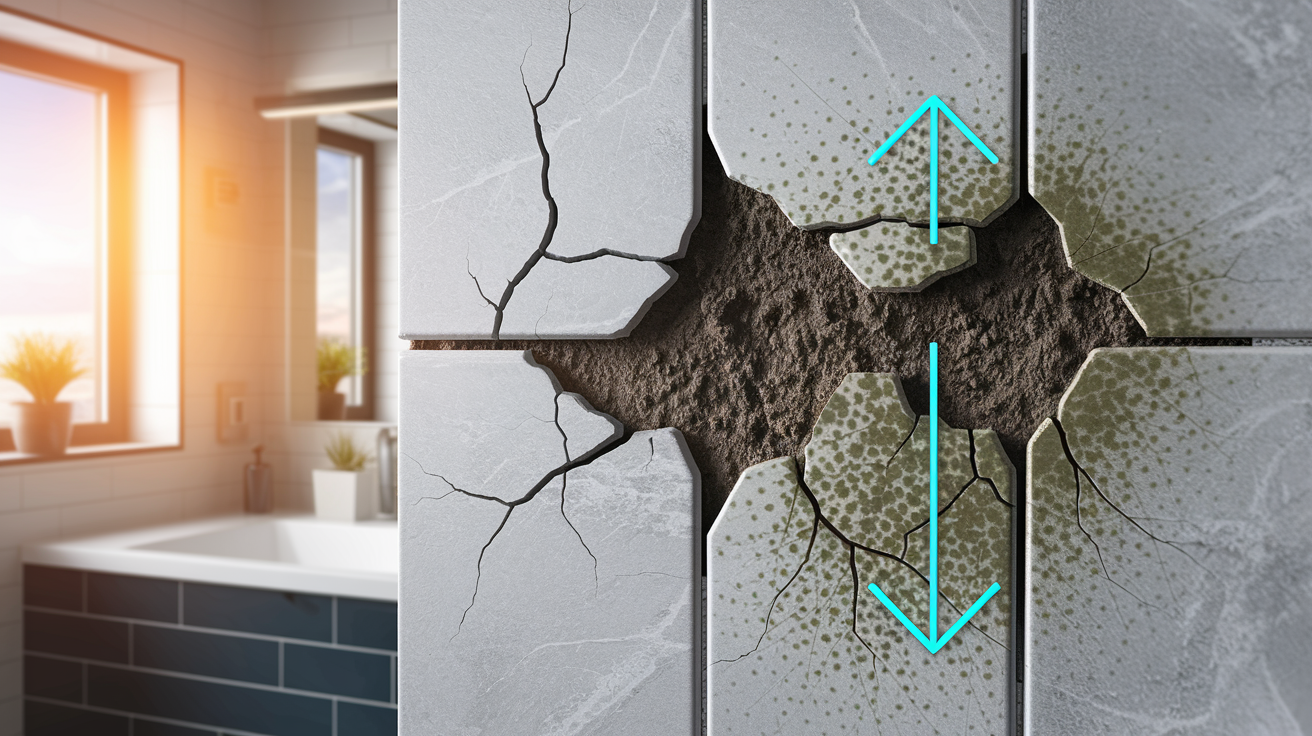
Understanding why grout failed in the first place helps you fix the root cause, not just the visible symptom. If you only patch the crumbling grout without addressing the moisture problem, the new grout fails the same way.
Proper diagnosis ensures your repair strategy matches the actual problem. The fix lasts instead of failing again in six months.
Natural aging and wear break down grout over time. Foot traffic grinds abrasive dirt into floor grout. Daily exposure to water and cleaning products slowly dissolves the cement binder. Grout in a 10 or 15 year old installation simply wears out from normal use, especially if it was never sealed or the sealer wore off years ago.
Improper installation causes early grout failure that looks like advanced aging. Mixing grout with the wrong water ratio (too much or too little) weakens the structure. Applying grout before the tile adhesive fully cured can cause the tiles to shift slightly, cracking fresh grout. Skipping the sealing step leaves cement based grout vulnerable to moisture infiltration and staining from day one. If your grout failed within the first year or two after installation, installation error is the likely cause.
Structural movement and settling create stress on rigid grout joints. Houses settle, especially newer construction in the first few years. Floors flex slightly under weight. These movements crack grout that can’t flex with them. Water infiltration and moisture damage, particularly in bathrooms and showers, seeps into unsealed grout, weakening the cement structure and creating soft, crumbling joints. Persistent moisture feeds mold growth, which appears as black or green discoloration and indicates an ongoing water problem that repair alone won’t solve without improving ventilation or fixing a leak.
Regular inspection catches small problems before they spread. Run your finger along grout lines, feeling for soft spots, cracks, or missing sections. Tap tiles gently with your knuckle and listen for a hollow sound, which suggests the tile has loosened from the substrate. Check for moisture or water stains behind tiles by looking at the wall or floor on the other side if possible.
Specific damage indicators requiring attention:
Visible cracks running through grout lines. Crumbling texture that leaves powder on your finger when touched. Missing chunks or gaps where grout has fallen out completely. Discoloration that doesn’t wash away with normal cleaning. Persistent stains that reappear shortly after cleaning. Mold growth appearing as black, green, or brown spots. Hollow sounds when tapping tiles with your knuckle. Moisture or water stains appearing on walls or ceilings behind tiled areas.
When your damage assessment reveals widespread deterioration across large sections, substrate issues like rotten drywall or damaged cement board, or multiple loose tiles, replacement makes more sense than repair. At that point, you’re looking at a tile installation problem, not just a grout problem. Patching grout won’t address the underlying failure.
Cost Breakdown for DIY Grout Repair Projects

Small repairs covering 10 to 20 square feet of tile typically cost $15 to $35 in materials (one bag of grout, basic removal tool, sealer, sponge). Medium projects covering a full shower or kitchen backsplash run $40 to $75. Large projects requiring multiple rooms or extensive floor repairs cost $100 to $150 in materials, mainly because you need more grout and sealer.
Tool investment depends on whether this is a one time fix or you’ll use them again. A basic grout saw costs $5 to $10 and works fine for small jobs. An oscillating multi tool with grout blade attachment costs $40 to $100 but makes removal much faster and pays off if you’re tackling multiple rooms or plan to use the tool for other home repairs.
| Item | Cost Range | Notes |
|---|---|---|
| Grout bag (5 to 10 lbs) | $8 to $20 | Cement based, covers 50 to 100 sq ft depending on joint width |
| Removal tool (saw or blade) | $5 to $15 | Manual grout saw sufficient for most DIY jobs |
| Grout float | $8 to $15 | Rubber, reusable for future repairs |
| Grout sealer (quart) | $12 to $25 | Covers 100 to 200 sq ft, penetrating type recommended |
| Sponges and supplies | $5 to $10 | Large grout sponge, bucket, mixing tool |
| Safety gear | $5 to $15 | Gloves, dust mask if not already owned |
| Total DIY cost (typical) | $40 to $100 | Complete material list for average bathroom |
| Professional service cost | $200 to $800+ | Varies by area size, includes labor, materials, sealing |
Professional cost justifies itself when damage is extensive enough that DIY would take multiple weekends, when you need specialized epoxy grout application that has a steep learning curve, or when the job requires removing and resetting multiple loose tiles before regrouting. For a small bathroom or single backsplash, DIY saves $150 to $700.
When to Call a Professional Instead of DIY Repair

Knowing your limits prevents turning a manageable grout problem into a bigger tile or water damage disaster.
The line between cosmetic grout issues and structural problems determines whether DIY makes sense. Crumbling grout in a small area with solid tiles underneath is cosmetic. Multiple loose tiles, soft substrates, or active water infiltration points to structural issues requiring professional assessment and repair.
Situations requiring professional intervention:
Widespread damage covering more than 30% of your tiled area. Multiple loose or hollow sounding tiles suggesting adhesive failure or substrate damage. Extensive water damage with soft drywall, staining, or visible rot behind tiles. Severe mold infestation covering large sections or appearing repeatedly after cleaning. Structural movement concerns like large cracks, sagging floors, or doors that no longer close properly. Desire for color sealing or specialized finishes requiring commercial grade equipment and expertise.
Questions to ask when hiring grout repair contractors include whether they’ll assess and fix underlying moisture problems, what type of grout and sealer they use, how long the cure time is before you can use the space, whether they guarantee their work, and if they’re licensed and insured for tile and water damage work.
Preventing Future Grout Damage and Deterioration
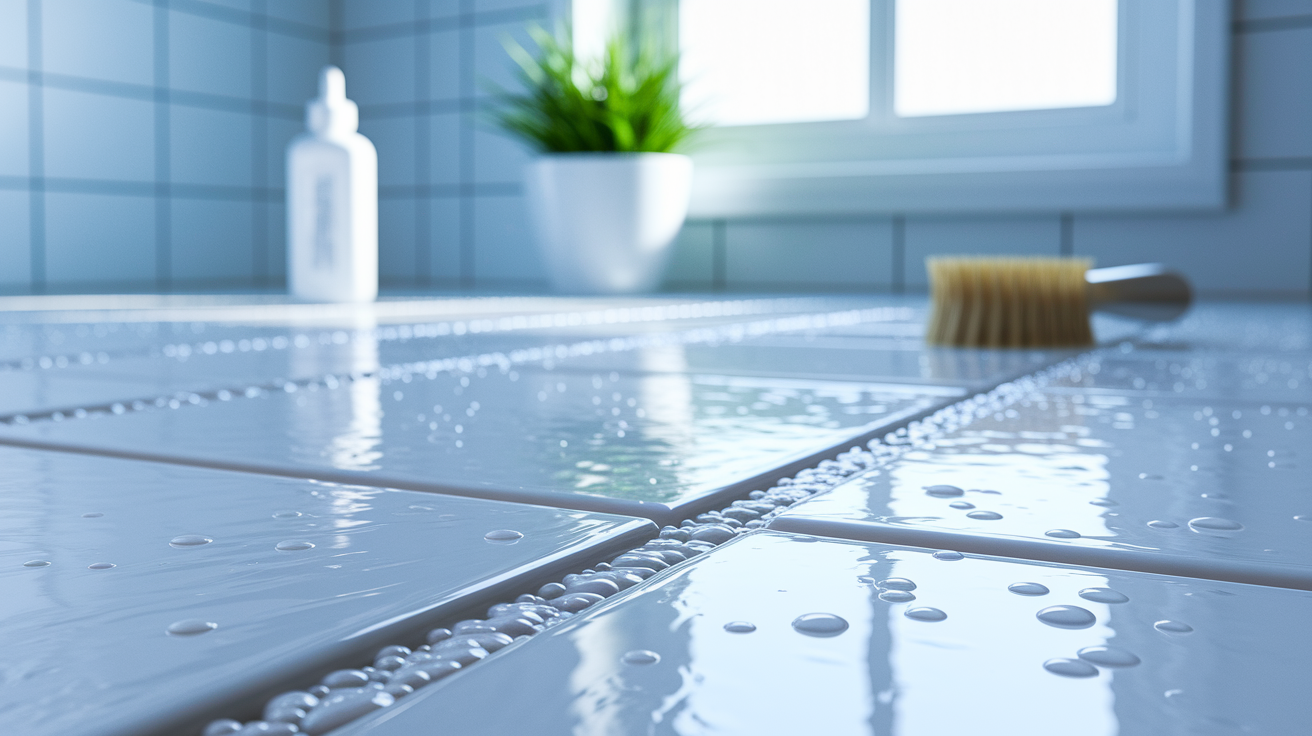
Regular maintenance extends grout life by years and prevents the cycle of repair and re-repair.
Apply penetrating grout sealer annually in high moisture areas like showers and bathroom floors, and every two years in lower moisture locations like kitchen backsplashes and dry floor areas. The sealer wears away gradually with cleaning and water exposure. An easy test: sprinkle a few drops of water on the grout. If the water beads up, your sealer is still working. If it soaks in and darkens the grout, it’s time to reseal.
Clean grout with pH neutral tile and grout cleaners rather than harsh acidic or alkaline products that break down the cement binder over time. Use a soft brush or grout brush instead of abrasive scrubbers that wear away the surface. For weekly maintenance, a simple mixture of warm water and a small amount of dish soap works well. For periodic deep cleaning, use a commercial grout cleaner rated for your grout type.
Manage moisture in wet areas with consistent habits. Run the bathroom exhaust fan during showers and for 20 to 30 minutes after. Squeegee shower walls and glass after each use to remove standing water before it soaks into grout. In kitchens, wipe up spills and splashes promptly, especially acidic liquids like tomato sauce, wine, or citrus juice that can stain or etch grout.
Check your grout every three to six months with a quick visual inspection and touch test. Look for new cracks, discoloration, or soft spots. Catching a small crack and patching it takes 30 minutes. Letting it spread until water damage occurs behind the tile turns into a weekend project and potential substrate replacement.
Final Words
Loose tile grout repair takes time and the right sequence, but it’s totally manageable when you follow each step without skipping ahead.
Remove the damaged grout carefully, clean everything thoroughly, mix your grout to the right consistency, work it in firmly, and give it the full cure time before you seal.
Rush any of those, and you’ll be back here next year doing it again.
Take your time with the prep, respect the drying windows, and you’ll end up with grout that holds up to daily use and moisture for years.
FAQ
How do you fix loose tile grout?
You fix loose tile grout by removing damaged grout to a depth of 1/4 to 1/2 the tile thickness using a grout saw or oscillating tool, vacuuming debris thoroughly, treating any mold with remover or bleach solution, mixing fresh grout to peanut butter consistency, applying it firmly with a rubber float, and allowing 24-72 hours curing time before sealing.
Can grout hold a loose tile in place?
Grout cannot hold a loose tile in place because grout fills joints between tiles but doesn’t bond tiles to the wall or floor. If a tile moves or sounds hollow when tapped, the problem is with the adhesive underneath, not the grout, and the tile needs to be reset with fresh thin-set mortar before regrouting around it.
Can you apply new grout over old grout?
You cannot apply new grout over old grout successfully because the new layer won’t bond properly to the old surface, will look raised and uneven, and will crack or crumble quickly. You need to remove damaged grout to a proper depth first, then apply fresh grout into clean joints for a repair that actually lasts.
Do grout pens really work?
Grout pens work for temporarily covering stains and discoloration on existing grout, but they don’t repair structural damage like cracks or crumbling. The coating wears off with regular cleaning and foot traffic, usually within months, so they’re a quick cosmetic fix rather than a permanent repair for damaged grout that needs removal and replacement.