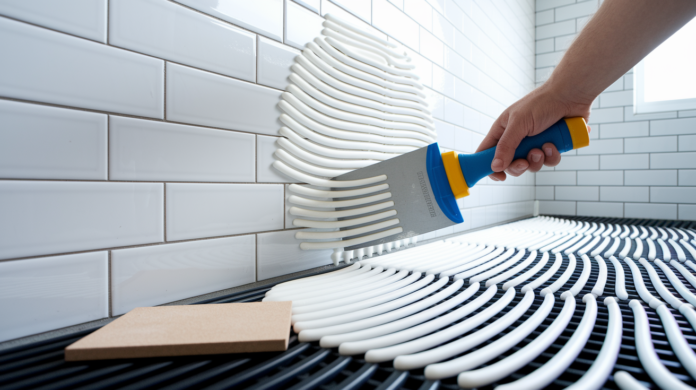

If your tile just fell off the wall, you’re probably wondering which glue gets it back up for good. Thinset and mastic both stick tiles, but only one handles water without falling apart again. The choice comes down to where the tile is and whether moisture will touch it. Use the wrong adhesive and you’ll be reattaching that same tile in six months when it pops loose.
Choosing the Right Adhesive for Reattaching Your Tiles
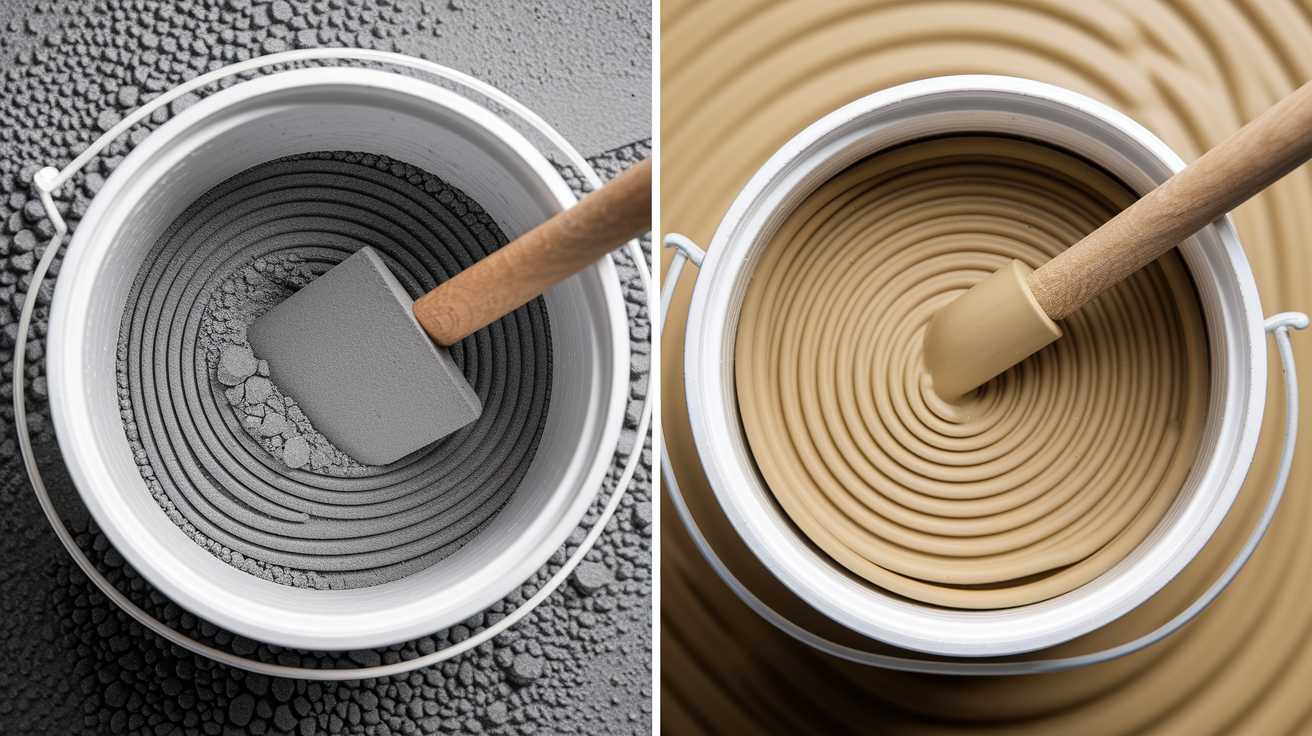
Picking the right adhesive for tile reattachment comes down to three things: where the tile is, what’s underneath it, and whether water will touch it. Get this wrong and your tile will fall off again.
Thinset is a cement based adhesive mixed with sand and water retention compound. Mastic is an organic glue made from tree resin that comes premixed in a bucket. The big difference is how they handle moisture. Thinset won’t dissolve when it gets wet. Mastic will re-liquefy when submerged in water and lose adhesive strength completely.
If your loose tile is anywhere water lands or splashes (shower walls, bathroom floors, kitchen countertops), thinset is your only real option. It stays bonded when wet and gives you a permanent fix that lasts for decades. Mastic loses its grip when soaked, so using it in a shower is setting yourself up to reattach the same tile again in six months.
For dry wall areas away from moisture, mastic works fine and actually makes the job easier. A kitchen backsplash three feet from the sink, decorative wall tiles in a hallway, or accent tiles in a living room are all good mastic candidates. But all floors get thinset, even in dry rooms, because foot traffic creates forces that mastic can’t handle long term.
| Location | Best Adhesive | Primary Reason | Moisture Exposure Level |
|---|---|---|---|
| Shower walls and floors | Thinset | Constant water exposure, mastic will fail | High, direct spray |
| Bathroom floors | Thinset | Splashing, humidity, foot traffic stress | Moderate to high |
| Kitchen floors | Thinset | Spills, cleaning, heavy traffic | Moderate |
| Kitchen countertops | Thinset | Water from sink, cleaning, weight | Moderate |
| Kitchen backsplash, dry areas | Mastic | Quick setting, vertical hold, no water contact | Low, occasional splash |
| Laundry room floors | Thinset | Potential leaks, humidity, cleaning | Moderate |
| Entryway/living room floors | Thinset | Foot traffic stress, structural support | Low |
| Bedroom/living room wall tiles | Mastic | Ease of use, good wall grip, zero moisture | None |
Understanding Thinset Mortar for Tile Reattachment
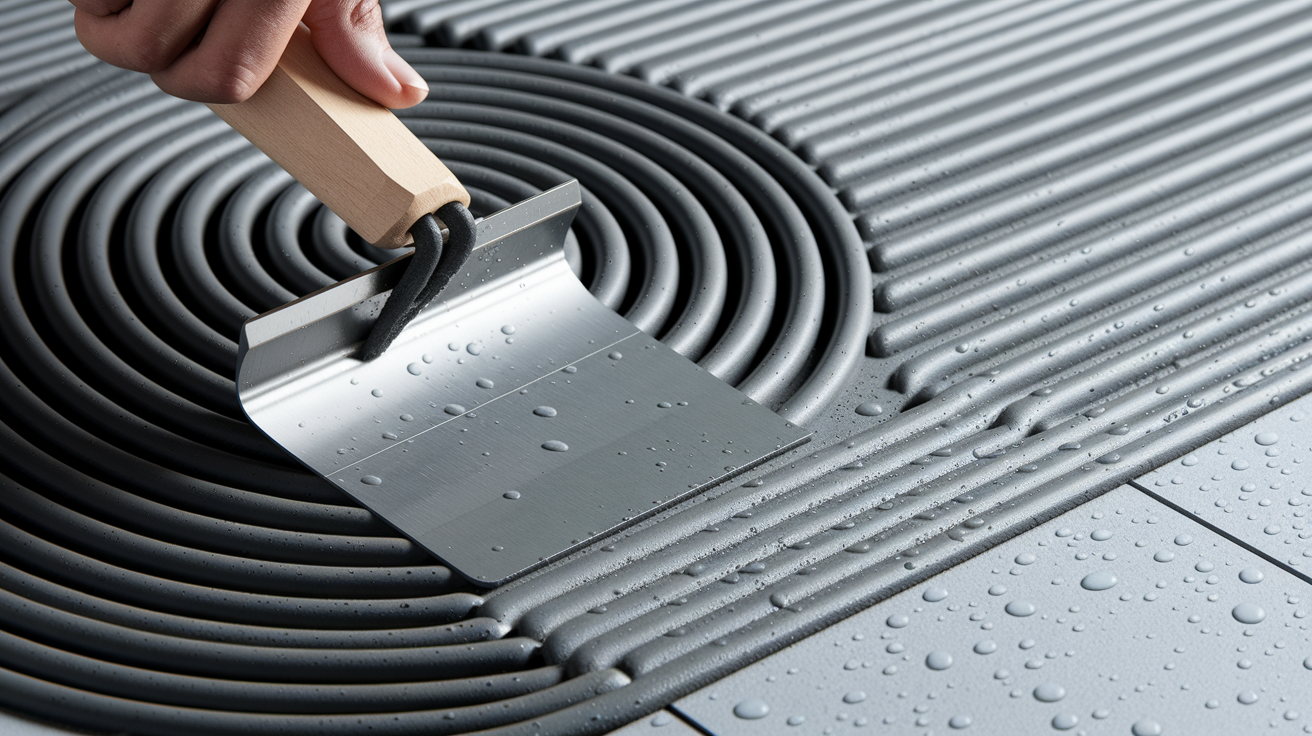
Thinset is a mixture of cement, finely graded sand, and a water retention compound that you mix yourself from powder form. Polymer modified versions contain latex additives that make the bond more flexible and stronger, especially on substrates that experience minor movement.
Thinset doesn’t dissolve when it gets wet. That’s the key difference. Water won’t turn it back into liquid or weaken the bond between the tile and the wall. It’s not waterproof (water can still pass through it), but once it cures, moisture exposure won’t compromise your tile’s attachment. This makes it the standard choice for shower walls, bathroom floors, and any wet area where mastic would fail.
Thinset creates both a mechanical bond (it grabs into the tiny pores of the tile and substrate) and a chemical bond as it cures. It resists shear forces from foot traffic and handles substrate movement better than mastic. If your subfloor flexes slightly when you walk on it, thinset can absorb that stress without the tile popping loose. This bond strength lasts for decades when applied correctly.
It provides minor leveling capability for uneven surfaces. Standard thinset works in layers up to 3/16 inch thick, which helps you correct small dips or bumps and reduces lippage between tiles. For large format tiles (anything over 15 inches), medium bed thinset (labeled LFT or LHT) lets you build up thicker layers to support heavier, bigger tiles properly.
Thinset is inorganic, which means mold can’t grow on it. Even in damp conditions, thinset won’t become a food source for mold the way organic adhesives do. Another reason it’s the industry standard for bathrooms and kitchens where moisture is present.
Understanding Mastic Adhesive for Tile Reattachment
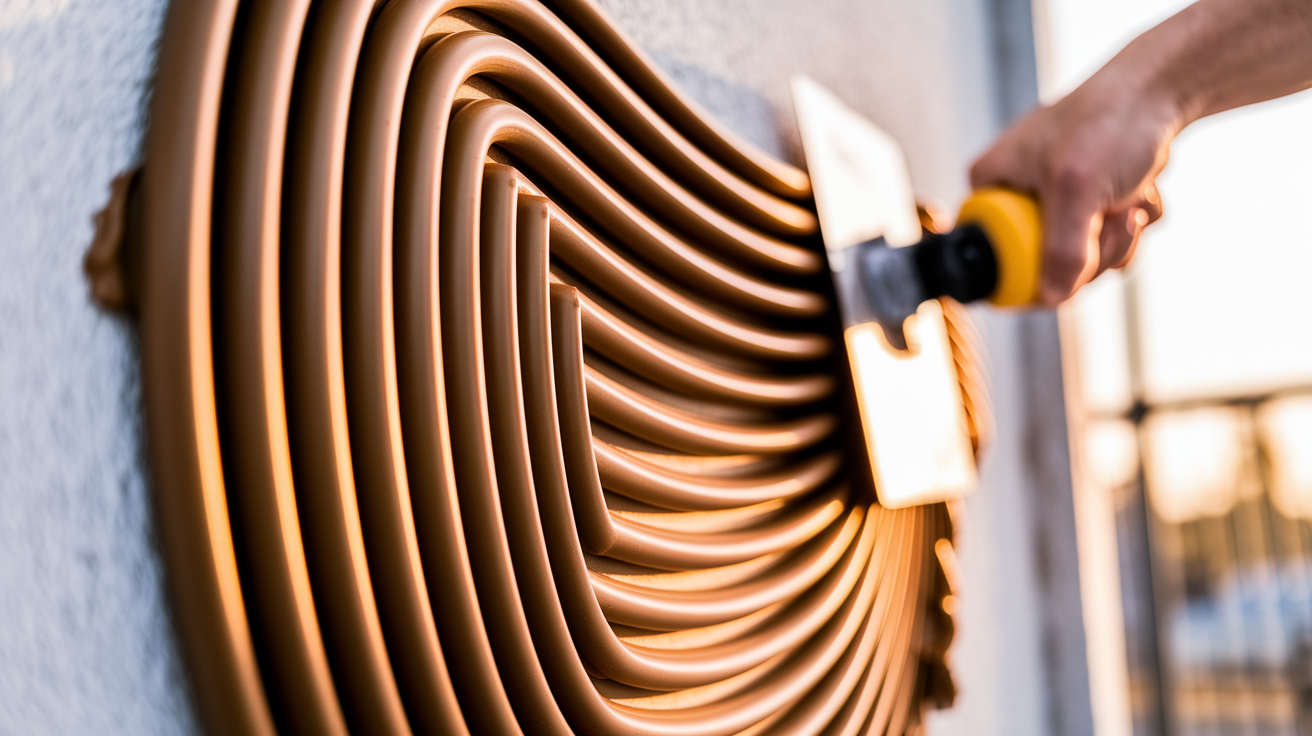
Mastic is an organic glue made from mastic tree resin. It comes premixed in a bucket as a thick paste, so there’s no measuring or mixing required. Just open it, stir if needed, and apply.
Mastic provides superior holding strength on vertical surfaces. When you press a tile onto a wall with mastic, it grabs fast. This initial grab strength prevents tile slippage, so you don’t need to prop up the tile with tape or spacers for hours while it sets. For wall tile reattachment, this makes the job much faster and less frustrating.
But mastic has limited structural support compared to thinset. It’s excellent at adhesive grip but doesn’t handle the shear forces that floors create. Foot traffic puts sideways stress on tiles, and mastic can’t support heavy or large tiles under that kind of load. It’s also not designed for leveling, so if your substrate has bumps or dips, mastic won’t help smooth them out.
Mastic will re-liquefy when submerged in water and lose adhesive strength. This is the deal breaker for bathrooms, showers, and most kitchens. Water turns it back into a sticky liquid, the bond fails, and your tile falls off. Even high humidity or occasional splashing can gradually weaken the grip.
Mastic is organic material, which means it feeds mold growth when moisture is present. It’s also limited to ceramic and porcelain tiles, usually not larger than 13 inches by 13 inches. Anything bigger or heavier needs thinset. And because mastic can’t build up to correct uneven surfaces, you’ll see more lippage (edges of tiles not lining up evenly). It only works for consistently dry locations like decorative wall tiles or backsplashes away from the sink.
Surface Preparation Before Reattaching Loose Tiles
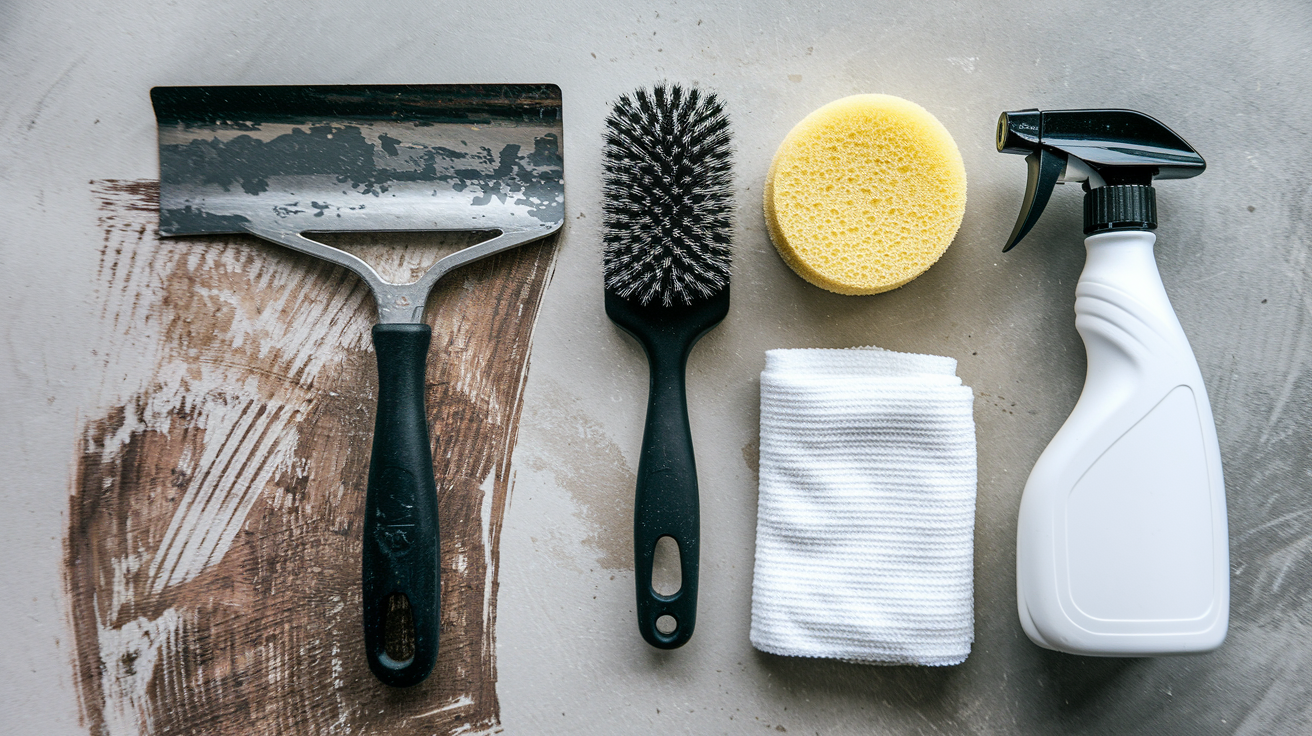
Proper surface preparation is critical for long lasting tile reattachment regardless of adhesive choice. Skip this step and even the best adhesive will fail.
Removing the Loose Tile and Old Adhesive
Gently pry the loose tile off using a putty knife or flathead screwdriver. Work slowly to avoid cracking the tile, especially if you’re reusing it. Once the tile is off, scrape away all the old adhesive from both the back of the tile and the substrate surface. Old adhesive creates a weak layer that prevents the new adhesive from bonding properly. Use a stiff scraper or utility knife blade held at a low angle. Inspect the tile back and substrate closely. If you see cracks, soft spots, or crumbling material on the substrate, you’ll need to repair that before reattaching anything.
Cleaning and Inspecting the Substrate
Wipe away all dust, debris, and adhesive residue using a damp sponge or cloth. Let the surface dry completely before applying new adhesive. Check the substrate integrity carefully. Drywall that’s crumbling, cement board that’s damaged, or concrete with cracks bigger than hairline width will not hold a tile reliably. Test for moisture issues by taping a piece of plastic wrap over the area for 24 hours. If you see condensation under the plastic, you have a moisture problem that needs solving before you reattach tiles.
Preparing Different Substrate Types
Drywall must be completely dry and intact. If it’s water stained or soft, it needs replacing. Some drywall may benefit from a coat of primer to improve adhesion. Cement board is the ideal substrate for both thinset and mastic because it’s stable and moisture resistant. Concrete surfaces often need a thorough cleaning with a degreaser and may need a leveling compound if the surface is too rough or uneven. If the substrate feels dusty or powdery, it’s too porous and won’t bond well. A primer can help seal porous surfaces before tile reattachment.
Substrate condition directly affects bond strength. A compromised substrate should be repaired or replaced before you reattach any tiles.
Tools and Materials Needed for Tile Reattachment
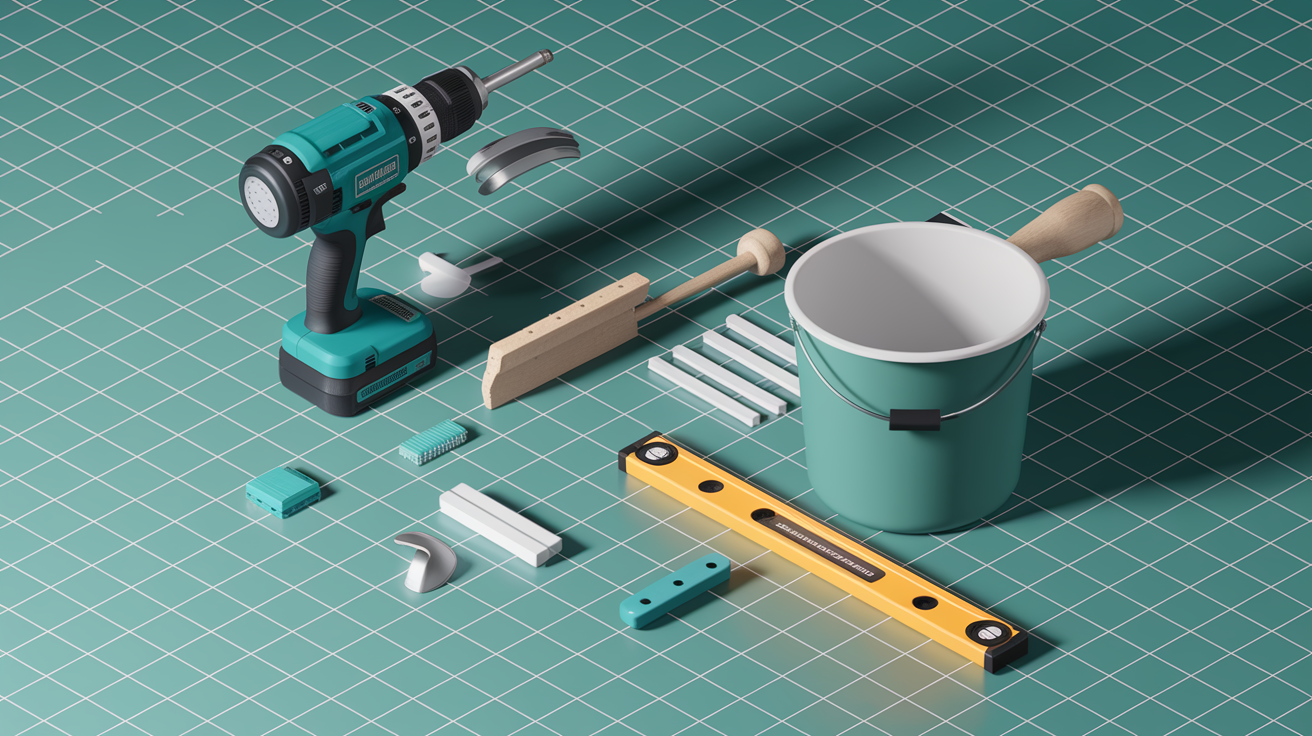
Having proper tools ready ensures smooth application and professional results. Gathering everything ahead of time prevents mid project trips to the store.
Tools and Materials for Thinset Reattachment:
- Thinset powder (polymer modified recommended for better flexibility and bond strength)
- Mixing bucket (5 gallon bucket works for most small jobs)
- Drill with paddle mixer attachment (hand mixing doesn’t achieve proper consistency)
- Notched trowel sized for your tile (1/4 inch notches for most wall tiles, 3/8 inch for floor tiles)
- Putty knife or scraper for prep and cleanup
- Sponge and bucket of clean water
- Tile spacers to maintain grout joints
- Level (small torpedo level for single tiles, longer level for multiple tiles)
- Safety equipment: gloves and dust mask for mixing
Tools and Materials for Mastic Reattachment:
- Premixed mastic adhesive (one quart covers roughly 50 square feet)
- Notched trowel or putty knife (smaller notches or flat application for wall tiles)
- Putty knife or scraper for surface prep
- Sponge and clean water for immediate cleanup
- Tile spacers
- Level
- Safety gloves (mastic is sticky and hard to clean off skin)
Step by Step Process for Reattaching Tiles with Thinset
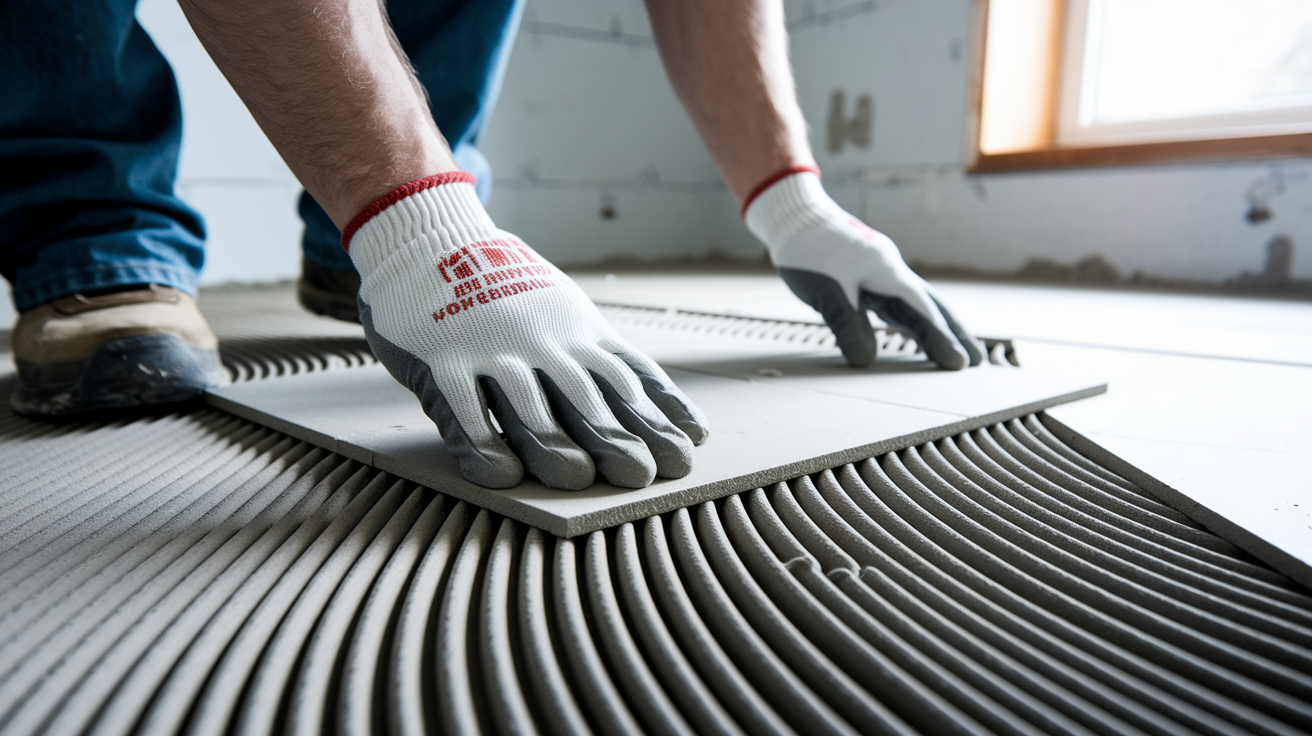
Thinset requires mixing but offers superior strength and durability. Proper mixing ratios and working time management are crucial for a successful bond.
Follow the manufacturer’s mixing instructions on the bag. Most thinset uses roughly 6 to 7 quarts of water per 50 pound bag, but this varies by brand. Add powder to water (not the other way around) and mix with a paddle attachment on a drill at low speed for several minutes. Let it slake (rest) for 10 minutes, then remix briefly. The consistency should look like thick peanut butter. Too wet and it won’t support the tile. Too dry and it won’t bond properly.
Step by step thinset reattachment:
-
Mix only as much thinset as you can use in 20 to 30 minutes. That’s your working time window before it starts to stiffen.
-
Apply thinset to the substrate using a notched trowel held at a 45 degree angle. Spread it evenly, then comb through it with the trowel notches to create ridges.
-
For tiles larger than 8×8 inches, back butter the tile by spreading a thin layer of thinset on the tile back as well.
-
Press the tile into place with a slight twisting motion to collapse the ridges and spread the thinset. This creates full contact and squeezes out air pockets.
-
Check level and alignment immediately. Adjust the tile position before the thinset starts setting.
-
Use tile spacers to maintain consistent grout joints if you’re reattaching multiple tiles.
-
Remove any excess thinset from the tile surface and grout joints immediately using a damp sponge. Once it hardens, it’s difficult to remove.
-
Allow proper cure time. Thinset needs 24 to 48 hours before grouting, longer in cold or humid conditions. Don’t walk on floor tiles or stress wall tiles during this period.
-
Test the bond gently by pressing on the tile edges. It should feel completely solid before you grout.
Patience during the curing process is the hardest part. Resist the urge to grout early. If you stress the tile before the thinset is fully set, you’ll break the bond and start over.
Step by Step Process for Reattaching Tiles with Mastic
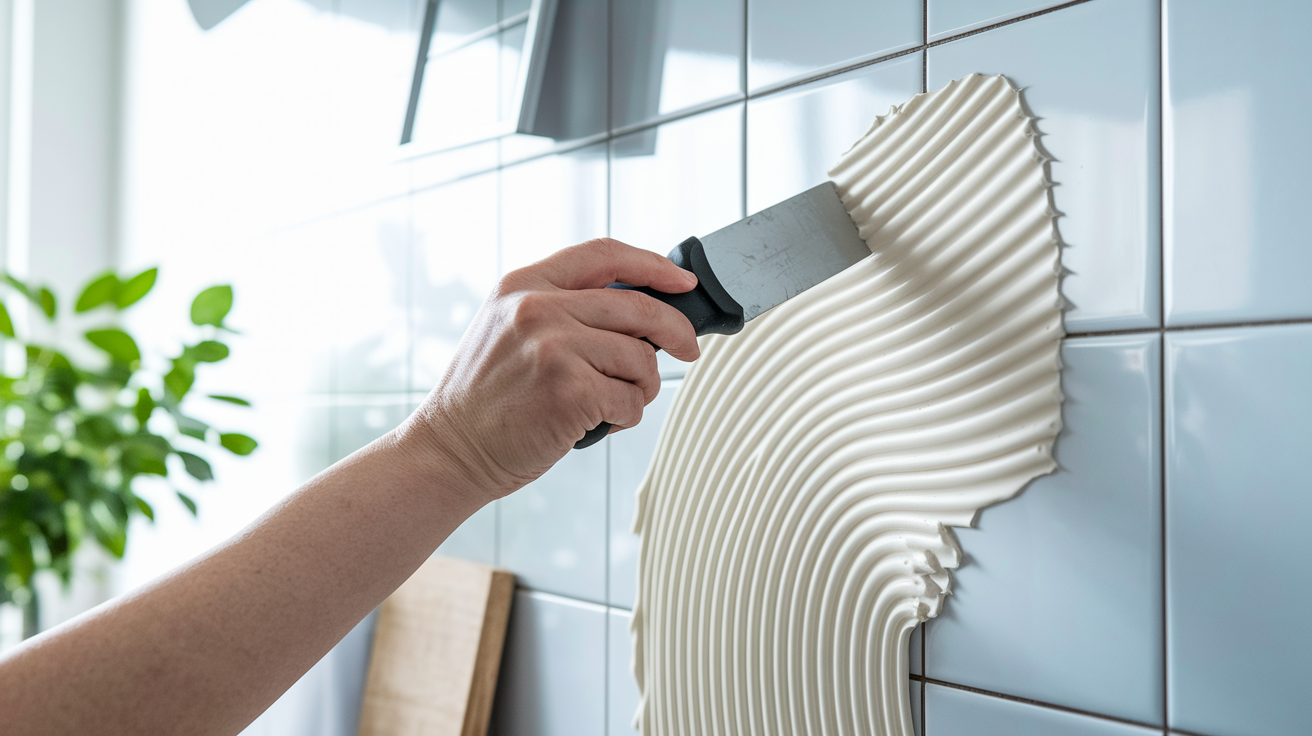
Mastic is premixed and ready to use, making it ideal for quick DIY wall tile repairs in dry areas. No mixing equipment needed and faster completion time compared to thinset.
Step by step mastic reattachment:
-
Open the container and stir the mastic if it looks separated or has a watery layer on top.
-
Apply mastic directly to the substrate using a notched trowel or putty knife. For small tiles, you can use a flat application without combing notches.
-
Use enough mastic to create a layer about 1/8 inch thick. Don’t apply it too thick or the tile will slide down the wall.
-
Press the tile firmly onto the wall using steady, even pressure across the entire surface.
-
Hold the tile in place for 30 to 60 seconds until the mastic grabs. You’ll feel it stick. If the tile wants to slide down, support it with painter’s tape or a temporary prop for 10 to 15 minutes.
-
Clean excess mastic from the tile surface and grout joints immediately using a damp sponge. Dried mastic is tough to remove and will interfere with grouting.
-
Let the mastic dry for 12 to 24 hours before grouting. This is much faster than thinset’s 24 to 48 hour requirement.
-
Check the bond by gently pressing the tile edges. It should be completely solid before you apply grout.
Mastic’s faster project completion is a real advantage for small jobs, but remember this method only works for dry wall areas with smaller ceramic or porcelain tiles.
Cost Comparison and Value Analysis

Mastic costs more per square foot but comes ready to use. A quart of premixed mastic runs $8 to $15 and covers roughly 50 square feet. Thinset powder costs less per square foot ($10 to $20 for a 50 pound bag covering 100 to 120 square feet at typical thicknesses), but you need mixing equipment.
Coverage depends on tile size, substrate condition, and trowel notch size. Larger notches and uneven surfaces use more adhesive. Account for 10 to 15% waste, especially if you’re mixing thinset and can’t use an entire batch. Mastic’s faster drying time means you can grout the next day, while thinset requires waiting 48 hours or longer. For small jobs under 20 square feet, that time difference might matter more than material cost.
Thinset offers better long term value for permanent repairs despite taking more labor time and requiring mixing. It lasts decades and handles moisture exposure. Mastic provides convenience value for quick fixes in dry locations, but limited durability and moisture sensitivity mean it’s not suitable for most tile reattachment scenarios.
| Factor | Thinset | Mastic |
|---|---|---|
| Material cost per sq ft | $0.10 to 0.20 | $0.15 to 0.30 |
| Shelf life | 1+ year if kept dry | 6 to 12 months after opening |
| Mixing required | Yes, need bucket and drill mixer | No, ready to apply |
| Labor time | Longer (mixing, longer cure time) | Faster (no mixing, quick setting) |
| Best value scenario | Any wet area, floors, permanent repairs | Small dry wall jobs, quick fixes |
| Typical coverage | 100 to 120 sq ft per 50 lb bag | 50 sq ft per quart |
Tile Type and Size Considerations for Adhesive Selection
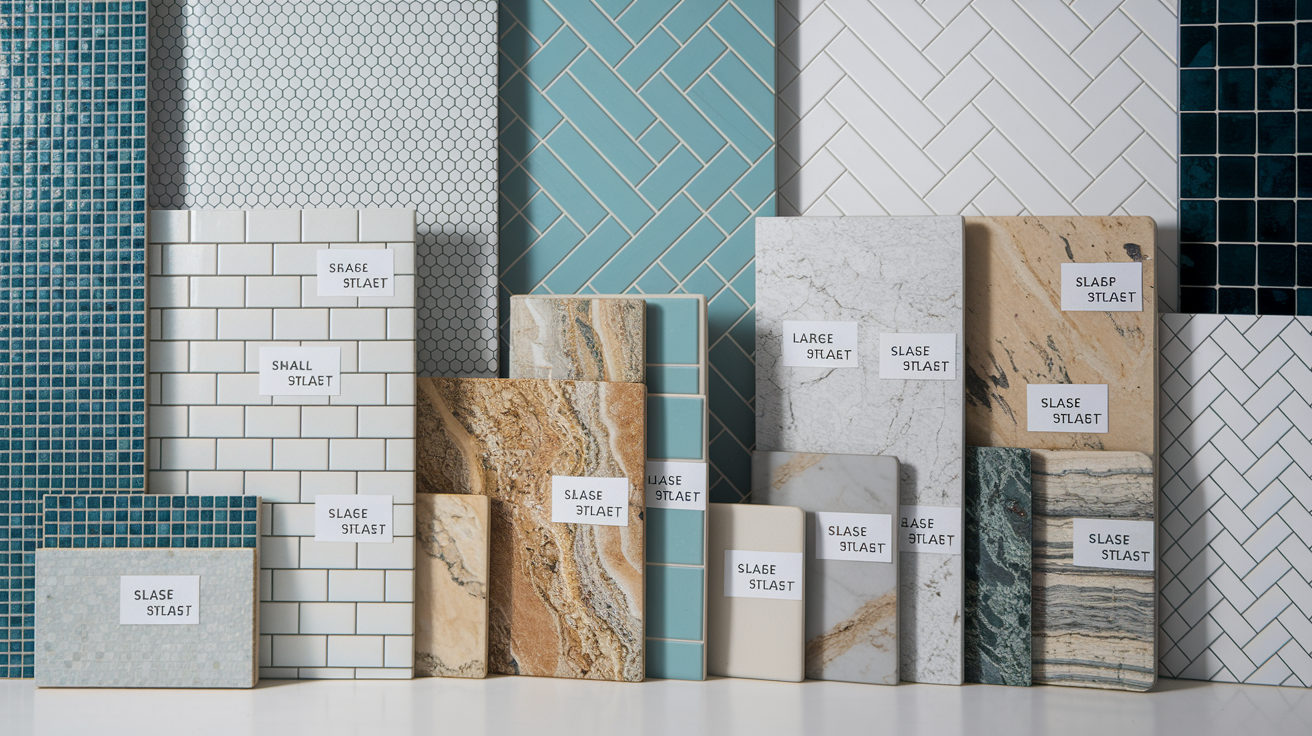
Tile weight, size, and porosity affect adhesive requirements. Matching adhesive to tile type prevents future failure and ensures the bond lasts as long as the tile itself.
Mastic is suitable only for ceramic and porcelain tiles typically 13×13 inches or smaller. It’s not strong enough for natural stone, which is heavier and often has different porosity characteristics. Glass tiles are also out because they don’t bond well with mastic’s organic composition. The 13 inch size limit isn’t arbitrary. Larger tiles weigh more and create more leverage force on the bond, which mastic can’t support long term.
Thinset works with all tile types: ceramic, porcelain, natural stone, glass, and mosaic. Standard thinset handles typical wall and floor tiles up to about 15 inches. For large format tiles (anything over 15 inches), you need medium bed thinset labeled LFT (Large Format Tile) or LHT (Large Heavy Tile). These formulations allow thicker application and provide the structural support that big tiles require.
Special considerations matter for certain materials. Natural stone can stain if you use gray thinset. Use white thinset instead, especially for light colored marble or travertine. Glass tiles often require specific modified thinset formulations designed for non porous materials. Heavy tiles like thick slate or granite always require thinset for weight support, regardless of size or location. Mastic simply can’t hold them.
Common Mistakes and Diagnostic Troubleshooting
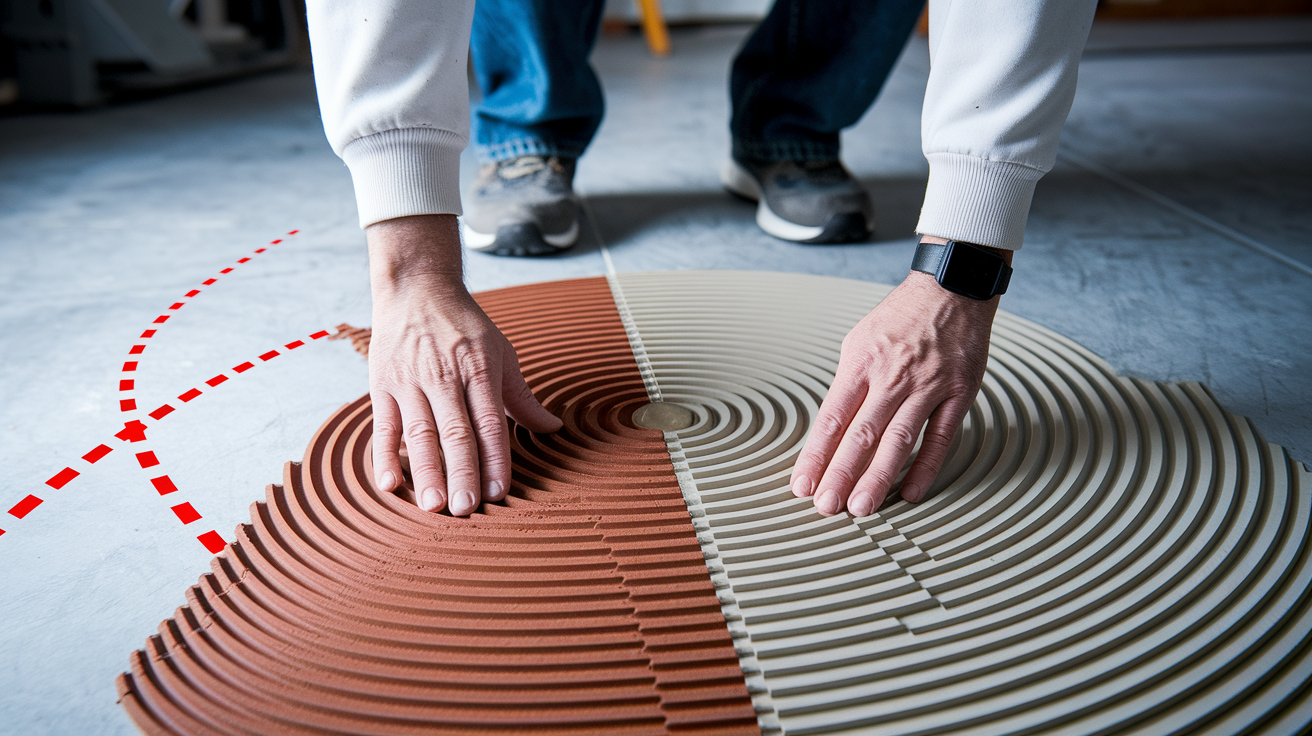
Understanding both preventive mistakes and diagnostic solutions ensures successful reattachment and prevents repeated failures. If a tile falls off twice, something in your process needs fixing.
Tile Falls Off Shortly After Reattachment
Diagnostic causes: Insufficient adhesive coverage leaves air pockets under the tile with no bond. Using mastic in a wet area guarantees failure when water hits it. A contaminated substrate (dust, oil, old adhesive residue) prevents bonding no matter which adhesive you use. Stressing the tile before cure time completes breaks the forming bond. Incorrect thinset mixing ratios (too much water creates weak, crumbly adhesive, too little water prevents proper bonding). Substrate movement or deflection from a bouncy subfloor continuously stresses the bond until it fails.
Corrective solutions: Remove the tile again and check adhesive coverage on both the tile back and substrate. You should see adhesive covering at least 90% of the surface. Switch to thinset if the location has any moisture exposure. Clean the substrate thoroughly with a degreaser, rinse, and let it dry completely before reapplying adhesive. Follow manufacturer’s mixing instructions exactly and use a paddle mixer for consistent results. If the subfloor bounces when you walk on it, you need to reinforce it before reattaching tiles. Add blocking between joists or install an additional layer of subflooring.
Tiles Reattach But Develop Lippage or Unevenness
Diagnostic causes: Uneven substrate that wasn’t corrected during prep. Using standard thinset on large format tiles when you needed medium bed thinset to build up thickness for proper support. Insufficient adhesive application that doesn’t fill low spots. Not using a level during installation to check alignment. Using mastic on a floor where it cannot provide structural support to correct height differences.
Correction methods: Remove the tiles and check the substrate with a long straightedge. If the substrate has dips or bumps greater than 1/8 inch over 10 feet, apply a leveling compound and let it cure fully before tile reattachment. Switch to medium bed thinset for tiles larger than 15 inches. Apply adhesive to both the substrate and the tile back (back buttering) for better support and leveling capability. Use a level on every tile as you set it and adjust immediately by pressing or lifting slightly before the adhesive sets.
Mold, Discoloration, or Bonding Failure in Wet Areas
Diagnostic moisture related failures: Mastic incorrectly used in a shower or bathroom where water exposure causes re-liquefaction and bond loss. Substrate water damage that wasn’t repaired before reattachment means moisture continues to degrade the bond from behind. Missing or failed grout and caulk allow water infiltration behind tiles. You can learn more about addressing failed caulk in our guide on How to Fix Peeling Caulk in Your Shower. Inadequate ventilation in bathrooms creates constant humidity that feeds mold growth. Organic mastic serving as a food source for mold in damp conditions.
Remediation sequence: Remove all affected tiles and inspect the substrate carefully. If you see water stains, soft drywall, or black mold growth, the substrate needs repair or replacement before tile reattachment. Let everything dry completely (use fans, dehumidifiers, wait several days). Switch to thinset for all wet area applications. Check that waterproofing membranes behind shower walls are intact. Repair or replace damaged grout and caulk to prevent future water infiltration. Improve bathroom ventilation with an exhaust fan if moisture problems are ongoing.
Temperature and Environmental Factors
Both thinset and mastic have temperature requirements during application and curing. Working outside the recommended range (typically 50 to 90°F) compromises bond strength and can cause complete adhesive failure.
Cold temperatures slow thinset curing dramatically. Below 50°F, the cement hydration reaction that creates the bond barely happens. The thinset might take days to cure, or it might never fully harden. High heat above 90°F accelerates drying too fast, pulling moisture out of the thinset before it can cure properly. This creates a weak, chalky bond. Humidity affects water evaporation rate. In very dry conditions, misting the substrate helps thinset retain moisture for proper curing.
Mastic has a more forgiving temperature range but requires adequate ventilation for solvents to evaporate. In a closed up bathroom with no airflow, mastic takes much longer to dry. High humidity extends drying time significantly because the moisture in the air slows solvent evaporation. You might wait 36 hours instead of the normal 12 to 24 hours before the mastic sets enough to grout.
Best practice is to reattach tiles during moderate weather conditions when indoor temperatures stay between 60 to 80°F. Avoid exterior applications with thinset before freezing temperatures are expected. Once thinset cures fully, it handles freeze thaw cycles fine, but it can’t cure properly in freezing conditions. Make sure indoor spaces have adequate ventilation, especially when using mastic. Open a window or run a bathroom fan during and after application.
Professional vs DIY Tile Reattachment Decision
Reattaching a single loose tile on a dry wall is beginner friendly. Reattaching multiple tiles in wet areas or dealing with substrate damage increases complexity fast. Knowing when to call for help saves time and prevents repeat failures.
Good DIY candidates include one or a few loose wall tiles in dry areas where mastic works fine. Simple ceramic tile reattachment with clear access to the area. No underlying water damage, mold, or structural issues. The substrate is solid drywall or cement board in good condition. You have basic tools and can follow mixing instructions if using thinset.
Situations requiring professional help include extensive tile failure across a large area (this usually indicates substrate problems, not just adhesive failure). Shower pan or waterproofing membrane damage behind tiles. If water has been leaking behind tiles for months, the wall structure might need rebuilding. You may need to address water damaged substrate first. See our guide on How to Fix Water Damaged Drywall for related repair information. Large format tiles or natural stone that require specialized thinset and technique. Code compliance issues in kitchens and bathrooms where improper waterproofing creates liability.
The value proposition is straightforward. DIY saves labor costs, typically $5 to $15 per square foot depending on location and tile complexity. For a single loose tile, that’s $30 to $100 saved. But professionals diagnose underlying issues you might miss. They spot substrate deflection, moisture problems, and improper original installations that will cause future failures. They also provide warranties on their work, so if the tile fails again, they fix it at no cost.
Maintenance Tips After Tile Reattachment
Proper curing respect is critical in the first few days after reattachment. Avoid water exposure for at least 72 hours for thinset. Full cure takes 28 days, but it’s strong enough to handle normal use after 72 hours. Mastic needs 24 to 48 hours dry time before water contact. Don’t put heavy traffic or stress on reattached tiles during the initial cure period. This means no standing in a reattached shower tile spot, no walking on reattached floor tiles.
Wait for full cure time before grouting. Thinset needs 48 hours minimum, 72 is better. Mastic needs 12 to 24 hours depending on temperature and humidity. Apply grout carefully around newly set tiles to avoid disturbing them. Use the appropriate grout type for your joint width and location. Sanded grout for joints wider than 1/8 inch, unsanded for narrower joints and soft stone that scratches easily. Seal grout in wet areas like showers and bathroom floors within the timeframe recommended on the sealer container, usually 48 to 72 hours after grouting.
Keep grout lines sealed in bathrooms and showers to prevent water infiltration. Reapply grout sealer every 1 to 2 years. Repair damaged or missing grout promptly because water getting behind tiles is the most common cause of tile failure. Avoid harsh impact on reattached tiles for the first month while the bond reaches full strength. Do periodic inspections by pressing gently on tile edges to check for movement or loosening. Catching a bond failure early means a simple reattachment instead of dealing with water damage behind the wall.
Final Words
Picking between thinset vs mastic for tile reattachment really comes down to where the tile lives and what it does.
Thinset handles moisture, supports weight, and lasts decades in bathrooms, showers, and floors. Mastic grabs fast on dry walls but can’t handle water or heavy loads.
Match the adhesive to the location, prep the surface right, and give it time to cure. You’ll end up with tiles that stay put instead of popping loose again six months later.
FAQ
When should you use mastic instead of thinset for tile reattachment?
You should use mastic instead of thinset when reattaching small wall tiles (13×13 inches or smaller) in consistently dry areas like kitchen backsplashes away from sinks or decorative bedroom wall tiles where no moisture exposure occurs.
What are the main disadvantages of using tile mastic?
The main disadvantages of using tile mastic are that it re-liquefies when wet and loses bonding strength completely, feeds mold growth as an organic material, cannot support large or heavy tiles, and provides no structural leveling capability.
Which adhesive provides the strongest bond for tile reattachment?
Thinset provides the strongest bond for tile reattachment because it creates both mechanical and chemical bonds with the substrate, resists shear forces from traffic and movement, maintains strength when wet, and offers superior long-term durability for decades.
Is premixed tile adhesive easier to use than thinset mortar?
Premixed tile adhesive (mastic) is easier to use than thinset mortar because it requires no mixing, comes ready to apply straight from the container, sets quickly on vertical surfaces, and needs fewer tools for simple wall tile repairs.
Can you use mastic adhesive in bathroom shower areas?
You cannot use mastic adhesive in bathroom shower areas because it will re-liquefy when exposed to water, lose all bonding strength, and eventually cause complete tile failure. Always use thinset mortar for any wet areas including shower walls and floors.
How long does thinset need to cure before grouting tiles?
Thinset needs to cure for 24 to 48 hours before grouting tiles to ensure adequate bond strength, though waiting 72 hours provides better results and full cure takes longer for maximum durability and moisture resistance.
What tile sizes work best with mastic adhesive?
Mastic adhesive works best with ceramic and porcelain tiles that measure 13 inches by 13 inches or smaller, as larger or heavier tiles exceed its weight capacity and require thinset’s superior structural support instead.
Does thinset work on all substrate types for tile reattachment?
Thinset works on most substrate types including cement board, concrete, and properly prepared drywall, but the substrate must be clean, dry, structurally sound, and free of loose debris or old adhesive for proper bonding.
Why do reattached tiles sometimes fall off again quickly?
Reattached tiles fall off again quickly due to insufficient adhesive coverage, wrong adhesive type for the location, contaminated or damaged substrate, inadequate cure time before stress, improper mixing ratios, or excessive substrate movement.
Can you reattach natural stone tiles with mastic adhesive?
You cannot reattach natural stone tiles with mastic adhesive because mastic is only suitable for ceramic and porcelain tiles. Natural stone requires thinset mortar, often white thinset formulations, to prevent staining and provide necessary bonding strength.
What temperature range works best for tile reattachment projects?
The temperature range that works best for tile reattachment projects is 50 to 90 degrees Fahrenheit during application and curing, as working outside this range slows curing or reduces working time and compromises bond strength.
Should you hire a professional for shower tile reattachment?
You should hire a professional for shower tile reattachment when multiple tiles have failed, substrate damage exists, waterproofing membrane issues are suspected, or underlying water damage is present requiring proper diagnosis and code-compliant repair.