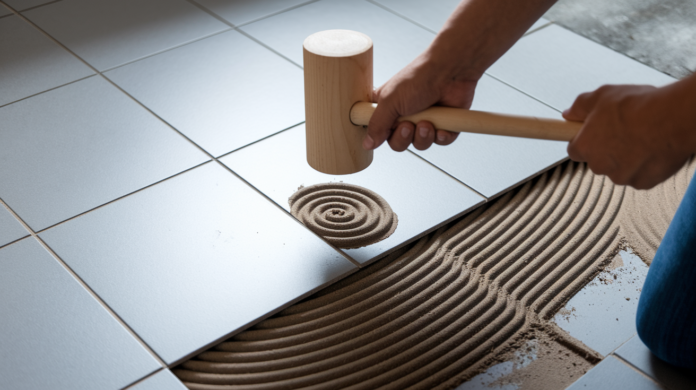

You know that hollow sound when you step on a tile? That’s not just annoying. It’s a countdown. Loose tiles turn into cracked tiles, then water damage, then rotted subfloors you can’t see until you’re tearing up half the room. The good news? If you catch it early, you’ve got options. This guide walks you through quick injection fixes for minor movement and full resets for tiles that are barely hanging on, with real costs and zero guesswork.
Why Floor Tiles Loosen and How to Diagnose the Problem

This guide covers DIY fixes, costs, and when to hire professionals for loose floor tiles.
Loose tiles aren’t just annoying. They’re urgent. When tiles detach, you’ve got real trip hazards, especially for kids, elderly visitors, or anyone moving fast through the space. Water infiltration comes next. Once the seal breaks, moisture seeps underneath, softening adhesive, rotting subfloors, and potentially growing mold in spaces you can’t see. A tile that rocks today can crack tomorrow, turning a $15 fix into a $200 replacement or worse.
Five things typically cause tiles to come loose. Incorrect installation is first. Tiles installed over painted floors, skipped primer, or insufficient adhesive from the start. Poor quality adhesive breaks down faster, especially in temperature swings or damp areas. Aging adhesive from moisture and temperature exposure loses grip over years, which is normal but accelerates in bathrooms and kitchens. Subfloor movement or settling happens as houses age, foundations shift slightly, or wood expands and contracts. Subfloor material incompatibility shows up when tiles are installed over plywood without proper underlayment, or when the wrong adhesive was paired with the tile type.
Catching loose tiles early prevents bigger problems. Start with your senses.
- Hollow sound when tapping: tap tiles with your knuckle. Solid tiles sound dull, loose tiles sound hollow or echoey
- Visible rocking or movement: press corners and center with your hand, watch for seesaw motion
- Cracking around edges: hairline cracks in grout or tile edges signal movement stress
- Lifting edges: tile corners or sides sit higher than neighbors, catch your toe, or show gaps underneath
- Grinding noises when walked on: crunching or grinding sounds mean tiles are rubbing against each other or grinding dried adhesive below
The tap test works best for finding hidden problems. Walk slowly across your floor, tapping every few tiles with your knuckle or the handle of a screwdriver. Mark any hollow sounding spots with painter’s tape. Then do the pressure test. Stand on marked tiles and shift your weight, feeling for any give or movement.
Essential Tools and Materials for Loose Tile Repair
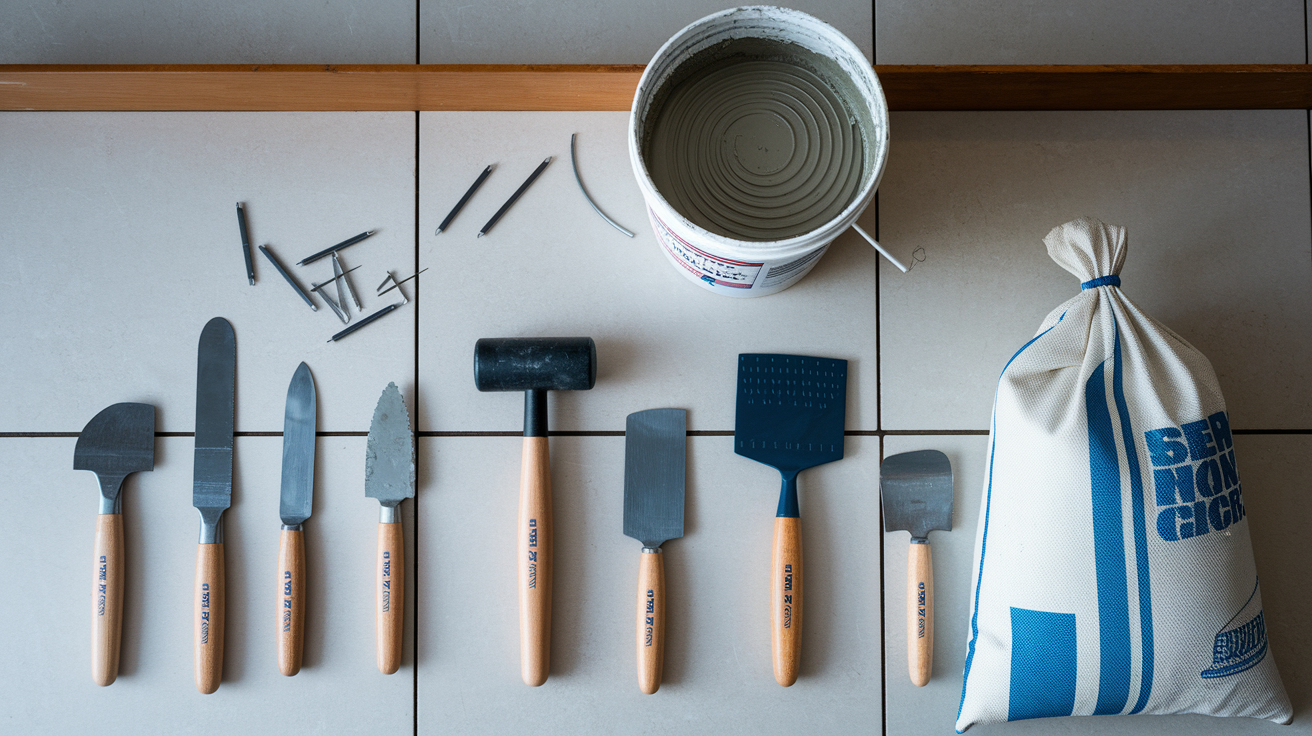
Get everything before you start. Nothing kills repair momentum like a mid-project run to the hardware store while adhesive dries unevenly or grout starts setting.
| Tool/Material | Purpose | Approximate Cost |
|---|---|---|
| Chisel or putty knife | Prying up tiles without damaging edges | $8-15 |
| Rubber mallet or hammer | Gentle tapping for tile removal | $12-20 |
| Floor scraper | Removing old adhesive from subfloor | $15-25 |
| Tile adhesive or thinset mortar | Bonding tile to subfloor | $15-40 |
| Notched trowel | Spreading adhesive with proper ridges | $8-12 |
| Grout | Filling joints around repaired tiles | $10-20 |
| Grout float | Pressing grout into joints | $6-12 |
| Tile spacers | Maintaining consistent grout lines | $5-8 |
| Sponge and bucket | Cleaning excess grout and adhesive | $5-10 |
| Weighted objects | Holding tile flat during cure (partially filled water jugs work) | $0 (use what you have) |
| Caulk gun | If using injectable adhesive for non-removal method | $10-15 |
| Drill with masonry bit | Creating injection holes in grout lines | $40-80 (if not owned) |
Adhesive selection matters more than you’d think. Ceramic and porcelain tiles work fine with standard thinset mortar, the gray powder you mix with water. Natural stone (marble, granite, slate) needs white thinset or epoxy to prevent discoloration. If you have radiant floor heating, you need flexible thinset that tolerates temperature changes. Bathroom and kitchen tiles in wet areas need moisture resistant formulas. Read the label, match it to your tile material, and when in doubt, ask someone at the store to check your tile type against the adhesive.
Step by Step Process to Remove Loose Floor Tiles
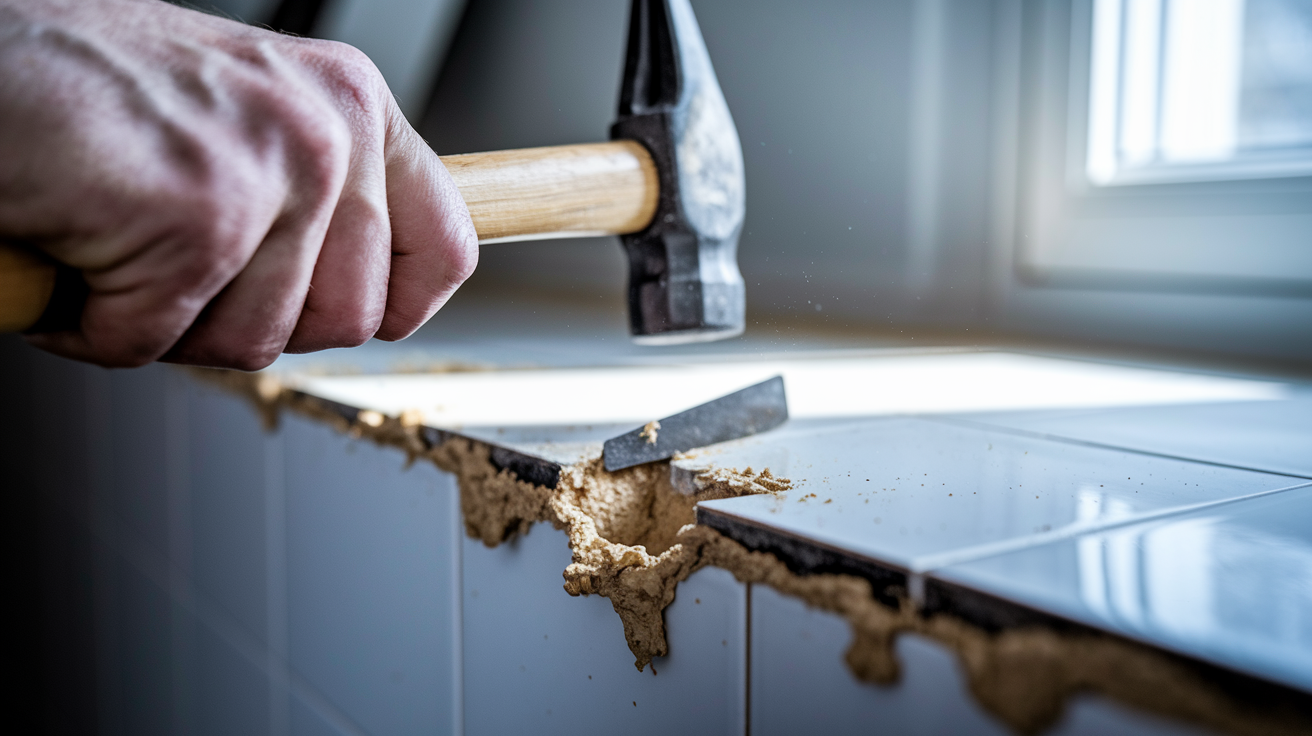
Go slow here. Rushing breaks tiles you wanted to save, chips the edges of good neighboring tiles, or gouges the subfloor you’re about to glue onto.
- Remove grout around loose tile using grout saw or rotary tool. Cut straight down into grout lines on all four sides, clearing at least 1/8 inch depth so the tile edges are free
- Position chisel at low angle under tile edge. Think 15 to 20 degrees, almost flat against the floor, not straight up or you’ll crack the tile
- Tap chisel gently with hammer working around perimeter. Start at one corner, tap tap tap, move two inches, tap tap tap, work your way around rather than forcing one spot
- Lift tile carefully once edges release. If it’s not coming up easily, keep working the chisel around the edges instead of pulling hard
- Scrape away old adhesive from both tile back and floor surface. Use the floor scraper or putty knife held flat, push away from you, remove every bit of old material
- Check subfloor for damage or irregularities. Press on it, look for soft spots, dips, or bumps that need fixing before you reinstall
- Clean area thoroughly with damp sponge and allow complete drying. Use warm water, wring the sponge until it’s barely damp, wipe away all dust and debris, then wait at least an hour for complete drying
If the tile breaks during removal, don’t panic. It happens, especially with older installations where adhesive has turned rock hard. You’ll need a replacement tile. Check if you or the previous owner saved extras during the original installation (people usually stash them in garages, basements, or utility closets). If not, take a large broken piece to a tile specialty shop. They can sometimes match patterns or colors. For vintage or discontinued tiles, search online marketplaces or architectural salvage stores. Worst case, you might replace a broken floor tile with a close match and call it a design accent, or pull a tile from inside a closet and use it in the visible area, then put the mismatch where nobody looks.
How to Reattach Loose Tiles Without Removal
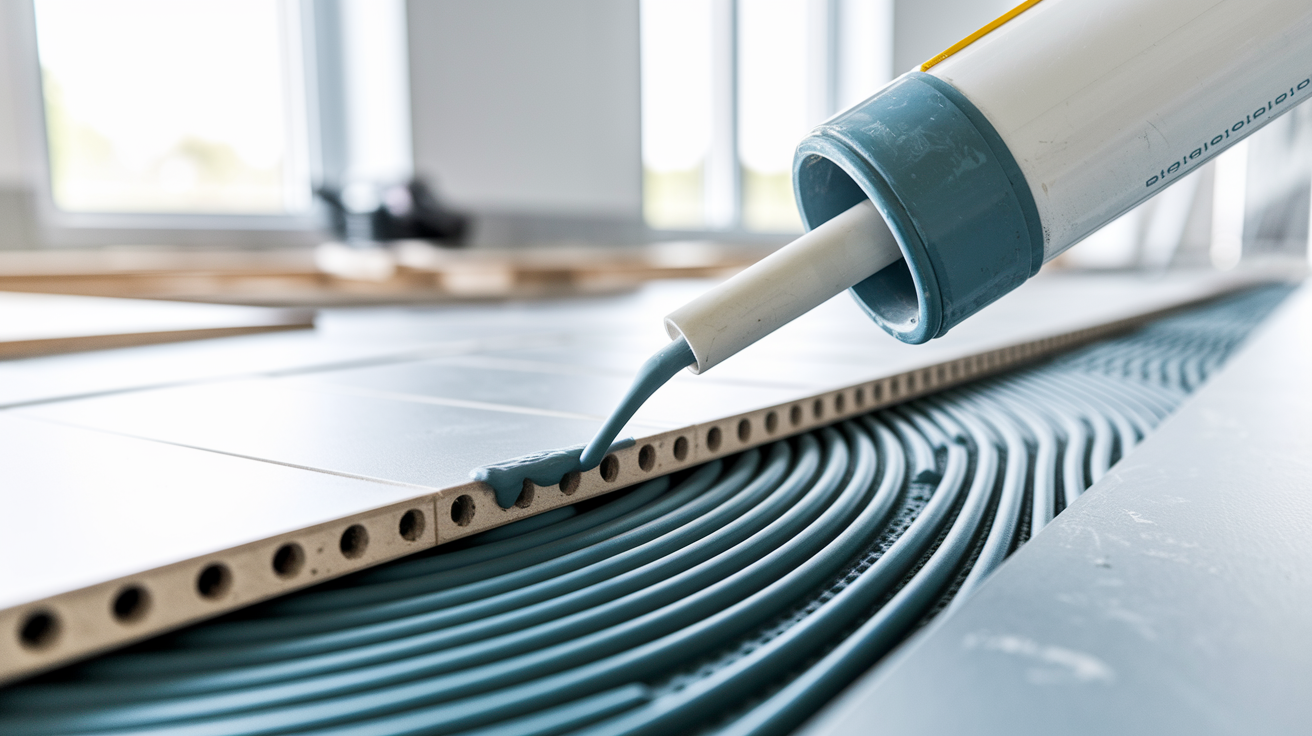
This method works when the tile is still partially stuck, moving just a little when you step on it, and the grout around it is still mostly intact. You’re basically re-gluing from underneath without the full removal process.
It won’t work if the tile is completely detached and sliding around, if you see obvious subfloor damage, or if the grout has crumbled away on multiple sides. In those cases, skip this section and do the full removal method instead.
- Drill 2 to 4 small holes in grout lines around loose tile. Use a masonry bit slightly smaller than your grout line width, drill straight down into the grout (not into the tile itself), space holes evenly around the tile, one near each corner or side
- Clean dust from holes. Use a vacuum with a hose attachment, or blow into the holes (not ideal but works), you want clear channels for adhesive to flow
- Inject tile adhesive through holes using caulk gun. Fit the tube tip into the hole, squeeze slowly and steadily, don’t rush or you’ll create air pockets
- Continue injecting until adhesive appears at opposing holes. When you’re filling one hole and see adhesive ooze out of the hole across from it, that means you’ve filled the space under the tile
- Wipe excess immediately with damp cloth. Adhesive sets up fast, clean it off grout lines before it hardens
- Place weight on tile. Set water filled jugs, buckets, or heavy books evenly across the tile surface, leave them for the full cure time
Epoxy resin works as an injectable alternative if you need maximum strength or work in high moisture areas. Mix only what you’ll use immediately (it comes in two parts, resin and hardener, stored separately). Epoxy bonds stronger than standard adhesive but costs more ($30 to 50 for a repair kit versus $15 to 25 for injectable tile adhesive).
The injection method has limits. If more than three or four tiles are loose in one area, that usually signals bigger subfloor problems and you should do full removal to inspect what’s happening underneath. If the tile rocks more than 1/8 inch when you press it, there’s probably not enough adhesive contact left to make injection work.
Proper Adhesive Application for Reinstalling Floor Tiles
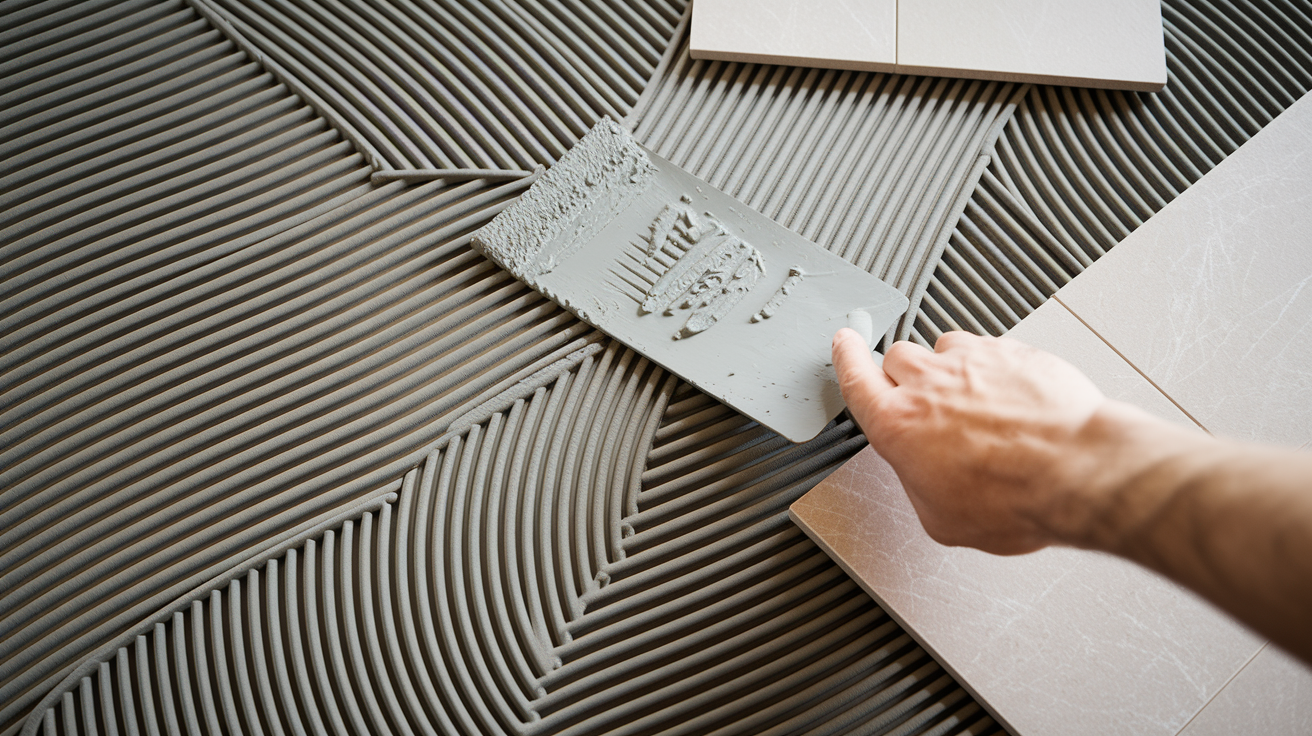
Check the subfloor where the old tile sat. Press on it with your fingers. Soft spots, crumbling, or flex means you have damage that needs fixing first. That might mean cutting out bad plywood and patching, or applying subfloor leveling compound to concrete. If the surface is porous concrete or raw wood, apply primer and let it dry per product instructions (usually 30 minutes to 2 hours). Primer helps adhesive grab properly.
Adhesive thickness depends on tile size. Small tiles under 8 inches usually need 1/8 inch adhesive layer. Medium tiles 8 to 16 inches need 1/4 inch. Large format tiles over 16 inches might need 3/8 inch or back buttering. Check the thinset bag. It’ll specify coverage and trowel notch size.
If you’re using powdered thinset mortar, mix it in a bucket. Add powder to water (not water to powder or you get lumps), following the ratio on the bag exactly. Mix with a drill and paddle attachment or stir hard by hand for two minutes. Let it sit (this is called slaking) for 5 to 10 minutes, then remix briefly. Final consistency should be like thick peanut butter. It holds shape but spreads smoothly, doesn’t run or drip, and doesn’t crumble.
Spread adhesive on the floor (not the tile yet) using the notched trowel. Hold the trowel at about a 45 degree angle, press firmly, drag it across the area where the tile will sit. The notches create ridges of adhesive, all going the same direction. Don’t spread more than you can tile in 15 minutes or it’ll skin over and lose grab.
Back butter the tile too for floor tiles, especially larger ones. Spread a thin layer of adhesive on the entire back of the tile using the flat side of the trowel, like spreading peanut butter on bread. Cover the whole surface but keep it thin, maybe 1/8 inch.
Set the tile onto the adhesive bed with a slight twisting motion. Line it up with neighboring tiles first, then press down firmly while giving it a small twist (quarter turn back and forth). This collapses the adhesive ridges and eliminates air pockets. Press evenly across the whole tile. Check that it’s level with surrounding tiles by running your hand across the seam. You shouldn’t feel a lip or step. If it’s too high, press harder. If it’s too low, pull it up, add more adhesive, reset. Use tile spacers in the grout joints to keep consistent gaps.
Drying Time, Curing Period, and Traffic Restrictions
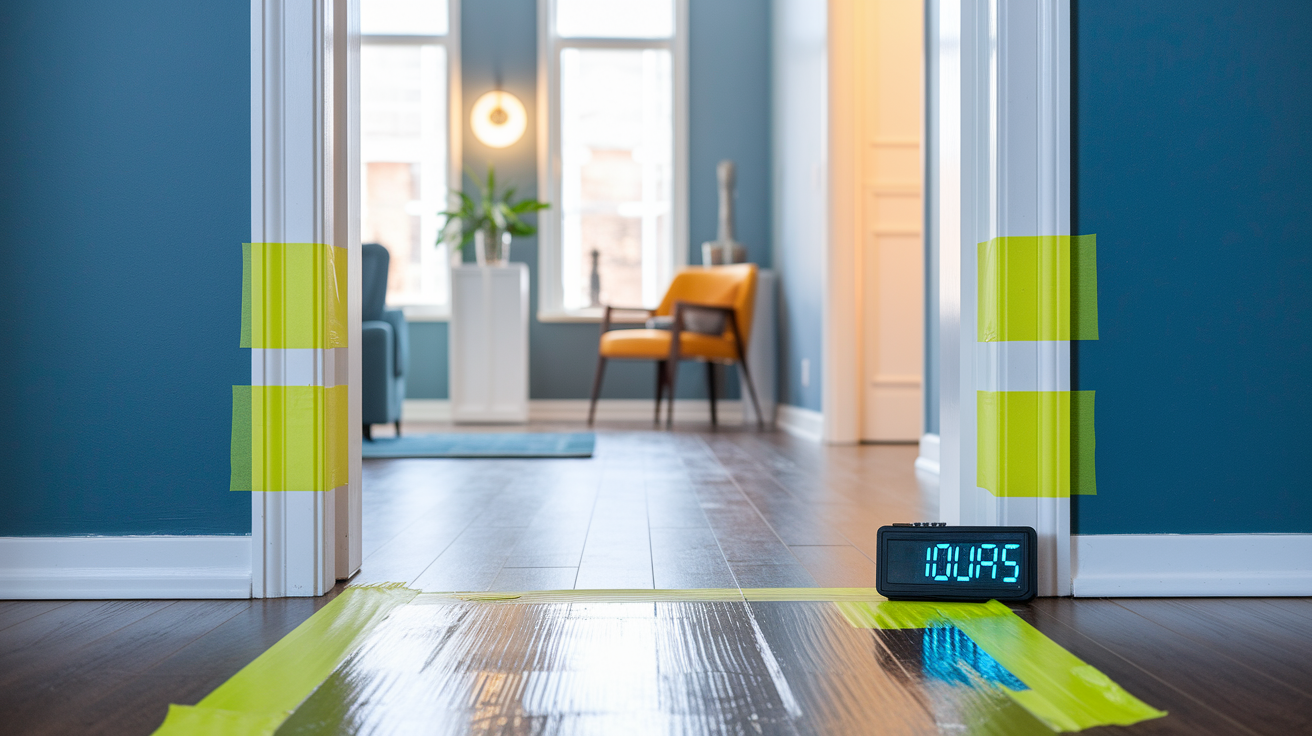
Rushing this stage ruins everything. Adhesive needs time to reach full strength, grout needs time to harden completely, and sealer needs time to do its job.
| Repair Stage | Minimum Time | Full Cure | Traffic Allowed |
|---|---|---|---|
| Adhesive initial set | 24 hours | 48-72 hours | No foot traffic during initial set |
| Adhesive full cure | 72 hours | 7-14 days for heavy loads | Light walking after 24 hours, normal after 72 hours |
| Grout drying | 24 hours | 48-72 hours | Avoid walking for 24 hours |
| Grout sealer curing | 2 hours | 24-48 hours for water resistance | Light walking after 2 hours, moisture exposure after 48 hours |
Keep the repaired area completely dry during the entire curing period. One splash of water, one wet shoe, one spilled drink can ruin bonding. In bathrooms, that means no showers or baths that could splash onto the repair. In kitchens, watch for dishwasher leaks or sink splashing. Use barrier tape (bright colored painter’s tape) across doorways, or set cardboard boxes over the repair zone so family members remember not to step there.
Temperature affects drying speed. Cold slows everything down. Below 50 degrees, thinset barely cures at all. Heat speeds it up, but only to a point (over 90 degrees can make it set too fast and weaken the bond). Humidity matters too. High humidity (over 70%) extends drying time by hours or even a day. Low humidity (under 30%) might cause grout to dry too fast and crack. If your environment is extreme either way, add a fan for air circulation or a dehumidifier, but keep them running gently, not blasting directly on fresh repairs.
Before you call it done and move furniture back, test the tile. Press on it hard with your hands. Try to rock it. Tap it with your knuckle and listen for hollow sounds. If it feels solid and sounds solid, it’s good.
Regrouting and Sealing Repaired Floor Tiles
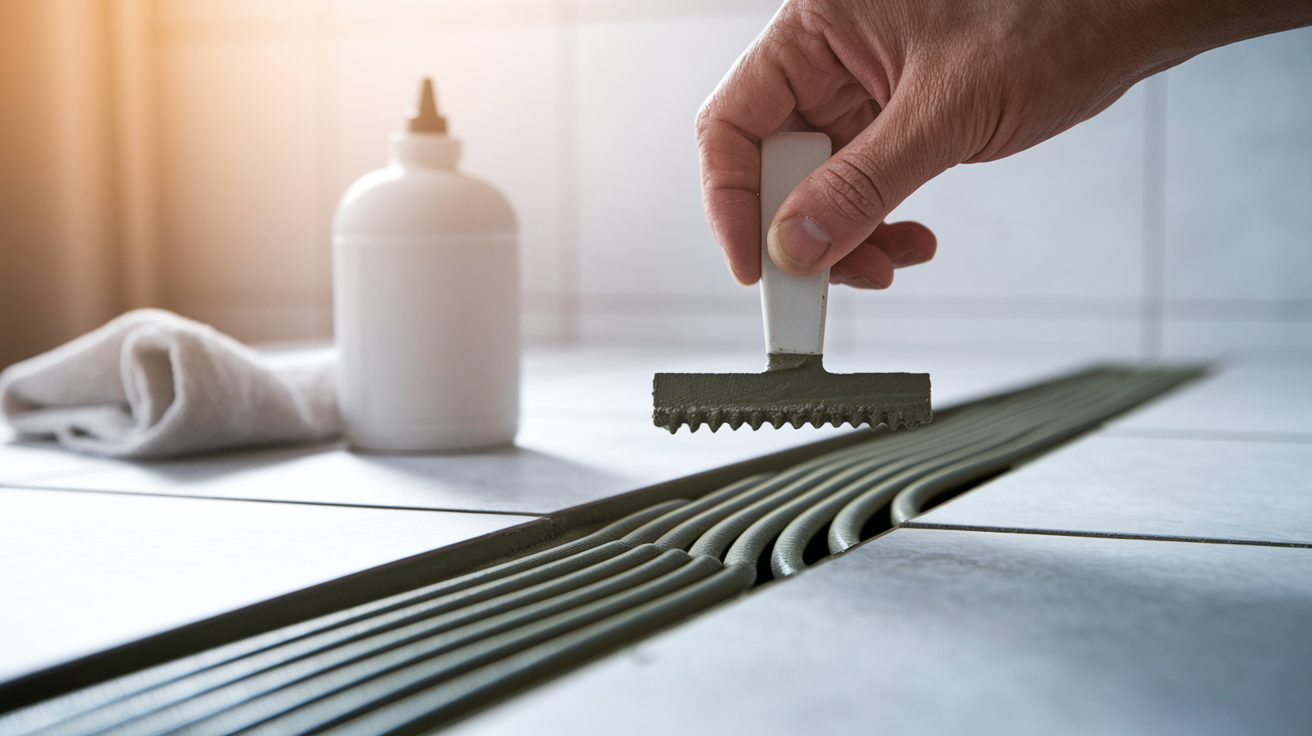
Wait for the tile adhesive to fully cure before you grout. That’s minimum 24 hours, preferably 48. If you grout too early while adhesive is still setting, the tile might shift slightly and crack your fresh grout.
- Mix grout according to manufacturer instructions. Most powder grouts need clean water added slowly while stirring, mix to a thick paste consistency (thicker than adhesive, more like damp sand that holds together)
- Apply grout with float at 45 degree angle across joints. Scoop grout onto the float, press it across the joints with firm pressure, work diagonally so the float edge doesn’t dig into grout lines
- Press firmly to fill all voids completely. Make multiple passes, push hard enough to pack grout deep into joints with no air gaps or hollows
- Remove excess by holding float at steep angle. Flip the float almost vertical (70 to 80 degrees), drag it diagonally across tiles to scrape excess grout off the surface
- Clean surface with damp sponge using diagonal wiping motion. Don’t wipe parallel to grout lines or you’ll pull out fresh grout, wring the sponge frequently, use clean water, make gentle passes
- Allow full hardening per product specifications. Most grouts need 24 to 48 hours before they’re ready for sealer, check the bag for exact timing
Grout sealer goes on after grout has hardened completely, typically 48 to 72 hours after grouting (some fast cure grouts allow 24 hours, check the label). Grout sealer is a clear liquid that soaks into grout and creates a barrier against water, stains, and dirt. In bathrooms and kitchens, it’s not optional. It’s the difference between grout that stays clean and grout that turns grimy and moldy.
Apply sealer with a small foam brush or sponge applicator. Work it into grout lines only, avoid getting it on tile surfaces (it can leave a film). Let it absorb for 5 to 10 minutes, then wipe any excess off tiles with a clean dry cloth. Most sealers need two coats, with 30 minutes to 2 hours between coats depending on the product.
Reapply grout sealer every 1 to 2 years in high moisture areas like showers, bathroom floors, and behind kitchen sinks. You’ll know it needs resealing when water stops beading on the grout and starts soaking in instead.
Fixing Cracked and Chipped Tiles During Repairs
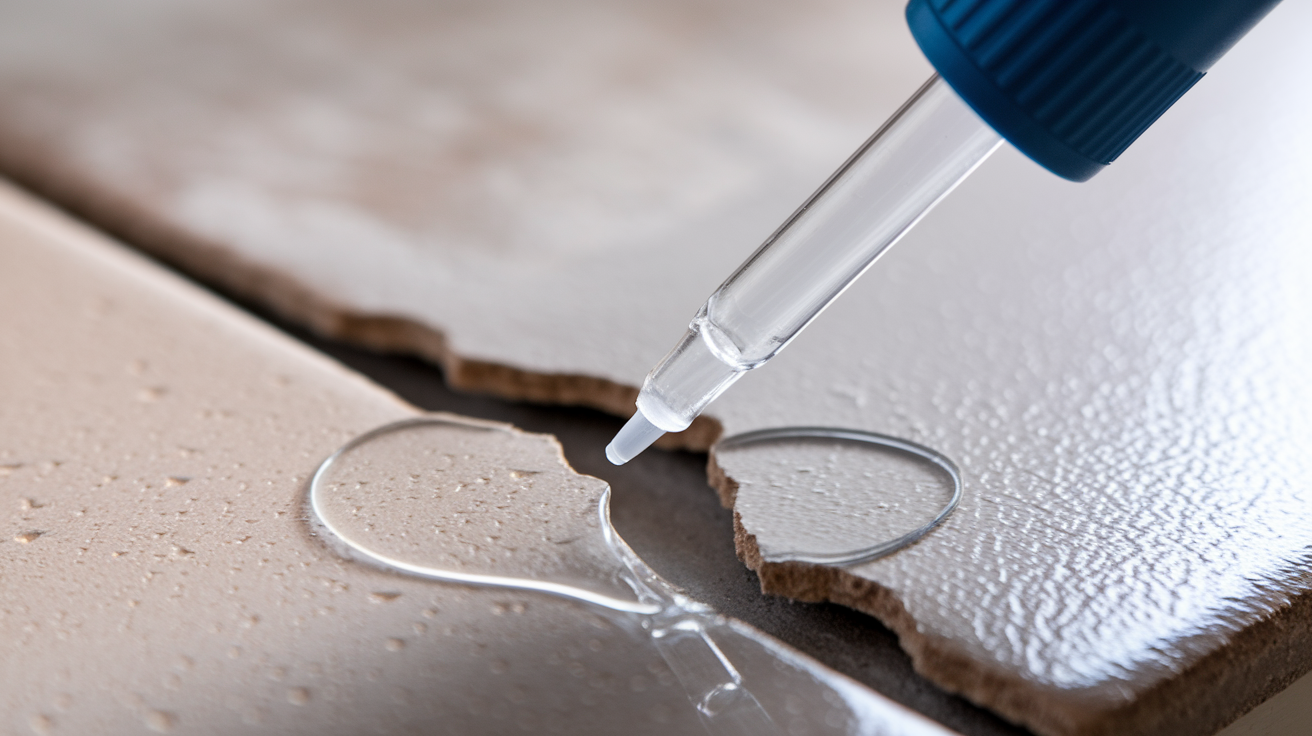
When you’re down on the floor fixing loose tiles, look closely at all the tiles around the repair area. Loose tiles often crack or chip from the movement stress before you caught the problem.
If you find cracked tiles, here’s how to stabilize them without full replacement:
- Clean crack thoroughly removing debris. Use a vacuum, then wipe with damp cloth, dry completely
- Assess if crack is hairline or structural. Hairline cracks (thinner than a credit card edge) can be filled, wider structural cracks might mean replacement is smarter
- Apply clear epoxy resin into crack using toothpick for precision. Get the two part epoxy from the hardware store, mix small amounts, use a toothpick or fine wire to work it into the crack, work slowly to avoid air bubbles
- Wipe excess immediately. Epoxy is nearly impossible to remove once it cures, clean it off tile surface right away with paper towel dampened with rubbing alcohol
- Allow full cure. Most epoxies need 24 hours to harden completely
- Touch up with matching paint if needed and regrout edges. If the crack is visible after epoxy dries, you can paint it with acrylic craft paint mixed to match your tile color, or touch up paint from a tile store
Cracks that radiate out from a corner, or multiple cracks forming a star pattern, or cracks wider than a credit card thickness. Those signal impact damage or serious subfloor movement. Filling them is temporary. Plan to replace those tiles.
For chipped tiles, you might be able to re-glue the broken piece if you still have it. Clean both surfaces (the chip and the hole), apply epoxy to both sides, press the piece back in place exactly level with the surrounding tile surface, wipe excess, hold it steady with tape until the epoxy sets. If the chip piece is gone, fill the void with epoxy mixed with a tiny bit of tile dust or colored epoxy putty to roughly match the tile color, smooth it level, let it cure, then paint if needed.
Finding matching replacement tiles gets tricky with older floors. Check these places: garage or basement storage (previous owners often leave extras), closets where a tile could be stolen from a hidden spot and swapped with the damaged visible tile, local tile stores that might recognize the pattern, online marketplaces where people sell leftover materials, tile specialty shops that archive discontinued patterns, or salvage yards. Take the broken tile or a clear close up photo when you’re hunting for matches.
Cost Estimates and Time Requirements for DIY Repairs

DIY tile repair costs a fraction of professional work. A pro charges $200 to 500 minimum for small repairs, plus materials. You’ll spend $30 to 80 in materials and a few hours of your weekend.
| Repair Scope | Material Cost | Time Required | Difficulty |
|---|---|---|---|
| Single tile reattachment without removal | $15-30 | 1 hour active, 24-48 hours curing | Easy |
| Single tile removal and reinstallation | $25-50 | 2-3 hours active, 72 hours curing | Moderate |
| Multiple tiles (3-5) | $40-80 | 4-6 hours active, 72 hours curing | Moderate |
| Subfloor repair plus tiles | $75-150 | 6-10 hours active, 96+ hours curing | Advanced |
| Full bathroom floor (if many tiles are loose) | $150-300 | 12-20 hours active, 1 week curing | Advanced |
Material cost breakdown looks like this. Tile adhesive or thinset mortar runs $15 to 40 depending on whether you need basic thinset or specialty products for natural stone or flexible applications. Grout costs $10 to 20 for a small container, plenty for several tiles. Grout sealer adds $12 to 25. If you don’t own basic tools, a starter kit with putty knife, trowel, grout float, and sponge runs $30 to 60. Replacement tiles vary wildly. Basic ceramic squares might be $3 to 8 per tile, but specialty shapes or natural stone can hit $15 or more per tile.
Time breaks into two pieces: active work time and waiting time. Actual hands on work for a single tile is 1 to 3 hours depending on whether you’re doing removal or just injection. But then you’re waiting 24 to 72 hours for adhesive to cure before you can grout. After grouting, wait another 24 to 48 hours before sealing. Total elapsed time from start to finished, walkable floor is typically 4 to 5 days even though your actual labor is just a few hours.
Hidden costs to consider: subfloor primer if your concrete or wood needs it ($15 to 25), self leveling compound if your floor has dips or high spots ($30 to 50), replacement cement board if your subfloor is damaged ($20 to 40 per sheet), extra tiles to keep in storage for future repairs ($20 to 60 depending on how many you buy), upgraded tools if you want the job to go easier (oscillating multi-tool for grout removal, $60 to 100).
Underlying Causes: Subfloor, Moisture, and Installation Issues
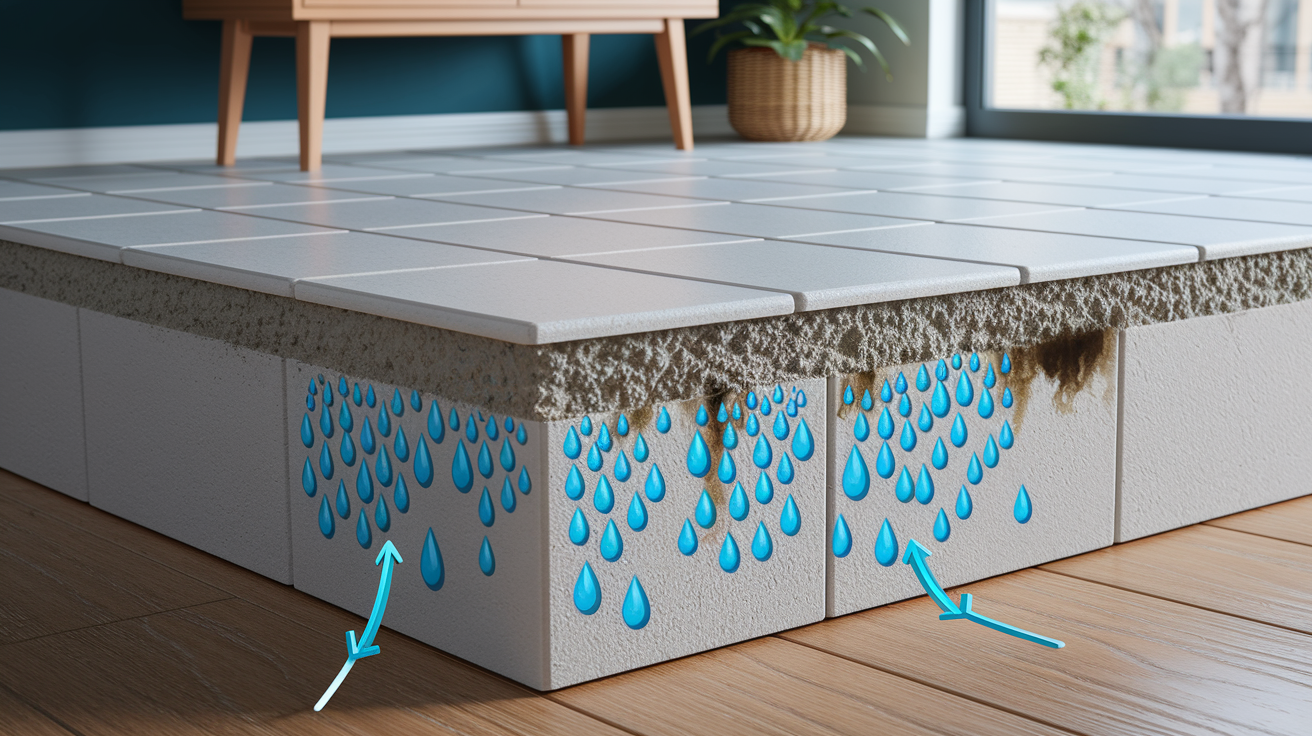
Surface repairs fail if you don’t fix what caused the problem in the first place. You can re-glue a tile perfectly, but if the subfloor underneath is still moving or rotting or incompatible with tile, that repair lasts maybe six months before it’s loose again. Identifying root causes now saves you from repeating this repair every year.
Subfloor Problems That Undermine Tile Stability
The subfloor is everything. Tiles only stay put if what’s under them is solid, flat, and stable. Most loose tile problems trace back to subfloor issues, not the tiles themselves.
Common subfloor problems include:
- Uneven concrete with high spots and low spots. Even 1/8 inch variation across a few feet causes tiles to rock and break bond
- Plywood that’s too thin or improperly fastened. Minimum 1 1/8 inch thick for tile, must be screwed every 6 to 8 inches with no squeaks or flex
- Missing or damaged cement board underlayment. Tile shouldn’t be installed directly on plywood in wet areas, needs cement board or similar substrate
- Structural movement from settling foundation. Houses settle over decades, sometimes creating new floor slopes or waves
- Excessive flexing under foot traffic. If the floor bounces when you walk across it, tiles will eventually pop loose from the repetitive stress
- Moisture damage causing rot or deterioration. Water leaks soften wood subfloors, create spongy spots, destroy adhesive bond
- Pressure points from debris or irregularities under tiles. Old adhesive lumps, chunks of material, or rough spots create high points that prevent full tile contact
Test subfloor integrity by walking slowly across the problem area. Listen for squeaks (loose fasteners), feel for bouncing or give (flex issues), watch for visible dips or humps (leveling problems). Get down and look across the floor from a low angle, or use a long straightedge. You’ll see high and low spots you can’t feel. Press hard on the subfloor where the tile came up. If it feels soft or spongy, you have rot. If it makes cracking sounds, the structure is weak.
Uneven concrete gets fixed with self leveling compound, a pourable mixture that flows into low spots and dries flat. Follow the product instructions (usually mix with water, pour, spread with trowel, let it self level for 15 minutes, then leave it alone to cure). For high spots, you might need to grind them down with a concrete grinder (rent one if you don’t own it). When subfloor replacement is necessary, and you’ll know because the floor feels spongy, or you can see rot damage, or structural boards are cracked, that’s a bigger project involving cutting out bad sections and installing new plywood or cement board. At that point, seriously consider calling a contractor unless you’re comfortable with carpentry.
Moisture and Water Damage Issues
Water destroys tile installations. It softens adhesive, it rots wood subfloors, it grows mold between the tile and the subfloor, and it creates conditions where tiles never stay stuck. In bathrooms and kitchens, moisture is inevitable, so proper installation and maintenance is what protects the floor.
Signs of moisture damage show up in specific ways. Grout turns dark or discolored, especially in corners or along walls. That’s water soaking in. You smell something musty or earthy when you get close to the floor. That’s mold growing underneath. The subfloor feels soft when you press on it, or the tile feels cold and damp even when the room is warm. You see black spots in grout joints or around tile edges (mold growing). Efflorescence appears, white chalky deposits on grout caused by mineral salts in water evaporating.
Before you repair any tiles, find and fix active leaks. Check under sinks, around toilet bases, shower/tub surrounds, dishwasher connections, washing machine hoses, and refrigerator water lines. Look for water stains on baseboards, cabinet bottoms, or walls near the problem tiles. If you find a leak, repair the plumbing first, then wait at least a week for the subfloor to dry completely before reinstalling tiles.
Proper ventilation matters in bathrooms and kitchens. Exhaust fans should vent to the outside (not into the attic), run during and for 20 minutes after showers, and move at least 50 CFM (cubic feet per minute) of air. Humidity should stay under 60% to prevent moisture problems. In damp climates or problem areas, consider a small dehumidifier. For wet areas like shower floors, bathrooms, and laundry rooms, waterproofing membrane should have been installed on the subfloor before tiles went down, a rubber or plastic sheet or a painted on liquid membrane that blocks water from reaching the subfloor. If your installation didn’t have that and you’re now dealing with moisture damage, adding it during your repair prevents future problems.
Installation Mistakes and Technical Failures
Even professional looking tile jobs can fail because of hidden technical mistakes. The tiles look fine, the grout is neat, but structural issues underneath cause premature failure.
Expansion joints are required in specific locations but frequently skipped. An expansion joint is a flexible gap filled with caulk (not grout) that allows the floor to expand and contract without cracking tiles. They’re needed at transitions between rooms (where tile meets hardwood or carpet), around the entire perimeter where tile meets walls, every 20 to 25 feet in large open areas like commercial spaces, and around fixed objects like support columns or pipes that penetrate the floor. When expansion joints are missing, temperature changes cause the tile field to expand and contract as one giant rigid slab. Something has to give, so tiles crack, pop loose, or edges lift, especially in corners where compression forces build up.
Thermal expansion problems show up most with radiant floor heating systems, but also in rooms with big temperature swings (like sunrooms, rooms with fireplaces, or spaces with poor climate control). Tile, adhesive, and subfloor materials all expand at different rates when heated. Standard thinset mortar sets rigidly and can’t accommodate that movement. The fix is using flexible thin set mortars specifically labeled for radiant heat or temperature variation. They have polymer additives that let them flex slightly without losing bond strength.
Substrate preparation failures kill installations before they begin. Common mistakes include skipping primer on porous concrete or wood (adhesive dries out too fast and doesn’t bond), installing tiles over painted surfaces (paint acts as a bond breaker between adhesive and floor), not removing old flooring materials completely (vinyl adhesive residue, carpet glue, or old tile adhesive layers prevent new adhesive from sticking), and insufficient surface roughness (smooth concrete needs to be roughened by grinding or acid etching so adhesive can grab).
Wrong adhesive choice causes mysterious failures months or years later. Porcelain tiles are extremely dense and need modified thinset with polymer additives. Standard thinset often fails with porcelain. Natural stone like marble or granite needs white thinset or epoxy to prevent the gray color from showing through translucent stone, and some stones are moisture sensitive and need epoxy instead of water based adhesives. Epoxy adhesive versus cement based thinset matters in wet areas, high traffic commercial spaces, or when bonding tile to tile. Epoxy costs more but performs better in extreme conditions.
When to Call a Professional Instead of DIY
There’s no shame in recognizing when a job is beyond your skill level or comfort zone. Professional tile setters bring specialized knowledge, proper tools, and experience that prevent expensive mistakes. Knowing when to stop and call someone saves money in the long run compared to botching a repair and needing a full redo.
Call a professional when you’re dealing with:
- Extensive subfloor damage or rot. If more than a couple square feet of subfloor is compromised, structural repair gets complicated fast
- Structural foundation settling. If your whole floor has developed a new slope or the house is visibly sagging, you need structural engineers and foundation contractors, not tile repair
- Moisture problems with unknown source. Water keeps appearing but you can’t find the leak, which means it’s in walls, under slab, or from foundation infiltration
- Large areas of failure. When 20% or more of your floor tiles are loose, that’s a systemic installation or subfloor problem, not spot repair
- Natural stone tiles requiring specialized knowledge. Marble, granite, travertine, and exotic stones have specific requirements for adhesive, sealer, and handling
- Substrate incompatibility issues. If your research shows the existing subfloor type won’t support tile without major modification, pros know the best approach
- Post warranty installations that might still be covered. If your floor was installed within the last 5 to 10 years, check if the installer’s warranty is still active
- Concerns about asbestos in old adhesive. Homes built before 1980 might have asbestos containing adhesive (usually black mastic), which requires specialized abatement procedures and disposal
The value professionals bring includes proper diagnosis of what’s actually causing the problem (not just treating symptoms), warranty coverage on their work (typically 1 to 5 years depending on the contractor), insurance coverage if something goes wrong during the job, and access to professional grade materials and specialized tools you don’t want to buy for one repair.
Get at least three quotes for any professional work. Ask to see examples of previous repairs, check references, verify licensing and insurance, and get a detailed written estimate that specifies materials, labor, timeline, and warranty terms.
Preventing Future Tile Detachment Problems
Maintenance prevents repairs. A little attention every few months keeps tiles stuck and grout sealed, avoiding the whole cycle of loosening and emergency repairs.
Follow these seven practices for long term tile health:
- Inspect grout lines every 6 months for deterioration. Look for cracks, crumbling, or discoloration, mark problem spots with tape
- Reapply grout sealer every 1 to 2 years in high moisture areas. More often in showers, bathroom floors, and kitchen backsplashes, test by dripping water on grout (if it beads, sealer’s good; if it soaks in, time to reseal)
- Clean spills immediately, especially in kitchens and bathrooms. Standing water finds its way through grout and weakens adhesive, don’t let puddles sit overnight
- Use appropriate cleaning products. pH neutral cleaners only, never vinegar or acidic cleaners that dissolve grout, never ammonia or bleach that degrades sealer
- Place protective pads under heavy furniture. Prevents point pressure that can crack tiles, especially important for appliances, heavy cabinets, or furniture that doesn’t move often
- Maintain consistent indoor temperature and humidity. Extreme swings stress tile installations, try to keep temperatures between 60 to 80 degrees and humidity between 40 to 60%
- Address plumbing leaks immediately. Even small drips cause big problems over time, check under sinks and around toil
Final Words
Tile coming loose from floor happens for specific reasons. Most cases involve adhesive failure, moisture damage, or subfloor movement.
The fixes range from simple injection methods to full removal and reinstallation. Both work when you match the repair to the actual problem.
Check your subfloor before you start. Address water issues first. Use the right adhesive for your tile type. Give everything proper cure time.
If more than a few tiles are loose or you find structural damage, call a pro. Otherwise, these repairs are totally manageable with basic tools and some patience.
FAQ
Why are my floor tiles coming loose?
Floor tiles come loose due to incorrect installation, poor quality adhesive, aging adhesive from moisture and temperature exposure, subfloor movement or settling, and subfloor material incompatibility. Walking on the tiles and applying pressure helps identify which ones are affected.
How do I fix a wobbly tile without removing it?
To fix a wobbly tile without removal, drill 2-4 small holes in the grout lines around the loose tile, inject floor tile adhesive through the holes until it rises from opposing holes, wipe excess adhesive with a damp cloth, and place weight on the tile for at least 24 hours.
How do I fix loose tile before grouting?
To fix loose tile before grouting, remove the tile carefully with a chisel, scrape away all old adhesive from both the tile back and floor surface, apply fresh thinset mortar or tile adhesive evenly, press the tile firmly into place, and wait for complete adhesive cure before grouting.
Why are my tiles suddenly popping up?
Tiles suddenly pop up due to thermal expansion from temperature fluctuations, missing expansion joints that allow compression forces to build, subfloor movement or settling, moisture trapped beneath tiles, or structural building problems. Radiant heating systems can also cause tiles to lift if wrong adhesive was used.
What tools do I need to reattach loose floor tiles?
To reattach loose floor tiles, you need a chisel or putty knife, rubber mallet or hammer, floor scraper, tile adhesive or thinset mortar, notched trowel, grout, grout float, tile spacers, sponge and bucket, and weighted objects for curing.
How long does tile adhesive take to dry?
Tile adhesive takes at least 24 hours for initial set and 48-72 hours for full cure before grouting. Keep the repaired area completely dry during curing and prevent all foot traffic to ensure proper bonding and prevent repair failure.
Can I reuse a tile after removing it?
You can reuse a tile after removing it if you work carefully with a chisel at a low angle, tap gently around the perimeter, and lift without forcing. If the tile breaks during removal, you’ll need to source a replacement tile that matches your existing pattern.
What’s the difference between dry time and cure time for tile repairs?
Dry time is when the adhesive surface feels solid to touch, while cure time is when the adhesive reaches full bonding strength internally. Tiles may feel dry after 12-24 hours but need 48-72 hours to cure completely before walking on them or grouting.
Should I use thinset or premixed adhesive for floor tiles?
Use thinset mortar for floor tiles because it provides stronger bonds, better moisture resistance, and works on various subfloor types including concrete and cement board. Premixed adhesive works for small repairs but thinset handles floor traffic and moisture exposure better for long-term durability.
How do I know if my subfloor is causing tiles to loosen?
Your subfloor is causing tiles to loosen if you hear squeaks when walking, feel excessive bounce or flexing, notice soft spots indicating rot, see uneven surfaces with high and low spots, or find multiple tiles failing in the same area rather than isolated problems.
When should I call a professional for loose tile repair?
Call a professional for loose tile repair when you have extensive subfloor damage or rot, structural foundation settling, moisture problems with unknown sources, large areas of failure affecting more than 20% of the floor, natural stone tiles, or concerns about asbestos in old adhesive.
How often should I reseal grout to prevent tiles from loosening?
Reseal grout every 1-2 years in high-moisture areas like bathrooms and kitchens to prevent water infiltration that weakens adhesive bonds. Grout sealer protects against water absorption and staining, which helps maintain tile stability and prevents premature adhesive failure over time.