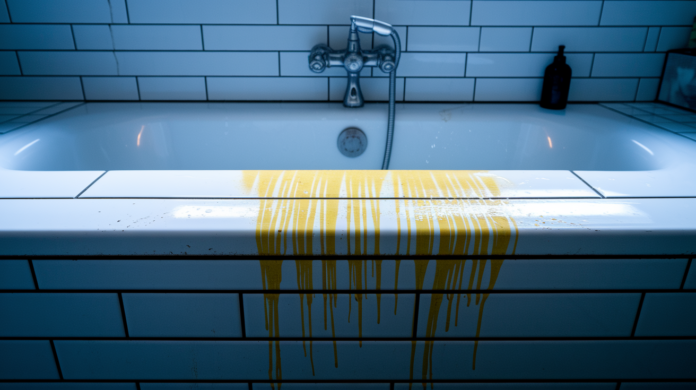

You’ve just noticed your bathroom caulk has turned an ugly yellow, and you’re probably wondering if you need to rip it all out and start over. Before you grab a utility knife, understand this: most caulk yellowing is fixable, and knowing why it happens tells you whether you’re dealing with a quick cleaning job or a full replacement. UV light, trapped moisture, mold growth, and even your cleaning products all attack caulk differently. Some cause surface staining you can scrub away. Others mean the material itself is breaking down and needs to go.
Main Causes Behind Yellowing Caulk
UV radiation from sunlight causes caulk yellowing in about 9 out of 10 cases. When UV rays hit caulk, they trigger an oxidation process that breaks down the material at a molecular level and creates that dingy yellow or brown appearance. Moisture, mold, and chemical exposure also contribute, but UV damage is what you’re usually dealing with.
Here’s what causes caulk to turn yellow:
UV radiation and sunlight exposure. Chromophores in the caulk formula absorb UV light, forming free radicals that react with oxygen and create peroxy radicals in a degradation cycle that produces yellow tinted compounds.
Oxidation process. Natural exposure to air over time breaks down caulk compounds, similar to how rubber yellows as it ages.
Mold and mildew growth. Spores penetrate porous caulk surfaces and create yellow or grayish staining as they multiply.
Moisture and humidity exposure. Water seeps into caulk and traps organic particles, creating discoloration in high humidity environments.
Chemical reactions from cleaning products. Bleach, ammonia, and harsh cleaners react with caulk compounds and accelerate yellowing.
Contamination from oils and residues. Soap scum, cooking oils, and body oils penetrate caulk surfaces and cause staining.
Natural aging. All caulk materials degrade over time, with some formulations yellowing faster than others as they break down.
How Different Caulk Types React to Yellowing
Not all caulk materials yellow at the same rate. The chemical composition of your caulk determines how quickly it discolors and whether yellowing indicates surface staining or deeper degradation that affects performance.
Silicone Sealant Yellowing Characteristics
Silicone caulk is the most popular choice for bathrooms because it’s waterproof, flexible, and durable. It yellows primarily from trapped organic particles in high humidity environments. When moisture and humidity stay consistently high, microscopic dirt, body oils, and soap residue get caught in the silicone surface. Over time, these particles oxidize and create a yellow tint.
Silicone itself has decent UV resistance compared to other materials. But it’s not immune. Direct sunlight breaks down even quality silicone eventually.
Latex and Acrylic Compound Vulnerabilities
Latex caulk is the worst performer in wet areas. Its porous nature means it absorbs water like a sponge, making it highly susceptible to mildew growth and rapid yellowing. In damp, warm shower environments, latex caulk can start showing yellow or gray discoloration within months. It ages faster than other types, becomes brittle, and develops cracks that let even more moisture in, which speeds up the yellowing cycle.
Acrylic caulk behaves similarly. It’s more porous than silicone, so mildew and mold grow inside the material and produce a yellow or grayish tint as it absorbs water. Neither latex nor acrylic belongs in consistently wet locations.
Polyurethane Caulk and UV Sensitivity
Polyurethane sealants yellow at different rates depending on their chemical makeup. Versions made with aromatic based isocyanates contain strong chromophores (light absorbing molecules) that make them highly susceptible to UV yellowing. The free radical reaction happens quickly when exposed to sunlight.
Aliphatic isocyanate based polyurethanes resist yellowing much better because they have fewer chromophores in their structure. If you’re using polyurethane caulk, check the product label. Aliphatic formulas cost more but stay white longer in sunny spots.
Hybrid Formulas and Quality Variations
Hybrid caulks combine silicone with acrylic or polyurethane to create paintable products with improved adhesion. They offer a middle ground option for areas that need both waterproofing and the ability to match paint colors.
However, cheaper hybrid versions still yellow with prolonged water exposure because the acrylic or polyurethane component absorbs moisture and degrades. Higher quality hybrids incorporate better UV stabilizers and antimicrobial additives, but they’ll never match pure silicone for wet area durability.
Environmental Factors That Accelerate Caulk Discoloration
Geography, climate, and room conditions determine how fast your caulk yellows. Hot, humid, high UV environments like Florida or coastal regions accelerate degradation compared to milder climates. A bathroom in Arizona faces different challenges than one in Washington. UV intensity matters as much as moisture levels.
Bathroom conditions create the perfect storm for caulk yellowing. When you shower, humidity spikes and stays elevated if ventilation is poor. That trapped moisture seeps into caulk surfaces, especially in porous materials like latex and acrylic. Organic particles from soap, shampoo, body oils, and skin cells float in that humid air and settle onto caulk surfaces while they’re wet. These particles get absorbed into the material and oxidize over time, creating yellow or brown discoloration.
Temperature fluctuations make it worse. Caulk expands when warm and contracts when cool, creating microscopic gaps that let more contaminants in.
The technical process involves moisture acting as a carrier for organic compounds. When water evaporates from the caulk surface, it leaves behind concentrated residues that bond with the polymer structure. Add heat to speed up chemical reactions, and you’ve got accelerated aging and discoloration. Poor ventilation means this cycle repeats constantly without giving caulk time to dry out fully between exposures.
High risk environments for rapid caulk yellowing include:
Poorly ventilated bathrooms without exhaust fans or windows. South facing windows that blast caulk with direct UV radiation for hours daily. Kitchens with cooking oils, grease, and steam that settle on caulk surfaces. High humidity climates where moisture levels rarely drop below 60%. Rooms with significant temperature fluctuations between day and night or summer and winter.
Check your home for these risk factors. If you’ve got a bathroom with no exhaust fan and a window that gets afternoon sun, your caulk is fighting an uphill battle. Geographic location matters too. If you’re in a hot, humid region, expect to replace caulk more frequently than manufacturers suggest on product labels.
Chemical Reactions That Cause Caulk Yellowing
Common household products trigger chemical reactions that accelerate caulk discoloration. You might be cleaning your bathroom regularly and actually making the yellowing worse without realizing it.
Bleach and ammonia based cleaners are the biggest culprits. When these harsh chemicals contact silicone caulk, they react with the polymer chains at a molecular level. Bleach is a powerful oxidizer. It doesn’t just clean surfaces, it breaks down organic compounds. Applied to caulk, it accelerates the same oxidation process that UV light causes, essentially aging your caulk faster. Ammonia based cleaners create similar reactions, attacking the silicone structure and causing brittleness and discoloration. These chemicals were designed to break things down, and they don’t discriminate between dirt and caulk.
Other substances create slower but cumulative damage. Soap scum contains fatty acids from soap that bond with caulk surfaces and oxidize into yellow residues. Hard water deposits leave behind calcium and magnesium minerals that create a chalky film on caulk. This film traps other contaminants and creates a layered discoloration effect. Cooking oils and grease in kitchens penetrate caulk surfaces and turn rancid over time, creating yellow brown staining. Even nicotine from cigarette smoke deposits tar compounds on caulk that darken and yellow the surface.
Each of these substances reacts with caulk through different mechanisms, but they all result in the same problem. Stubborn discoloration that gets harder to remove the longer it sits.
Read product labels before using cleaners on caulked surfaces. Anything labeled “heavy duty,” “industrial strength,” or containing bleach, ammonia, or strong acids should stay away from caulk. Stick with pH neutral products or gentle solutions like diluted dish soap.
Mold, Mildew, and Organic Staining on Caulk
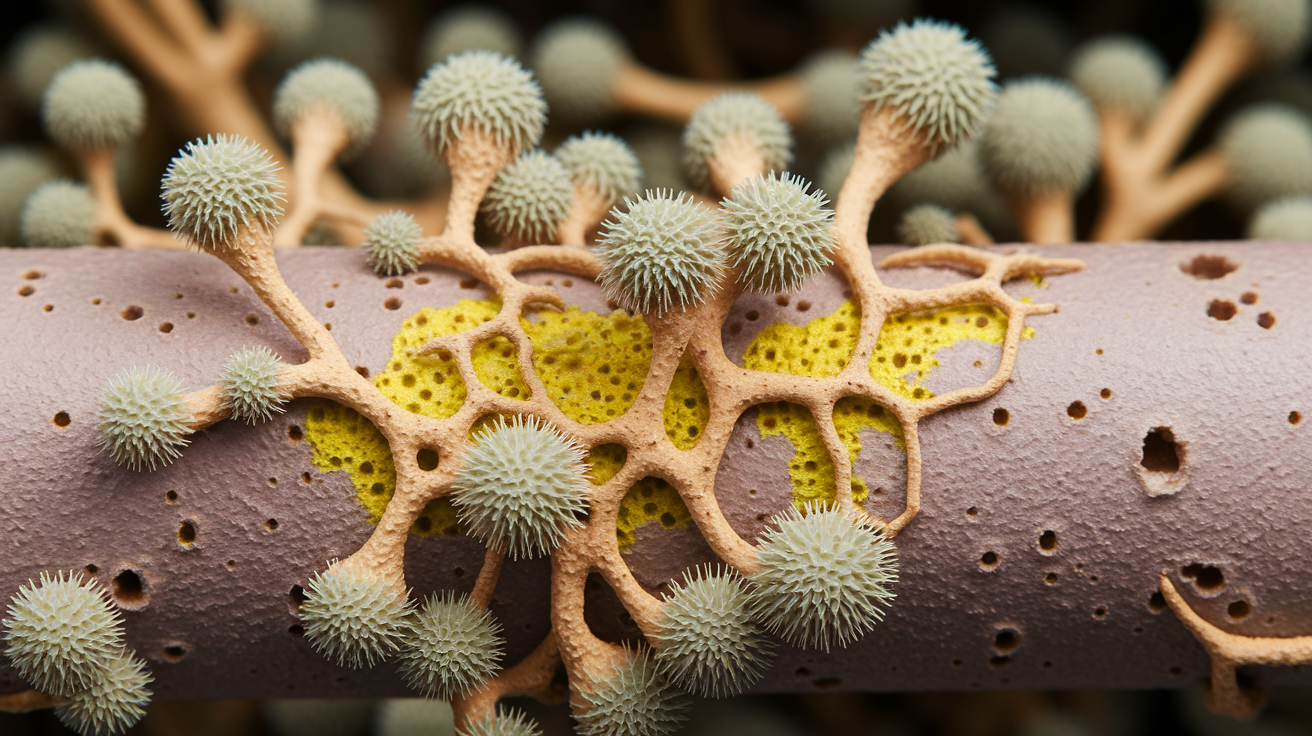
Biological growth creates a different type of yellowing than chemical or UV damage. Mold and mildew staining isn’t just surface discoloration. It’s living organisms growing inside the caulk material itself.
The technical difference matters because it affects whether cleaning will work. Chemical yellowing from UV or oxidation happens to the caulk polymer structure. Mold and mildew yellowing happens because fungal organisms penetrate porous caulk and excrete waste products that stain the material from the inside out. You can sometimes remove surface mold, but once it’s established inside the caulk, the yellow or gray tint is permanent.
Porous caulk materials like latex and acrylic absorb moisture and create tiny spaces where mold spores settle and multiply. When you shower, spores land on wet caulk surfaces. If humidity stays high and the caulk doesn’t dry completely, those spores germinate and send root like structures called hyphae into the material. As the colony grows, it produces enzymes and pigments that create the visible discoloration. Silicone caulk is less porous but not immune. Organic particles get trapped on the surface and mold grows on that contamination layer rather than in the silicone itself.
Inspection clues that yellowing is mold related:
Yellow or grayish tint rather than pure yellow (UV damage tends toward bright yellow or brown). Musty, earthy odor when you lean close to the caulk. Dark spots or patches mixed in with yellow areas. Slimy or fuzzy texture when the caulk is wet. Discoloration that spreads outward over weeks or months.
Mold growth on caulk is a health concern if anyone in your home has allergies, asthma, or respiratory sensitivities. It also indicates that conditions in that area stay too damp. If you’re seeing biological growth, improving ventilation is as important as replacing the caulk. Otherwise, the new caulk will develop the same problem.
Identifying Whether Your Yellowed Caulk Needs Replacement
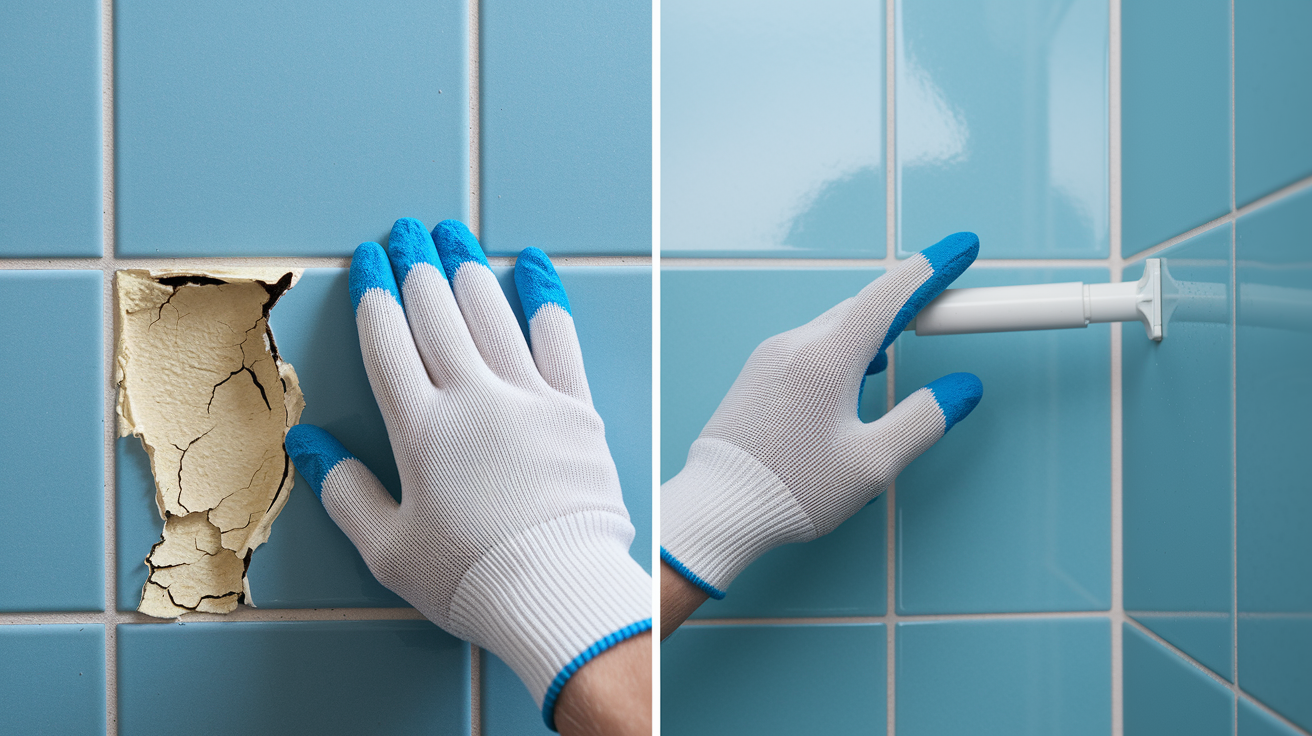
Not all yellowing means you need new caulk. Surface staining might clean up fine, but structural degradation requires removal and reapplication.
Severe degradation shows up as chalking, cracking, and loss of adhesion. When you run your finger along yellowed caulk and white powder comes off, that’s chalking. The polymer structure is breaking down into smaller particles. Cracks mean the caulk has lost flexibility and can no longer handle normal expansion and contraction. Gaps between the caulk and the surface indicate adhesion failure, which compromises the waterproof seal. Water seepage behind failed caulk causes bigger problems like rotted wood, mold in walls, and damaged substrates.
Test caulk integrity by pressing firmly along its length. Healthy caulk feels slightly flexible and springs back. Degraded caulk feels hard and brittle, or soft and mushy if water has penetrated behind it. Check corners and edges where stress concentrates. Failure usually starts there before spreading.
| Yellowing Severity | Signs | Recommended Action |
|---|---|---|
| Surface staining | Yellow tint, no cracks, firm texture, good adhesion | Try cleaning with vinegar or baking soda solution |
| Moderate yellowing with mold | Yellow gray color, musty smell, no structural damage | Deep clean with appropriate solution, monitor for recurrence |
| Severe discoloration with cracks | Dark yellow brown, visible cracks, slight gaps, chalking | Plan for replacement within next few months |
| Complete failure with gaps | Any color, large gaps, water seepage, soft or brittle texture | Remove and replace immediately to prevent water damage |
Plan to replace caulk in high moisture areas like showers and tub surrounds every 1 to 2 years as part of regular maintenance. Even if it’s not yellowed, caulk degrades gradually and loses effectiveness. In lower moisture spots like around sinks or windows, quality caulk can last 5 years or more before requiring replacement.
Cleaning Techniques for Yellowed Caulk
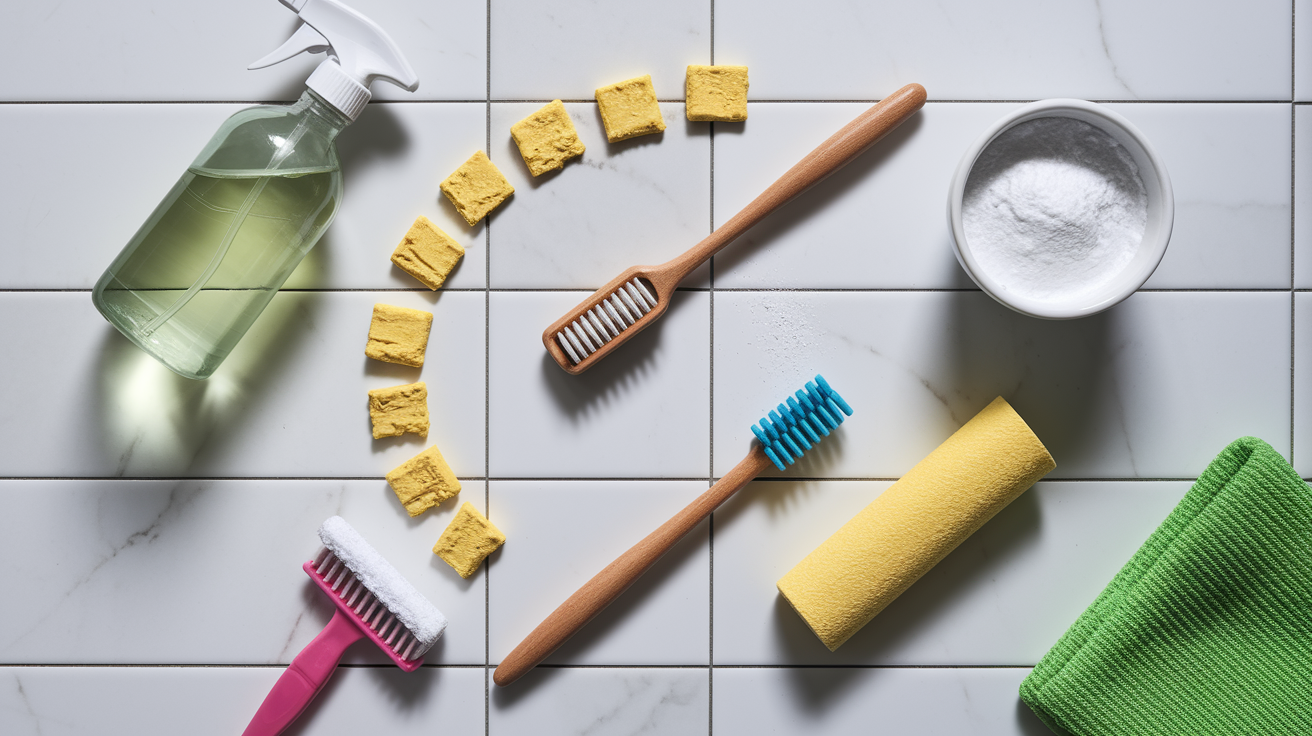
Cleaning works when yellowing is surface level and the caulk structure underneath remains intact. If you’ve identified structural problems like cracks or gaps, skip to replacement.
Vinegar Solution for Light Yellowing
Mix equal parts white vinegar and water in a spray bottle. Spray the yellowed caulk thoroughly and let it sit for 15 to 20 minutes so the vinegar can penetrate surface stains. Vinegar is a mild acid that naturally dissolves mineral deposits, soap scum, and mold without damaging caulk.
After soaking, scrub the caulk with an old toothbrush or small scrub brush, working in small sections. The bristles help lift staining without scratching. Rinse thoroughly with clean water and dry with a towel. This method handles light yellowing and routine maintenance effectively.
Baking Soda Paste for Stubborn Stains
For tougher discoloration that vinegar doesn’t touch, make a paste from three parts baking soda to one part water. Stir until it reaches a thick, spreadable consistency like toothpaste. Apply the paste directly to yellowed caulk using your finger or a small spatula, creating a thick coating. Let it sit for 30 minutes to an hour. The longer the better for stubborn stains.
Baking soda is mildly abrasive and alkaline, so it lifts stains through both mechanical and chemical action. Scrub gently with a damp brush or sponge, then rinse thoroughly. The paste method works well for isolated yellow spots or areas where mold has created deeper staining.
Hydrogen Peroxide and Bleach for Severe Discoloration
When yellowing is severe but the caulk structure is still sound, a diluted bleach solution can restore white color. Mix equal parts bleach and water in a spray bottle. Work in a well ventilated area. Open windows and run exhaust fans. Wear rubber gloves to protect your hands.
Spray the solution onto the yellowed caulk and let it sit for 2 to 3 hours. Don’t let it dry completely. Mist occasionally if needed. The extended contact time lets the bleach oxidize stains at the molecular level. After soaking, scrub with a brush and rinse thoroughly with plenty of clean water.
Test this method in a small, hidden area first. Some caulk formulations react poorly to bleach and may become brittle or discolored in unexpected ways. Never mix bleach with vinegar, ammonia, or other cleaners. This creates toxic fumes. Bleach is your last cleaning option before replacement, but it’s harsh on caulk and shortens its remaining lifespan.
Step by Step Caulk Replacement Process
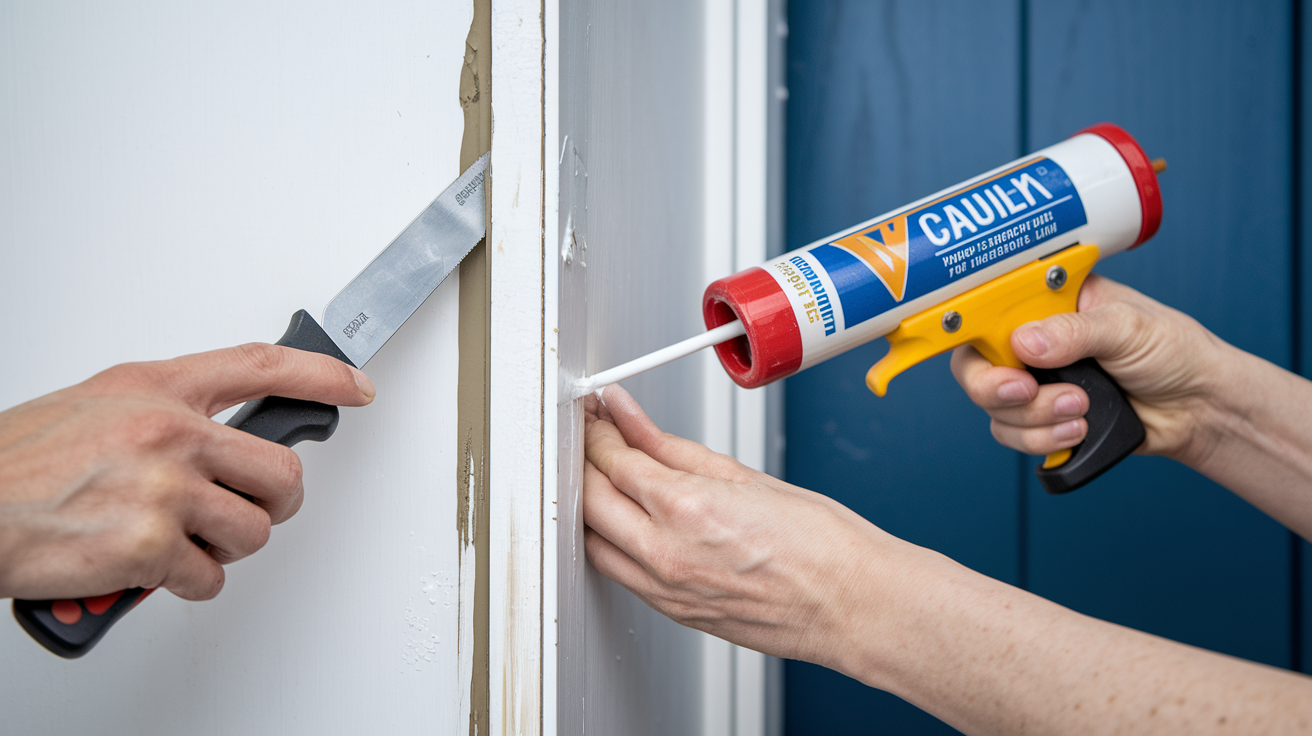
When cleaning doesn’t restore yellowed caulk or when you’ve identified structural problems, replacement is the only solution that restores both appearance and waterproofing.
Gather your tools and materials. You’ll need a caulk removal tool or utility knife with fresh blades, cleaning supplies like rubbing alcohol or bathroom cleaner, new mold resistant silicone caulk appropriate for your location, a caulking gun, smoothing tool or popsicle stick, painter’s tape, rags, and safety glasses.
Remove all old caulk completely. Use the caulk removal tool or utility knife to cut along both edges of the existing caulk bead, then peel it away. Scrape out every bit of old caulk from the joint. Leftover residue prevents new caulk from adhering properly. This is tedious but critical.
Clean the joint thoroughly. Wipe surfaces with rubbing alcohol or a degreasing cleaner to remove soap scum, oils, and any remaining caulk residue. Scrub grout lines and textured surfaces with a brush to reach into crevices.
Dry the area completely. Let everything air dry for at least 24 hours before applying new caulk. Run a fan or dehumidifier if your bathroom stays humid. Moisture trapped under new caulk causes adhesion failure and creates conditions for mold growth right from the start.
Apply painter’s tape for clean lines. Place tape along both sides of the joint, leaving the gap exposed. This creates professional looking edges and makes cleanup easier.
Load caulking gun and apply smooth bead. Cut the caulk tube tip at a 45 degree angle, with the opening sized slightly smaller than your joint width. Puncture the inner seal. Load into the caulking gun and apply steady pressure while moving at a consistent speed. Keep the tip at a 45 degree angle and push the bead ahead of the gun rather than dragging it. This forces caulk into the joint for better adhesion.
Smooth the bead immediately. Use a caulk smoothing tool, popsicle stick, or your finger dipped in soapy water to smooth the bead in one continuous motion. Press firmly to ensure good contact with both surfaces. Work quickly before the caulk starts to skin over.
Remove tape and allow curing. Pull painter’s tape away at a 45 degree angle while the caulk is still wet for the cleanest edge. Let the caulk cure according to manufacturer instructions, usually 24 to 48 hours before water exposure.
Check the manufacturer’s instructions for specific drying and curing times. “Dry to touch” happens quickly, but “fully cured” takes much longer. Water exposure before full cure weakens the bond and lets moisture penetrate behind the caulk. Wait the full recommended time even if it feels dry.
Selecting Yellowing Resistant Caulk Products
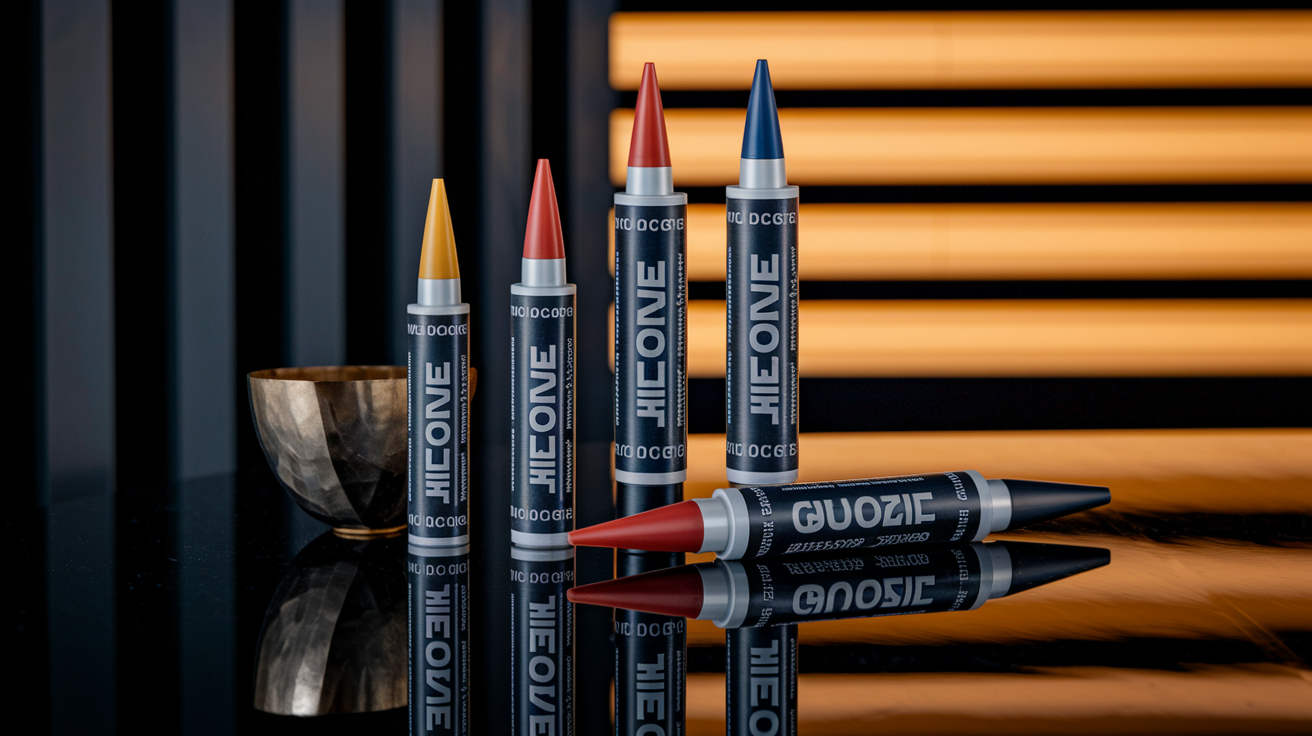
Investing in quality caulk engineered to resist yellowing saves you from frequent replacement. The money you spend on premium products is less than the cost of your time doing this job repeatedly.
Look for specific formulations designed to address yellowing causes. Mold resistant caulks incorporate antimicrobial additives that prevent fungal growth on the surface. These additives are blended into the caulk formula and remain active for years. UV resistant products include stabilizers that absorb or reflect UV radiation before it can break down the polymer structure. Color stable formulas use higher purity base materials with fewer chromophores, so they resist the oxidation process that turns caulk yellow or brown.
For wet areas like showers, tubs, and sinks, 100% silicone caulk outperforms latex and acrylic significantly. Silicone has superior water resistance and stays flexible longer. Its non porous surface resists mold penetration better than other materials. Latex and acrylic caulks are cheaper upfront but require replacement more frequently, especially in consistently wet locations. Save latex and acrylic for dry areas like baseboards or crown molding where moisture and UV exposure are minimal.
Product label terms that indicate yellowing resistance:
“Mold and mildew resistant” or “antimicrobial” formulation. “UV resistant” or “color stable” for areas with sunlight exposure. “100% silicone” rather than latex, acrylic, or hybrid formulas. “Kitchen and bath formula” specifically designed for high moisture areas. “Waterproof” with long cure times (24 to 48 hours indicates higher quality silicone). “Lifetime warranty” or specific performance guarantees against yellowing.
Read manufacturer warranties and performance claims carefully. Some brands guarantee their caulk won’t yellow for specific periods under normal use conditions. These warranties indicate confidence in the product’s chemistry and formulation. Generic or store brand caulks rarely include such guarantees.
Prevention Methods to Keep Caulk White Longer
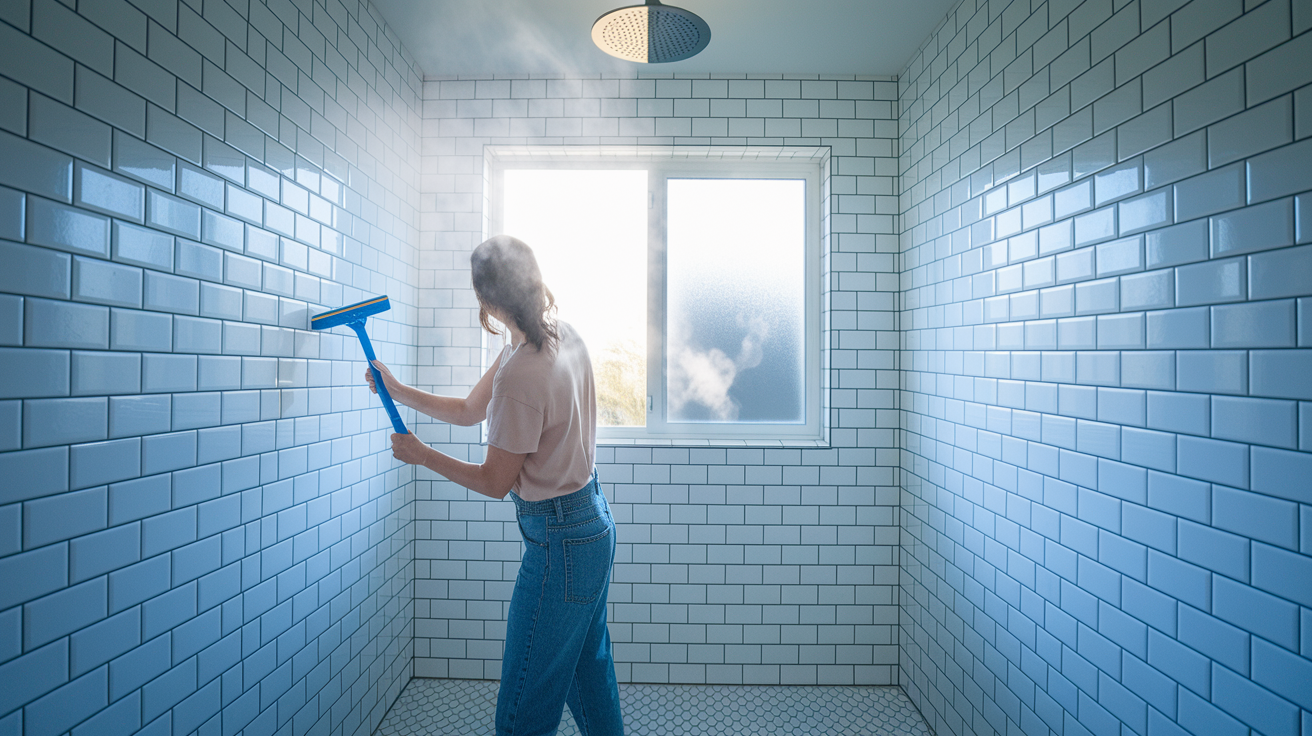
Proactive maintenance extends caulk life and delays yellowing. The few minutes you spend on prevention are easier than the hours needed for cleaning or replacement.
Daily habits make the biggest difference in high moisture areas. After every shower, use a squeegee to remove excess water from tile walls, glass doors, and especially caulked seams. This simple step dramatically reduces moisture exposure. Standing water is caulk’s enemy. It seeps into microscopic surface imperfections and starts the yellowing process.
Run your bathroom exhaust fan during showers and for 20 to 30 minutes afterward to pull humid air out. If you don’t have a fan, open a window. Wipe down frequently used surfaces with a dry towel to prevent water from sitting on caulk.
Weekly cleaning prevents buildup that leads to staining. Use pH neutral cleaners that won’t react with caulk compounds. Gentle dish soap diluted in water works well for routine cleaning. Wipe caulked areas with a soft cloth or sponge. No need for aggressive scrubbing if you’re staying ahead of buildup. Avoid any cleaners containing bleach, ammonia, or strong acids. These might make surfaces sparkle but they’re aging your caulk faster.
Prevention strategies that extend caulk life:
Maintain proper ventilation with exhaust fans running during and after water use. Use a squeegee daily on shower walls and caulked seams to remove standing water. Avoid harsh chemical cleaners. Stick with mild dish soap or specialized pH neutral bathroom cleaners. Apply UV protective window film if bathroom windows expose caulk to direct sunlight for extended periods.
Schedule quarterly inspections to catch early signs of mold, yellowing, or adhesion problems. Address mold immediately when you spot it. Early treatment is easier than waiting until it spreads. Reapply caulk in high moisture areas every 1 to 2 years as preventive maintenance before major problems develop.
Create a simple maintenance checklist and stick to it. Check caulk condition every few months: look for yellowing, feel for soft or brittle texture, and inspect for cracks or gaps. Early detection lets you clean or replace before minor discoloration becomes major degradation.
Common Application Mistakes That Lead to Yellowing
Poor application makes even quality caulk vulnerable to premature yellowing. How you install caulk matters as much as which product you choose.
The most critical mistake is inadequate surface preparation. If you don’t remove all old caulk, the new bead won’t adhere properly to the substrate. Instead, it partially bonds to old caulk residue, which is already degraded and contaminated. This creates a weak point where moisture can seep behind the new caulk. Similarly, failing to clean and dry surfaces completely leaves oils, soap scum, or mineral deposits that prevent good adhesion.
Other installation errors compound the problem. Applying caulk to damp or wet surfaces traps moisture from day one. That trapped moisture creates ideal conditions for mold growth and accelerated yellowing. Not allowing proper cure time before water exposure is equally damaging. Partially cured caulk hasn’t developed full adhesion or water resistance yet.
Using the wrong caulk type for the application, like latex in a shower, sets you up for rapid failure. Applying too thick a bead wastes material and takes longer to cure, while too thin a bead doesn’t fill the joint properly and allows water penetration. Failing to smooth the bead leaves a rough texture that traps contaminants and looks messy.
Follow manufacturer instructions precisely. They specify surface preparation requirements, application temperature ranges, bead size recommendations, and cure times for good reasons. Don’t rush the process because you want to use the shower tonight. Wait the full cure time. Your patience now prevents problems later.
When to Call a Professional for Caulk Issues
Most caulk yellowing and replacement is straightforward DIY work, but some situations indicate bigger problems that need professional assessment.
Red flags that suggest calling a contractor or specialist include visible water damage behind or around caulk areas. If drywall is soft, discolored, or crumbling, or if you see water stains spreading beyond the immediate caulk line, moisture has penetrated the wall cavity. This means potential mold growth inside walls and possible structural damage that requires more than just new caulk.
Structural movement causing repeated caulk failure is another warning sign. If caulk keeps cracking in the same spot despite proper installation, something is shifting or settling. This might indicate foundation problems, framing issues, or excessive building movement that a caulk bead can’t accommodate.
Persistent mold growth despite treatment suggests moisture sources you’re not addressing. Maybe there’s a slow plumbing leak, inadequate ventilation that no amount of fan runtime can fix, or water intrusion from outside. Widespread caulk failure across multiple areas in a short timeframe points to systematic issues with moisture management or product selection. Recurring yellowing despite quality products and proper application means something in your environment or maintenance routine needs professional analysis.
Situations requiring professional assessment:
Visible water damage, soft drywall, or spreading stains around caulked areas. Persistent mold despite proper cleaning and ventilation improvements. Structural cracks in tile, walls, or substrates that keep reopening. Tile movement, loose grout, or shifting fixtures. Suspected or confirmed plumbing leaks behind walls or under fixtures.
Consider the cost benefit analysis of professional service versus repeated DIY attempts. If you’ve replaced caulk twice in a year and it keeps yellowing or failing, spending money on a contractor to diagnose and fix the underlying cause is smarter than buying more caulk tubes. Professionals have moisture meters, inspection cameras, and experience identifying hidden problems. They can tell whether you need better ventilation, waterproofing repairs, plumbing fixes, or different product selection, and handle the work correctly the first time.
Final Words
UV exposure and moisture combine to turn white caulk yellow through oxidation and organic particle trapping. But now you know which caulk types hold up better, which cleaners to avoid, and how environmental factors speed up discoloration.
Regular maintenance, proper ventilation, and quality mold-resistant products make the biggest difference in keeping caulk white longer.
If you’re dealing with severe cracking or water seepage, replacement beats cleaning every time. Understanding why caulk turns yellow helps you choose smarter products and catch problems before they turn into bigger water damage issues.
Small fixes now prevent costly repairs later.
FAQ
How do you fix yellow caulking?
You fix yellow caulking by first trying gentle cleaning methods like scrubbing with equal parts white vinegar and water for light yellowing, or using a baking soda paste for stubborn stains. If cleaning doesn’t work or the caulk shows cracks and gaps, you need to remove the old material completely with a caulk removal tool, clean and dry the surface thoroughly, then apply fresh mold-resistant silicone caulk.
Can you reverse silicone yellowing?
You can reverse silicone yellowing in mild cases by scrubbing with a vinegar solution or baking soda paste to remove surface stains and trapped organic matter. For severe yellowing caused by UV damage and oxidation at the molecular level, cleaning won’t fully restore the original white color, and you’ll need to replace the caulk instead. If you see cracks, chalking, or loss of adhesion along with yellowing, replacement is the only reliable fix.
What is the best caulk that doesn’t turn yellow?
The best caulk that doesn’t turn yellow is 100% silicone labeled as mold-resistant and antimicrobial, specifically formulated for kitchen and bath use. Look for products marked “UV-resistant” and “color stable” on the label, and avoid cheaper latex or acrylic caulks in high-moisture areas since they absorb water and yellow faster. Aliphatic polyurethane-based caulks also resist yellowing better than aromatic versions if you need a paintable option.
How to whiten yellowing sealant?
You whiten yellowing sealant by scrubbing it with a 50-50 mixture of white vinegar and water for light surface stains. For tougher yellowing, make a thick paste from baking soda and water, apply it to the sealant, let it sit for 15 minutes, then scrub with a brush and rinse clean. If yellowing persists after cleaning or you notice the sealant is cracked or pulling away, replacement is the better long-term solution.
Does UV exposure cause most caulk yellowing?
UV exposure causes most caulk yellowing by triggering an oxidation process where chromophores in the sealant absorb UV radiation and form free radicals that react with oxygen. This creates peroxy radicals in an autocatalytic cycle that breaks down the material into smaller chemicals that absorb all light colors except yellow. South-facing windows with direct sunlight and hot climates with high UV levels accelerate this degradation significantly.
Can mold make caulk turn yellow?
Mold can make caulk turn yellow by growing in the porous surface and creating yellow or grayish staining that penetrates deep into the material. Latex and acrylic caulks are especially vulnerable because they absorb water easily, creating ideal conditions for mold and mildew growth in damp bathroom environments. If you see yellow discoloration combined with a musty smell, dark spots, or slimy texture when wet, that’s biological growth requiring replacement.
Do cleaning products cause caulk to yellow faster?
Cleaning products cause caulk to yellow faster when they contain bleach or ammonia, which react chemically with silicone compounds and accelerate degradation. Harsh chemicals break down the molecular structure of the sealant, making it more vulnerable to UV damage, moisture penetration, and discoloration. Stick with gentle cleaners like mild dish soap or vinegar-and-water solutions to avoid triggering chemical reactions that speed up yellowing.
How long does bathroom caulk last before yellowing?
Bathroom caulk lasts 1 to 2 years before yellowing in high-moisture environments, though quality mold-resistant silicone can last longer with proper maintenance. Poor ventilation, hard water exposure, harsh cleaning chemicals, and lack of regular drying after showers accelerate yellowing and reduce lifespan. Running exhaust fans, using a squeegee daily, and inspecting for early signs of wear help extend the time before replacement is needed.
Should I replace caulk if it’s only yellowed but not cracked?
You should replace caulk if it’s only yellowed when the discoloration is severe or accompanied by mold growth that penetrates deep into the material. Surface yellowing without cracks, gaps, or loss of adhesion can often be cleaned with vinegar or baking soda paste as a temporary fix. Test the caulk by pressing on it—if it feels firm and stays bonded to the surface, cleaning might work, but if it’s soft or pulling away, replace it.
Does humidity make white caulk turn yellow?
Humidity makes white caulk turn yellow by trapping organic particles in the porous surface and creating ideal conditions for mold and mildew growth. High-moisture environments like poorly ventilated bathrooms keep caulk damp, allowing biological growth and chemical reactions that cause discoloration. Running exhaust fans during and after showers, wiping down surfaces, and using a squeegee help reduce humidity exposure and slow the yellowing process.